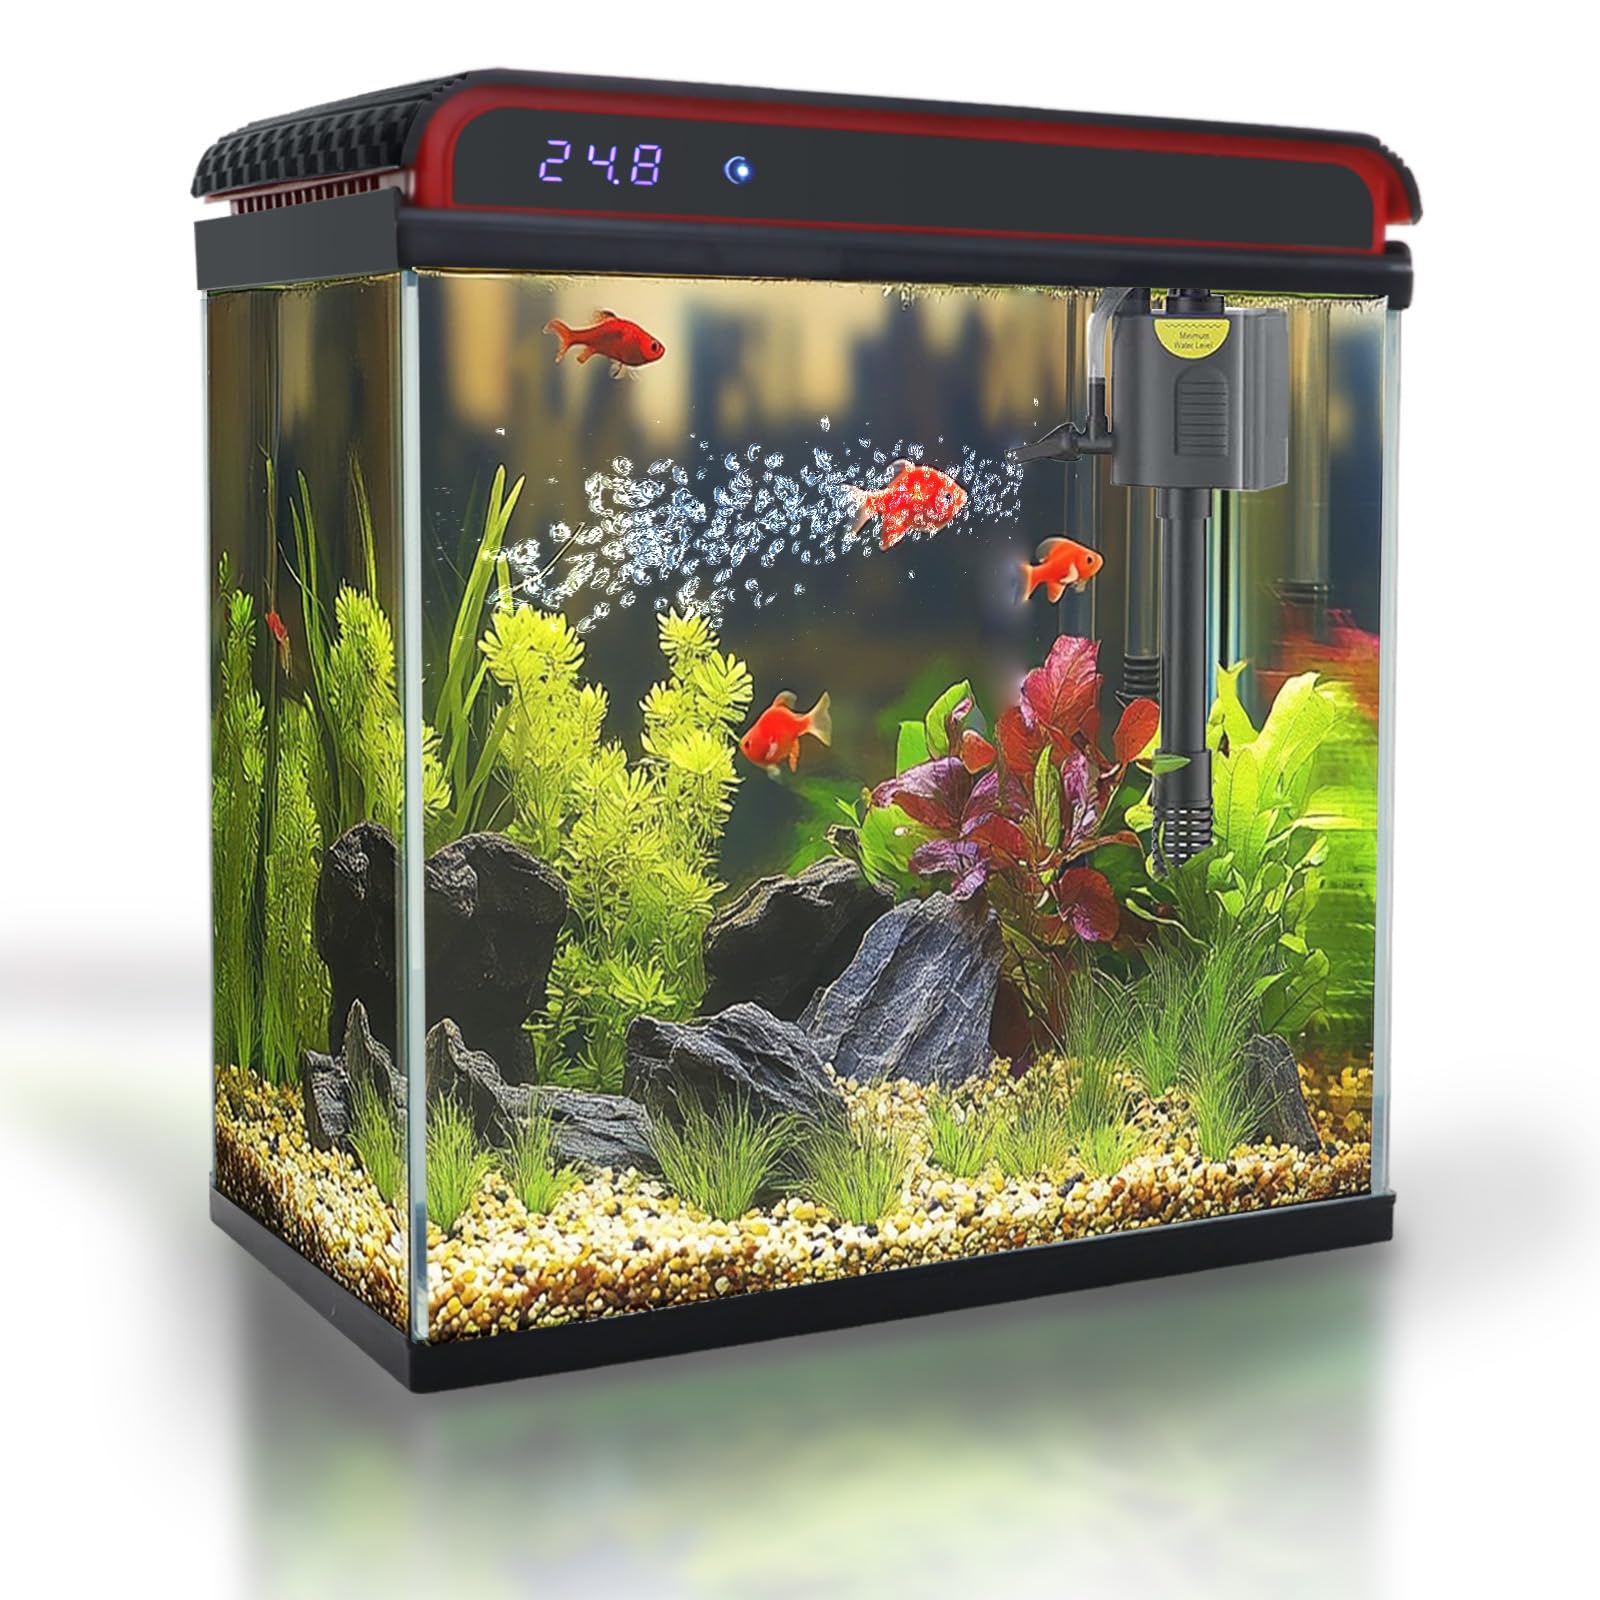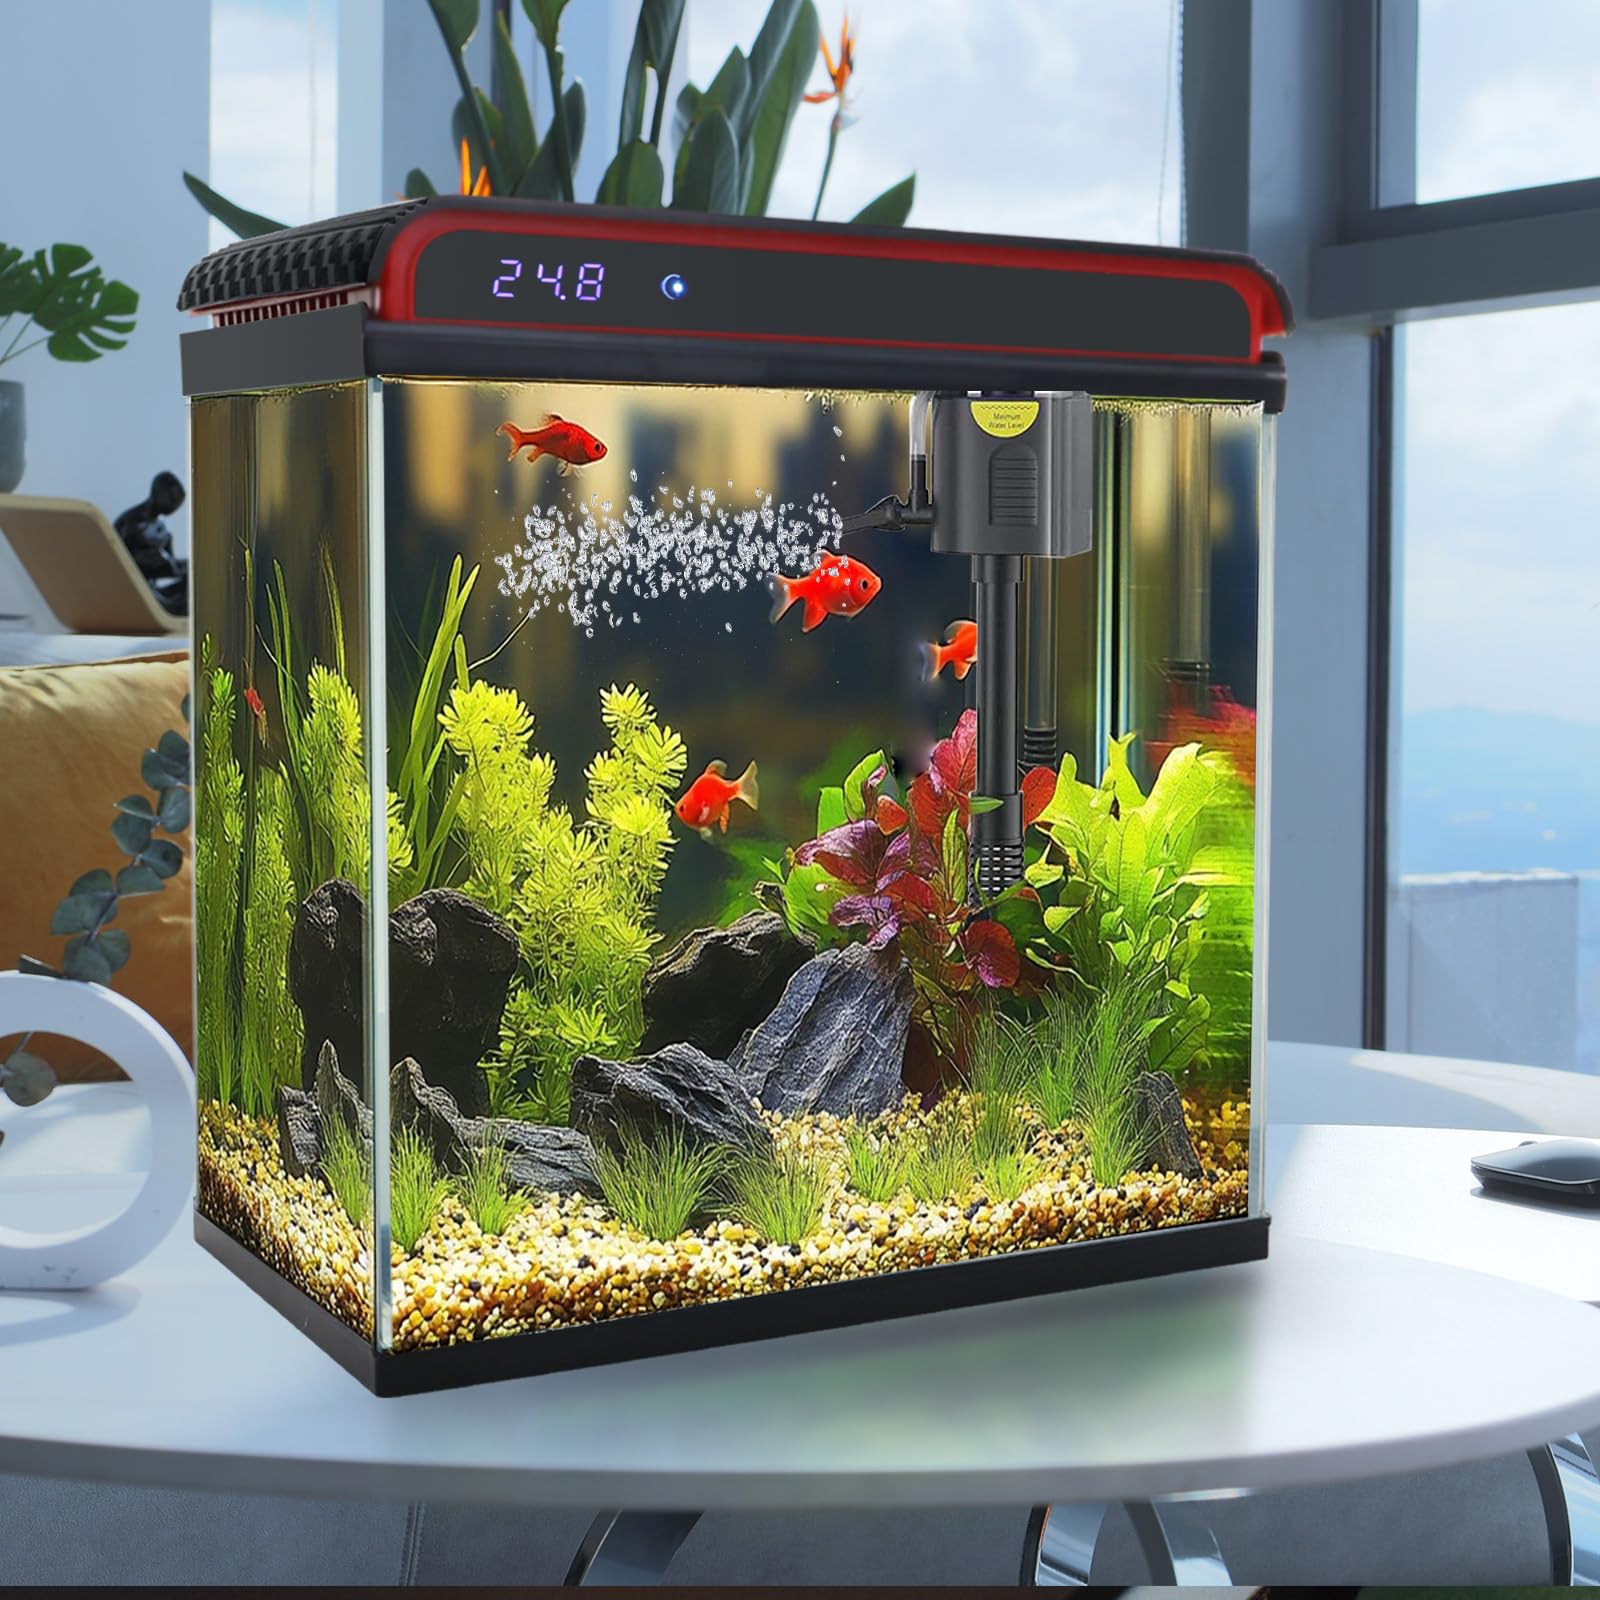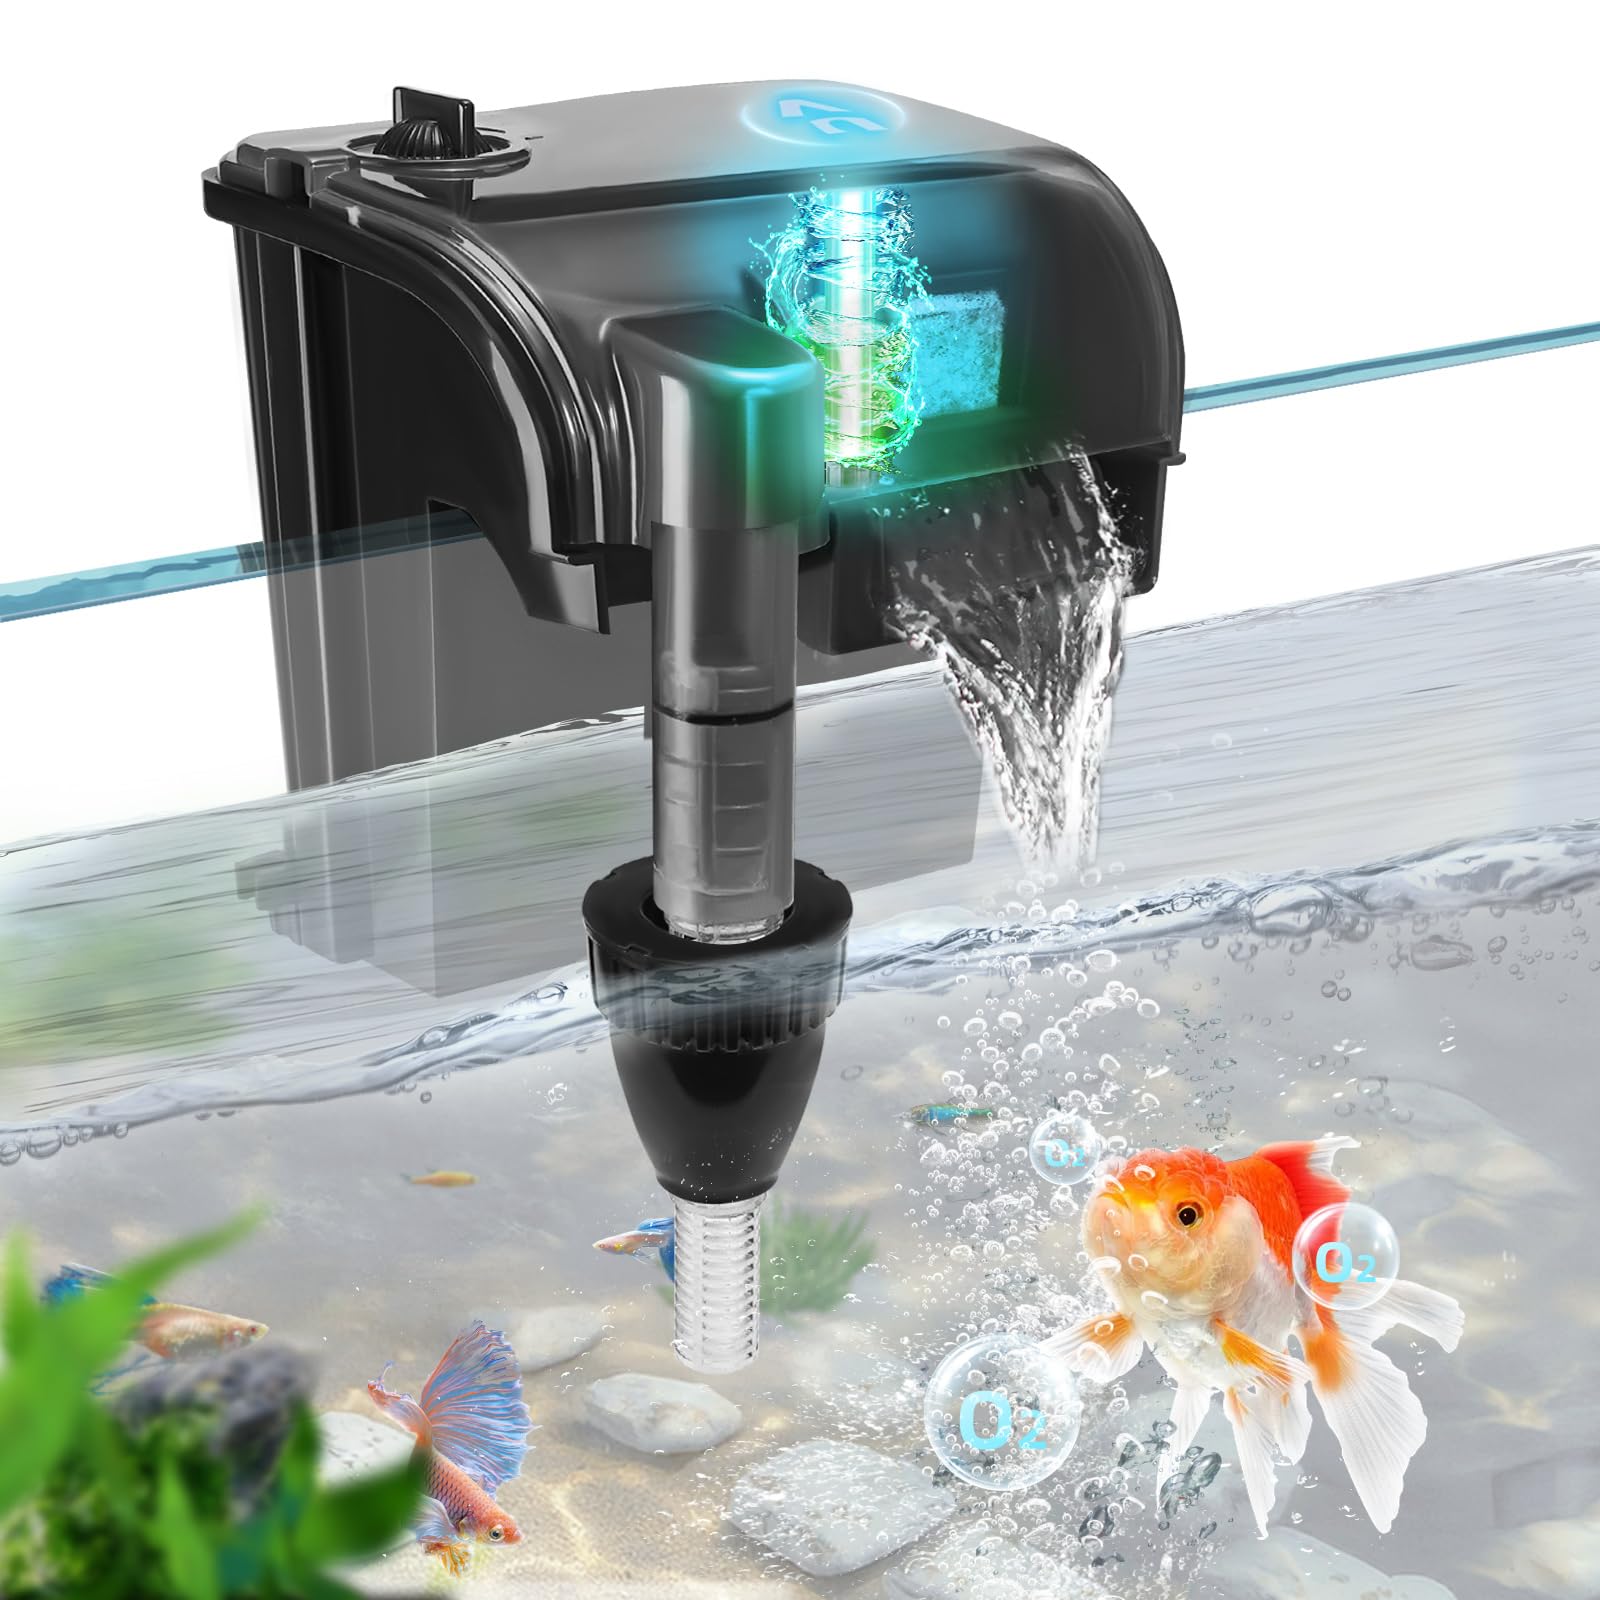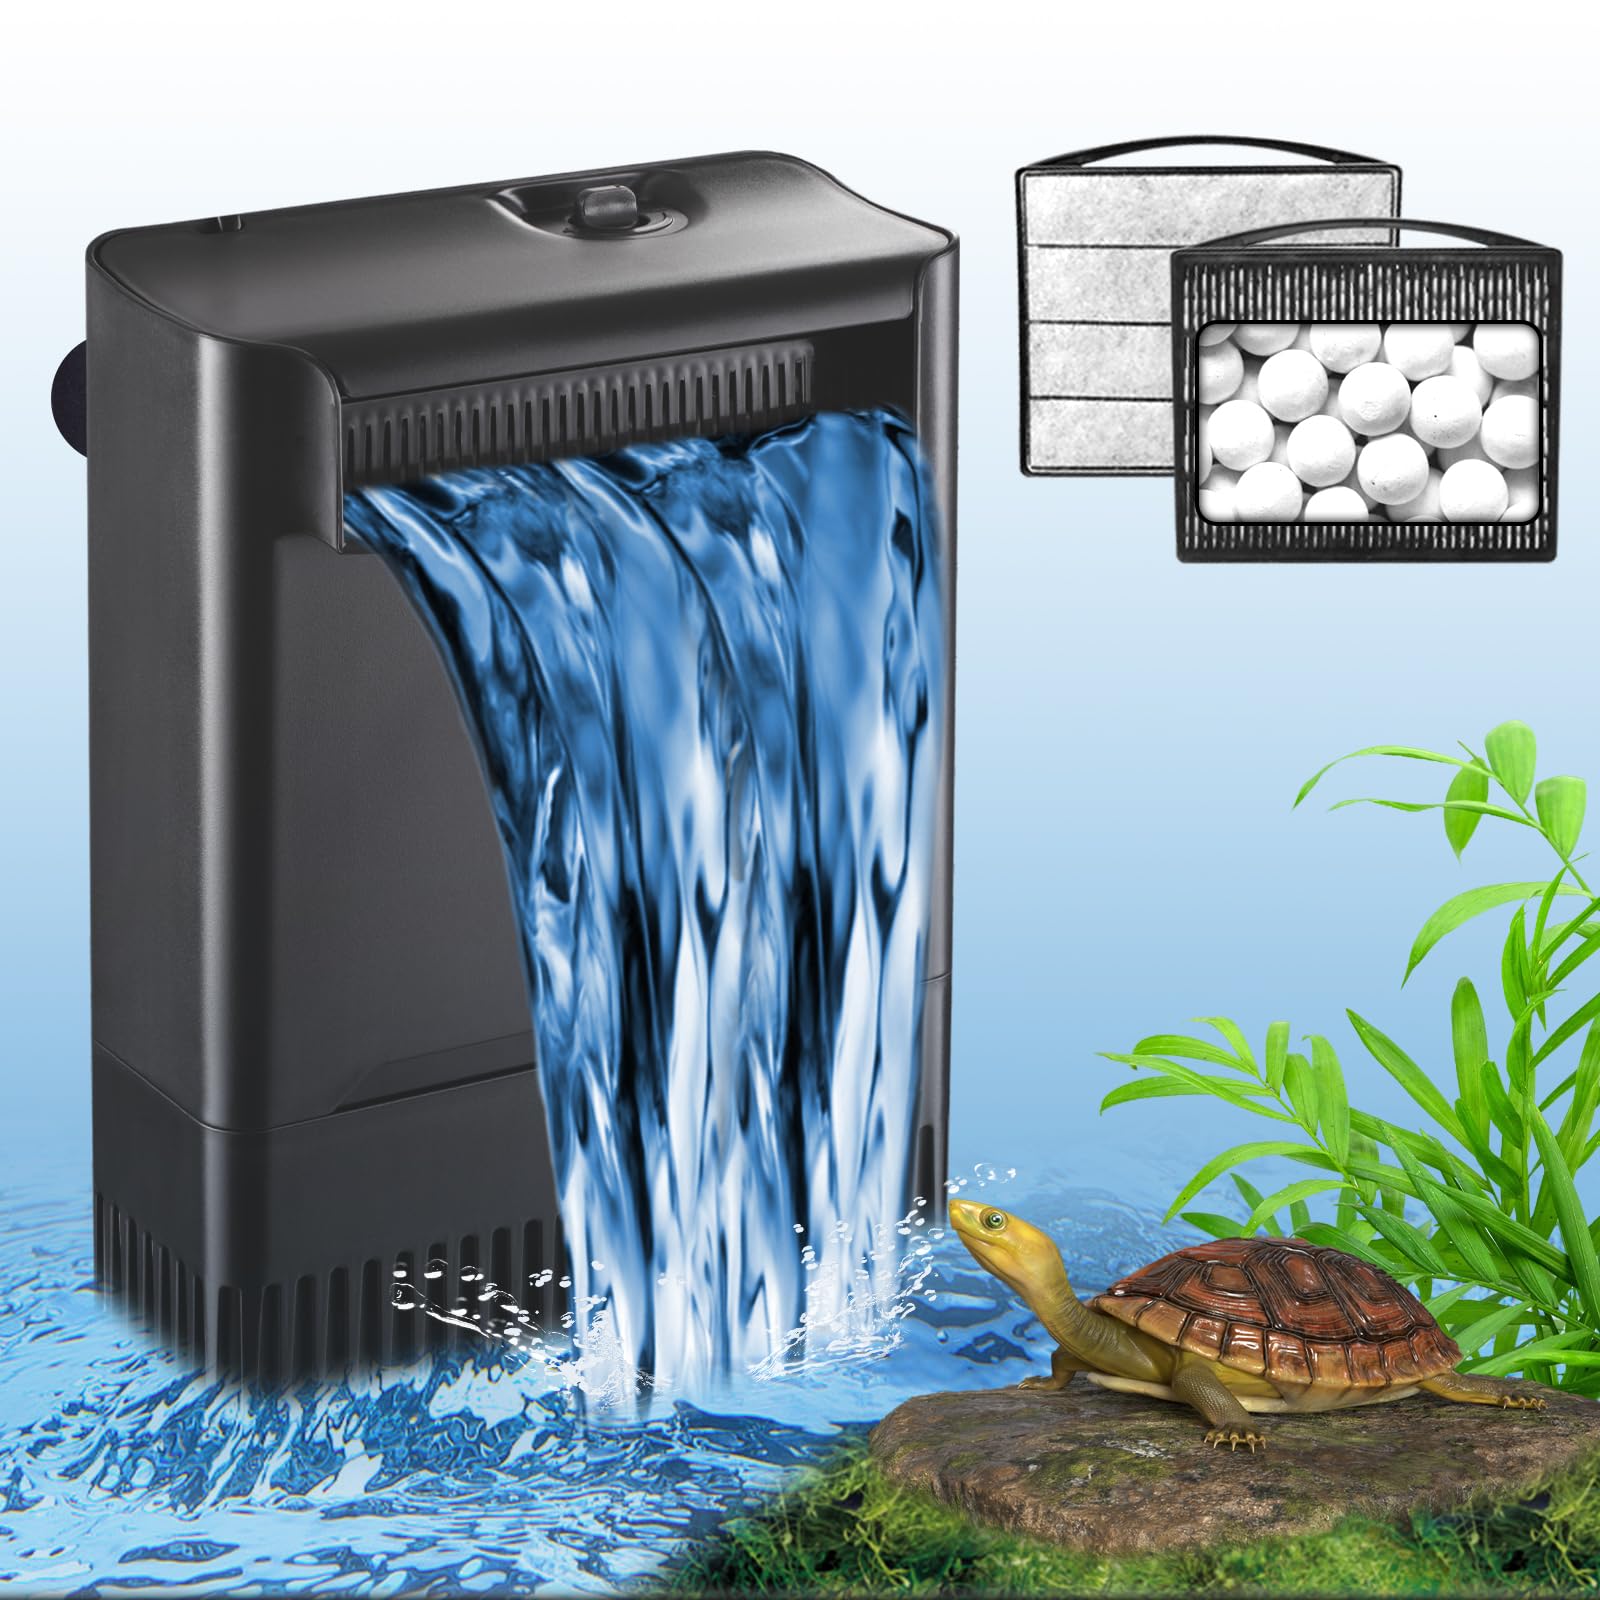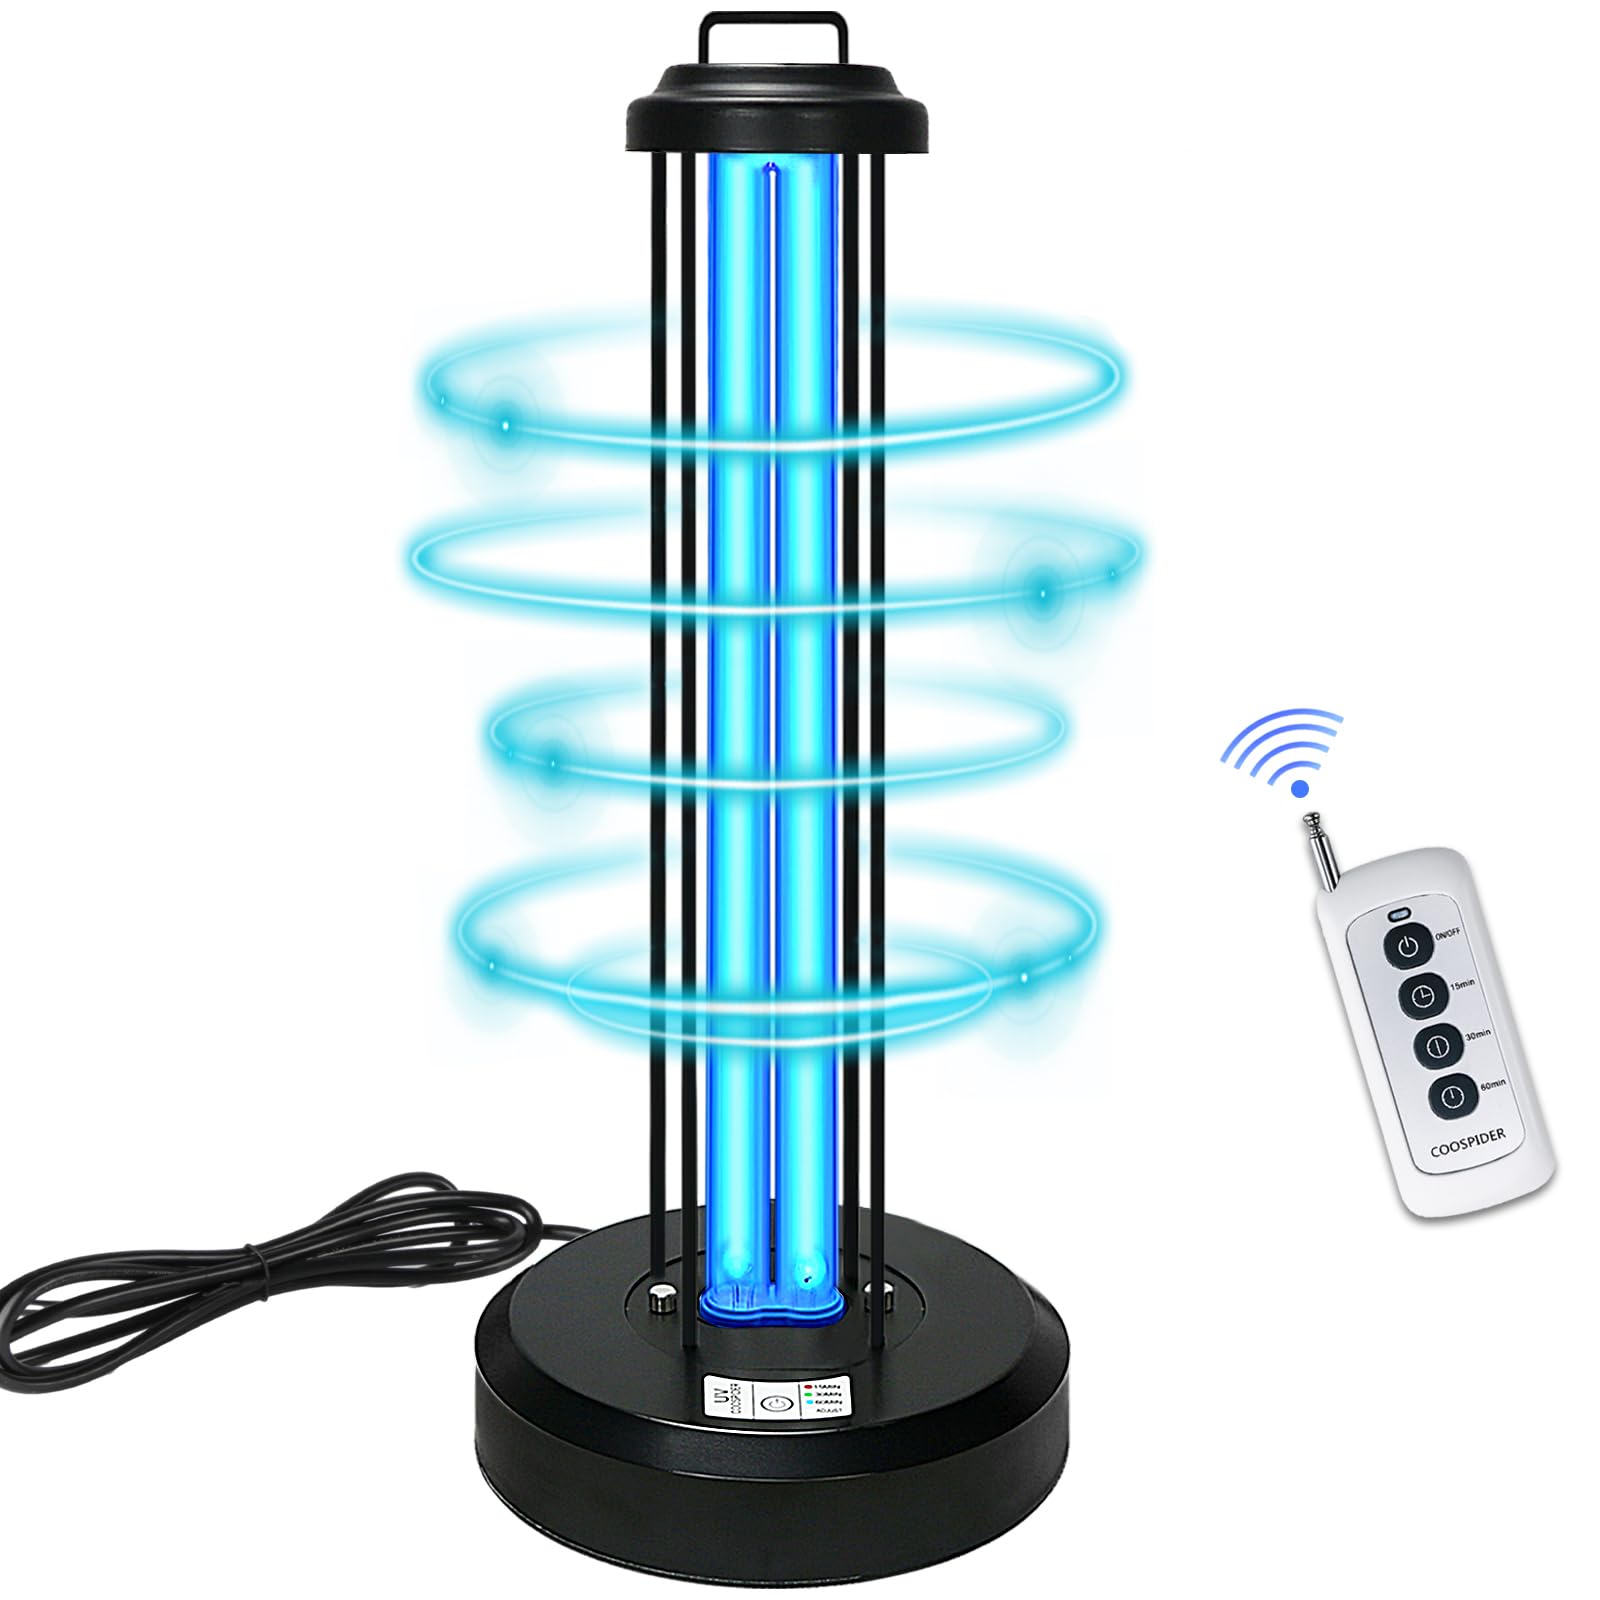
Maintaining a clean, healthy aquarium requires more than simply adding water, fish, and a filtration system. Even well-maintained aquariums can experience problems with cloudy water, suspended algae, and potentially harmful microorganisms. These issues can affect water clarity, reduce the visual appeal of your aquarium, and create additional challenges for maintaining a stable aquatic environment.
One effective way to improve aquarium water management is by installing a UV sterilizer for your aquarium.
Aquarium UV sterilizers use ultraviolet light to inactivate susceptible microorganisms as water passes through a specially designed treatment chamber. When properly selected and installed, these devices can help control free-floating algae, reduce certain waterborne bacteria, and support a cleaner aquatic environment.
However, achieving reliable performance requires more than purchasing a UV sterilizer and connecting it to a pump.
Correct installation plays an essential role in determining how effectively the device treats water. Factors such as water flow rate, equipment placement, tubing connections, filtration arrangement, and maintenance accessibility can all influence the performance of your UV sterilizer.
An improperly installed unit may experience insufficient water circulation, air accumulation, leakage, reduced UV exposure, or premature equipment failure.
Fortunately, installing an aquarium UV sterilizer is a manageable project for many aquarium owners, provided they follow the manufacturer's instructions and appropriate safety precautions.
In this comprehensive guide, we'll explain how to install an aquarium UV sterilizer step by step, from choosing the right equipment and preparing your aquarium to connecting the water lines, testing the system, and maintaining reliable performance.
Whether you own a freshwater aquarium, a saltwater reef tank, or a large fish-keeping system, this guide will help you understand how to integrate ultraviolet treatment into your existing aquarium setup.
1. What Is an Aquarium UV Sterilizer?
An aquarium UV sterilizer is a water treatment device that uses ultraviolet radiation to reduce susceptible microorganisms suspended in aquarium water.
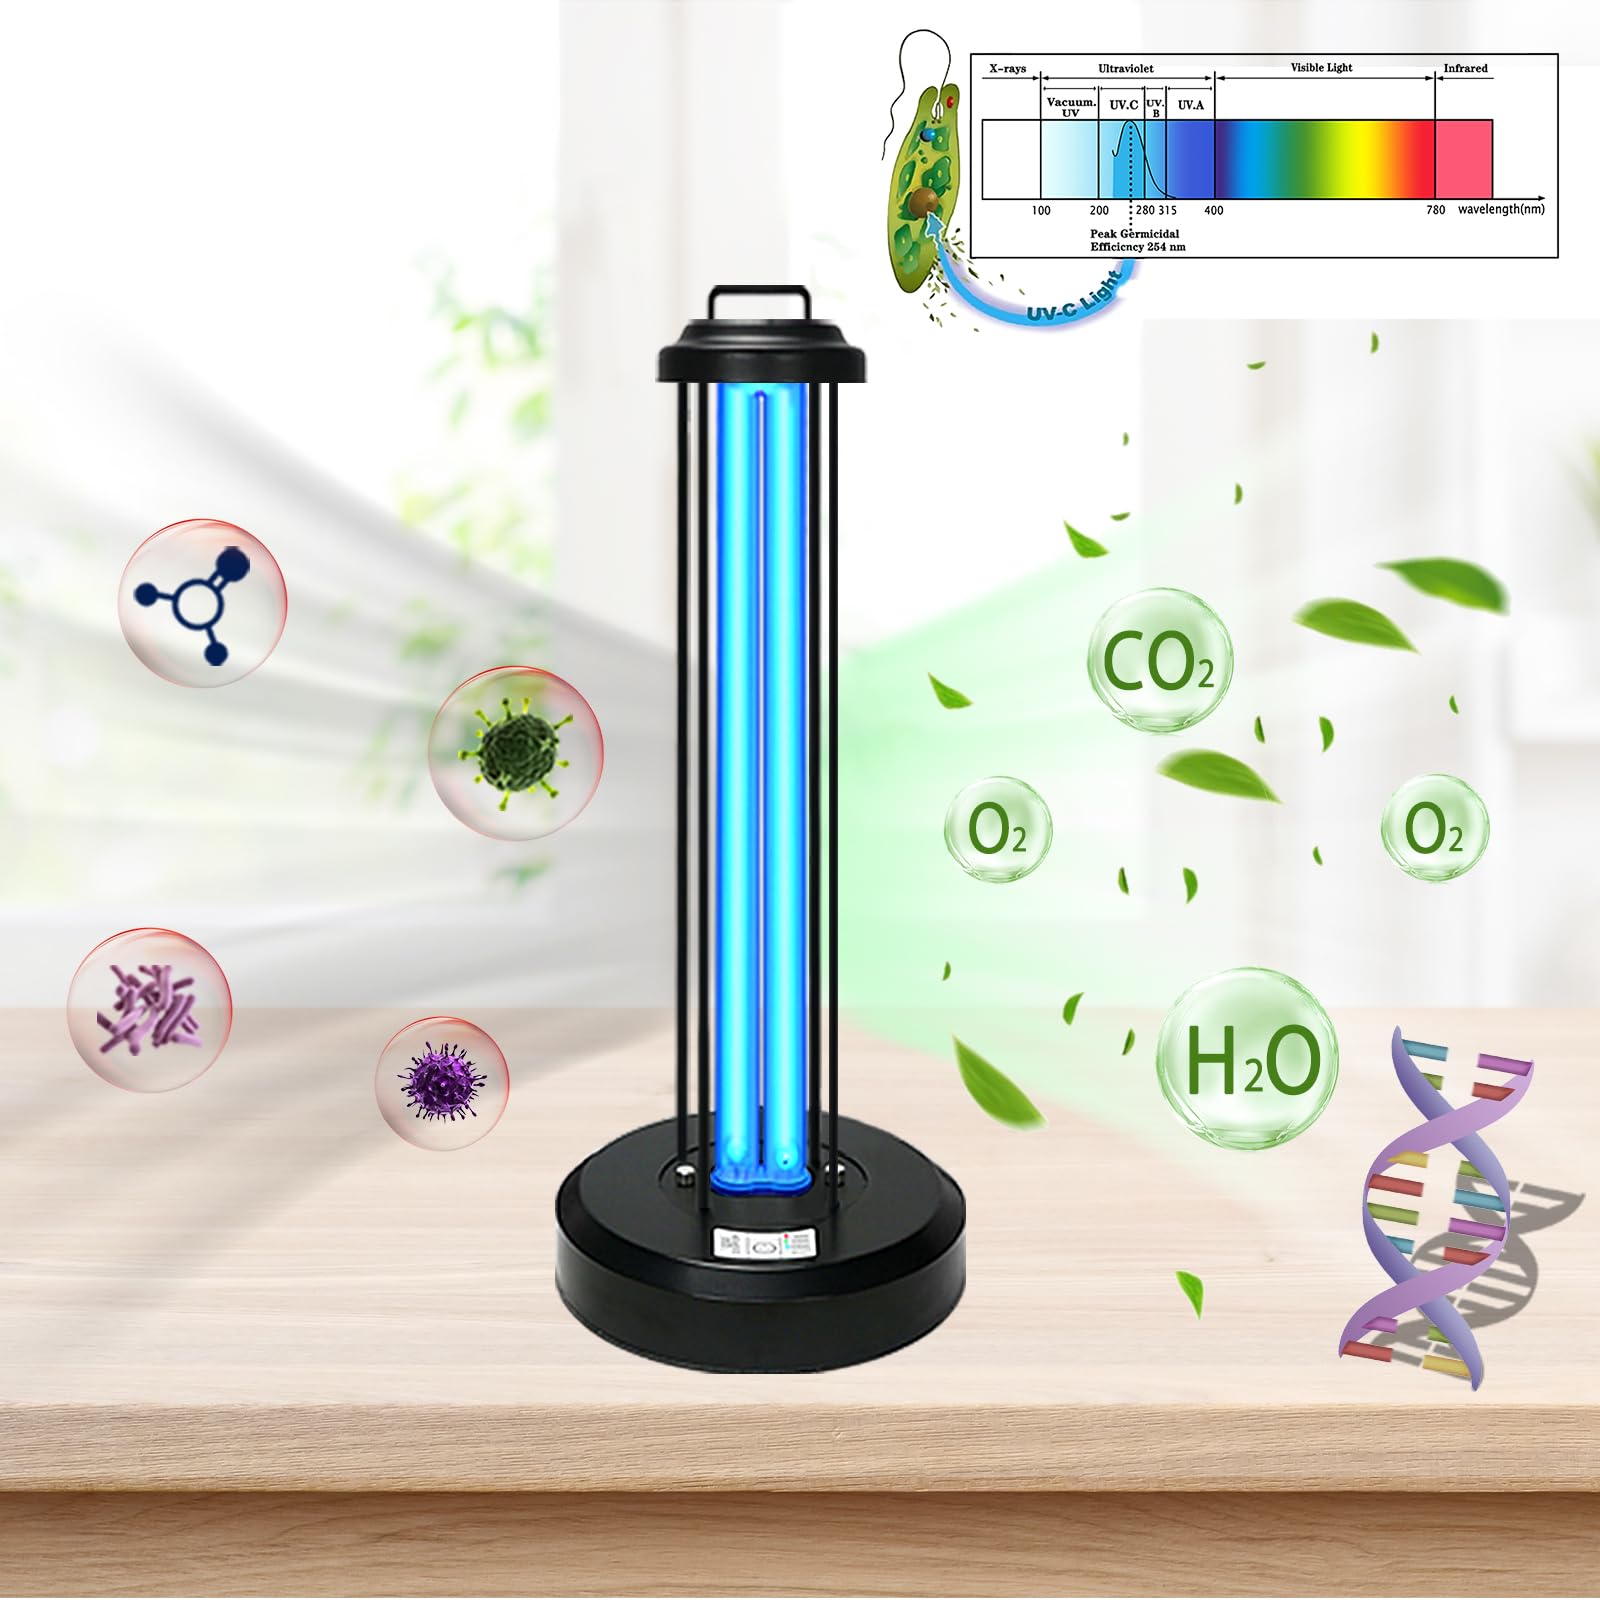
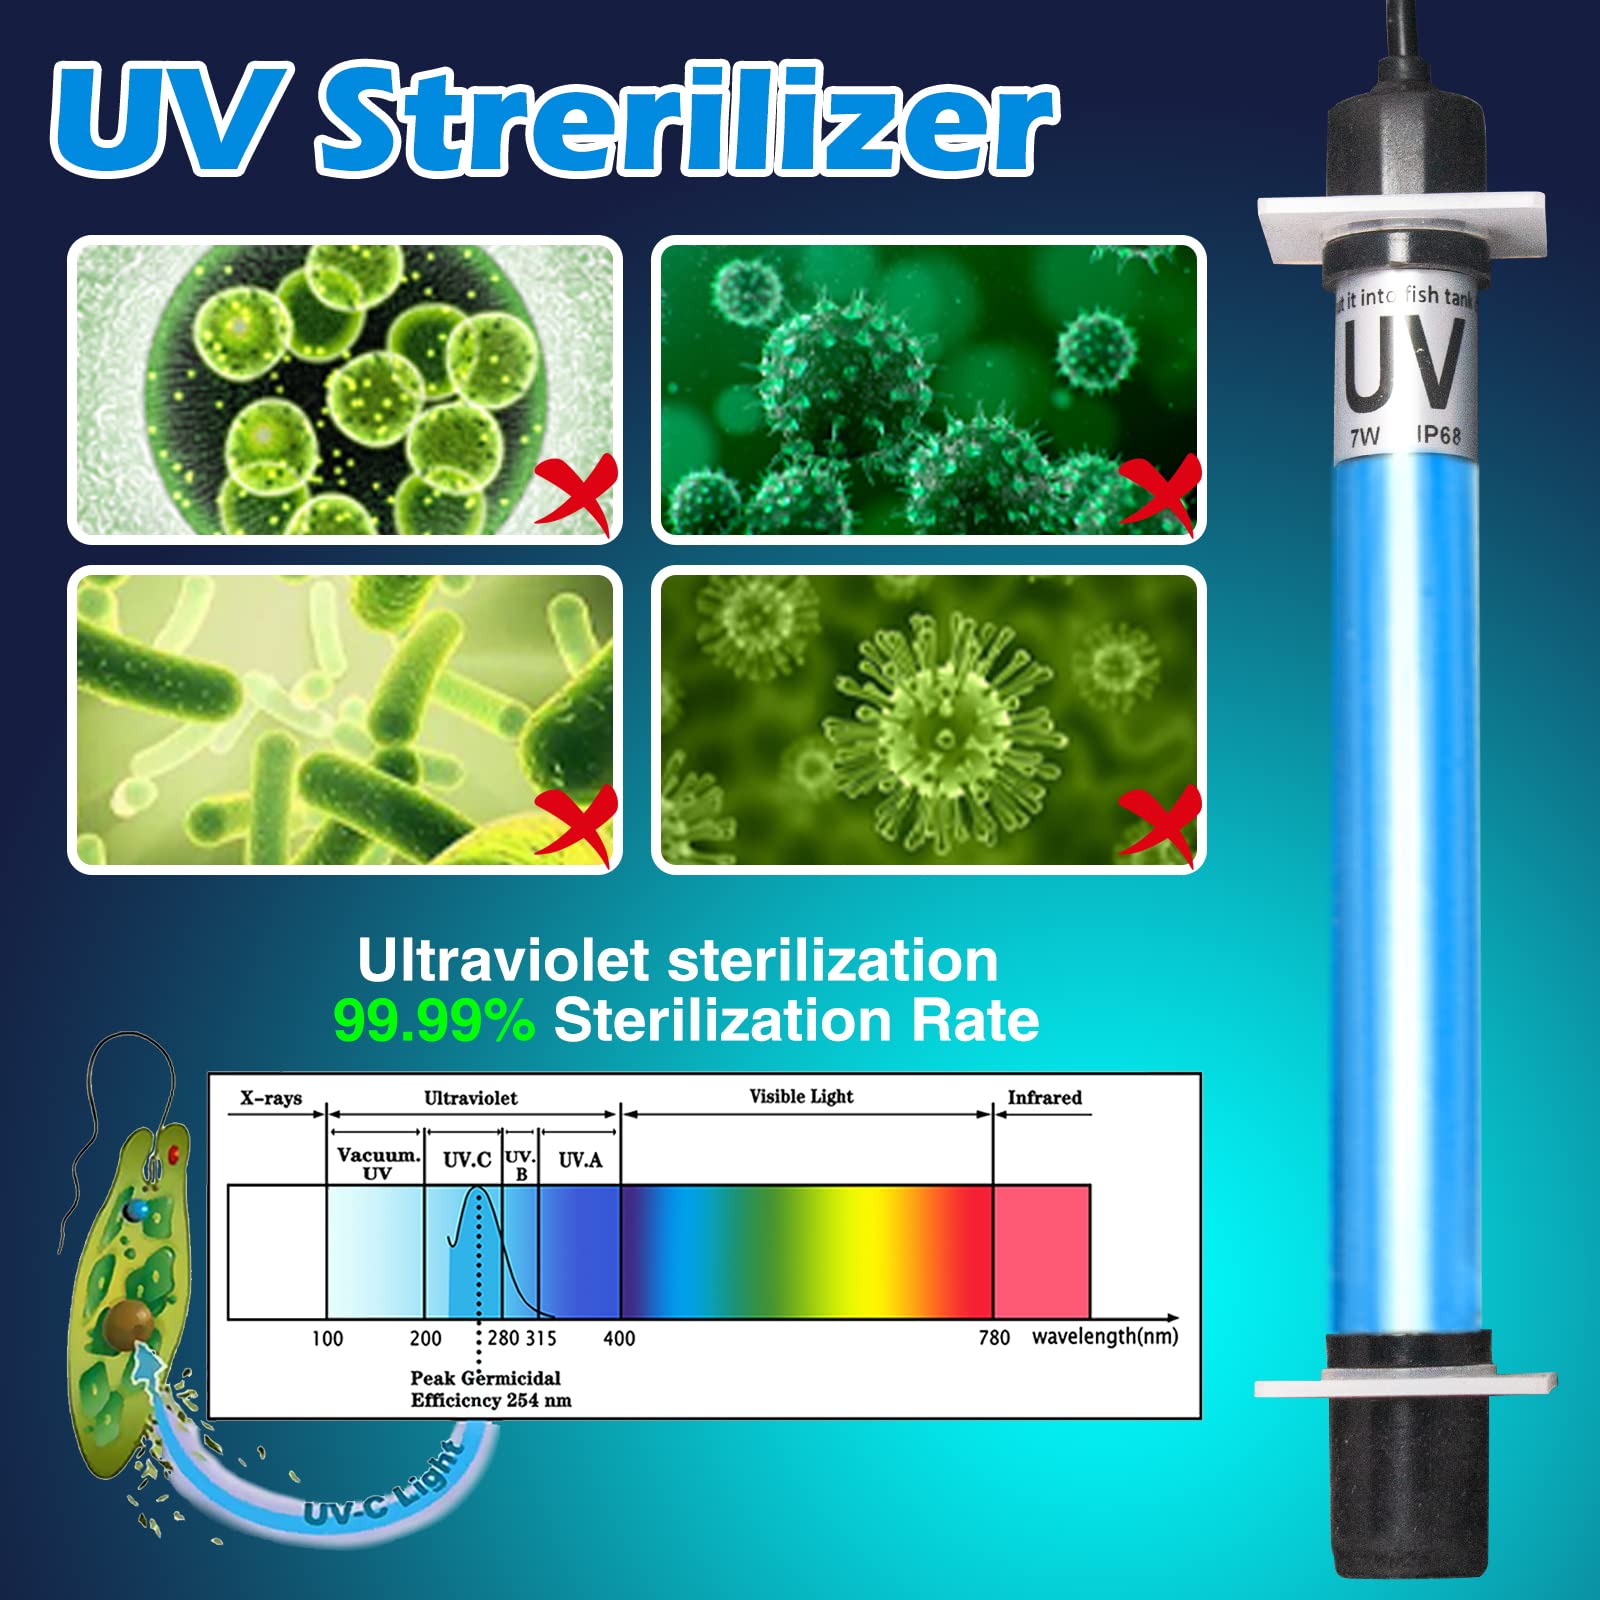
Most traditional aquarium UV sterilizers use UV-C radiation produced by specialized ultraviolet lamps.
Low-pressure mercury UV-C lamps commonly emit germicidal radiation at approximately 254 nanometers.
This wavelength is effective at damaging the genetic material of many microorganisms, interfering with their ability to reproduce.
When water passes through the UV sterilizer's treatment chamber, suspended microorganisms are exposed to ultraviolet energy.
The effectiveness of this process depends on how much UV energy each organism receives.
This is commonly described as the UV dose.
A sufficient UV dose can inactivate susceptible microorganisms, while inadequate exposure may provide only limited treatment.
Main Components of an Aquarium UV Sterilizer
Understanding the individual components will make installation easier.
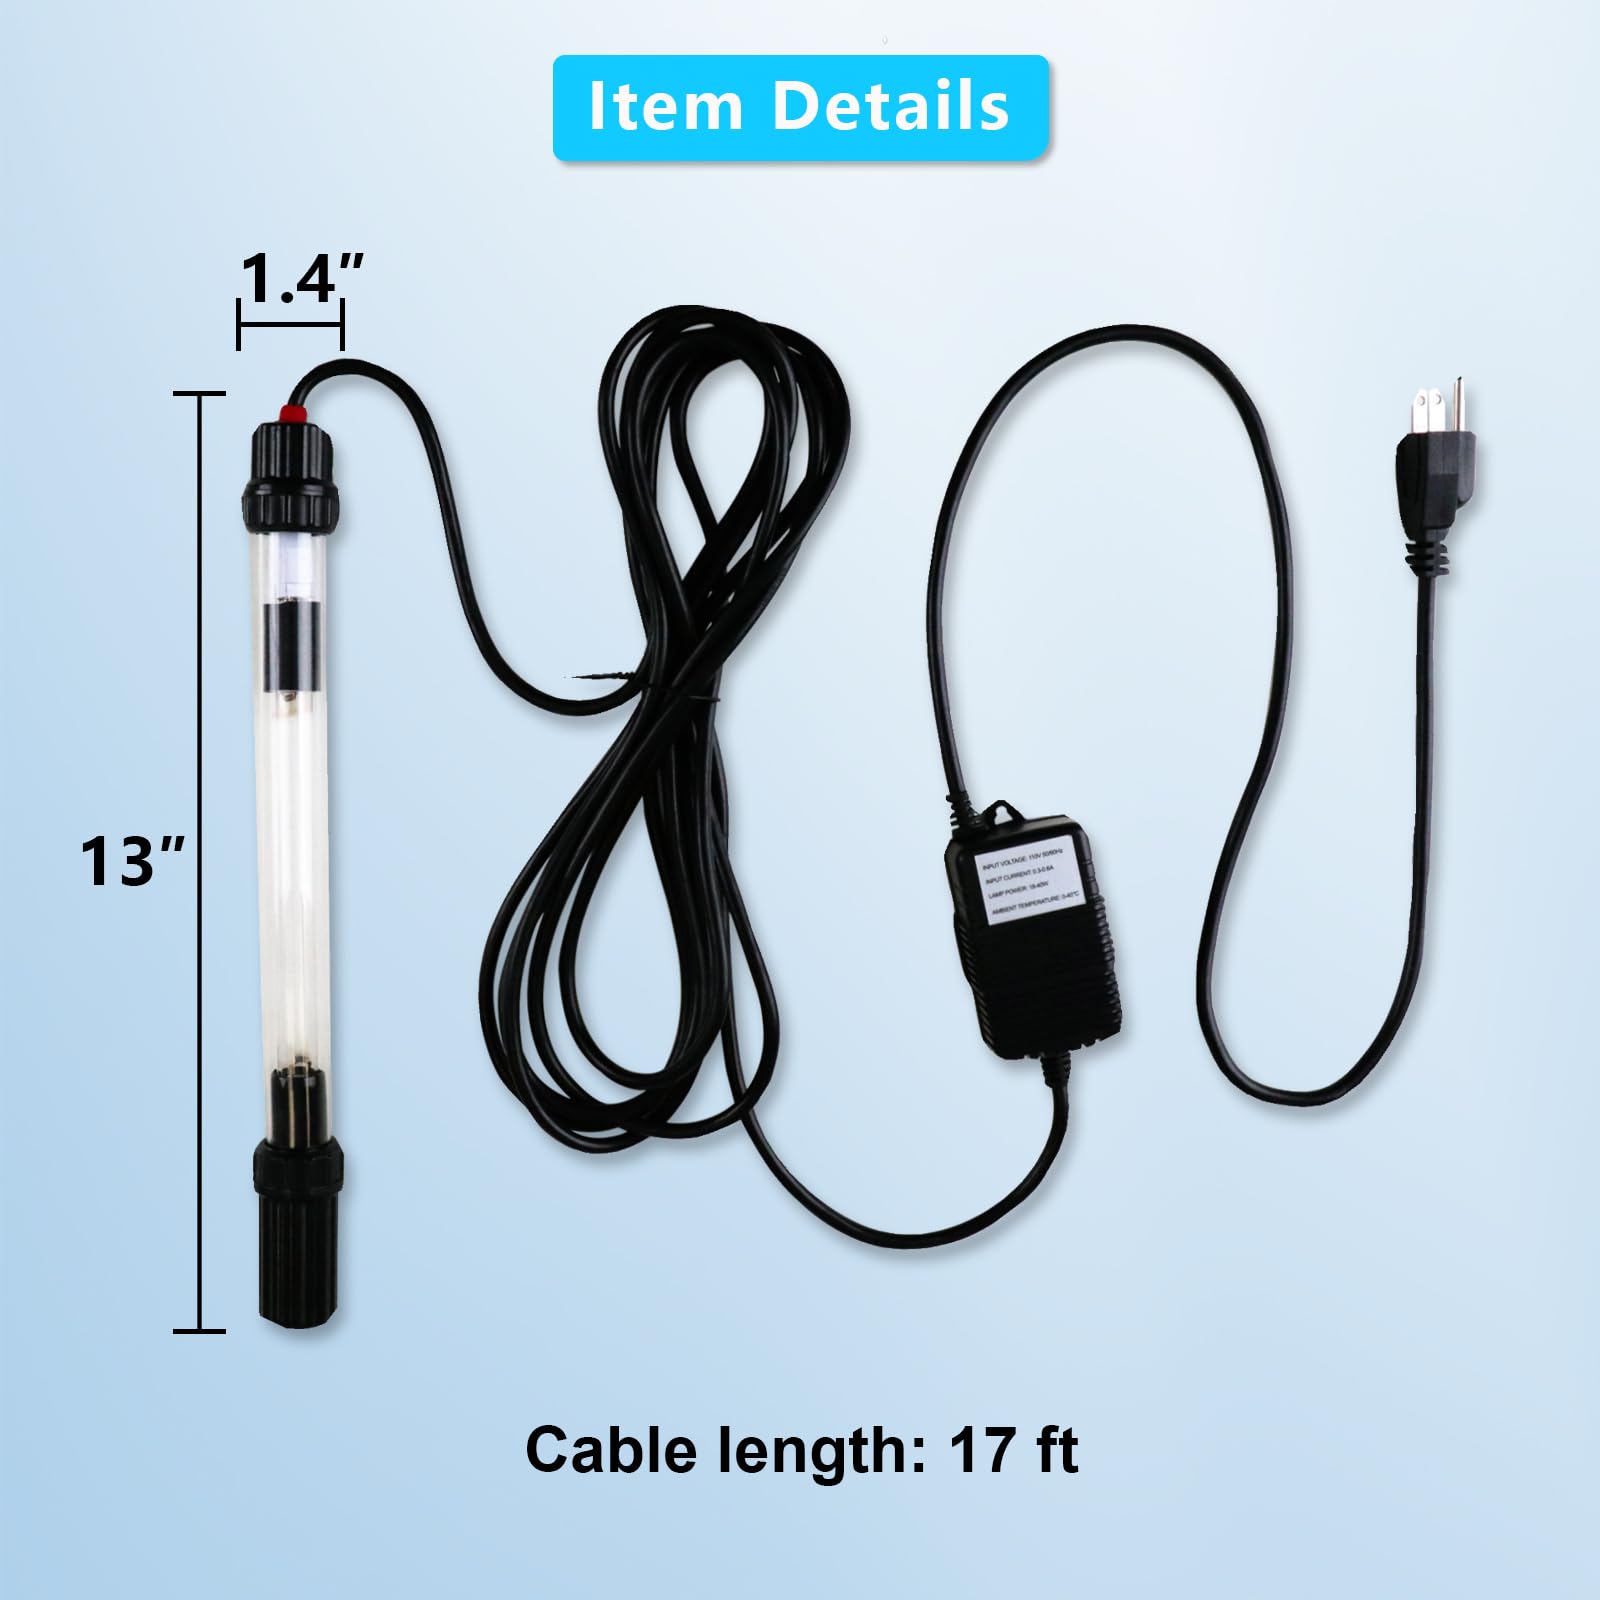
UV-C Lamp
The UV lamp produces the ultraviolet radiation used to treat the water.
Quartz Sleeve
A transparent quartz sleeve surrounds the UV lamp in many designs.
It separates the electrical lamp from aquarium water while allowing ultraviolet radiation to pass through.
UV Treatment Chamber
The treatment chamber directs flowing water around the UV light source.
Water Inlet
This connection allows water from the aquarium or filtration system to enter the sterilizer.
Water Outlet
The outlet returns treated water to the aquarium or downstream equipment.
Power Supply or Ballast
The electrical control system provides the power required to operate the UV lamp.
Protective Housing
The housing encloses the ultraviolet treatment components and prevents direct exposure to harmful UV radiation during normal operation.
Some units also include mounting brackets, flow-control valves, indicator lights, or monitoring systems.
2. Why Should You Install a UV Sterilizer in Your Aquarium?
UV sterilization provides an additional water treatment process that complements conventional aquarium filtration.
It can be particularly valuable in aquariums experiencing persistent green water or requiring additional microbial management.
Helps Control Green Water
Green aquarium water is often caused by microscopic algae suspended in the water column.
When these algae multiply rapidly, the aquarium may develop a green or cloudy appearance.
A properly sized UV sterilizer can damage suspended algae cells, reducing their ability to reproduce.
Over time, this can improve water clarity.
However, UV treatment does not directly eliminate algae attached to glass, decorations, rocks, or plants.
Reduces Certain Waterborne Microorganisms
Aquarium water naturally contains bacteria and other microorganisms.
Some are beneficial, while others may contribute to disease problems.
UV treatment can reduce susceptible microorganisms passing through the sterilization chamber.
This may help reduce certain waterborne transmission opportunities.
However, UV sterilization does not guarantee disease prevention or eliminate pathogens already present on fish, plants, or surfaces.
Supports Water Clarity
By controlling suspended algae and certain microorganisms, UV sterilization can contribute to clearer water.
It works alongside mechanical filtration, which removes suspended particles and other debris.
Provides Chemical-Free UV Treatment
UV sterilization does not require adding disinfecting chemicals to aquarium water.
This makes it useful as a supplementary treatment method in systems where chemical additives may be undesirable.
Works With Existing Aquarium Filtration
Many UV sterilizers can be integrated into established aquarium systems.
Depending on the design, they may operate with:
-
Canister filters
-
Sump filtration systems
-
External water pumps
-
Integrated aquarium filters
-
Dedicated circulation pumps
This flexibility allows aquarium owners to add UV treatment without completely redesigning their filtration system.
3. Types of Aquarium UV Sterilizers
Before installation, identify which type of UV sterilizer you own.
Different designs require different mounting arrangements, plumbing connections, and water circulation methods.
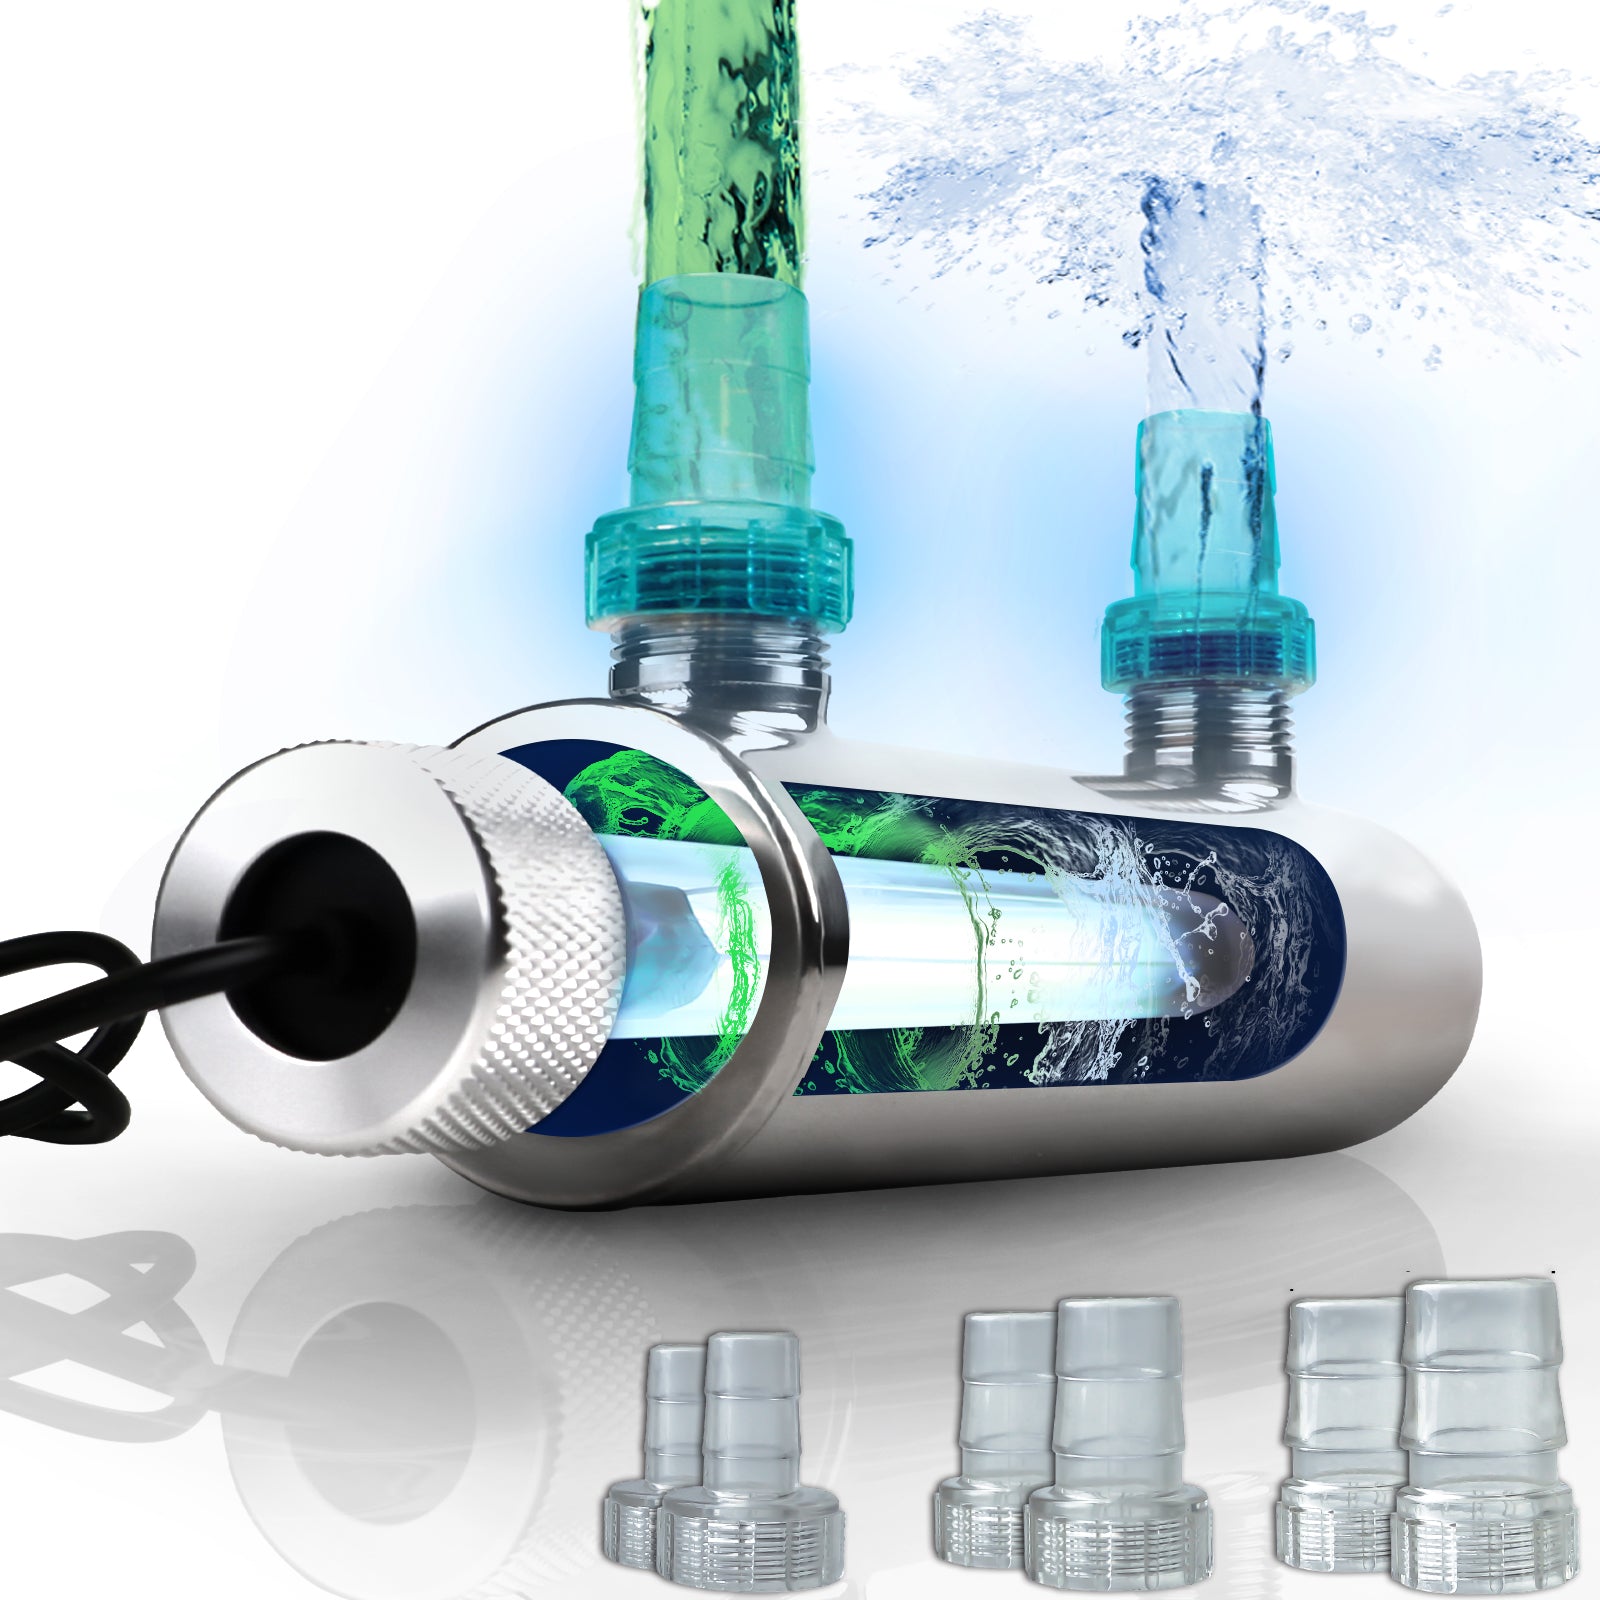
Inline UV Sterilizers
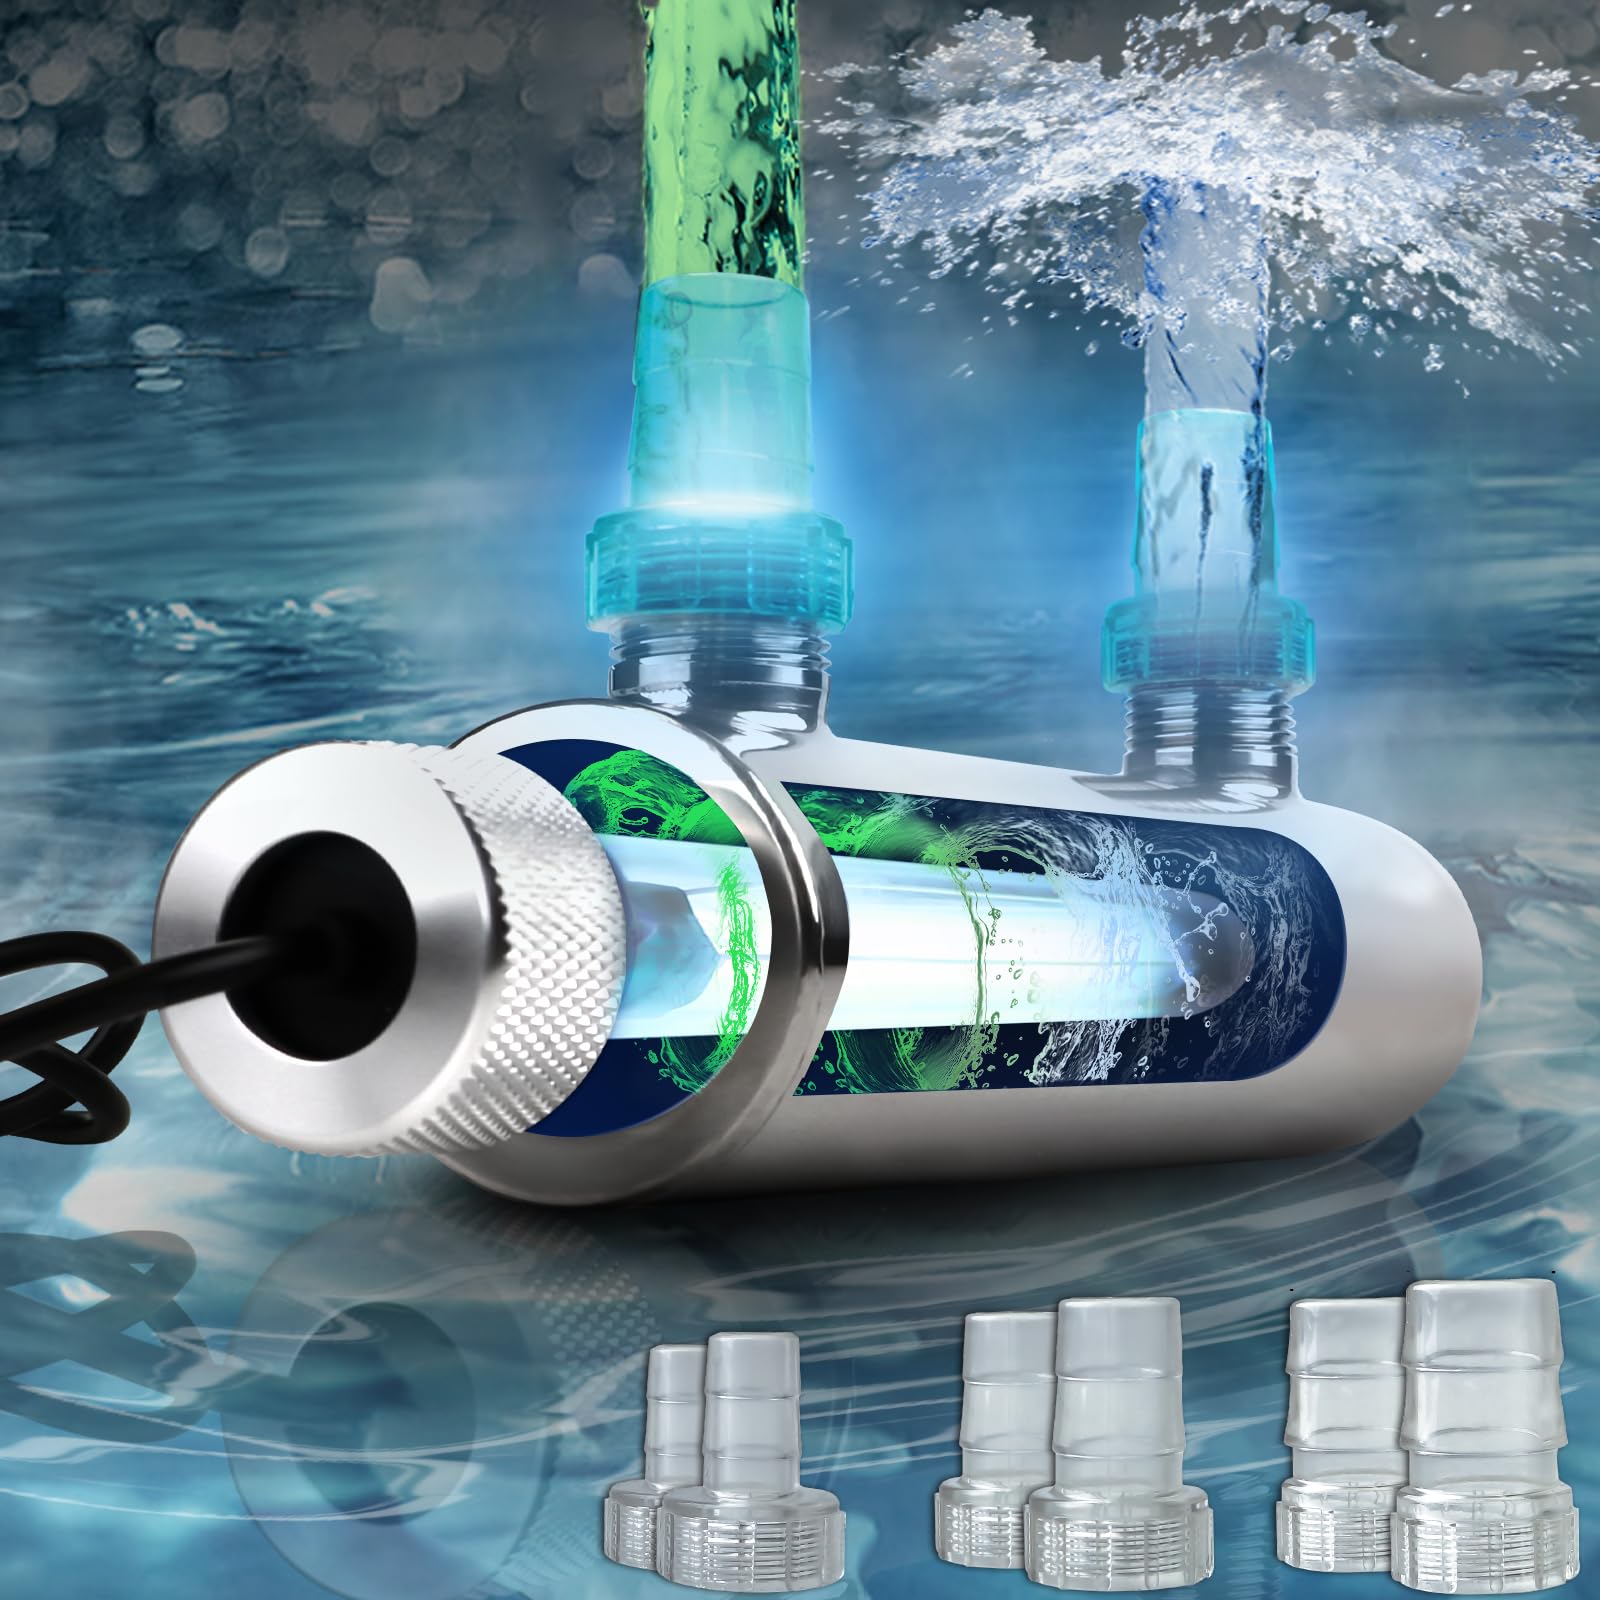
Inline UV sterilizers are installed directly into an aquarium's external water circulation system.
Water flows from a pump or filter through the UV chamber and then returns to the aquarium.
These units are commonly used with canister filters, sump systems, and external pumps.
Advantages:
-
Can integrate with existing plumbing
-
Usually remain outside the aquarium
-
Often provide flexible installation arrangements
-
May allow convenient maintenance access
Considerations:
-
Require compatible hoses or pipes
-
Must operate within the rated flow and pressure limits
-
Need secure, leak-resistant connections
Inline UV sterilizers are often a practical choice for medium and large aquariums.
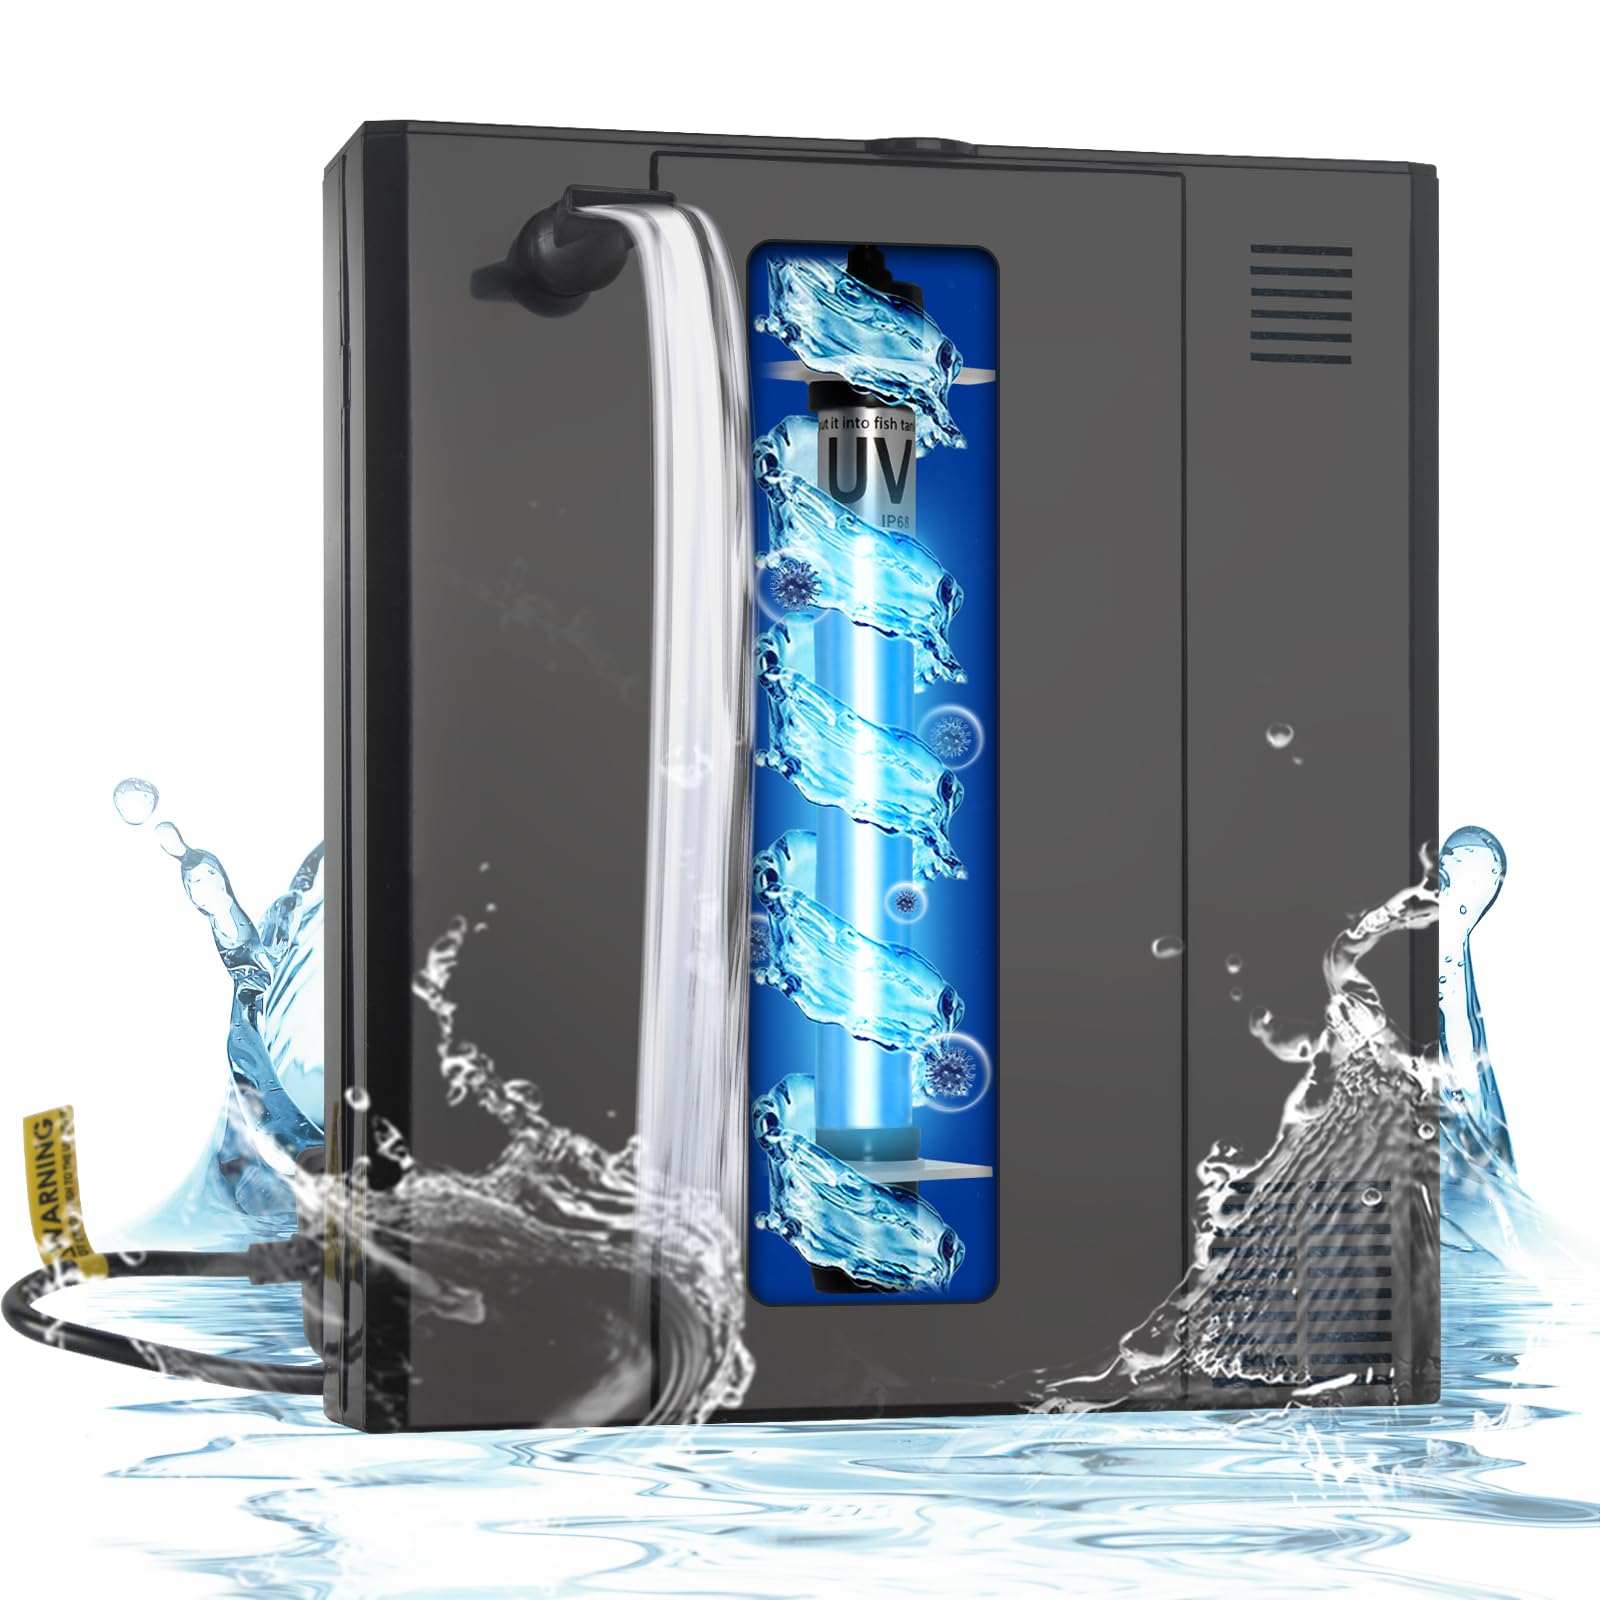
Submersible UV Sterilizers
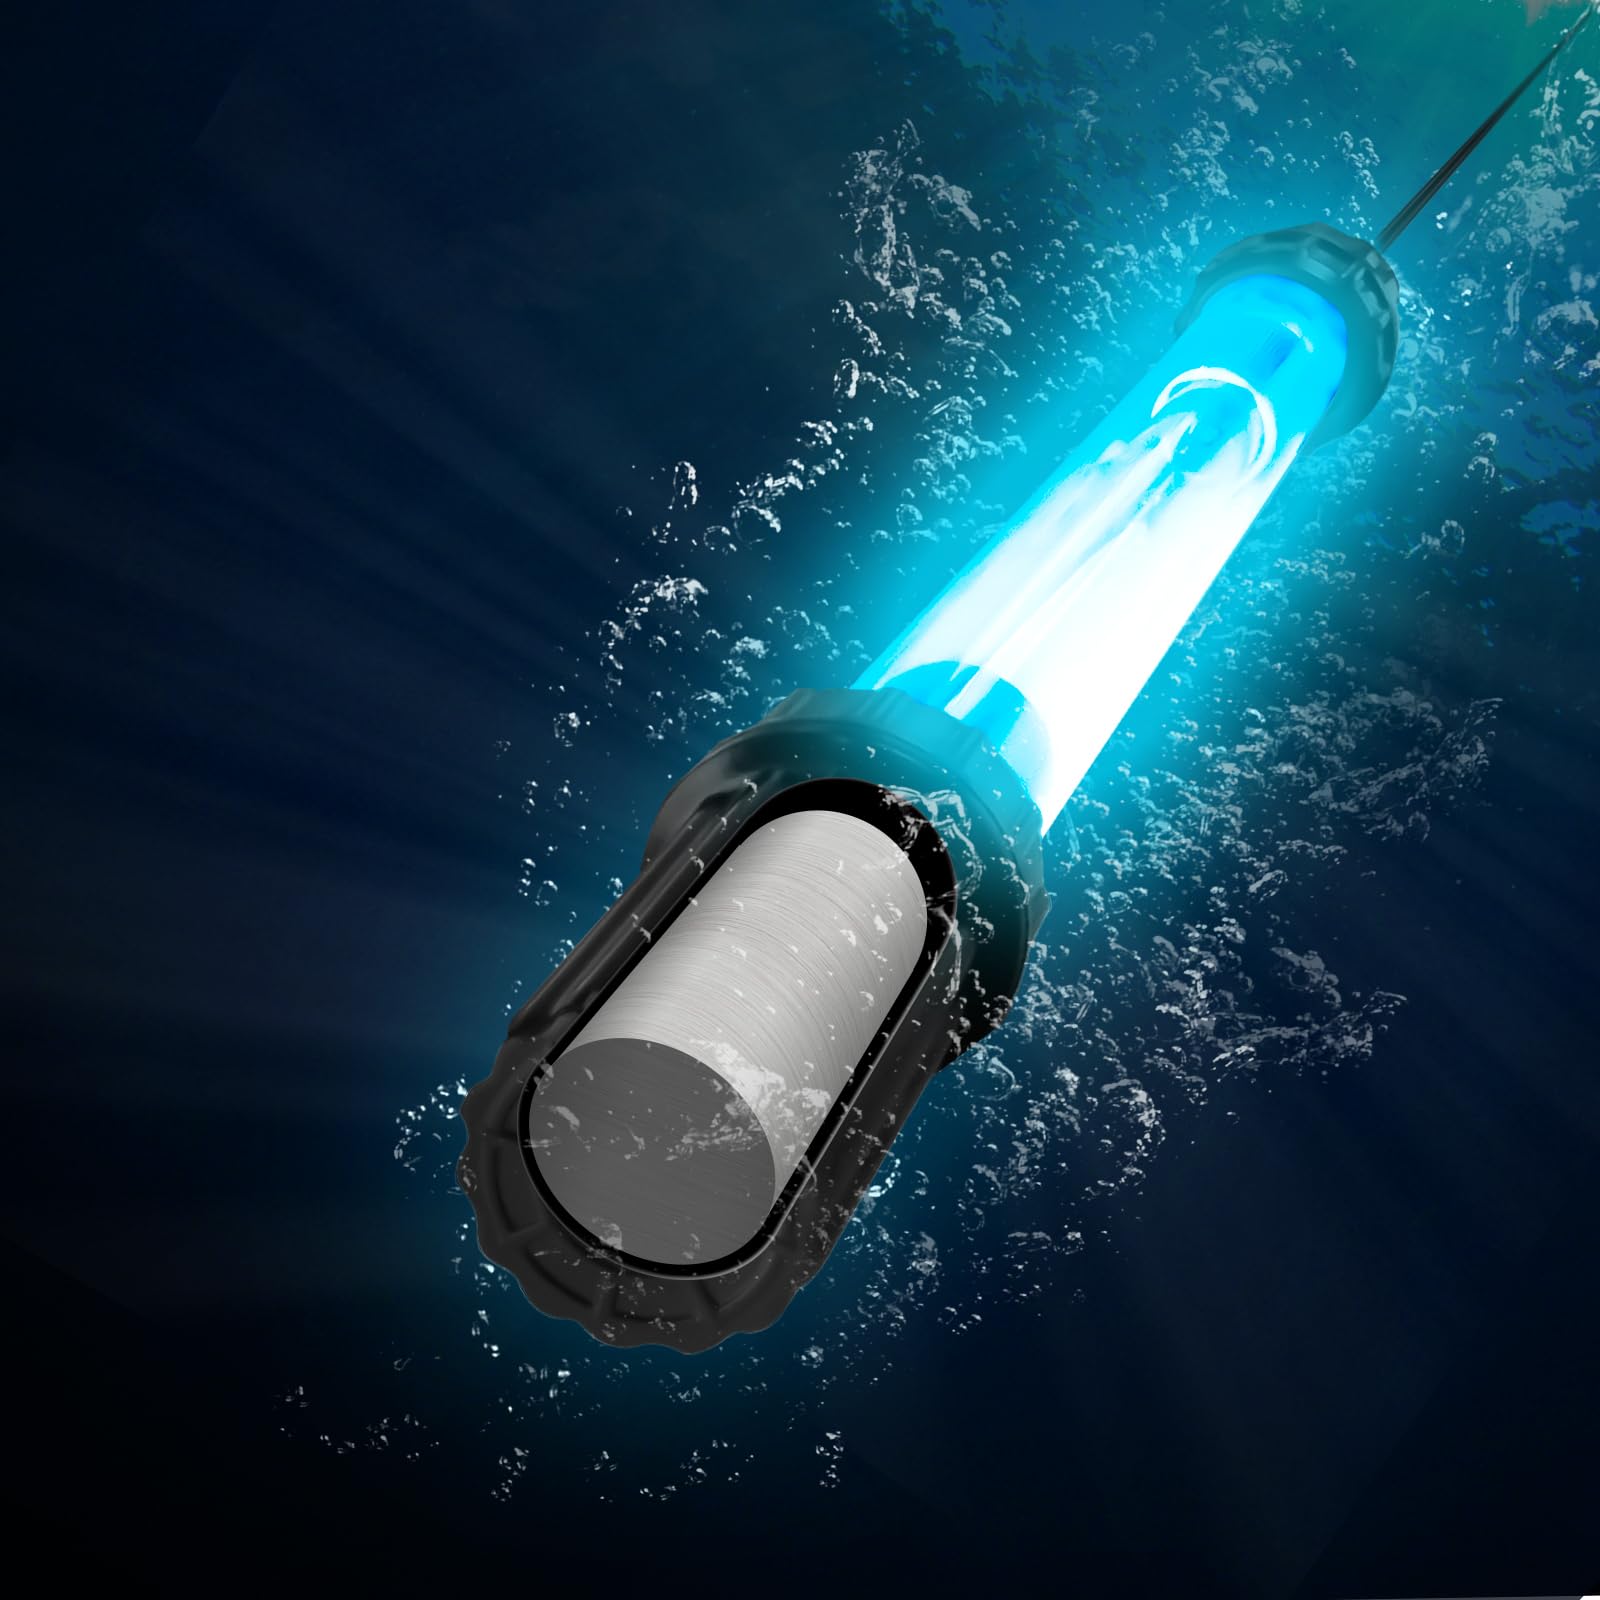
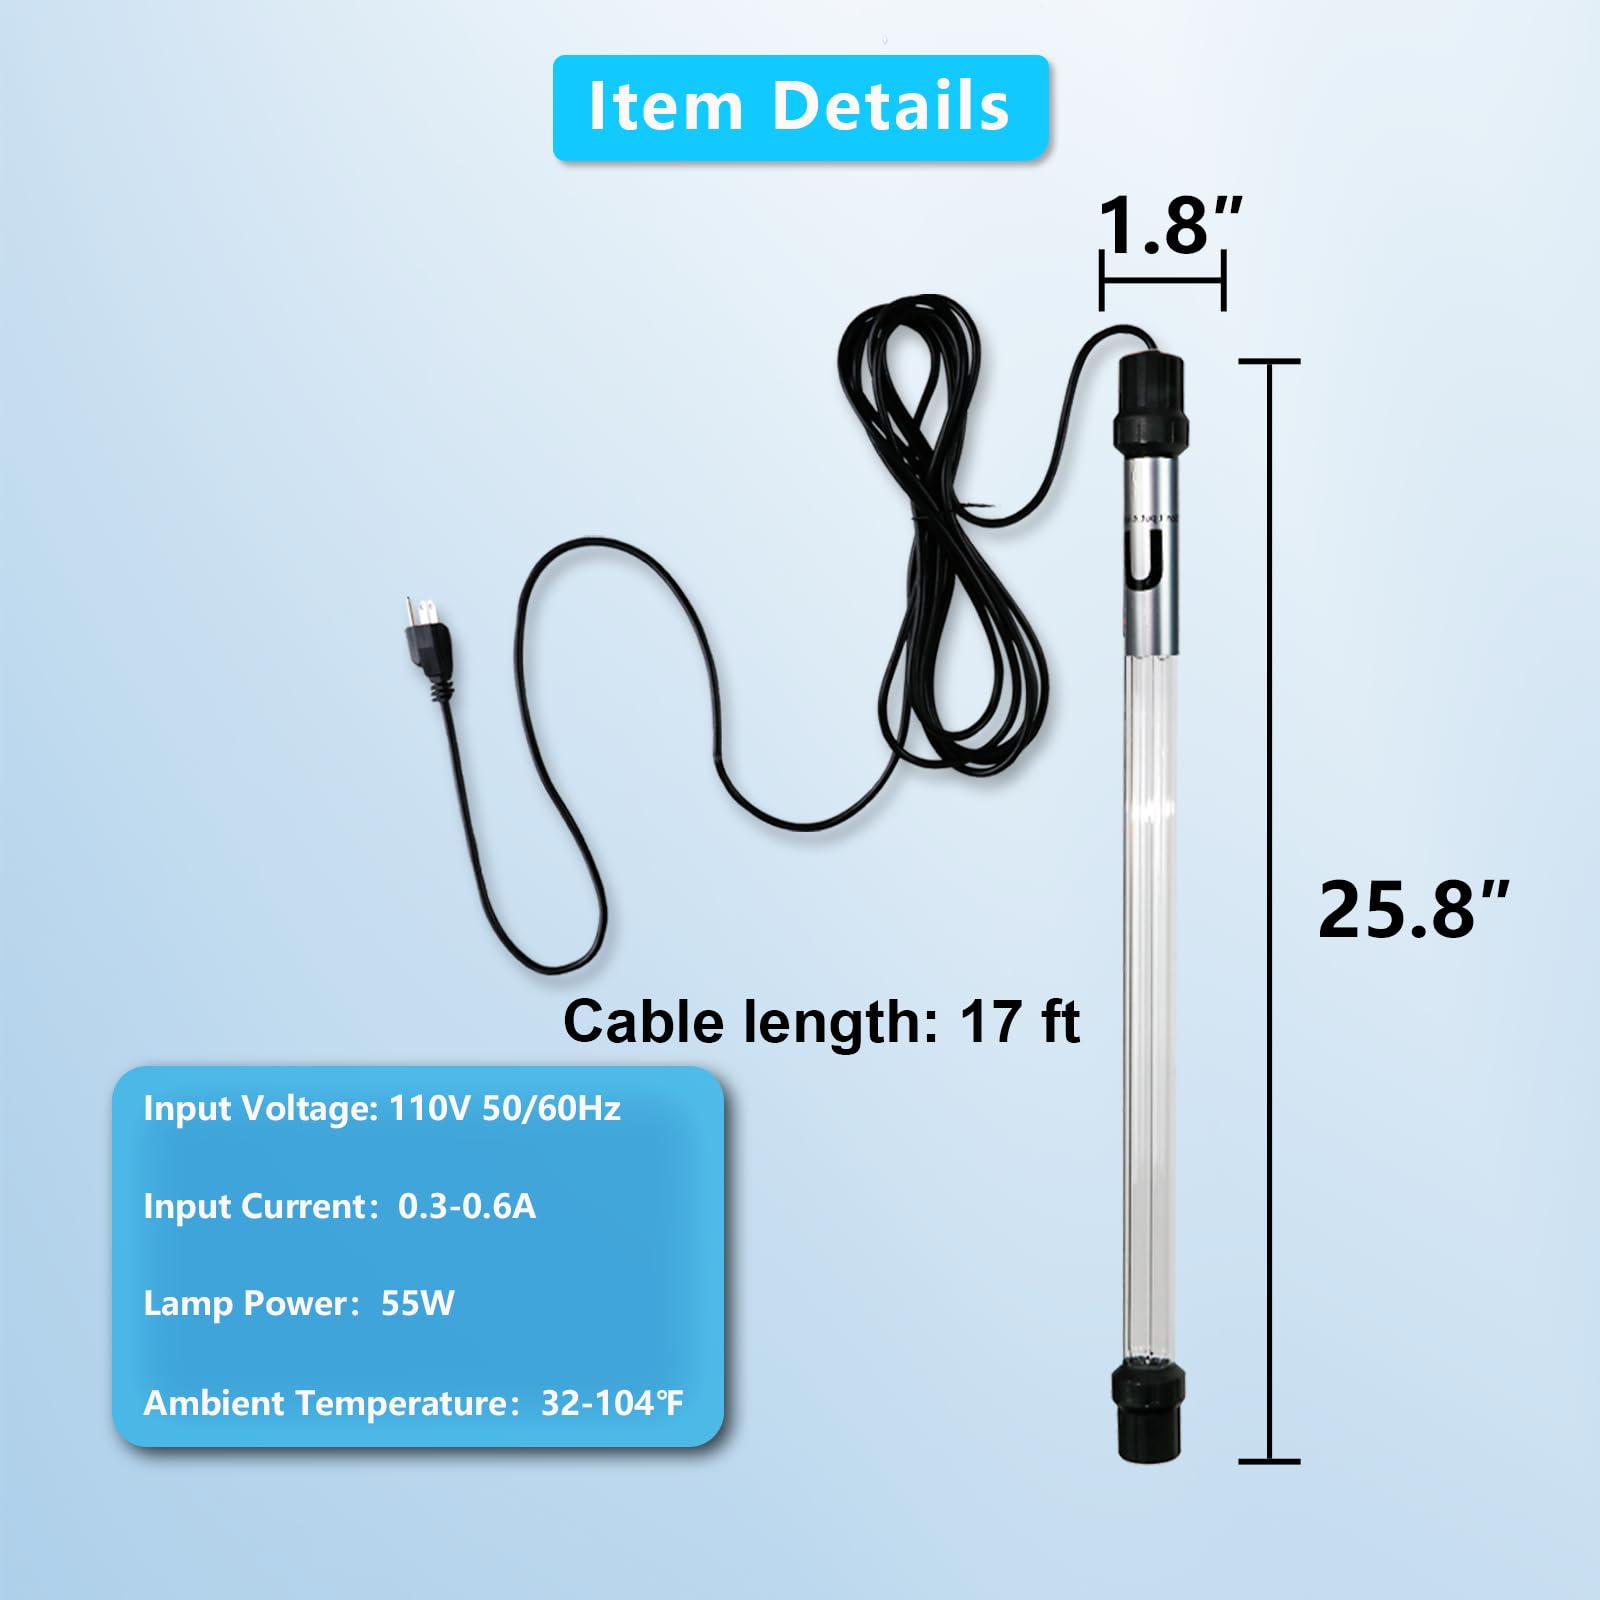
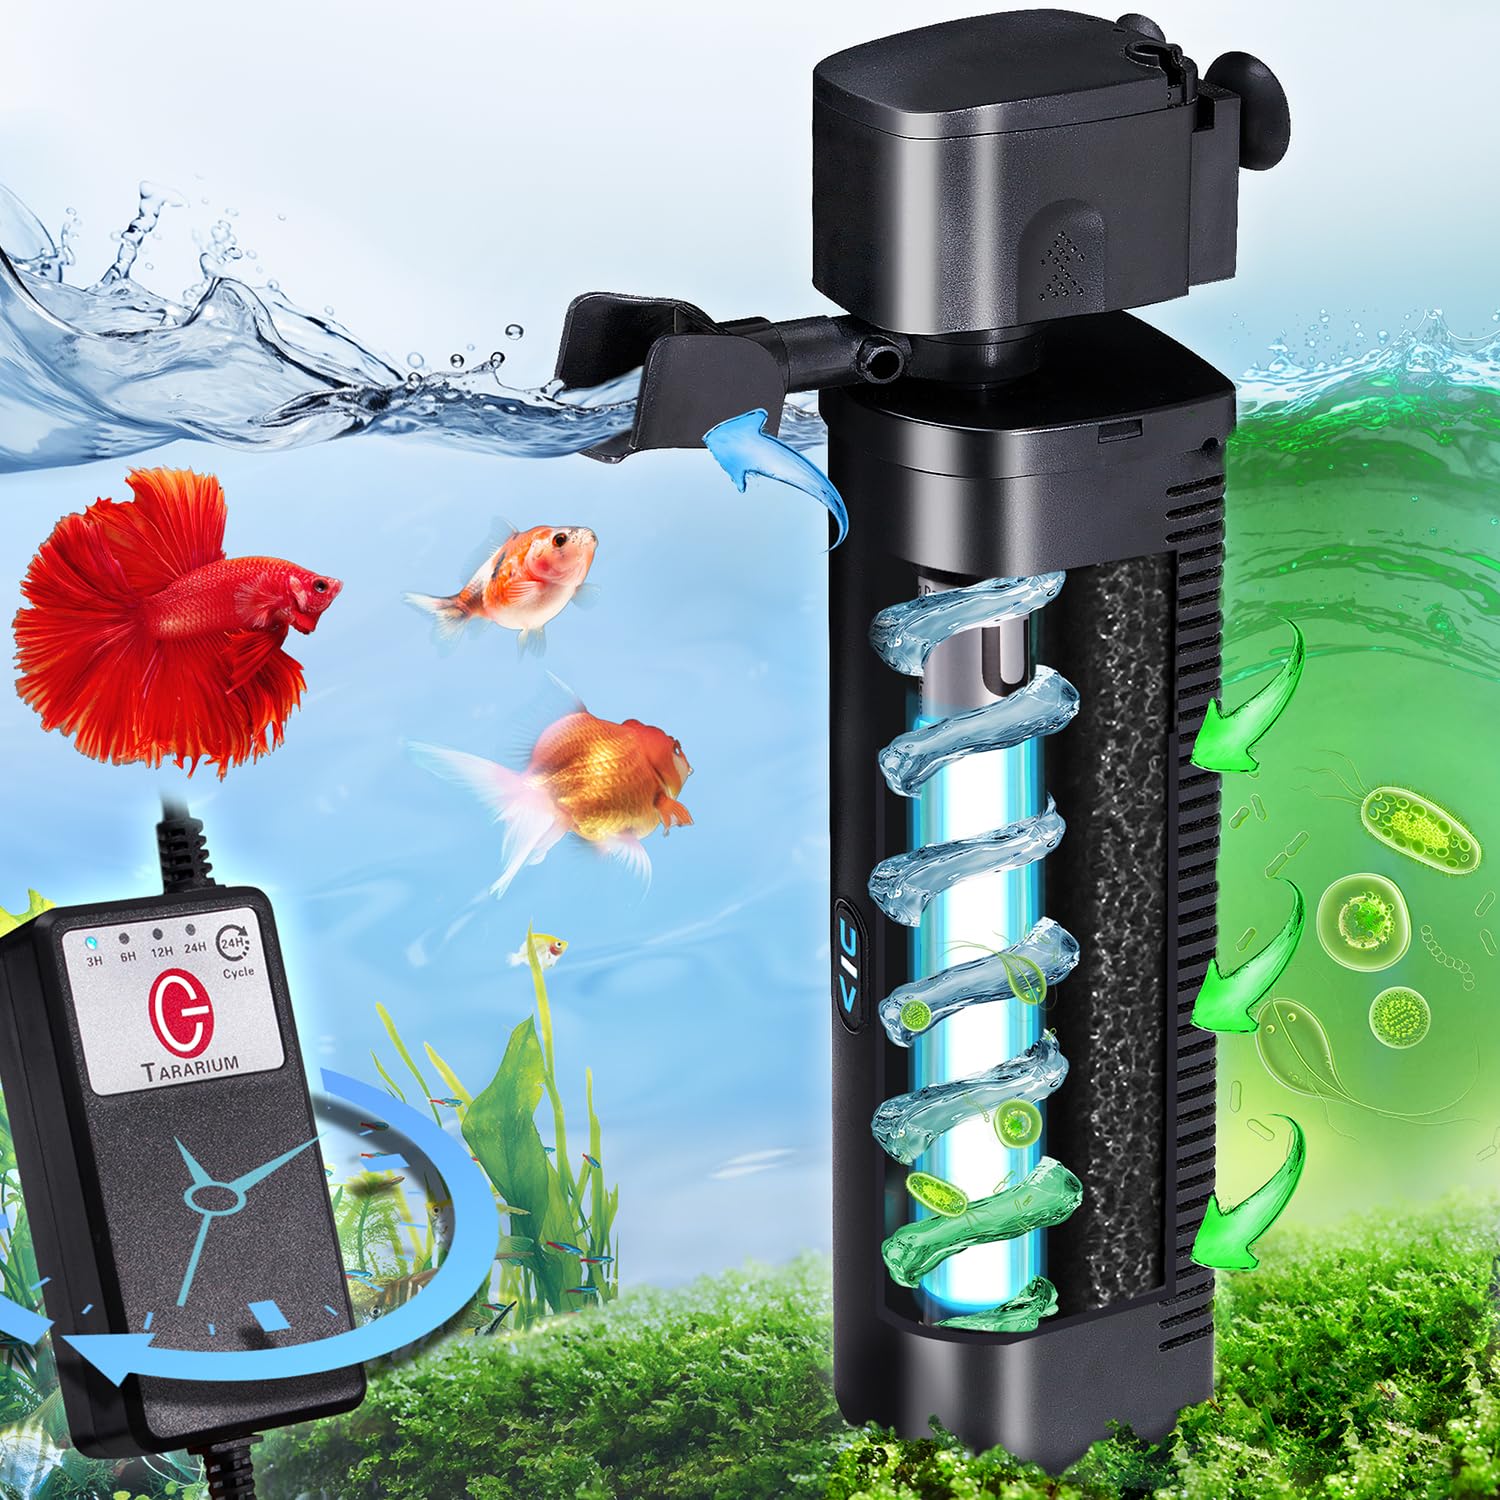
Submersible UV sterilizers are designed to operate inside the aquarium or another approved submerged compartment.
Many include an internal pump or connect directly to a suitable circulation device.
Advantages:
-
Compact installation
-
Limited external plumbing
-
Convenient for some smaller systems
-
May be relatively simple to install
Considerations:
-
Occupy space inside the aquarium
-
Must be rated specifically for submersible use
-
Require careful placement
-
May have limited treatment capacity
Never submerge a UV sterilizer unless the manufacturer specifically states that it is designed for underwater operation.
Hang-On UV Sterilizers
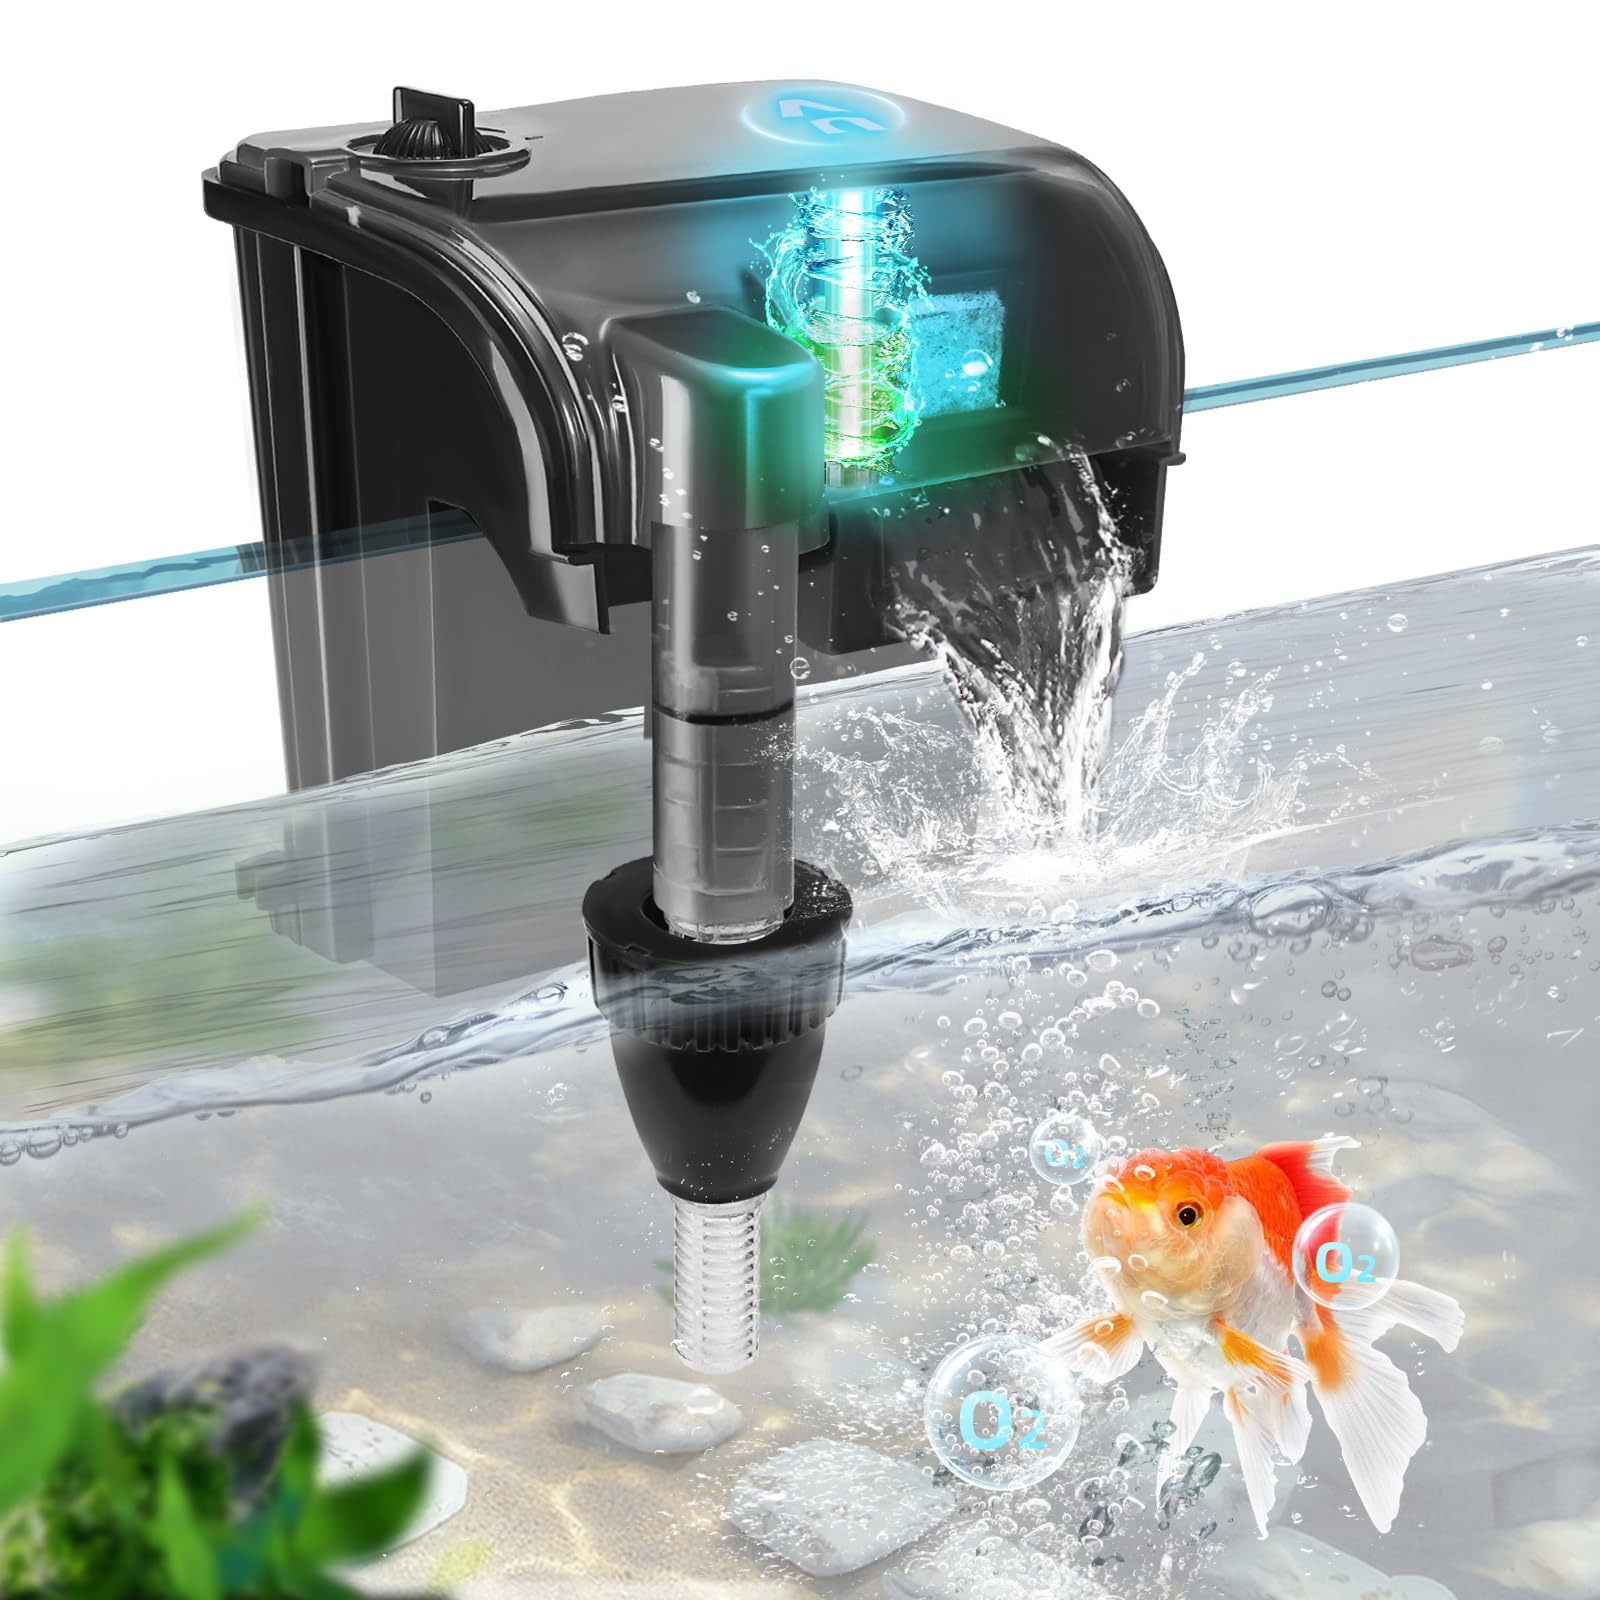
Some UV sterilizers are designed to attach to an aquarium rim or operate as part of a hang-on filtration assembly.
They may include integrated circulation equipment.
These systems can be suitable when external plumbing space is limited.
UV Sterilizers Integrated Into Filters
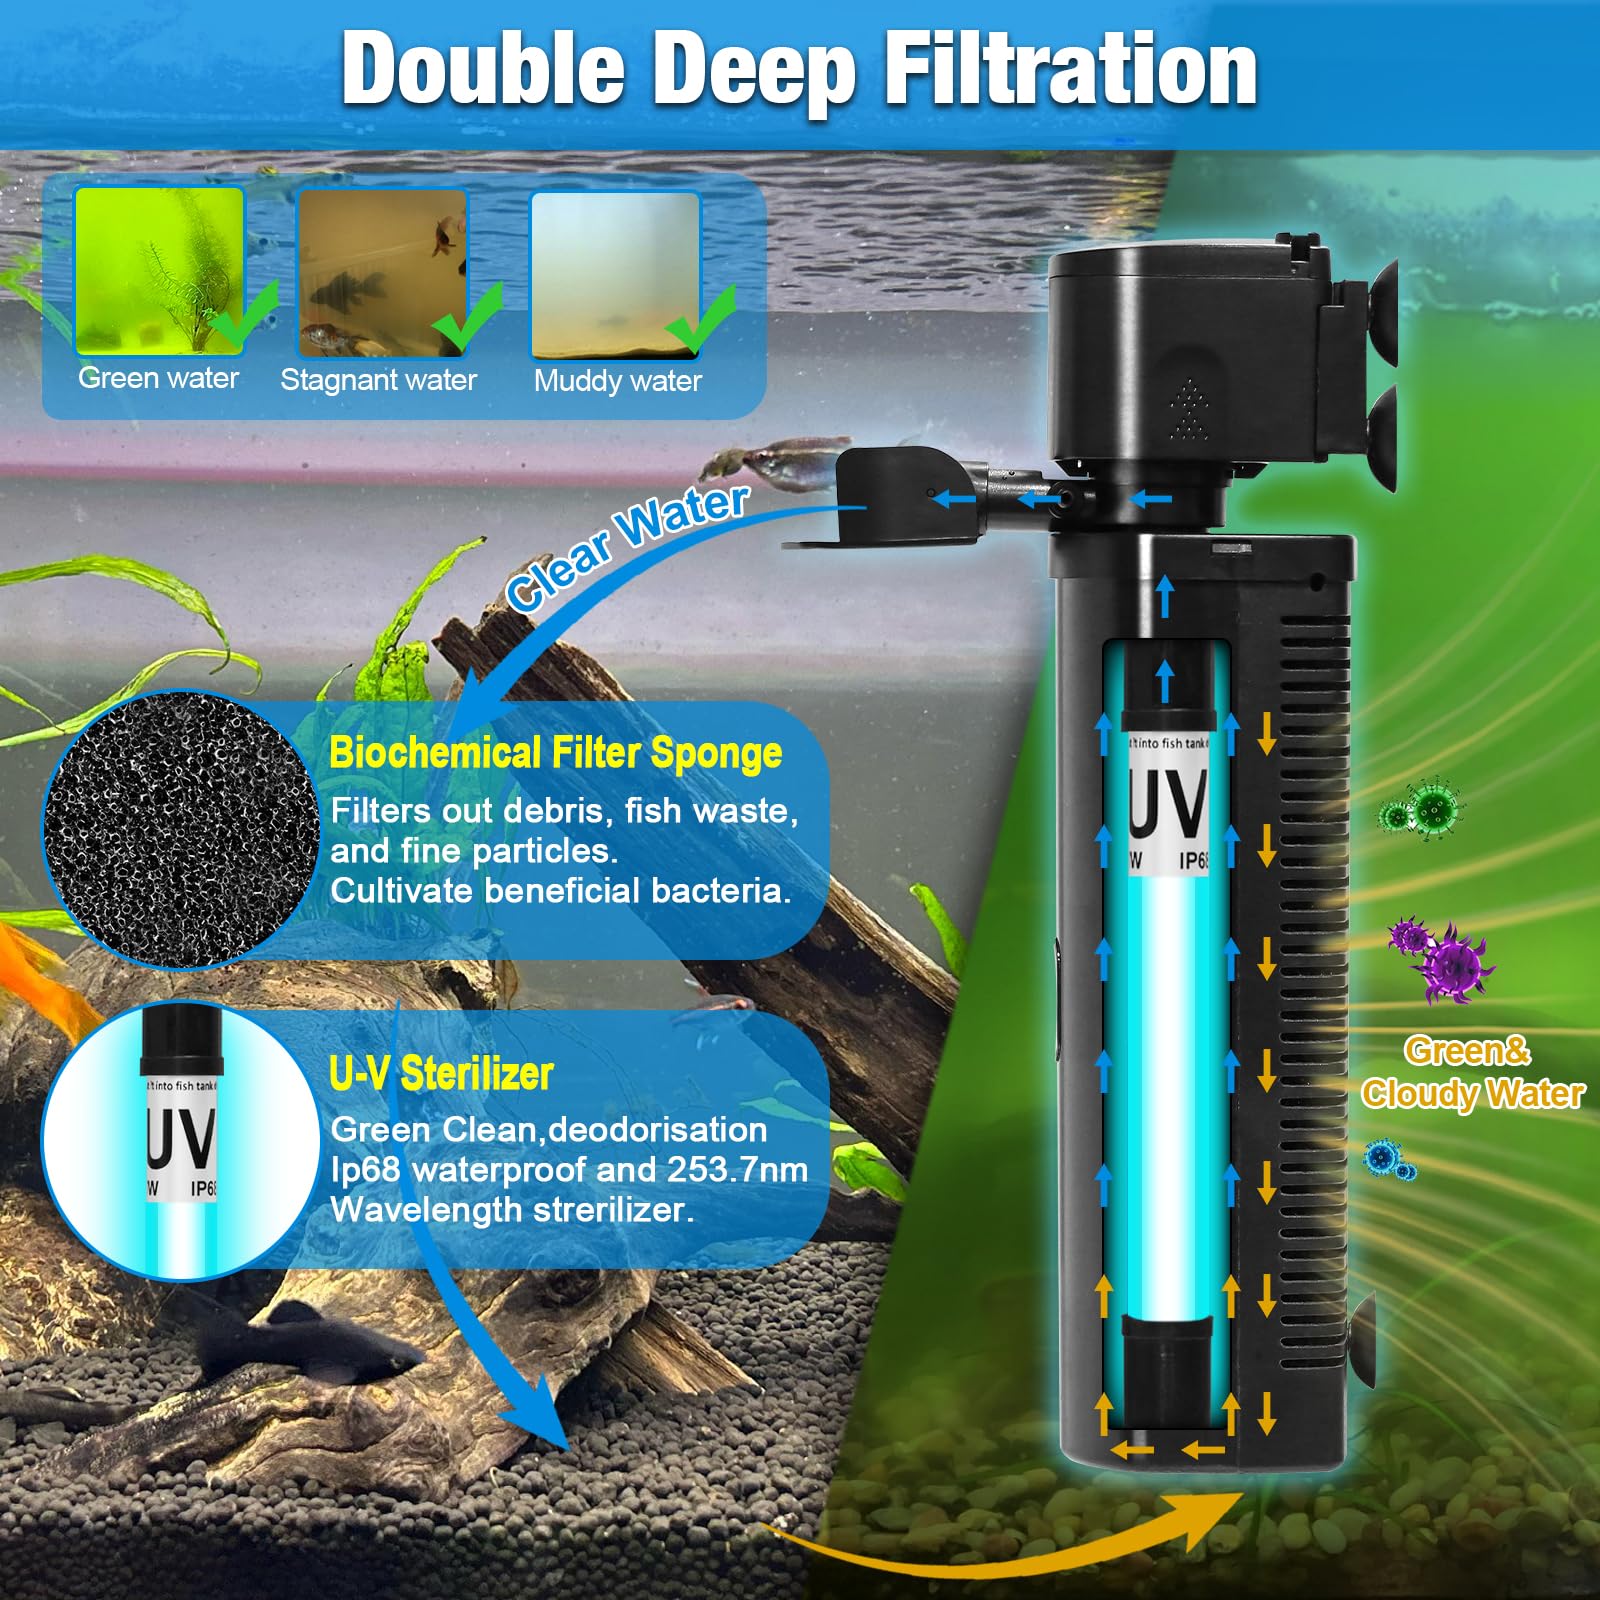
Certain aquarium filters contain built-in UV treatment chambers.
These may combine mechanical filtration, biological filtration, and ultraviolet treatment.
Installation often involves setting up the entire filter according to its product-specific instructions.
Sump-Mounted UV Sterilizers
Large freshwater and marine aquariums frequently use sump filtration systems.
A UV sterilizer can be installed on a dedicated branch of the sump's circulation system or another manufacturer-approved water path.
Sump installations can provide convenient access to pumps, valves, and plumbing components.
4. How to Choose the Right UV Sterilizer Before Installation
Selecting the correct UV equipment is essential for effective performance.
A UV sterilizer that is too small, improperly configured, or incompatible with your pump may not deliver the expected results.
Consider Your Aquarium Size
Start by identifying the actual water volume of your aquarium.
Common aquarium sizes include:
| Aquarium Size | General Installation Considerations |
|---|---|
| 10–30 gallons | Compact integrated or appropriately rated inline systems |
| 30–75 gallons | Small to medium UV systems with compatible circulation |
| 75–150 gallons | External UV units with verified flow capacity |
| 150–300 gallons | Larger inline systems or dedicated UV circulation loops |
| Over 300 gallons | Carefully engineered UV treatment with documented performance |
These categories are only general installation guidance, not universal wattage or performance ratings.
The correct equipment depends on the manufacturer's treatment specifications, the desired UV dose, and actual water flow.
Determine Your Treatment Goal
Ask yourself what problem you're trying to solve.
If your primary goal is controlling green water, you may only need a system rated for algae clarification.
If you want additional control over susceptible waterborne pathogens, look for equipment with documented higher-dose performance.
Different organisms require different UV doses.
A system suitable for controlling suspended algae may not provide sufficient treatment for certain parasite stages.
Examine UV Lamp Output
Lamp wattage is a common specification, but it does not independently determine treatment performance.
Actual effectiveness depends on:
-
Germicidal UV output
-
Flow rate
-
Exposure time
-
Treatment chamber design
-
Water clarity
-
Quartz sleeve condition
Choose equipment based on documented operating performance whenever possible.
Check Pump Compatibility
The water pump must deliver flow within the UV sterilizer's rated operating range.
If the flow is excessive, the water may not receive enough UV exposure.
If the flow is too low, some systems may experience inadequate cooling or circulation.
Follow the manufacturer's minimum and maximum flow requirements.
Consider Freshwater or Saltwater Compatibility
For marine aquariums, select UV equipment manufactured from materials suitable for saltwater exposure.
Pay particular attention to housings, seals, fittings, and other components.
5. Tools and Materials Needed to Install an Aquarium UV Sterilizer
Before beginning the installation, gather all necessary equipment.
Preparing your materials in advance will make the process more efficient and reduce the likelihood of mistakes.
Essential Equipment
-
Aquarium UV sterilizer
-
Compatible aquarium water pump or existing filtration system
-
Appropriate aquarium tubing or PVC plumbing
-
Manufacturer-approved hose fittings or adapters
-
Mounting brackets and screws
-
Flow-control equipment if required
-
Measuring tape
-
Screwdriver
-
Clean towels
-
Water collection container
-
Manufacturer's installation manual
Optional Materials
Depending on your setup, additional items may include:
-
Union fittings
-
Ball valves
-
Bypass plumbing
-
Compatible hose clamps
-
Check valves
-
Flow meter
-
Pipe supports
-
Approved threaded fitting sealant
-
PVC primer and cement for compatible rigid plumbing
Use only materials suitable for aquarium applications and the operating pressure of your system.
Avoid using ordinary plumbing components without verifying material compatibility.
Electrical Safety Equipment
Aquarium equipment operates near water and requires appropriate electrical protection.
Use a properly installed ground-fault circuit interrupter (GFCI) and ensure that all electrical connections comply with the equipment manufacturer's instructions and applicable electrical requirements.
Keep electrical connections protected from moisture.
Never operate damaged electrical equipment.
6. Step 1: Read the Manufacturer's Installation Instructions
The first and most important installation step is reading the manual supplied with your UV sterilizer.
Although many ultraviolet systems operate using similar principles, their installation requirements can differ significantly.
One model may require horizontal mounting.
Another may permit vertical installation.
Some units are designed for pressurized external plumbing, while others operate only in particular filter assemblies.
Important Specifications to Verify
Before starting, confirm the following information:
Approved mounting orientation
Determine whether the UV sterilizer must be installed horizontally, vertically, or in another specific position.
Water flow direction
Locate the designated inlet and outlet connections.
Operating flow rate
Identify the manufacturer's recommended treatment flow and any minimum or maximum limitations.
Maximum operating pressure
Ensure the sterilizer can safely handle the pressure produced by your pump and plumbing arrangement.
Electrical requirements
Confirm the correct voltage, frequency, power supply, and environmental protection requirements.
Maintenance clearance
Determine how much space is necessary to remove the lamp and quartz sleeve safely.
Operating restrictions
Some UV devices require continuous water circulation during lamp operation.
Operating these units without sufficient water flow can damage internal components.
Never assume one manufacturer's instructions apply to every UV sterilizer.
7. Step 2: Turn Off and Disconnect Aquarium Equipment
Before handling aquarium plumbing or electrical components, disconnect power to the equipment involved.
Switch off and unplug the aquarium pump, UV sterilizer, and any electrical devices that could become exposed to water during installation.
Do not rely solely on a timer or software-controlled switch to isolate power.
Prepare the Installation Area
Place clean towels beneath the plumbing area.
Keep a container nearby to collect water remaining inside the hoses or filter.
If your aquarium uses external plumbing, be prepared for water to drain when connections are opened.
Protect Aquarium Livestock
For installations requiring extended filtration shutdown, ensure that fish and other aquatic organisms continue receiving adequate oxygenation and circulation.
Avoid leaving a heavily stocked aquarium without essential life-support equipment for an extended period.
If necessary, use a separate safely installed aeration system during the work.
Prevent Accidental Water Discharge
Where appropriate, close existing isolation valves before disconnecting hoses.
Remember that closing valves does not necessarily stop water from draining out of disconnected sections.
Support the tubing and have a container ready before opening any connection.
8. Step 3: Choose the Best Location for the UV Sterilizer
Proper placement affects both treatment performance and installation safety.
For many external aquarium UV sterilizers, the preferred location is downstream of mechanical filtration.
This arrangement allows relatively clean water to enter the ultraviolet treatment chamber.
Why Install UV After Mechanical Filtration?
Mechanical filtration captures suspended particles such as fish waste, uneaten food, and debris.
Removing these particles improves water clarity and can increase UV transmission.
It also reduces the possibility that debris will accumulate inside the chamber or damage sensitive components.
A common canister-filter arrangement is:
Aquarium → Canister Filter → UV Sterilizer → Aquarium
This arrangement is appropriate only when the canister filter's actual flow and pressure are compatible with the UV sterilizer.
Choosing a Mounting Position
Select a location that:
-
Meets the manufacturer's mounting requirements
-
Provides adequate ventilation and clearance
-
Allows convenient maintenance
-
Keeps electrical components protected from water
-
Supports the weight of the equipment and plumbing
-
Minimizes unnecessary bends in the water lines
Avoid mounting the unit where it may be accidentally struck or exposed to excessive vibration.
Horizontal vs. Vertical Installation
Some UV sterilizers can operate in either orientation.
Others require a specific position to avoid air accumulation and maintain proper cooling.
If vertical mounting is permitted, the manufacturer may specify which direction water should flow.
Do not assume bottom-to-top flow is required for every unit.
Always follow the approved mounting configuration.
9. Step 4: Plan Your Aquarium UV Sterilizer Plumbing Layout
Before cutting hoses or connecting fittings, determine exactly how water will move through the system.
A well-planned layout can make future maintenance easier and reduce the chance of leaks.
Option A: Inline Installation With a Canister Filter
This is a common arrangement for freshwater aquariums.
The water flows through the following sequence:
Aquarium Intake → Canister Filter → UV Sterilizer → Aquarium Return
The canister filter removes debris before water enters the UV chamber.
The UV sterilizer then treats the circulating water.
Make sure the filter's operating flow is compatible with the UV unit.
Option B: Installation With a Dedicated Pump
A separate pump can provide independent control over UV treatment flow.
The arrangement may be:
Aquarium or Sump → Pump → Mechanical Prefilter → UV Sterilizer → Return
This configuration is useful when the existing filtration flow is unsuitable for the UV sterilizer.
A suitable prefilter may help protect the UV chamber from debris.
Option C: Sump Installation
For an aquarium with a sump, the UV sterilizer may operate on a separate pump circuit.
A typical arrangement is:
Sump Compartment → Dedicated Pump → UV Sterilizer → Sump Return
This allows independent adjustment of UV flow.
The return location should provide adequate circulation and avoid short-circuiting directly back into the pump intake.
Option D: Bypass Installation
Some aquarium filtration systems circulate water faster than the UV sterilizer's recommended treatment flow.
A properly designed bypass can divert only part of the circulating water through the UV unit.
This allows the main filtration system to maintain its required flow while the UV sterilizer operates within its own specifications.
Valves, fittings, and bypass dimensions must be selected to suit the system.
Do not restrict the main pump outlet in a way that violates the pump manufacturer's requirements.
10. Step 5: Install the UV Sterilizer Mounting Brackets
Once you've selected the location, install the mounting hardware supplied with the unit.
Mark the Mounting Position
Hold the mounting bracket against the intended installation surface.
Use a measuring tape and level to align it.
Mark the screw positions.
Check the Mounting Surface
Make sure the surface can support the sterilizer, its contained water, and any forces transmitted by connected plumbing.
For aquarium cabinets, avoid attaching heavy equipment to thin or damaged panels.
Install the Hardware
Use appropriate screws and anchors for the mounting material.
Secure the brackets without overtightening the fasteners.
Attach the UV Chamber
Place the UV sterilizer into its brackets according to the manufacturer’s instructions.
Make sure the housing is secure and cannot move unexpectedly.
Do not allow the flexible hoses or rigid piping to carry the entire weight of the sterilizer.
Verify Service Clearance
Before proceeding, confirm that the UV lamp and quartz sleeve can be removed without dismantling surrounding furniture or major sections of plumbing.
Planning for maintenance now can save considerable effort later.
11. Step 6: Connect the Water Inlet and Outlet
After mounting the sterilizer, connect the water lines.
This is one of the most important steps because incorrect fittings or poorly secured connections can cause leaks.
Identify the Connections
Locate the manufacturer's inlet and outlet markings.
If the connections are directional, follow the specified direction of water flow.
Measure the Tubing
Measure the distance between the UV sterilizer and the filtration system.
Allow enough tubing for gentle curves and maintenance access.
Avoid unnecessary excess tubing, which can create clutter or additional hydraulic resistance.
Cut the Tubing
Use an appropriate tubing cutter to make clean, straight cuts.
Inspect the tubing ends for damage.
Attach the Inlet Hose
Connect the hose carrying water from the pump or filter to the UV sterilizer's inlet.
Use compatible fittings and secure them according to the manufacturer's instructions.
Attach the Outlet Hose
Connect the sterilizer's outlet to the aquarium return line or the next approved component in the system.
Ensure the return line is supported.
Secure the Connections
For hose-barb fittings, use appropriate clamps if required by the equipment manufacturer.
For threaded or union fittings, follow the specified sealing instructions.
Not all plastic threaded fittings should use thread tape. Some rely on O-rings or other sealing methods.
Overtightening can crack plastic housings.
Inspect the Entire Water Path
Before starting the pump, check for:
-
Kinked hoses
-
Loose fittings
-
Unsupported plumbing
-
Incorrect flow direction
-
Inaccessible valves
-
Obvious strain on connectors
Correct these problems before filling or pressurizing the system.
12. Step 7: Install or Inspect the UV Lamp and Quartz Sleeve
Some aquarium UV sterilizers arrive fully assembled.
Others require the user to install the lamp, quartz sleeve, or both.
Follow the manufacturer's specific procedure.
Handle the Quartz Sleeve Carefully
Quartz sleeves are fragile and can break if subjected to excessive force.
Inspect the sleeve for cracks or other damage.
Do not install a damaged quartz sleeve.
Avoid Contamination
Fingerprints, grease, and other residues can interfere with ultraviolet transmission.
Handle the lamp and quartz sleeve as instructed by the manufacturer.
Use clean gloves or a suitable lint-free cloth when required.
Check the Seals
Inspect O-rings and other sealing components.
Make sure they are correctly seated and undamaged.
Use only manufacturer-approved seal lubricants if required.
Install the Sleeve
Insert the quartz sleeve according to the manufacturer's directions.
Never force it into place.
Connect the Lamp
Install the UV lamp using the appropriate electrical connector.
Avoid touching the glass or applying pressure to delicate lamp components.
Close the Housing
Secure all covers and retaining components.
Never energize a UV-C lamp when it is removed from its protective housing.
Direct UV-C exposure can injure the eyes and skin.
If the unit contains a damaged sleeve, lamp, or electrical component, do not operate it.
13. Step 8: Check the Aquarium Pump Flow Rate
Water flow rate has a major influence on UV sterilizer performance.
If water moves too quickly through the chamber, microorganisms may receive insufficient ultraviolet exposure.
Understand the Relationship Between Flow and UV Dose
UV treatment effectiveness depends on the energy microorganisms receive as they travel through the chamber.
Higher UV intensity and longer exposure generally increase the delivered dose.
However, the actual dose also depends on chamber geometry, water quality, and flow patterns.
Check the Manufacturer's Flow Ratings
Some UV sterilizers specify different operating flow rates for different treatment objectives.
For example, an operating flow suitable for suspended algae clarification may not deliver the UV dose needed for more resistant microorganisms.
Always choose the manufacturer's flow rating that corresponds to your intended treatment goal.
Account for Real-World Pump Performance
A pump's advertised maximum flow is usually measured under specified test conditions.
Actual installed flow can be reduced by:
-
Filter media resistance
-
Hose length
-
Pipe fittings
-
Vertical lift
-
Pump wear
-
Debris accumulation
If accurate flow control is important, use a compatible flow meter or another safe, approved measurement method.
Avoid Excessive Flow Restriction
Do not reduce flow below the minimum required for the UV sterilizer's safe operation.
If the main pump flow exceeds the UV unit's rated capacity, consider a properly designed bypass or dedicated pump.
This can be more effective than restricting the entire filtration system.
14. Step 9: Fill and Prime the UV Sterilizer
Before activating the ultraviolet lamp, make sure the treatment chamber is properly filled with water.
Many UV sterilizers depend on water circulation for cooling.
Operating them without water can damage the lamp, sleeve, seals, or surrounding components.
Restore Water Circulation
With the UV lamp still disconnected, open the appropriate valves and restore the pump according to its operating instructions.
For canister filters, complete the manufacturer's priming procedure.
Remove Trapped Air
Air may accumulate inside the hoses or UV treatment chamber.
Follow the unit's approved air-purging instructions.
Do not loosen pressurized fittings or remove electrical lamp assemblies to release trapped air.
Inspect the Return Flow
Check that water returns to the aquarium normally.
Watch for unusually weak flow, excessive bubbles, or abnormal pump sounds.
Allow Circulation to Stabilize
Once the system is fully primed, allow the pump to circulate water long enough to reveal obvious plumbing problems.
Keep the UV lamp turned off during this initial circulation check.
15. Step 10: Perform a Thorough Leak Test
Before powering on the UV lamp, carefully inspect every plumbing connection.
Leaks can damage aquarium furniture, electrical equipment, flooring, and surrounding property.
Inspect Each Connection
Check the inlet fitting, outlet fitting, unions, valves, and other connection points.
Look for drops of water or moisture accumulating around seals.
Use Dry Paper Towels
A dry paper towel can help identify small leaks around accessible fittings.
Hold it near a connection without touching electrical components.
If moisture appears, stop the pump and correct the issue after safely relieving pressure or draining the relevant section.
Inspect the Quartz Sleeve Seal
If your model contains a removable quartz sleeve, check the approved inspection area for signs of leakage.
A damaged or improperly seated seal may allow water into the lamp compartment.
Never energize a unit that has water intrusion near electrical components.
Check Under Normal Operating Conditions
A connection that appears dry when the pump is off may leak under operating pressure.
Complete the leak test with normal circulation running.
Recheck After Installation
Even when the initial test succeeds, inspect the system again after it has been operating.
Temperature changes, vibration, and hose movement can reveal connection problems.
16. Step 11: Turn On the Aquarium UV Sterilizer
After confirming the chamber is filled, water circulation is stable, and no leaks are present, the UV sterilizer can be activated.
Verify Electrical Connections
Ensure that the UV unit uses the correct power supply.
Confirm that all electrical components are dry and properly protected.
Create a Drip Loop
Where appropriate for cord-connected aquarium equipment, arrange the power cord so that water cannot travel along it directly into an outlet.
Follow the electrical safety guidance supplied with the equipment.
Activate the UV System
Turn on the UV sterilizer according to the manufacturer's instructions.
Some units use a dedicated switch.
Others energize when connected to an approved power source.
Check the Status Indicator
Many UV sterilizers include an operating indicator.
Use the indicator or other manufacturer-approved monitoring method to verify operation.
Do not remove the protective housing to inspect the lamp.
Monitor Initial Performance
Observe the pump and plumbing for unusual noise, vibration, or leaks.
Confirm that water continues flowing normally.
If an alarm, fault indicator, or abnormal condition occurs, shut down the system and consult the manual.
17. Step 12: Monitor Your Aquarium After Installation
Installing the UV sterilizer is only the beginning.
Monitoring allows you to confirm that the system is operating as intended.
Check Water Clarity
If the aquarium previously had green water caused by suspended algae, improvements may become noticeable over several days.
The timeframe depends on the severity of the algae problem, water turnover, UV performance, and filtration.
Monitor Fish Behavior
Observe your fish after installation.
Look for normal swimming, feeding, and respiration.
UV sterilization should not require abrupt changes to normal aquarium water chemistry.
Test Water Parameters
Continue monitoring important water quality measurements, including:
-
Temperature
-
pH
-
Ammonia
-
Nitrite
-
Nitrate
-
Salinity, for marine systems
UV sterilization does not replace biological filtration or eliminate dissolved nitrogen waste.
Inspect the Equipment
During the initial operating period, periodically check the UV housing, water connections, and power supply.
Any unusual heat, noise, leakage, or electrical fault should be investigated promptly.
18. How to Install a UV Sterilizer With a Canister Filter
Canister filters are popular in freshwater aquariums because they provide mechanical and biological filtration in a compact external unit.
Adding an inline UV sterilizer can extend the system's water treatment capabilities.
Recommended Arrangement
A common arrangement is:
Aquarium → Canister Filter → UV Sterilizer → Aquarium
The filter removes suspended debris before water enters the UV chamber.
Installation Procedure
First, turn off and unplug the canister filter.
Close its isolation valves if provided.
Next, identify the return hose carrying filtered water back to the aquarium.
Choose a suitable location for the UV sterilizer along the return line.
Install the sterilizer according to its approved mounting orientation.
Connect the canister filter outlet to the UV inlet.
Connect the UV outlet to the aquarium return.
Secure all fittings and support the plumbing.
Prime the canister filter and restore circulation with the UV lamp off.
After confirming that the UV chamber is filled and leak-free, activate the UV system.
Important Considerations
The canister filter and UV sterilizer must be compatible in terms of flow rate and pressure.
Adding equipment to the return line increases hydraulic resistance.
If the UV unit creates excessive restriction, a separate pump or bypass may be necessary.
19. How to Install a UV Sterilizer in a Sump System
Sump filtration is common in larger freshwater and saltwater aquariums.
A sump provides space for filtration media, heaters, pumps, and other equipment.
It can also provide a convenient location for a UV sterilizer.
Choose a Suitable Water Source
Many aquarium owners supply the UV sterilizer using a dedicated pump located in the sump.
This approach allows UV flow to be controlled separately from the main return pump.
Plan the Return Location
The treated water may return to a suitable sump compartment or another approved system location.
Avoid arrangements where the same small volume of water circulates repeatedly through the UV unit without mixing adequately with the rest of the system.
Install the Pump
Position the pump according to its manufacturer's instructions.
Use appropriate intake protection to prevent debris from entering the UV chamber.
Connect the UV Sterilizer
Attach the pump outlet to the UV inlet.
Connect the UV outlet to the selected return location.
Mount and support the sterilizer securely.
Check Sump Water Levels
Consider how power outages and pump shutdowns affect water levels.
Make sure the sump has enough capacity to handle normal drain-back.
Check whether the UV plumbing can create unintended siphoning.
Test the Entire System
Run the circulation pump with the UV lamp disconnected.
Confirm stable flow, proper priming, and leak-free operation.
Only activate the UV lamp after completing the required checks.
20. How to Install a Submersible Aquarium UV Sterilizer
Submersible UV sterilizers are generally designed for relatively straightforward installation.
However, they must be installed according to the manufacturer's specific instructions.
Step 1: Confirm Submersible Certification
Make sure the entire unit, or the exact portion intended for immersion, is approved for underwater use.
Never place an external inline UV sterilizer directly into aquarium water unless it is explicitly rated for submersion.
Step 2: Choose an Appropriate Location
Select a location with adequate water circulation.
Avoid blocking the intake or outlet with decorations, substrate, or plants.
Step 3: Secure the Unit
Depending on the model, use the supplied suction cups, brackets, or mounting hardware.
Make sure the unit cannot fall or contact fragile aquarium decorations.
Step 4: Check the Pump and Water Path
If the sterilizer has an integrated pump, inspect the intake and outlet.
Remove protective packaging and any shipping restraints according to the manual.
Step 5: Submerge the Unit Correctly
Place the sterilizer at the approved depth and orientation.
Follow any required minimum-water-level markings.
Step 6: Activate and Monitor
After confirming that the device is fully installed, connect it to the appropriate protected electrical supply.
Verify normal water circulation and check for unusual vibration or noise.
21. Freshwater vs. Saltwater UV Sterilizer Installation
The fundamental principles of UV sterilization are similar in freshwater and marine aquariums.
However, saltwater installations require additional attention to material compatibility and overall system design.
Freshwater Aquarium Installation
Freshwater systems commonly use canister filters, internal filters, and external pumps.
For many freshwater aquariums, an inline UV sterilizer installed after mechanical filtration is a practical option.
Typical goals include green-water control and supplementary reduction of susceptible microorganisms.
Saltwater Aquarium Installation
Saltwater aquariums may contain fish, corals, invertebrates, and diverse microbial communities.
The UV sterilizer must be suitable for marine operation.
Many reef aquariums use dedicated UV circulation loops connected to a sump.
This arrangement allows more independent control over treatment flow.
Special Marine Aquarium Considerations
UV sterilization may reduce some planktonic microorganisms, including organisms that contribute to the reef ecosystem.
Therefore, evaluate the intended treatment objective carefully.
When controlling waterborne parasite stages is the goal, use manufacturer-provided dose and flow specifications appropriate for the target organism.
Remember that UV sterilization cannot treat parasites already attached to fish.
It should complement appropriate quarantine, veterinary care, and disease management procedures.
22. How to Adjust UV Sterilizer Flow Rate for Better Performance
After installation, setting the correct flow rate is essential.
Many aquarium owners mistakenly assume that faster circulation always means better UV treatment.
However, the relationship between water flow and microbial inactivation is more complicated.
Understanding Exposure Time
As water moves through the UV chamber, microorganisms receive ultraviolet radiation.
At a lower flow rate, water generally remains inside the chamber longer.
This can increase the UV dose delivered during each pass.
At a higher flow rate, water passes through more quickly, potentially reducing exposure.
Why Extremely Low Flow Isn't Always Better
Slower flow does not automatically guarantee better overall treatment.
A very low flow rate may reduce the amount of aquarium water processed per hour.
Some UV sterilizers also require a minimum flow rate for safe thermal operation.
Use the Correct Flow Setting
Choose the manufacturer's recommended operating flow for your treatment objective.
For algae clarification, one flow setting may be appropriate.
For greater microbial reduction, a different setting may be specified.
Consider a Flow Meter
A compatible flow meter can make it easier to measure and maintain the desired operating flow.
This is particularly useful in systems with adjustable pumps or bypass plumbing.
23. How Long Should an Aquarium UV Sterilizer Run?
One common question after installation is whether the UV sterilizer should operate continuously.
The answer depends on the aquarium, the equipment, and the treatment goal.
Continuous Operation
Some aquarium owners operate their UV sterilizers 24 hours per day.
Continuous operation can provide ongoing treatment of circulating water.
This may be useful in systems where consistent microbial reduction is a priority.
However, continuous operation consumes electricity and contributes to lamp operating hours.
Intermittent Operation
Other aquarium owners use UV treatment intermittently, especially when the primary purpose is temporary water clarification.
This may be appropriate for certain systems and equipment designs.
Important Operating Restrictions
Some UV sterilizers depend on continuous water circulation for cooling.
Never leave the lamp operating without the required water flow.
If the aquarium pump stops, follow the manufacturer's shutdown instructions.
Which Schedule Is Best?
For applications requiring consistent control of susceptible waterborne microorganisms, continuous operation may be preferable.
For occasional green-water management, intermittent treatment may be sufficient.
Always follow the operating instructions for the specific equipment.
24. Common Aquarium UV Sterilizer Installation Mistakes
Several installation mistakes can reduce UV performance or create safety risks.
Understanding these problems can help you avoid unnecessary repairs.
Mistake 1: Installing the UV Sterilizer Before Adequate Filtration
Water containing excessive suspended debris can reduce UV transmission.
Whenever practical and approved, install mechanical filtration upstream of the UV chamber.
Mistake 2: Using an Oversized Pump
Excessive flow may reduce the UV dose below the level required for the intended treatment.
Match the pump's actual installed flow to the UV sterilizer's specifications.
Mistake 3: Ignoring Mounting Orientation
An incorrect mounting position may contribute to air accumulation or poor operation.
Follow the manufacturer's approved orientation.
Mistake 4: Activating the Lamp Before Filling the Chamber
Operating a water-cooled UV sterilizer without adequate water can damage the equipment.
Always complete priming and circulation checks first.
Mistake 5: Using Incorrect Fittings
Incompatible fittings can cause leaks, cracking, or connection failure.
Use components that match the UV sterilizer's plumbing specifications.
Mistake 6: Placing Electrical Connections Near Water
Water intrusion can create serious electrical hazards.
Use appropriate electrical protection and keep connections dry.
Mistake 7: Failing to Leave Maintenance Clearance
UV lamps and quartz sleeves require periodic servicing.
Install the unit where components can be accessed safely.
Mistake 8: Ignoring Air Accumulation
Trapped air may interfere with water circulation and UV performance.
Use the manufacturer's approved priming and air-purging procedures.
Mistake 9: Forgetting to Check for Leaks
Every plumbing connection should be inspected under normal operating conditions.
Mistake 10: Expecting UV to Replace Biological Filtration
UV sterilization does not remove ammonia, nitrite, or nitrate.
It must complement an appropriate aquarium filtration system.
25. Aquarium UV Sterilizer Troubleshooting After Installation
If the sterilizer does not operate correctly, use the following troubleshooting guide.
| Problem | Possible Cause | Recommended Solution |
|---|---|---|
| UV lamp does not activate | Power issue, lamp failure, or safety interlock | Check approved power connections and manufacturer instructions |
| Water flow is weak | Obstruction, airlock, or excessive plumbing resistance | Inspect plumbing and safely restore normal circulation |
| UV chamber leaks | Damaged seal, loose connection, or cracked component | Disconnect power and inspect approved service points |
| Aquarium water remains green | Insufficient UV dose, excessive algae, or poor circulation | Verify flow, lamp condition, and filtration |
| Pump becomes noisy | Air accumulation or restricted intake | Inspect and prime the pump according to its manual |
| UV unit becomes unusually hot | Insufficient cooling flow or equipment fault | Shut down and check manufacturer guidance |
| Water contains visible particles | Inadequate mechanical filtration | Inspect and maintain mechanical filter media |
| UV performance declines | Aging lamp or dirty quartz sleeve | Perform approved maintenance |
| Air bubbles continue entering the tank | Air leak or incomplete priming | Inspect suction plumbing and remove trapped air |
| Flow rate changes over time | Dirty filter media or pump wear | Maintain the circulation system and verify actual flow |
If troubleshooting reveals damaged electrical components, a broken quartz sleeve, or water entering the lamp compartment, discontinue operation until the unit is repaired or replaced.
26. How to Maintain an Aquarium UV Sterilizer After Installation
Correct installation is important, but regular maintenance is equally essential.
Even a well-designed UV sterilizer can lose effectiveness when the lamp ages or the quartz sleeve becomes dirty.
Clean the Quartz Sleeve
Mineral deposits, biofilm, and other residues can accumulate on the sleeve.
These contaminants reduce the amount of ultraviolet radiation reaching the water.
Inspect the sleeve according to the manufacturer's maintenance schedule.
Clean it using approved methods and cleaning products.
Avoid abrasive materials that could scratch the quartz.
Replace the UV Lamp
UV lamps lose germicidal output with operating time.
A lamp may still produce visible light even after its effective UV-C output has declined.
Many conventional lamps have specified service lives measured in thousands of operating hours.
Some models are rated around 8,000 to 9,000 hours, but actual replacement intervals vary by lamp technology and manufacturer.
Follow your equipment's recommended schedule rather than assuming every UV lamp has the same lifespan.
Inspect Seals and Fittings
During maintenance, inspect O-rings, fittings, and housing components.
Replace damaged parts using compatible manufacturer-approved replacements.
Maintain Proper Water Flow
Dirty filter media or a partially blocked pump intake can change the flow through the UV chamber.
Check circulation periodically.
Maintain Electrical Safety
Disconnect power before servicing the unit.
Never open the lamp housing while the UV lamp is operating.
Avoid handling electrical connectors with wet hands.
27. How Often Should You Clean an Aquarium UV Sterilizer?
Maintenance frequency depends on the aquarium environment and equipment design.
Systems with high mineral content, heavy organic loading, or inadequate prefiltration may require more frequent cleaning.
Factors That Affect Cleaning Frequency
Water hardness
Hard water can encourage mineral deposits on quartz sleeves.
Suspended particles
Dirty water can increase contamination inside the UV chamber.
Biological growth
Biofilm may accumulate on wetted surfaces.
Operating hours
Continuous use increases the amount of water passing through the chamber.
Prefiltration quality
Effective mechanical filtration can reduce the amount of debris entering the sterilizer.
Recommended Maintenance Approach
Follow the manufacturer's inspection and cleaning schedule.
Inspect the UV chamber more frequently if water clarity deteriorates or treatment performance changes.
Do not wait until the aquarium develops a serious algae problem before checking the equipment.
28. Can a UV Sterilizer Harm Beneficial Aquarium Bacteria?
Many aquarium owners worry that ultraviolet treatment will destroy the beneficial bacteria responsible for biological filtration.
Fortunately, properly installed UV systems generally do not directly expose established surface-attached bacterial communities to UV radiation.
Most nitrifying bacteria colonize surfaces such as:
-
Biological filter media
-
Aquarium gravel
-
Rocks
-
Decorations
-
Other submerged materials
These bacteria remain outside the UV treatment chamber.
However, bacteria suspended in circulating water may be exposed to UV radiation.
Should You Turn Off UV When Adding Beneficial Bacteria?
If you're using a bottled bacterial culture, follow the product manufacturer's instructions.
Some bacterial products recommend temporarily disabling UV treatment during inoculation.
This may help prevent newly introduced suspended bacteria from being exposed before they colonize surfaces.
Does UV Replace Biological Filtration?
No.
UV sterilization does not perform the essential biological process of converting ammonia into nitrite and then nitrate.
A mature biological filtration system remains necessary.
29. Can Aquarium UV Sterilizers Eliminate Fish Diseases?
UV sterilization can help reduce certain waterborne microorganisms, but it is not a complete disease treatment solution.
Its effectiveness depends on the target pathogen, UV dose, system circulation, and the organism's life cycle.
What UV Sterilizers Can Do
Properly operated UV equipment may reduce:
-
Certain free-floating bacteria
-
Suspended algae
-
Some free-swimming parasite stages
-
Other susceptible waterborne microorganisms
What UV Sterilizers Cannot Do
UV sterilizers cannot directly eliminate pathogens protected within fish tissues.
They also cannot reliably treat parasites attached to fish or organisms that never pass through the treatment chamber.
For example, marine ich and freshwater ich have life stages that are not directly exposed to the UV sterilizer.
Best Practices for Fish Health
Use UV sterilization as part of a broader aquarium health management plan.
Maintain appropriate water quality, quarantine new fish where practical, avoid overcrowding, and seek qualified aquatic veterinary guidance when disease is suspected.
30. Aquarium UV Sterilizer Installation Cost and Energy Consumption
Operating cost is another factor worth considering before installation.
The total cost depends on the equipment, circulation pump, electricity consumption, replacement lamps, and maintenance requirements.
Electricity Consumption
You can estimate electricity use using the following formula:
Energy Consumption (kWh) = Power (Watts) × Operating Hours ÷ 1,000
For example, a UV unit consuming 25 watts and operating continuously for 24 hours uses approximately 0.6 kilowatt-hours per day.
Over 30 days, this equals approximately 18 kilowatt-hours.
This calculation excludes additional electricity consumed by any associated pump or other equipment.
Replacement Lamp Costs
UV lamps may require periodic replacement.
The cost depends on the specific model and lamp technology.
Plumbing and Installation Costs
A simple integrated UV unit may require minimal additional plumbing.
An external inline installation may require hoses, valves, connectors, and mounting hardware.
Larger systems with dedicated pumps or bypass circuits may involve additional expenses.
Long-Term Value
A properly installed UV sterilizer can provide useful water treatment benefits over an extended period.
Choosing equipment with readily available replacement parts and clear maintenance instructions can improve long-term ownership value.
31. Frequently Asked Questions About Installing Aquarium UV Sterilizers
Where should I install a UV sterilizer in my aquarium?
For many external systems, the preferred position is after mechanical filtration and before the water returns to the aquarium. This helps deliver cleaner water to the UV chamber. Always verify the manufacturer's installation requirements.
Can I install a UV sterilizer after a canister filter?
Yes. Many inline UV sterilizers can be connected to a compatible canister filter's return line. Confirm that the filter's actual flow and operating pressure are suitable for the UV unit.
Should a UV sterilizer be installed before or after the filter?
Installing it after mechanical filtration is generally preferred because suspended debris can reduce UV effectiveness. However, product-specific designs may use different arrangements.
Do I need a separate pump for my UV sterilizer?
Not always. Some UV sterilizers can use an existing filter pump. A separate pump is useful when independent UV flow control is needed or when the main filter flow is incompatible with the UV unit.
Can I put a UV sterilizer directly inside my aquarium?
Only if the unit is specifically rated for submersible operation. External inline UV sterilizers must not be submerged unless the manufacturer explicitly permits it.
Can UV sterilizers be installed vertically?
Some models support vertical installation, while others require horizontal mounting. Follow the manufacturer's approved orientation and plumbing requirements.
How much water flow does a UV sterilizer need?
The required flow depends on the unit's design and treatment objective. Use the manufacturer's rated flow for algae clarification or microbial reduction, as appropriate.
Should I leave my aquarium UV sterilizer on all the time?
Continuous operation may be suitable for ongoing microbial control, but not every aquarium requires it. Follow the manufacturer's operating instructions and consider your treatment objectives.
How long does it take for UV sterilization to clear green water?
Improvement may become noticeable within several days under suitable conditions. Results depend on the algae concentration, UV dose, water circulation, and filtration performance.
Does a UV sterilizer make aquarium water safe for fish?
UV treatment can reduce susceptible microorganisms, but overall water safety depends on many factors, including ammonia, nitrite, dissolved oxygen, temperature, salinity, and general aquarium maintenance.
Can a UV sterilizer be used in a reef aquarium?
Yes. Many marine aquariums use appropriately rated UV sterilizers. However, treatment goals, water circulation, and the potential effects on suspended beneficial organisms should be considered.
Can a UV sterilizer run without water?
Do not operate a UV sterilizer without water unless its manufacturer explicitly allows that operating condition. Many units rely on circulating water for cooling and can be damaged by dry operation.
Can UV light damage aquarium fish?
In a properly enclosed UV sterilizer, fish are not directly exposed to the ultraviolet lamp. UV-C radiation must remain contained inside the treatment chamber.
Does UV sterilization remove nitrate?
No. UV sterilizers do not remove nitrate, ammonia, or nitrite. These substances require appropriate biological filtration, water changes, or other water management methods.
Can I install two UV sterilizers on one aquarium?
Yes, certain systems can accommodate multiple UV units. However, the plumbing, flow distribution, and treatment performance should be properly engineered. Adding more equipment does not automatically improve results.
How do I know whether my UV sterilizer is working?
Check the manufacturer's operating indicators, verify normal water flow, and monitor treatment performance. A visible lamp indicator does not prove that the system is delivering the intended UV dose.
How often should I replace the UV lamp?
Follow the manufacturer's service-life specifications. Replacement intervals vary by lamp type and product design.
Will a UV sterilizer make my aquarium completely sterile?
No. UV treatment acts primarily on microorganisms that pass through the chamber and receive sufficient radiation. Organisms attached to surfaces or living within fish are not directly treated.
32. Aquarium UV Sterilizer Installation Checklist
Before considering your installation complete, review the following checklist.
Equipment Selection
-
Choose a UV sterilizer suitable for the aquarium volume.
-
Confirm the intended treatment objective.
-
Verify freshwater or saltwater compatibility.
-
Check the manufacturer's rated flow range.
Installation Preparation
-
Read the instruction manual.
-
Disconnect relevant electrical equipment.
-
Prepare the required tools and fittings.
-
Identify the appropriate water circulation path.
Mechanical Installation
-
Mount the UV sterilizer securely.
-
Follow the approved mounting orientation.
-
Connect the inlet and outlet correctly.
-
Support hoses and rigid plumbing.
-
Avoid kinks and unnecessary restrictions.
Initial Startup
-
Fill and prime the UV chamber.
-
Restore normal water circulation.
-
Remove trapped air using approved procedures.
-
Inspect every connection for leaks.
-
Verify safe electrical connections.
-
Activate the UV lamp only after completing the required checks.
Ongoing Maintenance
-
Monitor aquarium water quality.
-
Inspect the quartz sleeve.
-
Replace the lamp according to its service schedule.
-
Maintain mechanical filtration.
-
Check flow rate and plumbing condition.
-
Investigate unusual equipment behavior promptly.
Completing these checks helps improve installation reliability and supports consistent UV treatment performance.
Conclusion: Install Your Aquarium UV Sterilizer Correctly for Better Water Clarity and Reliable Performance
Installing an aquarium UV sterilizer is an effective way to add another layer of water treatment to your aquarium filtration system.
Whether you maintain a freshwater community aquarium, a planted tank, a saltwater reef aquarium, or a large aquatic display, ultraviolet technology can help control suspended algae and reduce certain waterborne microorganisms.
However, successful UV sterilization depends on proper equipment selection, correct installation, suitable water flow, and consistent maintenance.
The most important installation principle is to ensure that the UV sterilizer receives properly filtered water at a flow rate appropriate for the intended treatment objective.
For many aquariums, positioning an external UV unit after mechanical filtration provides an efficient and practical arrangement.
When an existing canister filter cannot deliver the recommended flow, a dedicated pump or properly designed bypass system may offer greater flexibility.
Safe electrical installation is equally important.
Always keep UV-C radiation contained within the protective housing, use suitable electrical protection, and never operate equipment with damaged electrical components or water leaks.
Before activating the UV lamp, make sure the treatment chamber is filled, circulation is established, and all plumbing connections have passed a thorough leak test.
Once installation is complete, monitor the aquarium and perform regular maintenance.
Cleaning the quartz sleeve, replacing aging UV lamps, and maintaining proper flow can help preserve treatment effectiveness.
Remember that UV sterilization works best as part of a comprehensive aquarium care strategy.
It does not replace mechanical filtration, beneficial biological filtration, regular water testing, appropriate feeding, or responsible fish health management.
By following the step-by-step instructions in this guide and prioritizing the requirements of your specific equipment, you can install an aquarium UV sterilizer with greater confidence and create a more dependable water treatment system.
A properly installed and maintained UV sterilizer can contribute to clearer water, reduced suspended algae, and improved overall aquarium management, helping you enjoy a cleaner and more attractive aquatic environment for years to come.
Have questions about aquarium UV sterilizers, installation requirements, or choosing the right UV water treatment equipment? Feel free to leave a comment below to request a quote, and we'll be happy to help you find the best solution for your aquarium!