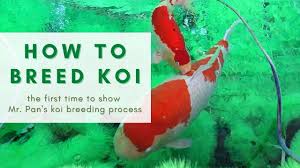
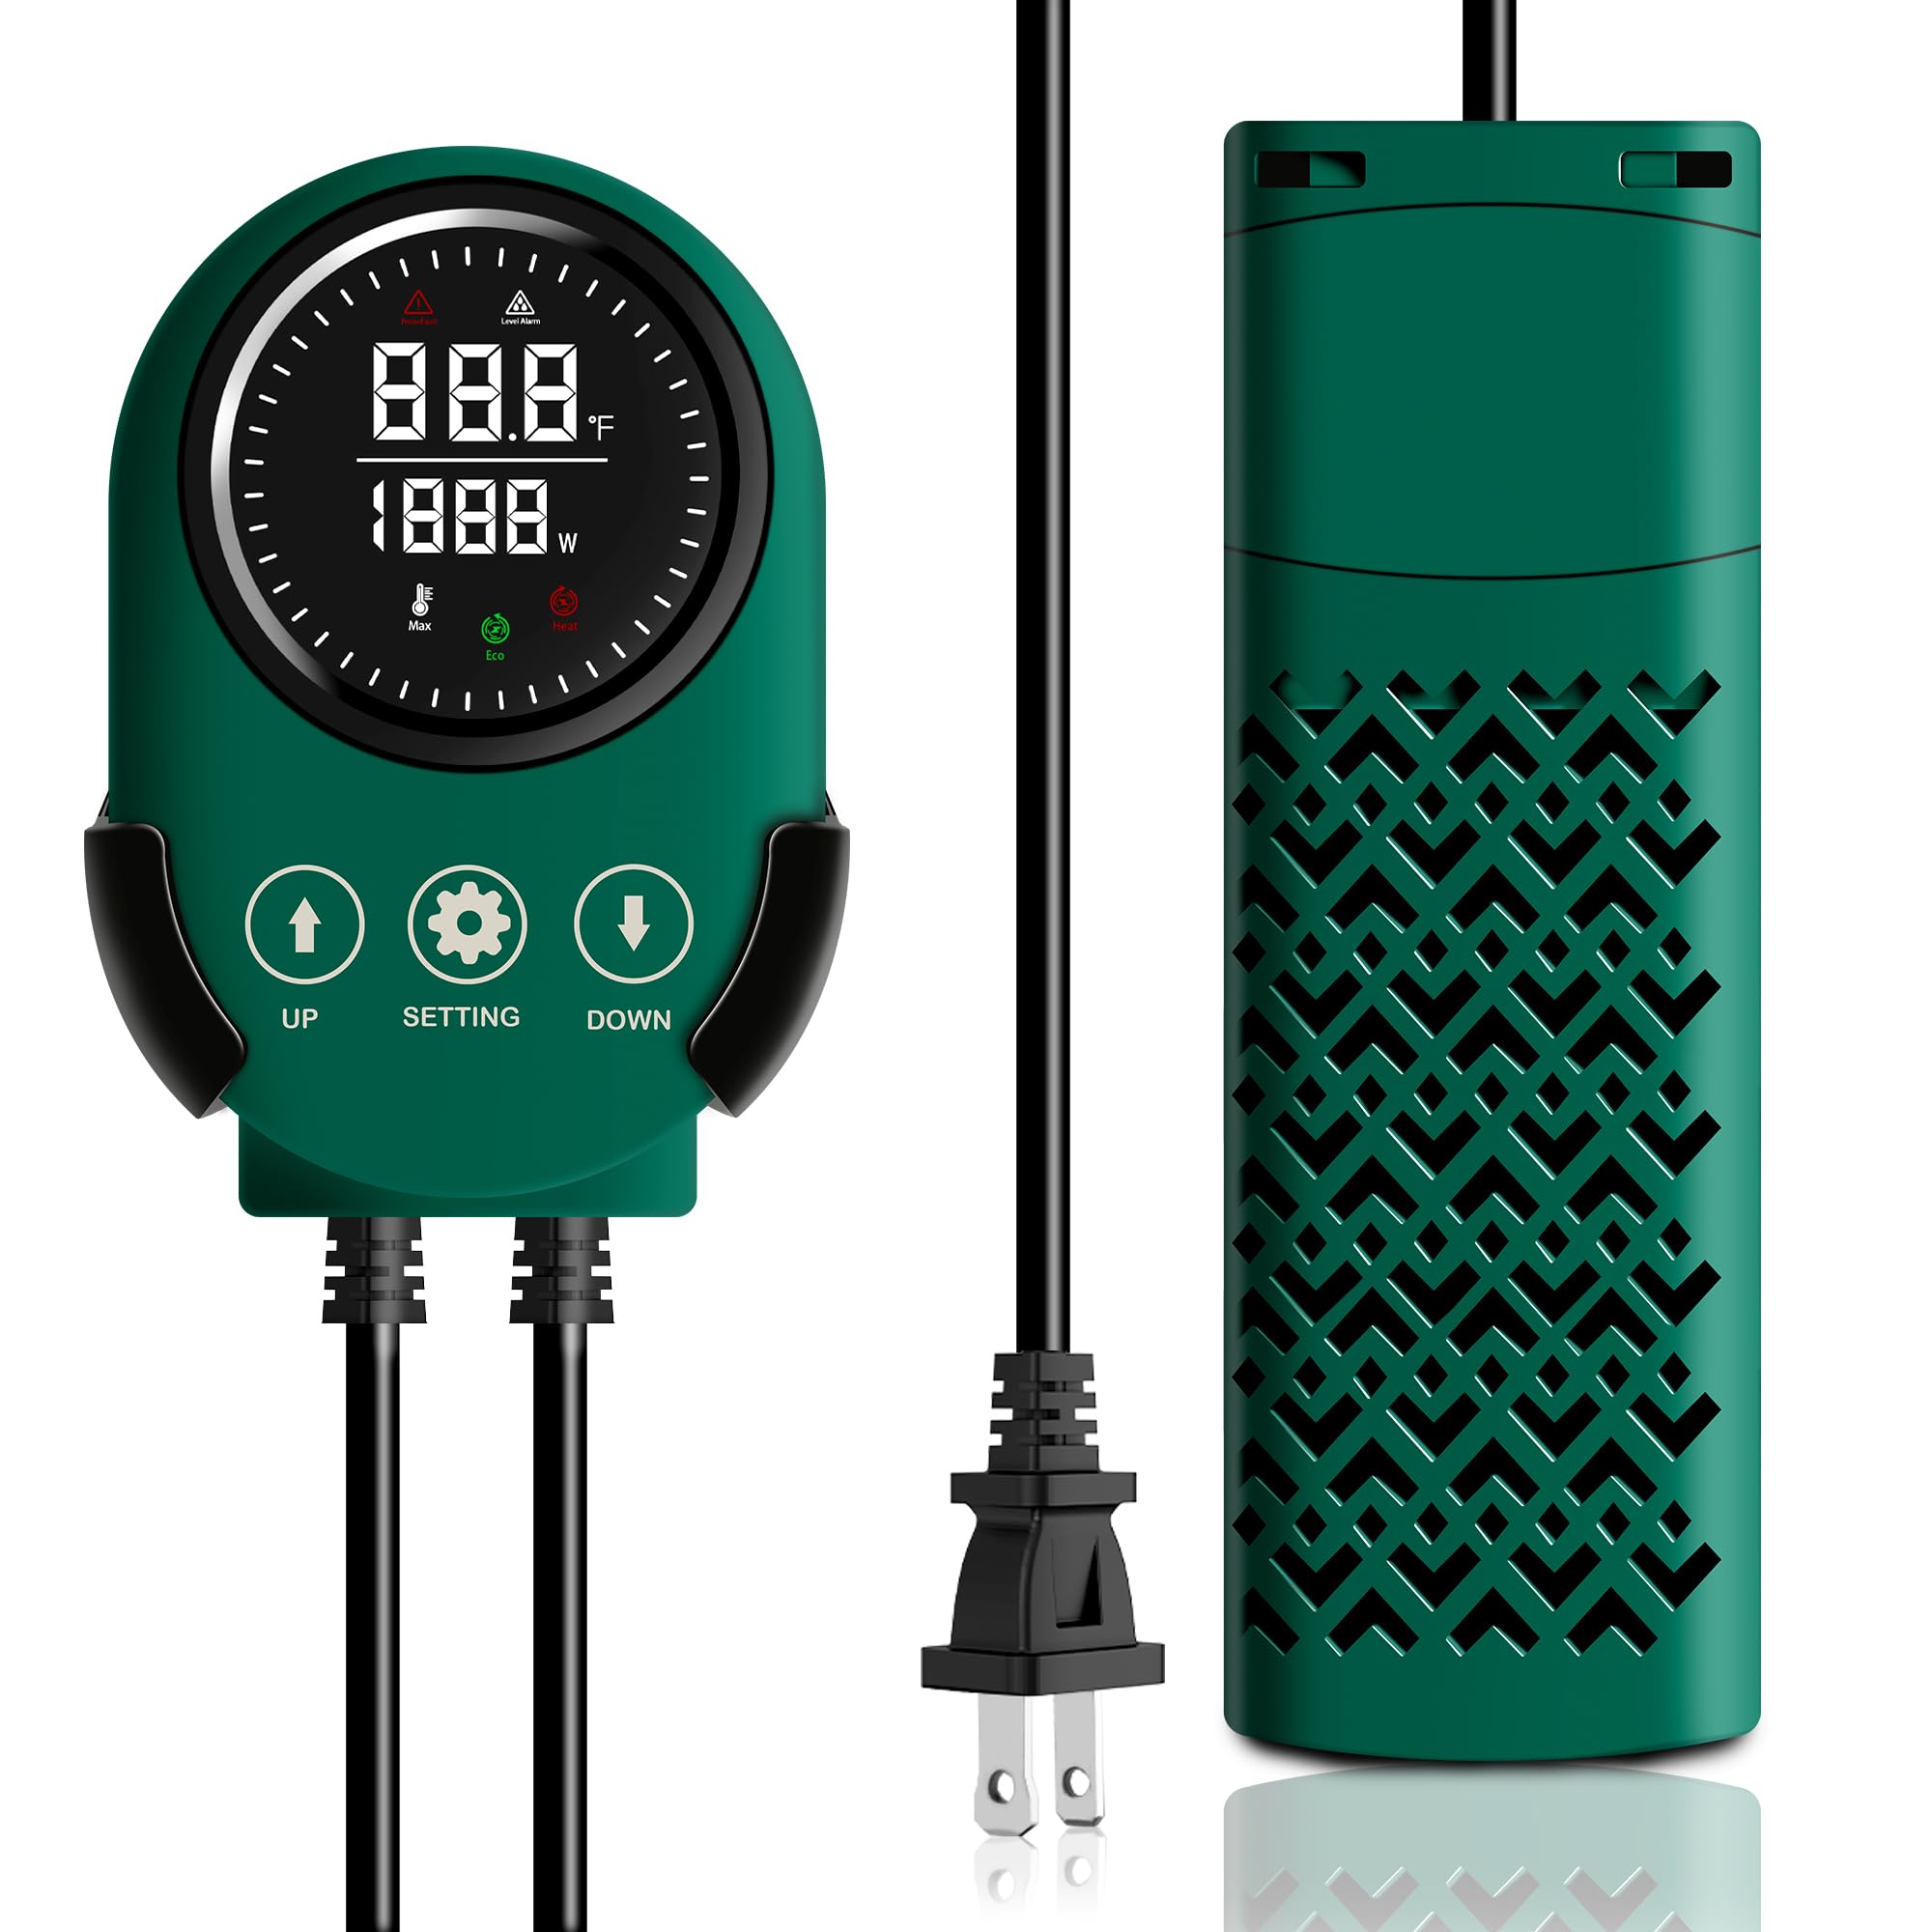
Hey there, fellow fish enthusiasts! Welcome to my blog, where I dive deep into the world of koi fish keeping and breeding. If you're like me, you've probably spent countless hours staring at your pond, mesmerized by those colorful, graceful koi gliding through the water. But have you ever thought about taking it to the next level and breeding your own? Today, I'm sharing my personal breeding log – a step-by-step chronicle of breeding koi fish from start to finish, focusing on everything from picking the right parents to the magical moment of spawning. This isn't just a quick guide; I'm going all in with details, tips, challenges, and lessons learned from my own experiences over the years.I've been breeding koi as a hobby for about a decade now, starting in my backyard pond in suburban California. What began as a curious experiment turned into a passion project that fills my weekends and brings me immense joy (and sometimes a few headaches). Breeding koi isn't for the faint of heart – it requires patience, knowledge, and a bit of luck – but the reward of watching tiny fry grow into stunning adults is unbeatable. In this post, I'll walk you through the entire process based on my real-world trials, backed by insights from experts and resources I've gathered along the way. We'll aim for a natural breeding approach, as that's what's worked best for me at home without fancy lab equipment.Before we jump in, a quick note: koi breeding is seasonal, typically happening in spring when water temperatures rise. I'm writing this in the fall of 2025, reflecting on my successful spawn from earlier this year. If you're reading this and planning your own, make sure your setup is ready by late winter. Also, remember that breeding can lead to thousands of fry, so have a plan for what to do with them – whether it's culling, selling, or giving them away. Let's get started!Introduction to Koi Breeding: Why Bother and What to ExpectKoi fish, or Nishikigoi as they're known in Japan, aren't just pretty pond ornaments; they're living art pieces with a rich history dating back to the 19th century in Niigata Prefecture. Originally bred from common carp for food, selective breeding turned them into the vibrant varieties we adore today – from the classic Kohaku with its red and white patterns to the metallic Ogon and the striking Showa. Breeding koi at home allows you to create your own lineage, potentially producing unique color combinations or improving traits like body shape and finnage.But why breed them yourself? For me, it's about the thrill of creation. Store-bought koi are great, but raising your own from eggs gives a sense of accomplishment that's hard to match. Plus, it can be economical if you sell extras, though don't expect to get rich quick – high-end koi can fetch thousands, but home-bred ones often sell for $20-100 each depending on quality. On the flip side, it's labor-intensive. Expect to invest time in water quality management, feeding, and monitoring. A single female can lay up to 100,000 eggs, but survival rates are low without proper care – maybe 10-20% make it to adulthood.In my log, I'll cover the full timeline: selecting parents (about 2-4 weeks prep), preparing the environment (1-2 weeks), inducing and observing spawning (1-3 days), and post-spawning care up to hatching (3-7 days). I'll weave in my personal stories, like the time I accidentally mixed varieties and ended up with a pond full of "mutts" that were still beautiful in their own way. We'll also touch on ethics: always prioritize fish health and avoid overbreeding to prevent stress or disease.To set expectations, successful breeding hinges on a few key factors: healthy stock, optimal water conditions (pH 7.0-8.0, temperature 68-75°F, low ammonia), and timing. If any of these are off, you might end up with no spawn or unhealthy fry. I've had seasons where everything clicked, yielding hundreds of viable fry, and others where algae blooms ruined it all. Learn from my mistakes!Step 1: Selecting the Right Koi for BreedingThe foundation of any good breeding project is choosing the right parents. This isn't about grabbing any two fish from your pond; it's a deliberate selection process to maximize desirable traits and minimize issues. In my experience, poor selection leads to weak offspring or disappointing colors, so take your time here.First, age matters. Koi reach sexual maturity around 2-3 years, but for best results, wait until they're 3-6 years old. Females older than 8 can struggle with egg production due to exhaustion, and males under 3 might not produce enough milt (sperm). I once tried breeding a 2-year-old pair, and while they spawned, the fry were small and many didn't survive. Lesson learned: patience pays off.Gender identification is crucial. Males are slimmer with pointed pectoral fins and often develop white tubercles (like pimples) on their gills and fins during breeding season – these are breeding stars that help them grip the female. Females are rounder, especially when gravid (full of eggs), with softer, rounded fins. To check, gently handle the fish (use a wet net to avoid damaging scales) and look at the vent: females have a pinkish, protruding area when ready.For variety, aim for healthy, vibrant fish with clear patterns. If you're breeding for specifics, like producing more Sanke (white with red and black), pair parents with strong traits. Experts recommend one female to 2-3 males to ensure fertilization – the extra males increase milt output without overwhelming the female. In my 2025 spawn, I selected a 4-year-old Kohaku female with bold red markings and two 5-year-old males: one Kohaku and one Showa for variety. The result? A mix of patterns that kept things exciting.Health screening is non-negotiable. Look for active swimmers with no signs of disease: clear eyes, intact scales, no parasites (like white spots from ich), and good appetite. Quarantine potential breeders for 2-4 weeks in a separate tank to monitor. Test water parameters daily – ammonia and nitrite should be zero, nitrates under 20 ppm. Feed a high-protein diet (40-50% protein) in the weeks leading up, like specialized koi pellets or supplements from pet stores. I boost mine with frozen brine shrimp for extra nutrition.Common pitfalls: Don't breed siblings to avoid inbreeding defects like deformed fins. Also, avoid stressed fish – if your pond had a recent disease outbreak, wait a season. Cost-wise, if buying breeders, expect $100-500 each for quality stock. My tip: Start with what you have if they're healthy; you can always upgrade later.This selection phase took me about three weeks this year. I observed my pond daily, noting behaviors like males chasing females, which signals readiness. Once chosen, I moved them to a holding tank for conditioning – more on that next.Step 2: Preparing the Breeding EnvironmentWith parents selected, it's time to set the stage. Koi spawn naturally in ponds, but for control, I use a dedicated breeding tank. This minimizes risks like predation and allows easy egg collection.Tank setup: Aim for at least 200-500 gallons for a small group. Mine is a 300-gallon fiberglass tub, about 4x4x2 feet, with good filtration. Cycle the tank for 2-3 weeks beforehand to establish beneficial bacteria – add ammonia source like fish food and test until levels stabilize. Water depth should be 1-2 feet for comfort.Key elements: Provide spawning media. Koi lay adhesive eggs on surfaces, so use fry mats (sticky pads), spawning ropes (nylon brushes), or plants like oxygenators in baskets. I prefer ropes – they're easy to remove post-spawn. Place them in shallow areas where fish can access easily. Submerged plants like hornwort offer hiding spots and oxygen, but avoid floating ones that could entangle fry.Water conditions are make-or-break. Target temperature: 68-75°F (use a heater if needed). PH: 7.2-7.8. Hardness: 100-200 ppm. Aerate heavily with air stones for oxygen – spawning is energetic! I install a sponge filter to avoid sucking up eggs later.Pond prep if using your main pond: Drain and clean if algae-heavy, remove other fish to prevent egg-eating. Add skimmers for debris. In my backyard setup, I section off a breeding area with netting.Timing: Spring is ideal when temps naturally rise. In 2025, I started prep in March for an April spawn. Feed breeders heavily now – 4 times daily with protein-rich food to build energy. Females will swell; males get more aggressive.Challenges: Weather fluctuations can delay things. One year, a cold snap dropped temps, and no spawn happened. Monitor forecasts and have a backup heater. Also, ensure biosecurity – disinfect equipment to prevent introducing pathogens.This prep phase is where science meets art. You're creating a mini-ecosystem tailored for reproduction, and getting it right sets up success.Step 3: Inducing and Observing the SpawnNow the exciting part: the actual breeding. Koi spawn naturally when conditions mimic spring – warming water triggers hormones.Introduction: Move conditioned parents to the breeding tank at dusk, as spawning often occurs at dawn. Start with the female, then add males after an hour to reduce stress. In my log, I noted the female was gravid, her belly distended like a balloon.Behavior watch: Males will chase and nudge the female's sides, stimulating egg release. This "dance" can last hours. If no action after 24 hours, simulate rain by changing 20% water or adding cooler water – koi associate rain with spawning.The spawn: Typically early morning, the female releases eggs in bursts while males fertilize them with milt. Eggs stick to media. A single spawn can produce 50,000-100,000 eggs! Mine this year lasted about 2 hours, with eggs coating the ropes in a milky layer.Monitoring: Stay vigilant but don't disturb. Use a flashlight at night if needed. Once done (female stops releasing, males lose interest), remove parents immediately – they'll eat eggs otherwise. Return them to the main pond.Post-spawn care: Gently move egg-laden media to an incubation tank if possible. Add methylene blue (1-2 ppm) to prevent fungus – it's a game-changer. Keep water at 77°F for faster hatching (3-5 days).My 2025 experience: Everything went smoothly, but I had to intervene when one male got too rough, risking injury. Tip: Have a net ready.Common mistakes: Overcrowding leads to poor fertilization. If eggs turn white (unfertilized), remove to avoid rot. Patience is key – don't force it.Step 4: Egg Incubation and HatchingEggs are vulnerable, so incubation is critical. In a separate tank, maintain stable conditions: 75-80°F, gentle aeration (bubbles can damage eggs), dim light to prevent algae.Development: Eggs hatch in 3-7 days depending on temp. Day 1: Clear to amber. Day 2: Eyes visible. Hatching: Fry emerge, attaching to surfaces via yolk sacs for 2-3 days.Care: No feeding yet – they absorb yolks. Watch for fungus; remove bad eggs with a pipette. I lost 20% to fungus once due to poor water quality – now I change 10% daily.Hatching joy: Tiny fry (1/8 inch) swim freely. That's when the real work begins!Step 5: Fry Rearing and BeyondFry need infusoria or brine shrimp nauplii first, then powdered pellets. Sort and cull at 1-2 months for quality. Grow in mud ponds for natural food if possible.Challenges: Overcrowding stunts growth; diseases like fin rot lurk. My tip: Frequent water changes.Common Challenges and TroubleshootingFrom parasites to poor hatches, breeding has hurdles. Always quarantine, test water, and consult vets.Ethical Considerations and SustainabilityBreed responsibly – don't overpopulate. Support conservation.
Koi Fish Breeding Log: The Complete Process from Selecting Fish to Spawning
