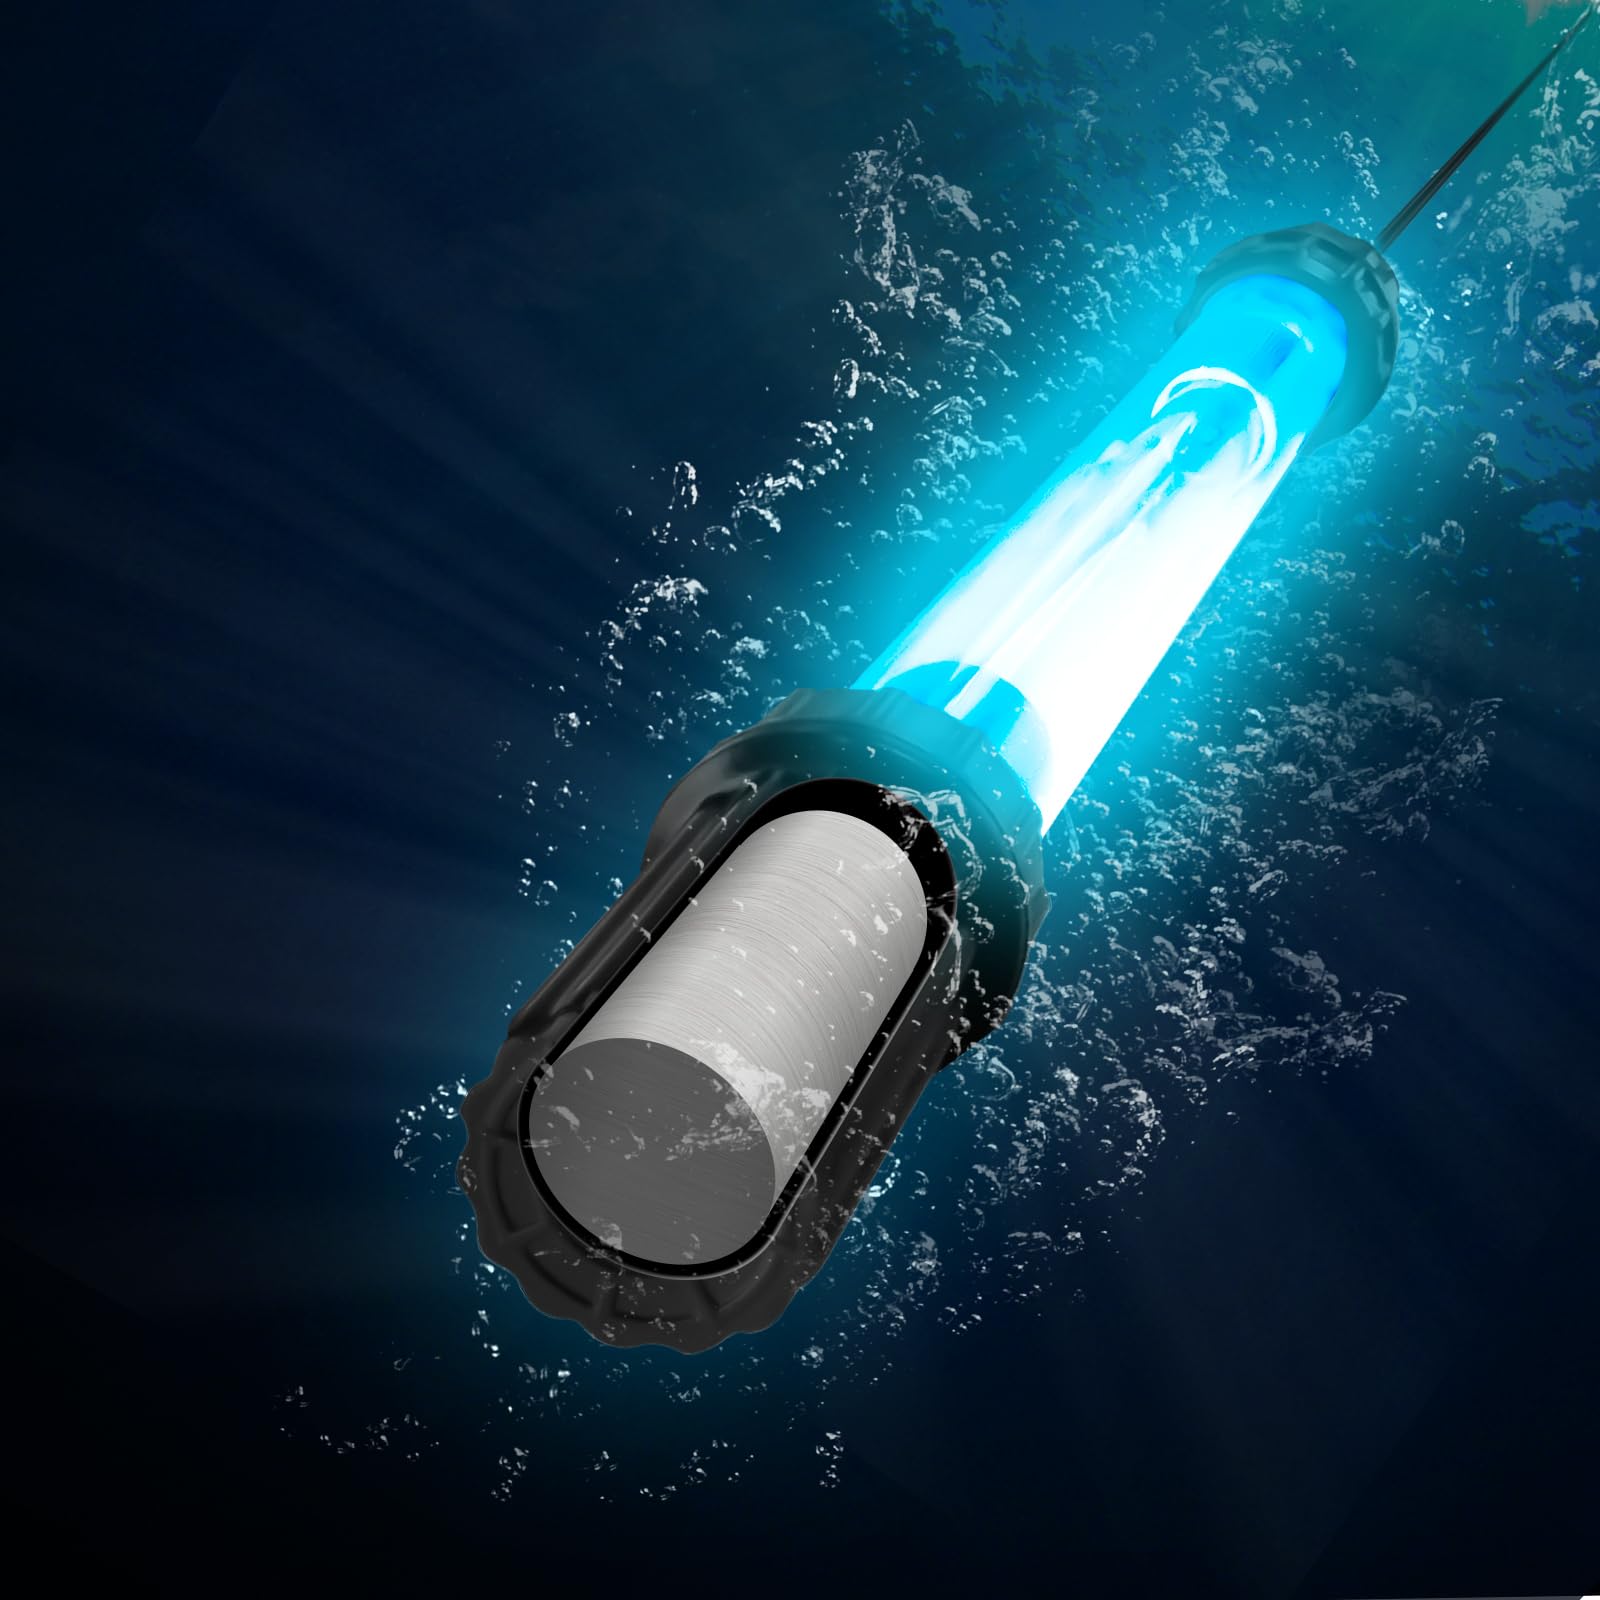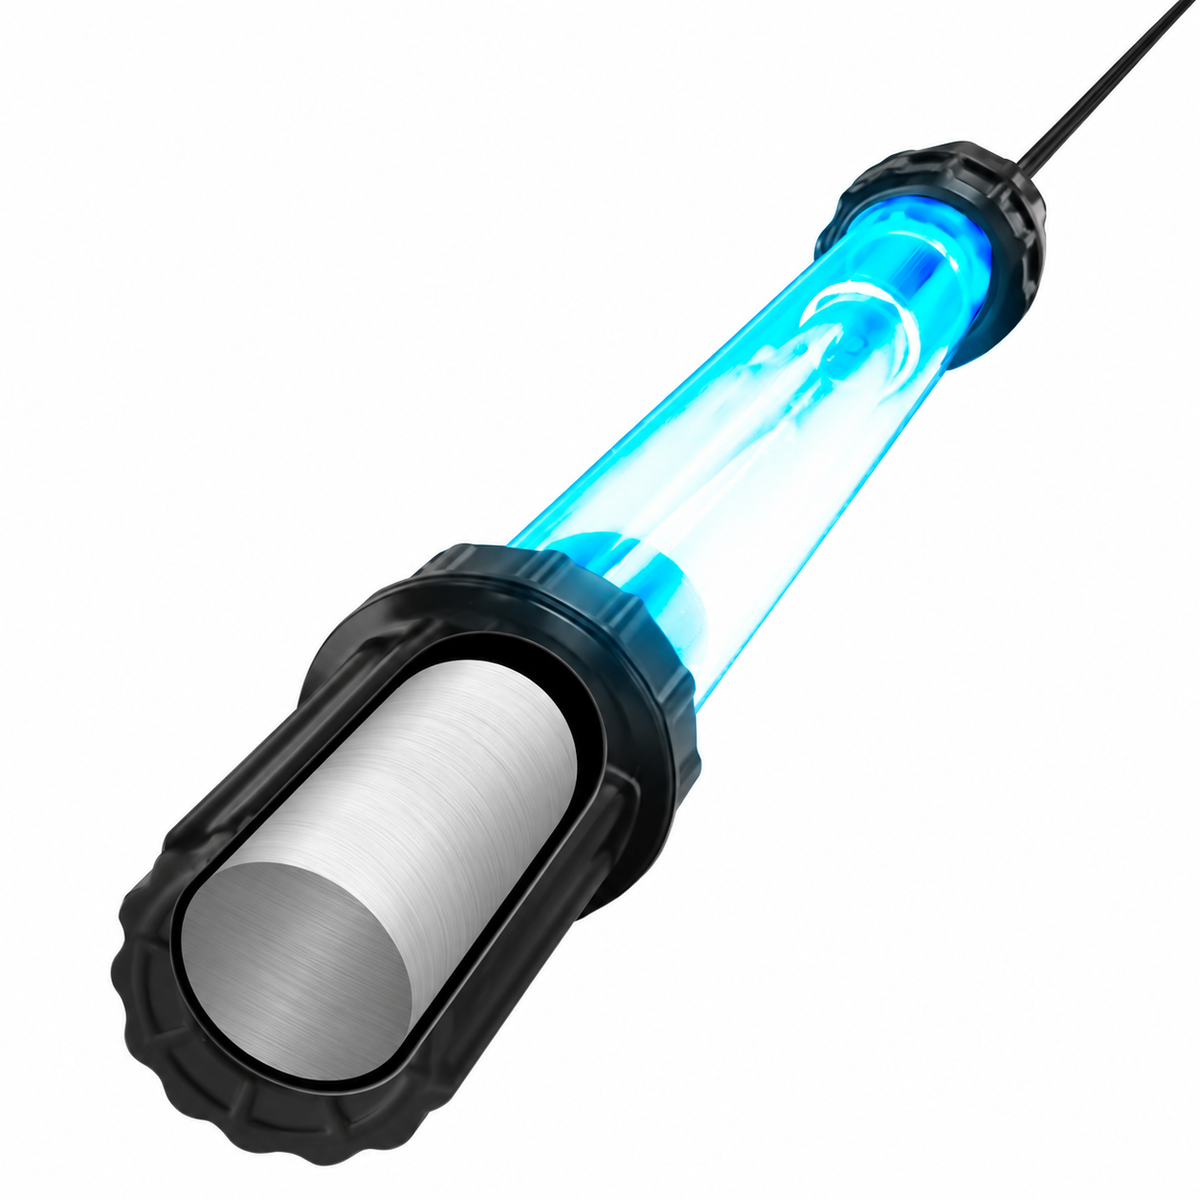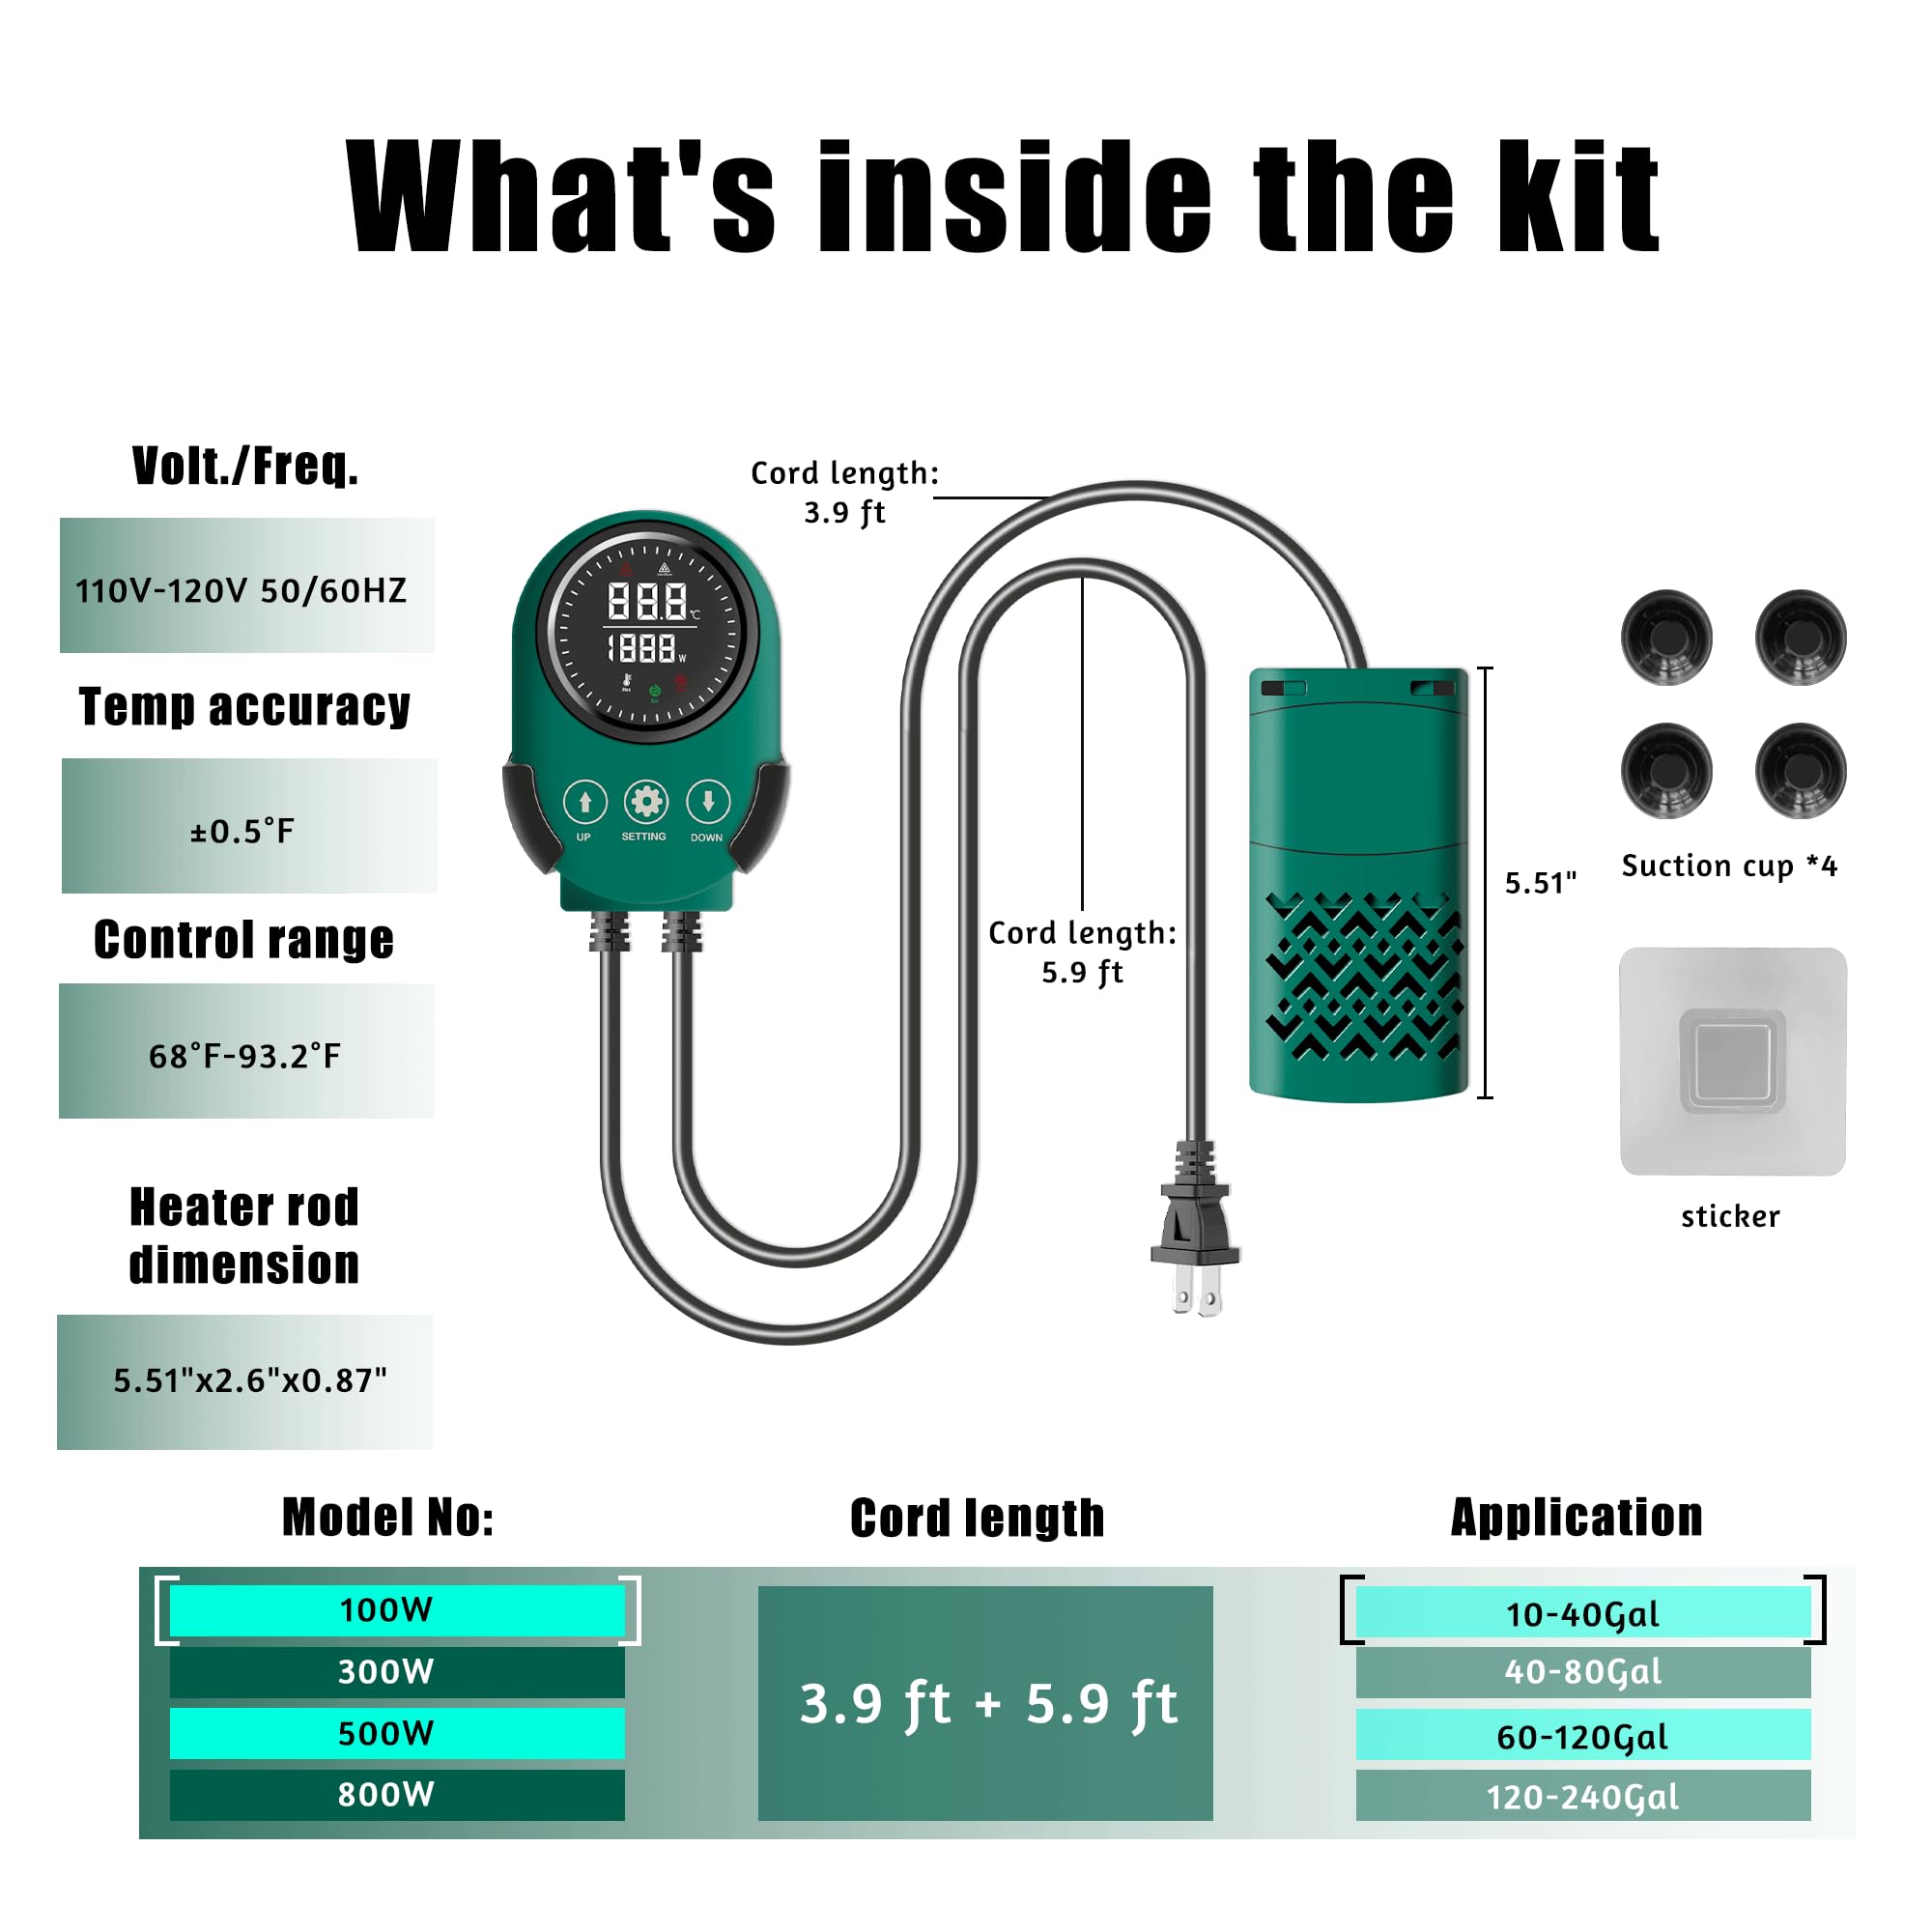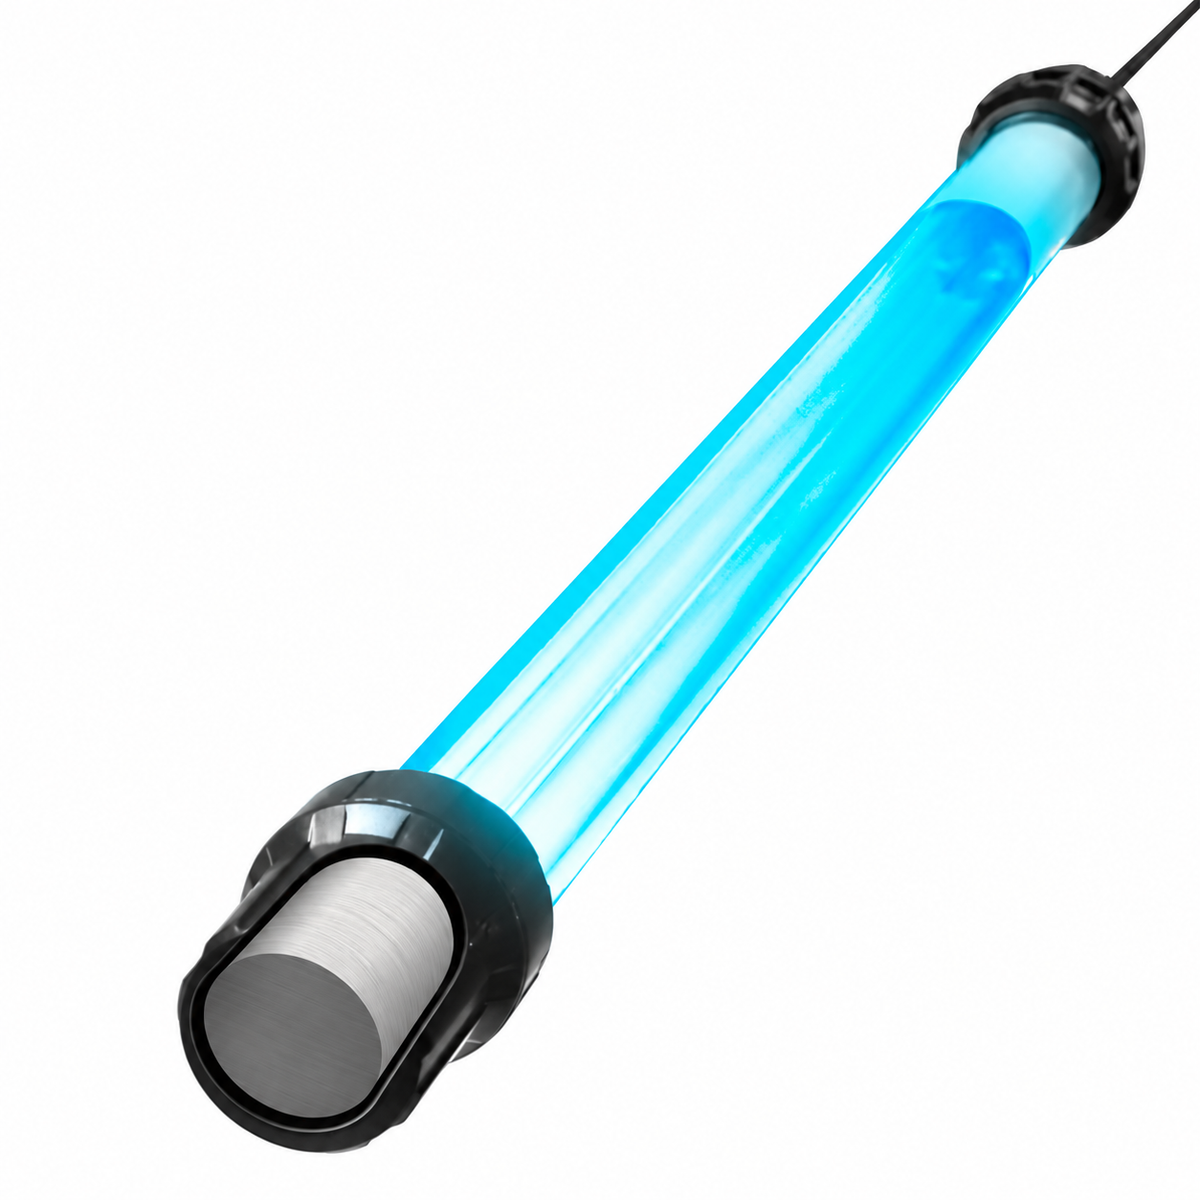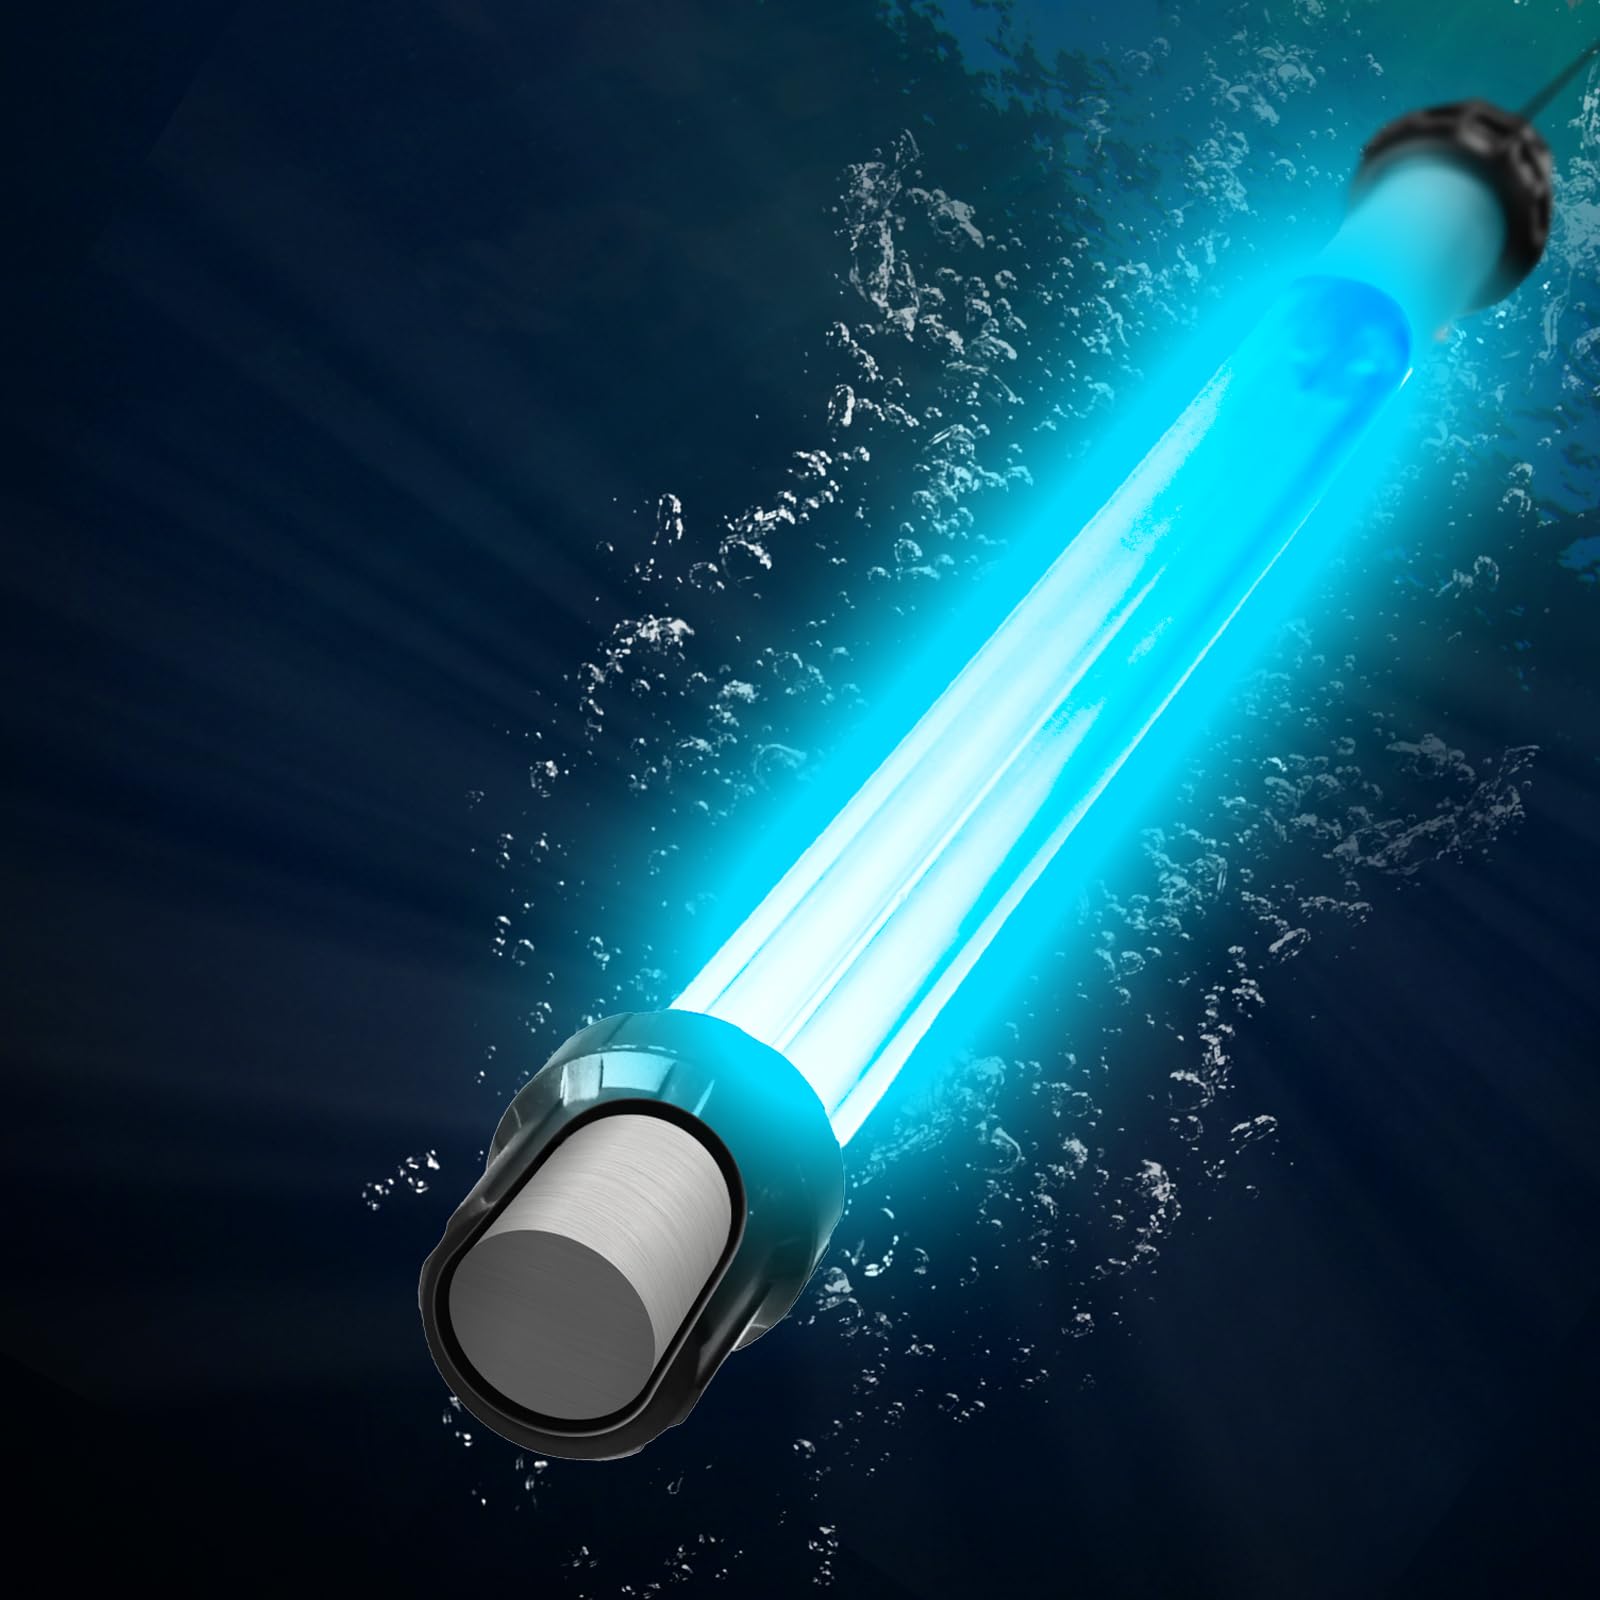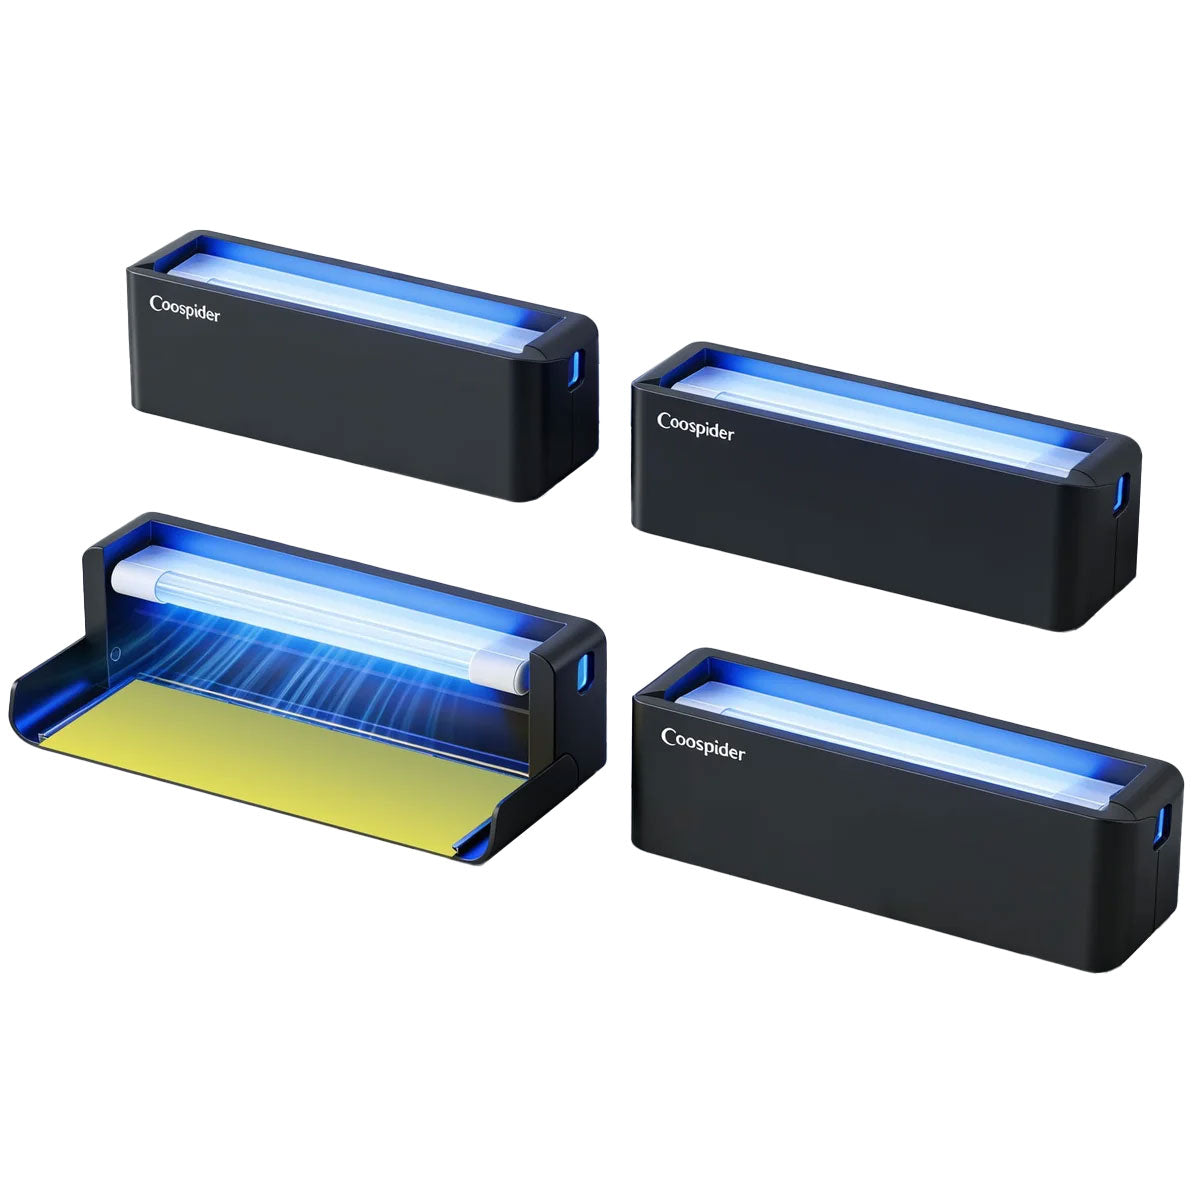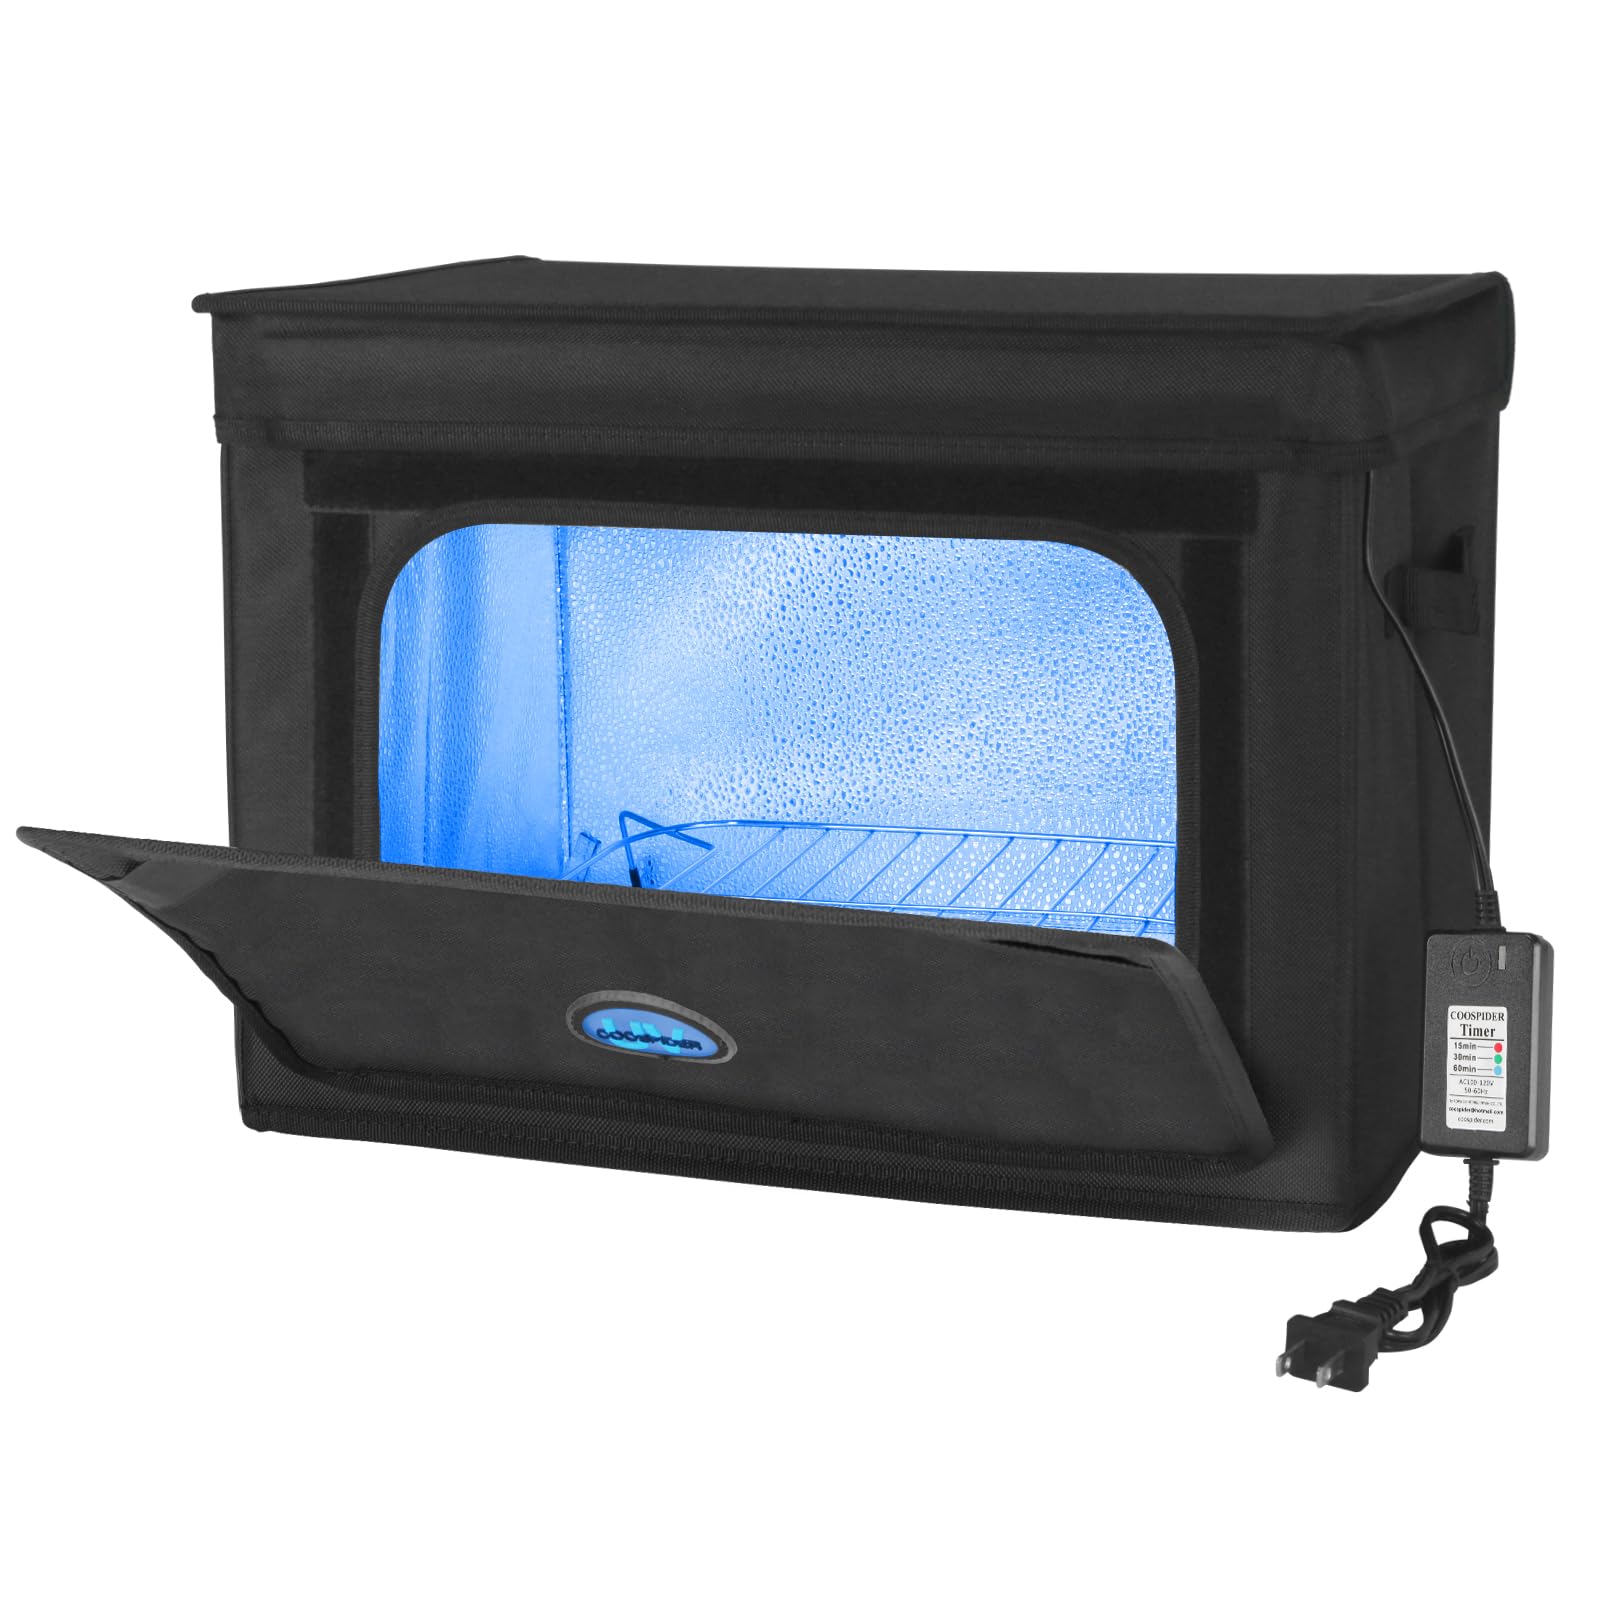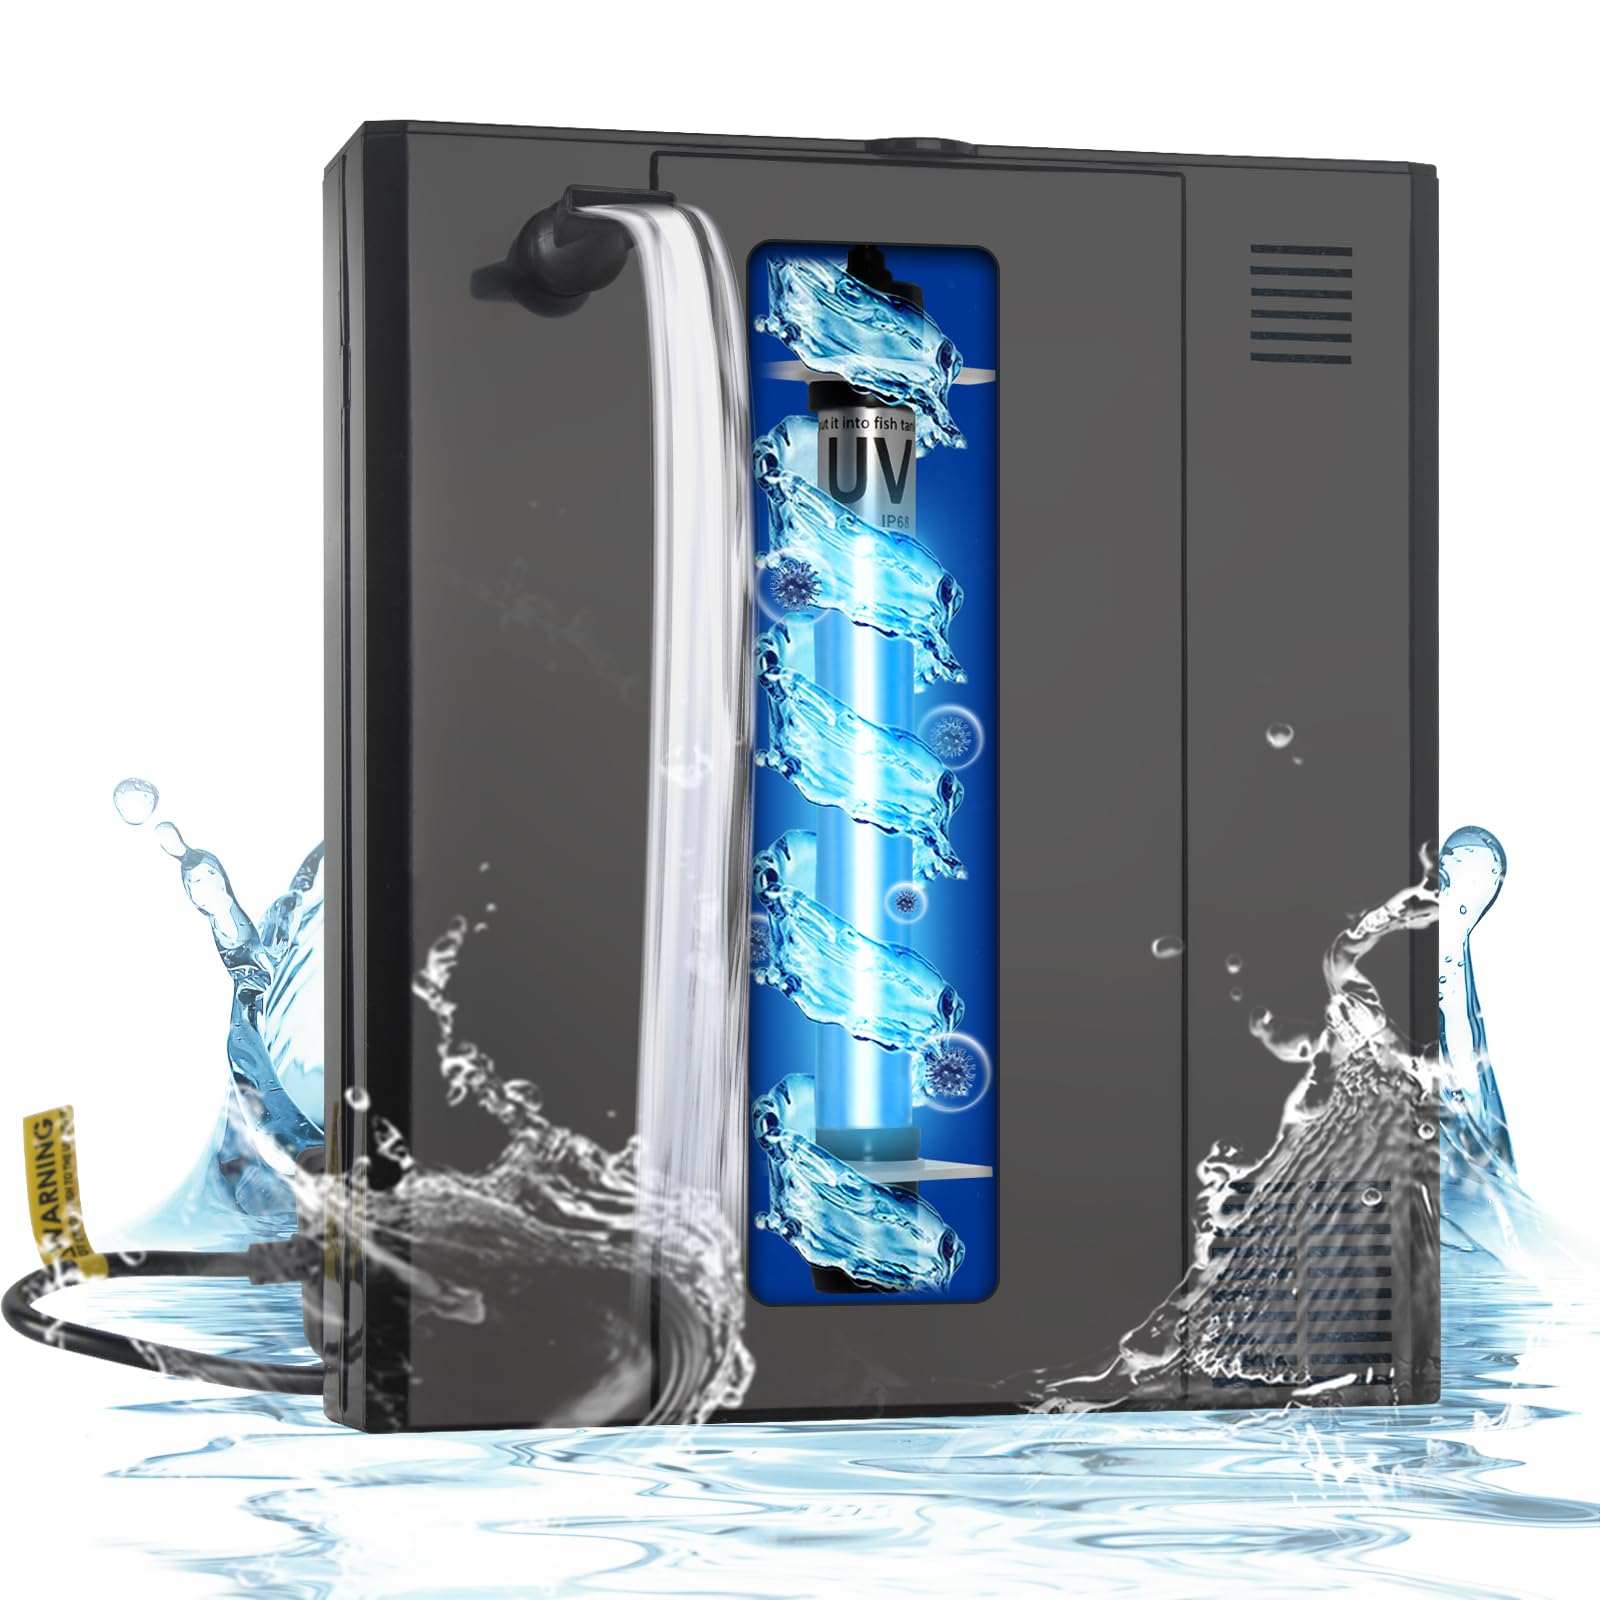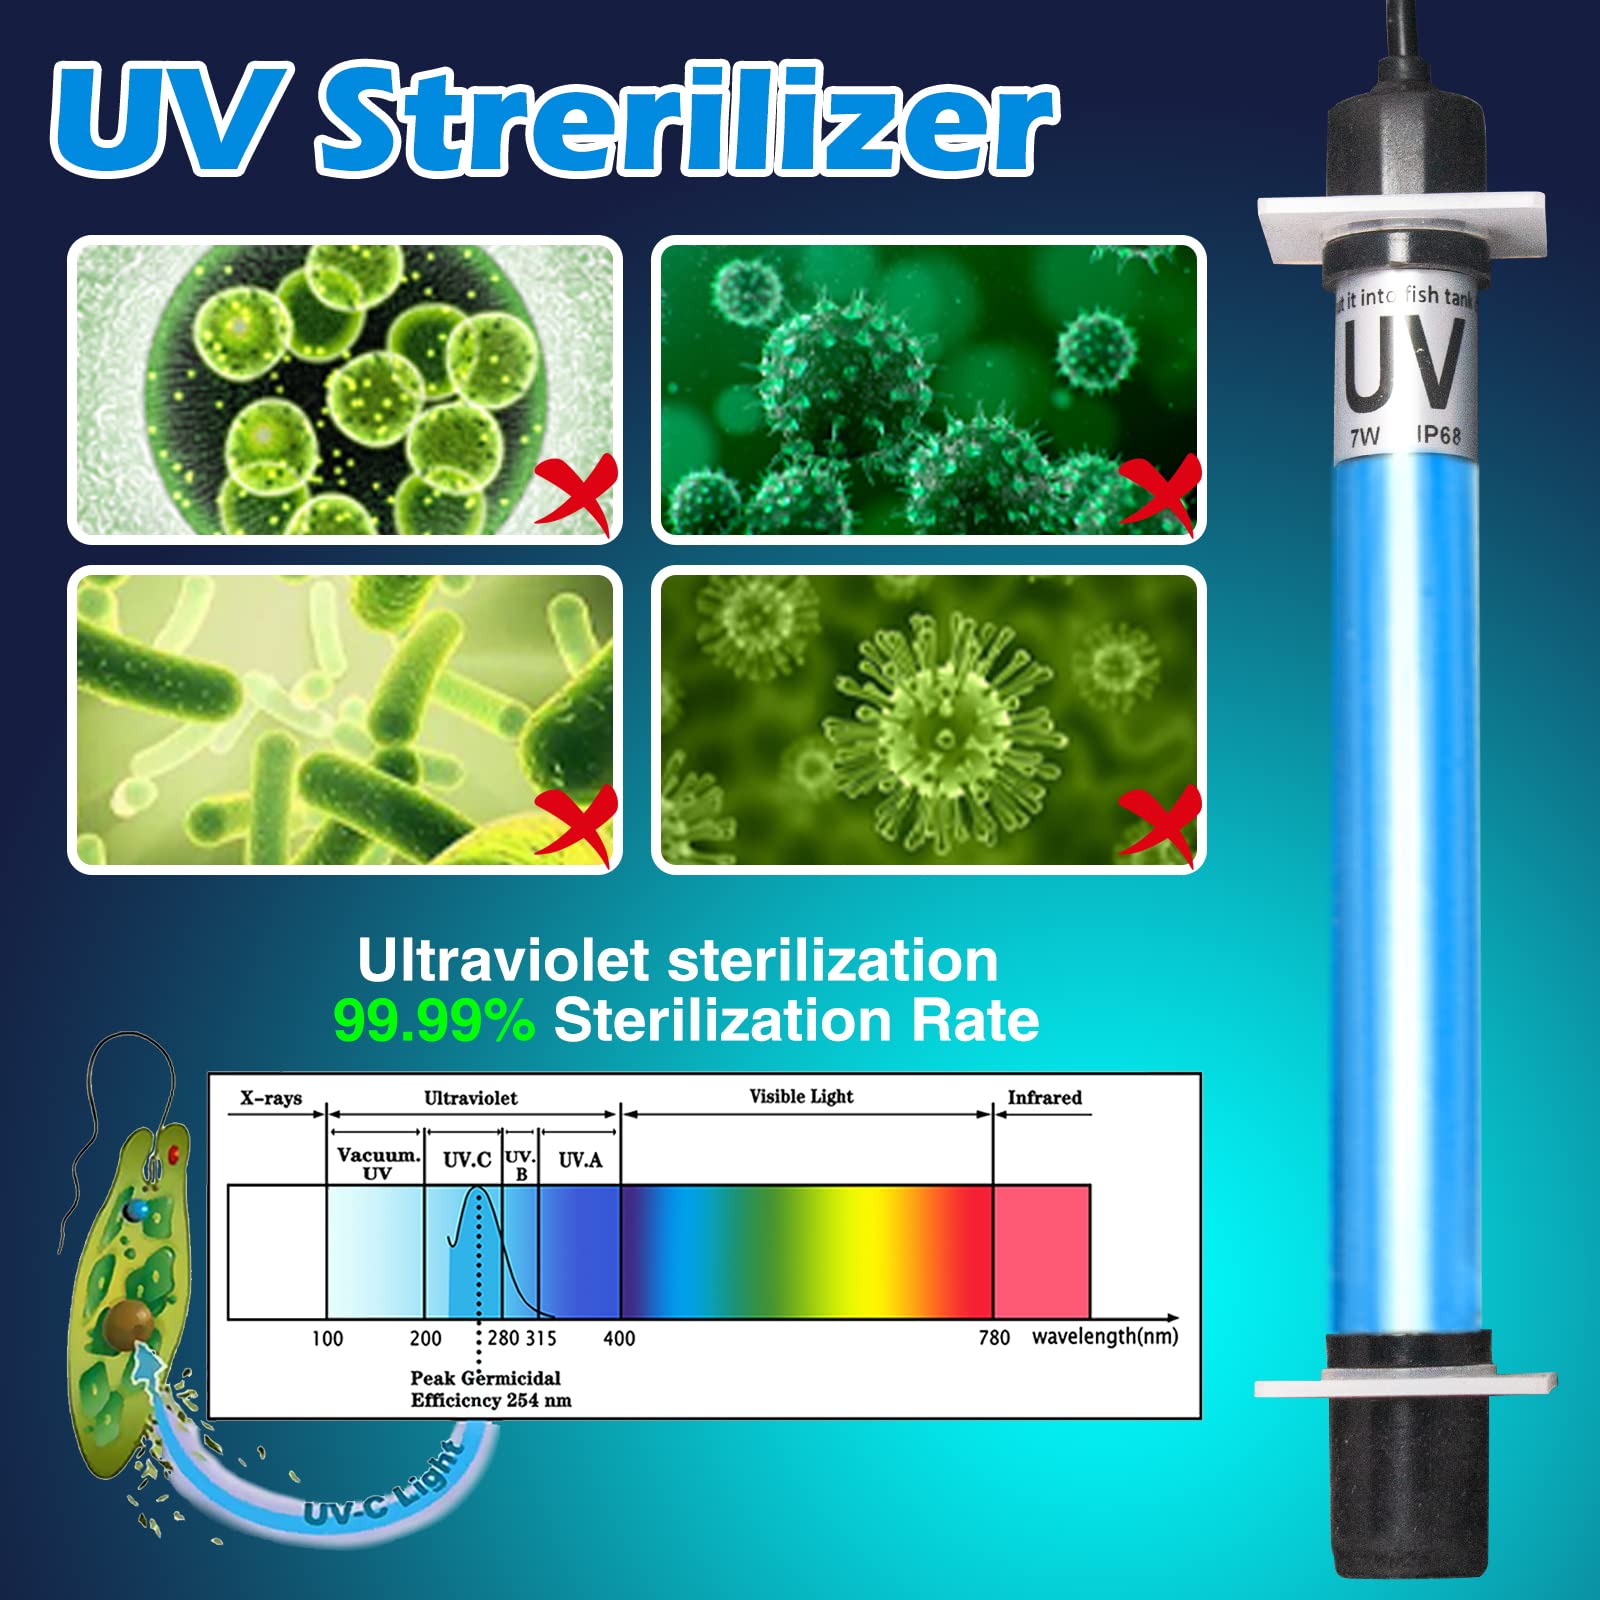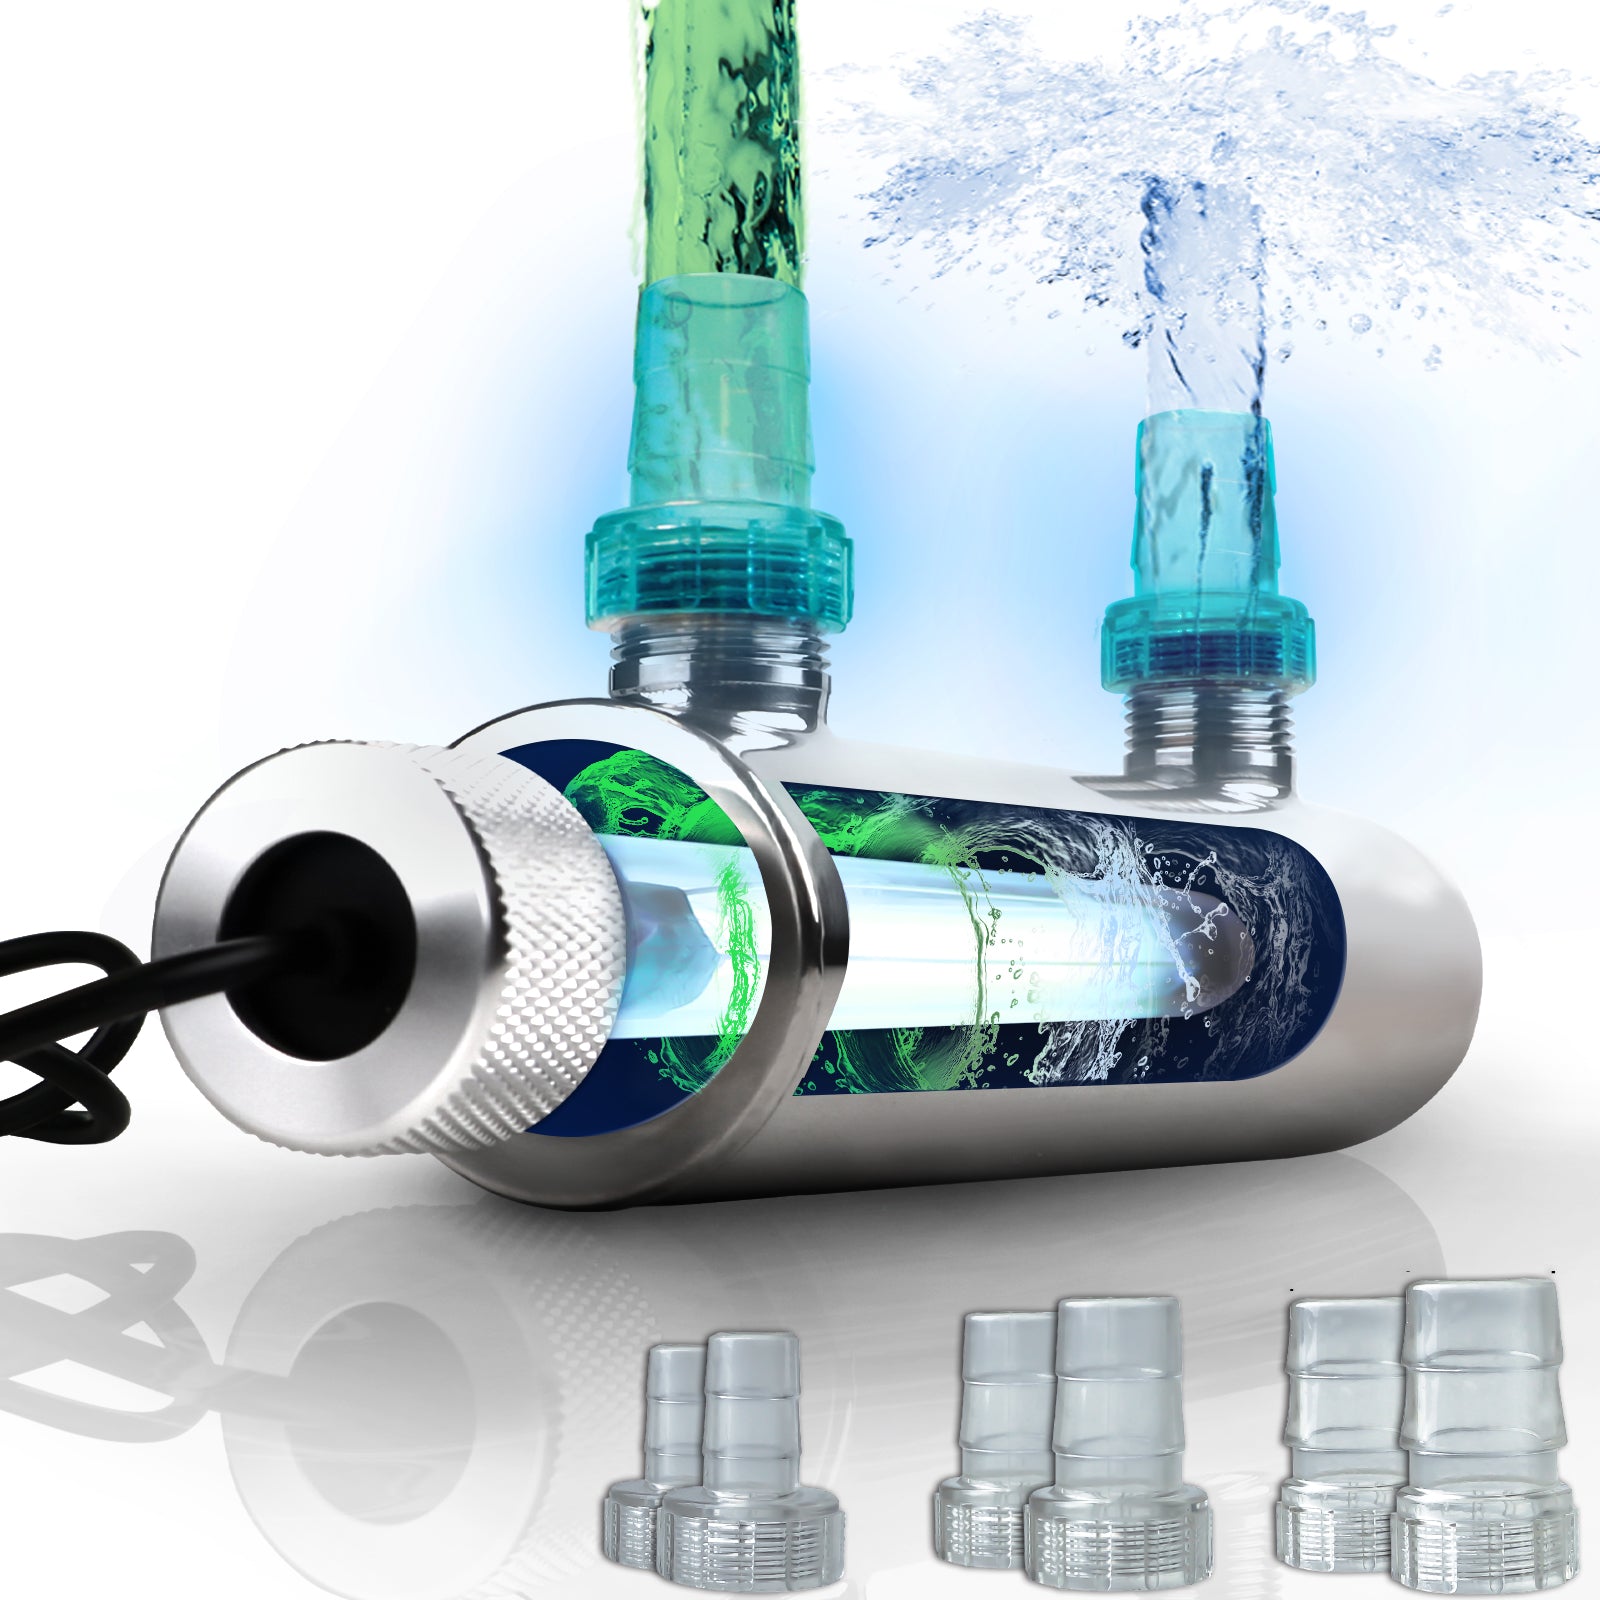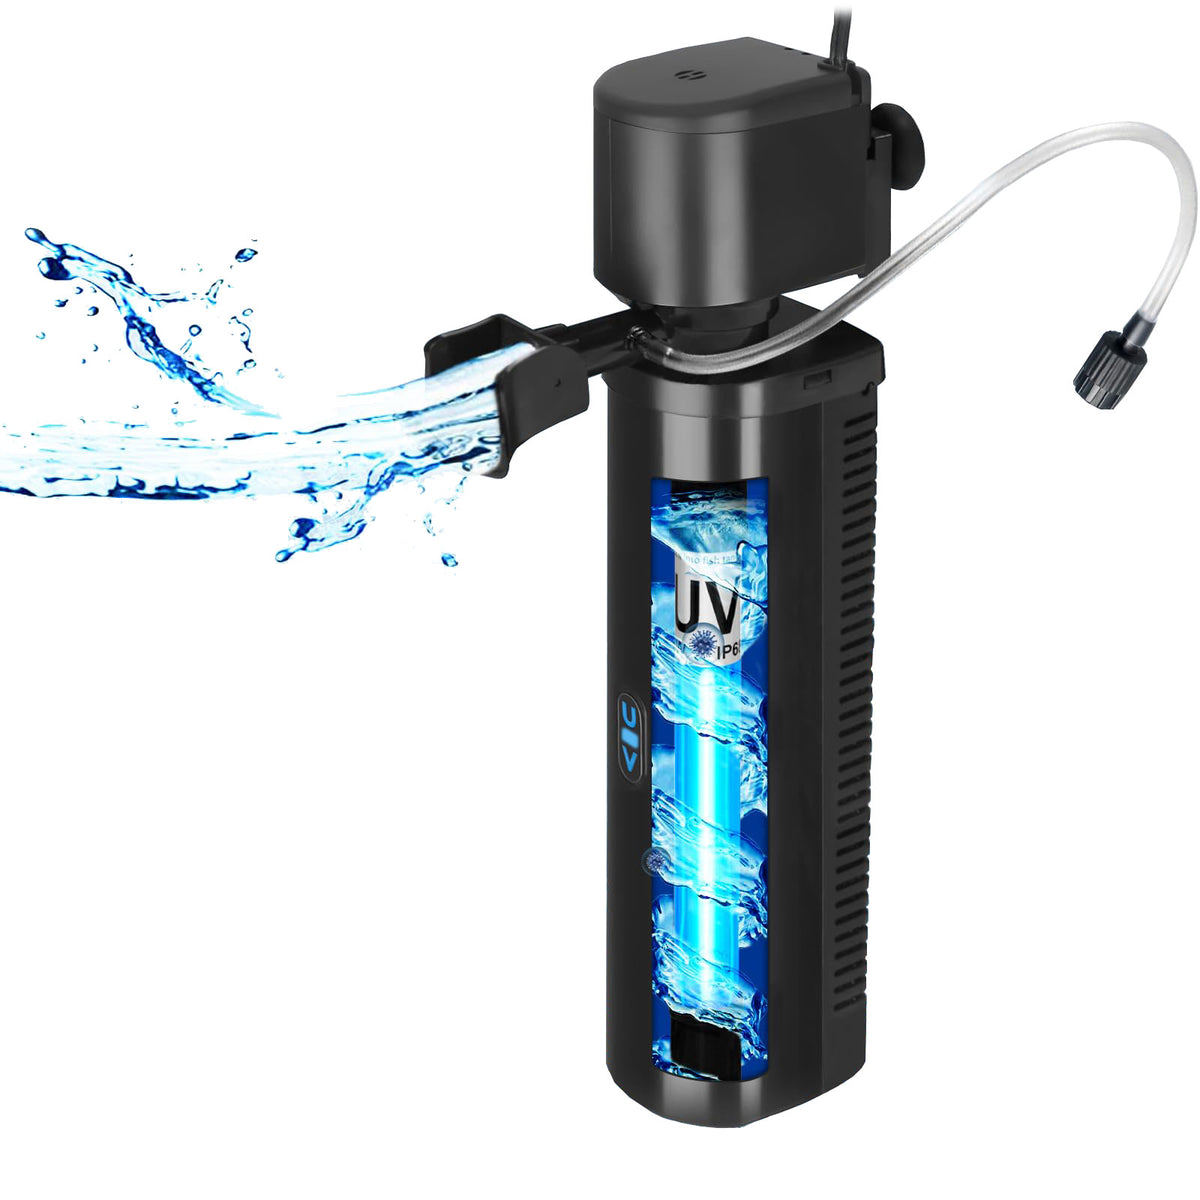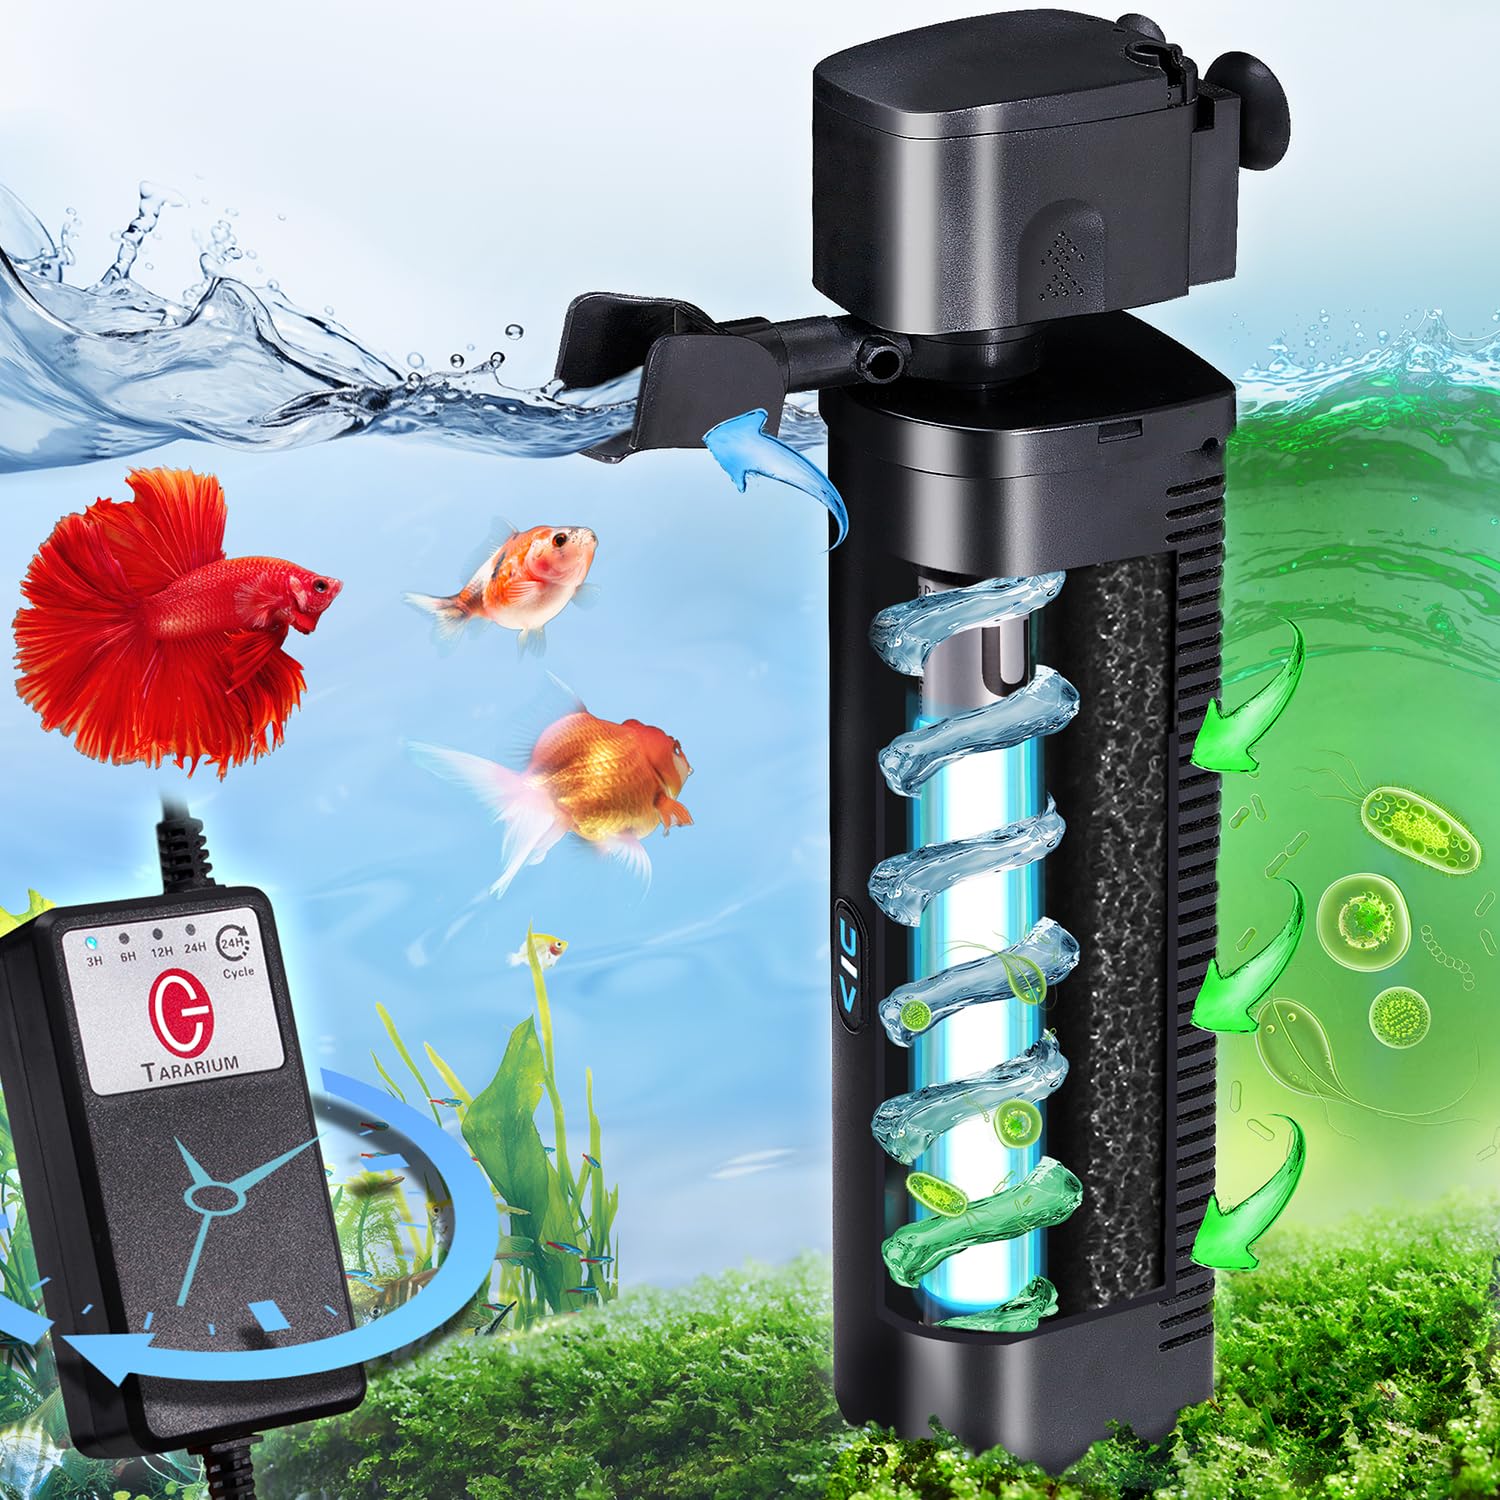
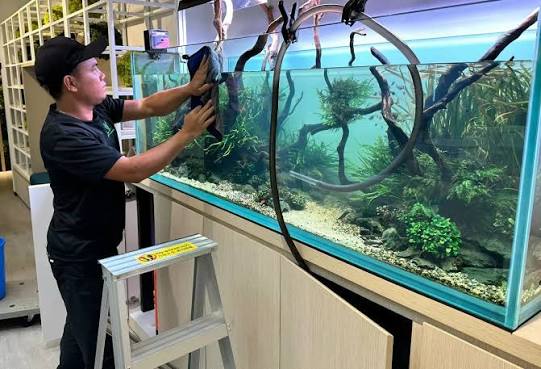
An aquarium UV sterilizer is one of the most valuable tools for maintaining a clean, healthy, and visually appealing aquatic environment. Whether you own a freshwater aquarium, saltwater reef tank, planted aquarium, or large fish-only system, a properly maintained UV sterilizer can help control free-floating algae, reduce certain waterborne microorganisms, and improve overall water clarity.
However, installing an aquarium UV sterilizer is only the beginning. Like any piece of aquarium equipment, UV sterilizers require regular attention to maintain their effectiveness. Even high-quality UV sterilizers can gradually lose performance when their bulbs age, quartz sleeves become dirty, or water flow rates fall outside the recommended range.
The good news is that maintaining an aquarium UV sterilizer doesn't have to be complicated or time-consuming. With a practical maintenance schedule, you can keep your equipment operating efficiently, prevent unexpected problems, and extend the service life of important components.
This comprehensive aquarium UV sterilizer maintenance checklist covers everything you need to know about daily inspections, weekly observations, monthly cleaning routines, and annual maintenance tasks. You'll also learn how to clean a UV sterilizer, when to replace its UV bulb, how to recognize common performance problems, and which maintenance mistakes to avoid.
Whether you're a beginner setting up your first aquarium or an experienced aquarist managing multiple tanks, these maintenance tips will help you get the most from your aquarium UV sterilizer.
1. Understanding How an Aquarium UV Sterilizer Works
Before creating a UV sterilizer maintenance schedule, it's helpful to understand how this equipment works and why maintenance matters.
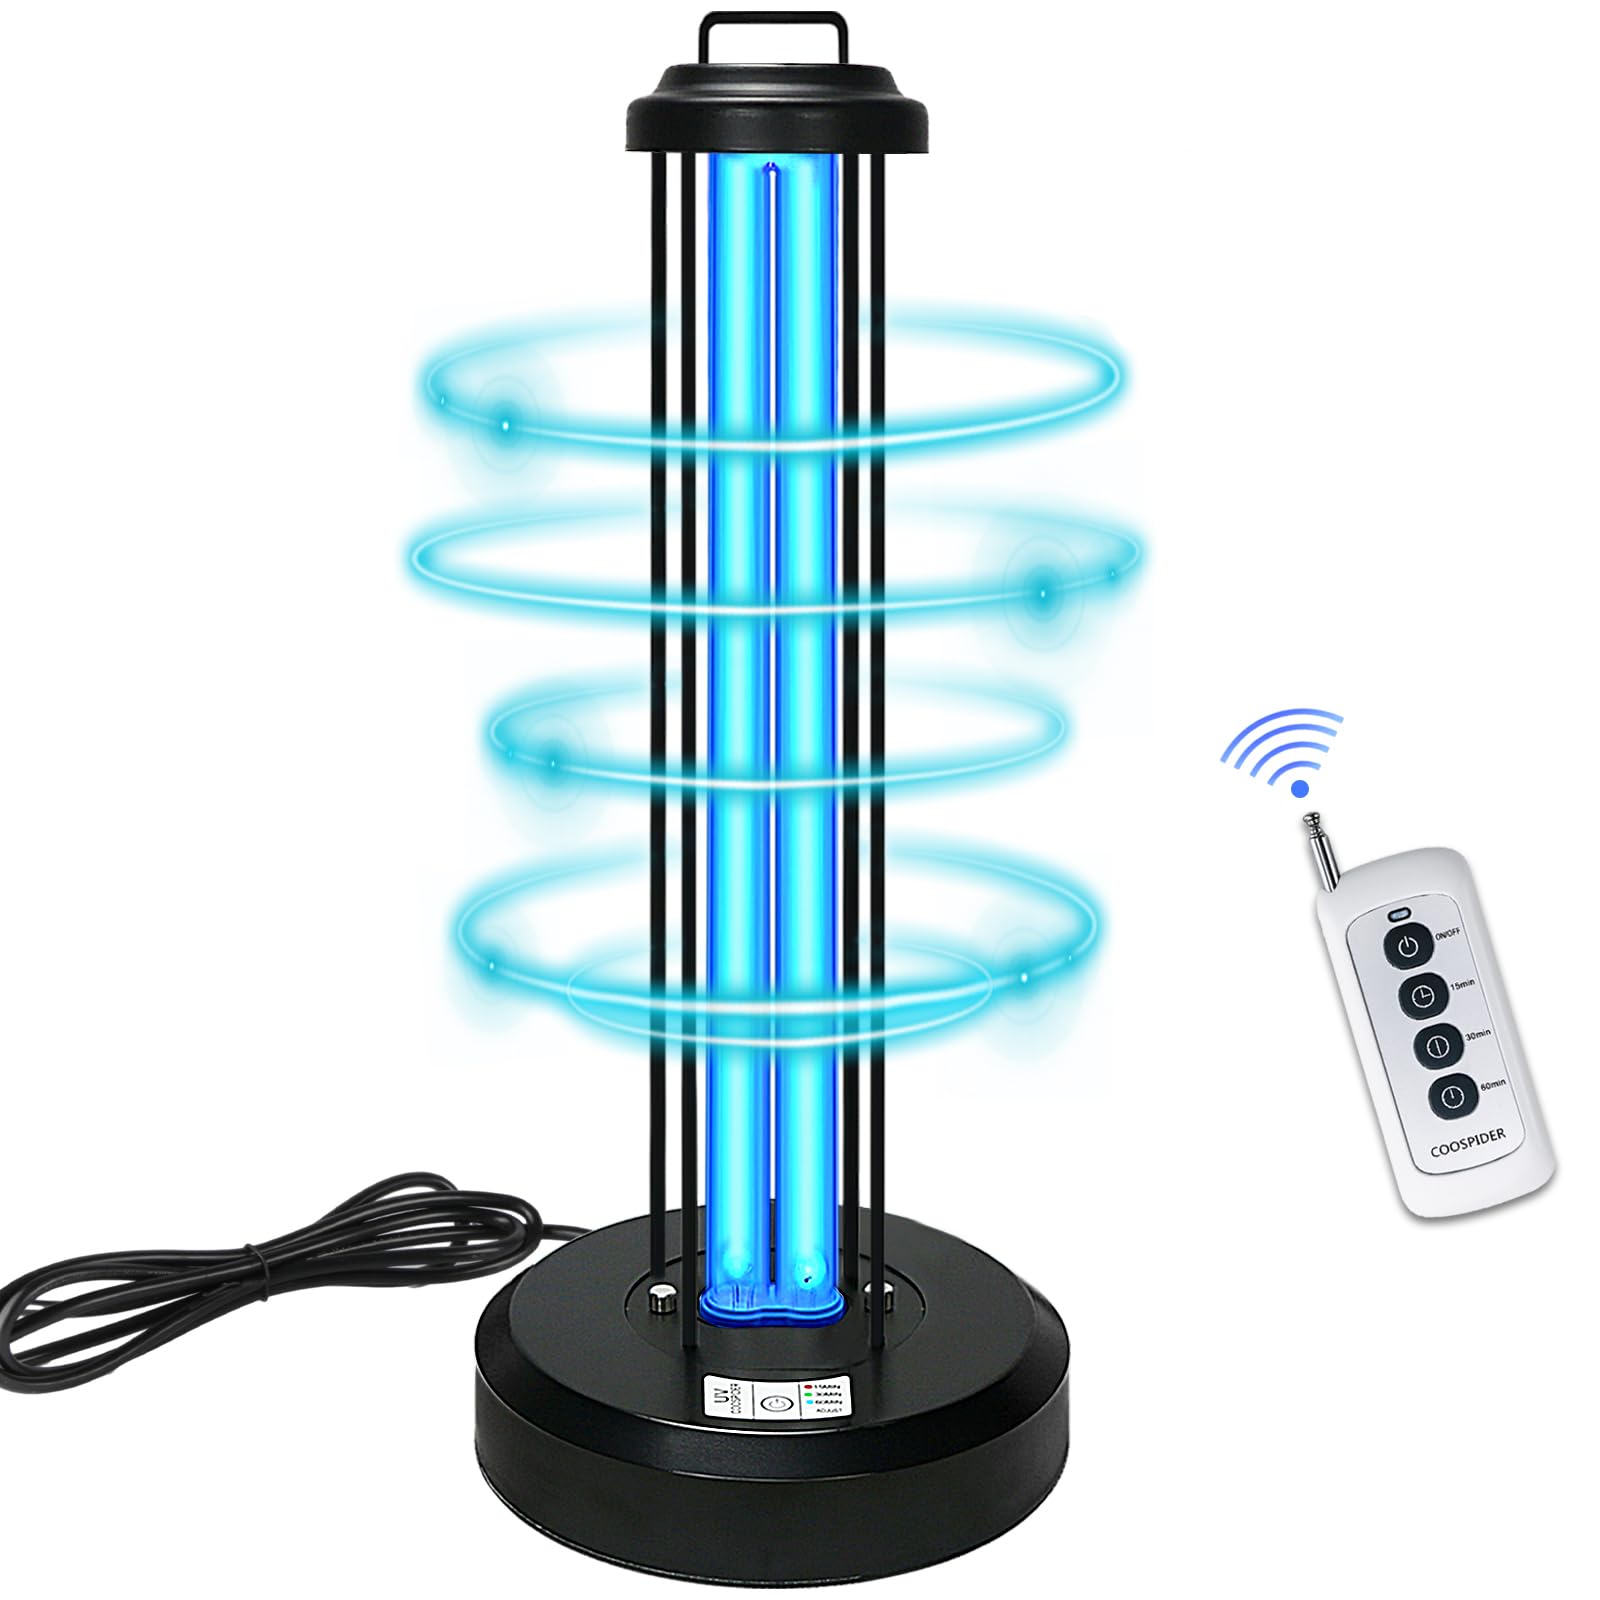
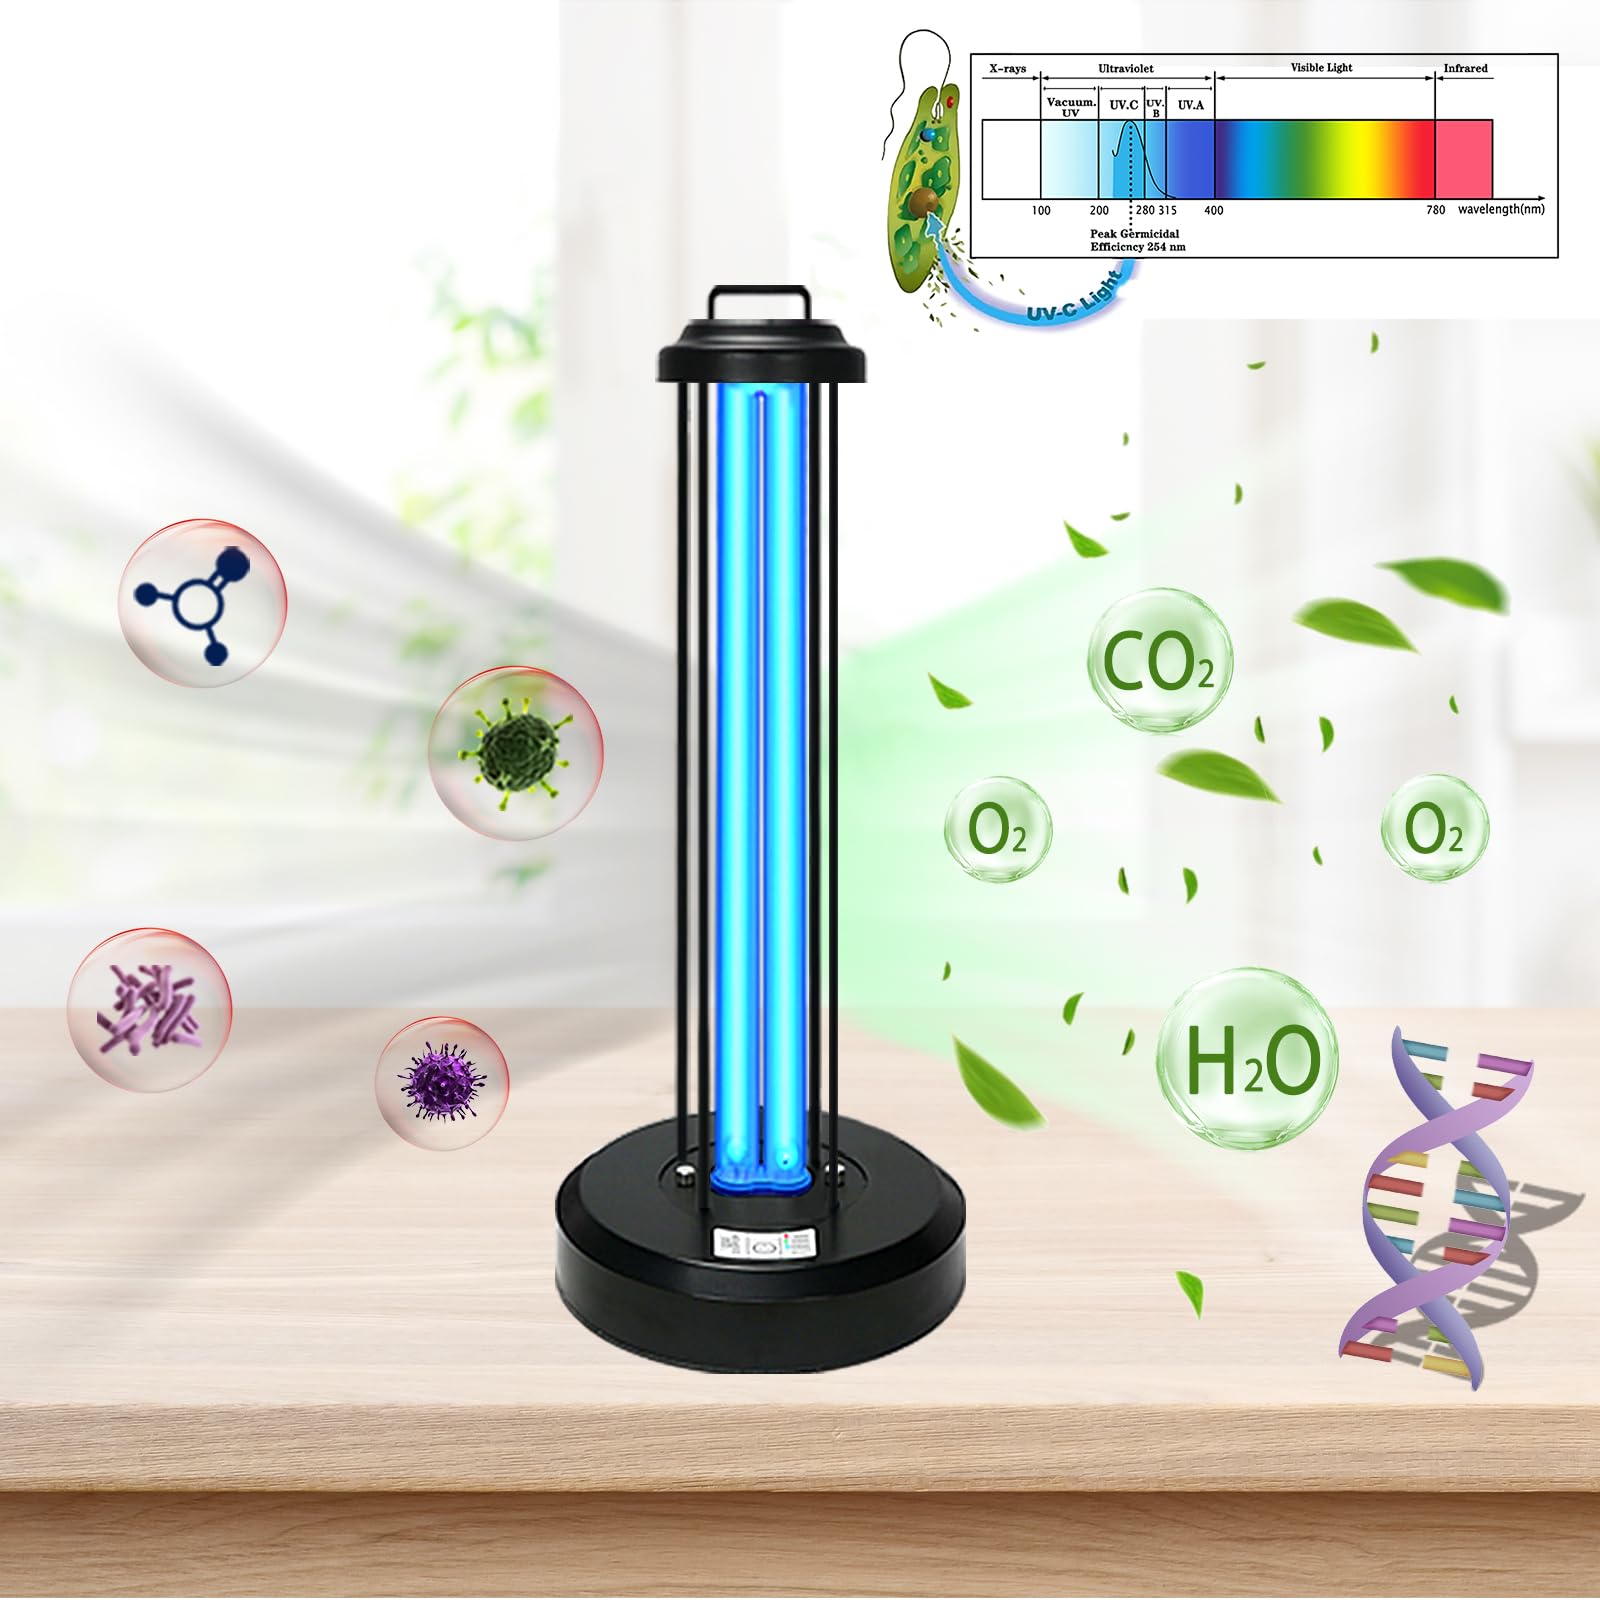
An aquarium UV sterilizer uses ultraviolet light, typically ultraviolet-C (UV-C), to expose microorganisms suspended in water to germicidal radiation.
As aquarium water passes through the sterilizer chamber, microorganisms receive a dose of UV radiation that can damage their genetic material and prevent them from reproducing or remaining viable.
Depending on the UV intensity, exposure time, microorganism, and water conditions, a UV sterilizer may help control:
-
Free-floating green water algae
-
Certain waterborne bacteria
-
Some waterborne protozoan parasites
-
Other susceptible microorganisms circulating through the system
However, an aquarium UV sterilizer is not a replacement for mechanical filtration, biological filtration, water changes, quarantine procedures, or appropriate fish disease treatment.
UV sterilizers primarily affect organisms passing through their treatment chambers. Beneficial bacteria attached to aquarium filter media, decorations, and substrate generally remain outside the direct treatment path.
Main Components of an Aquarium UV Sterilizer
Most aquarium UV sterilizers contain several important parts.
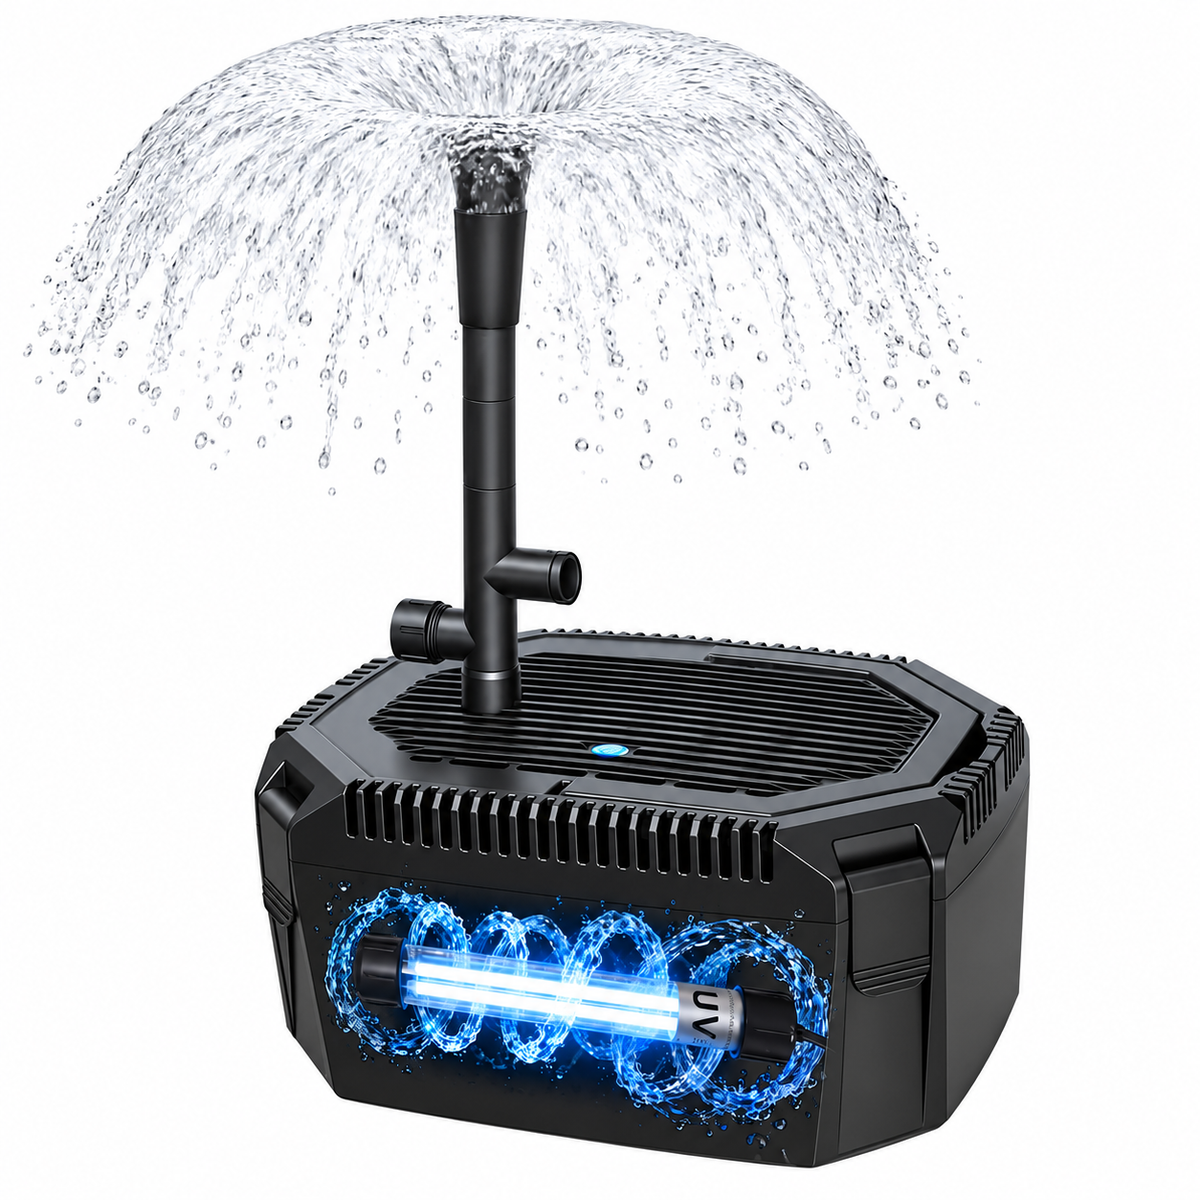
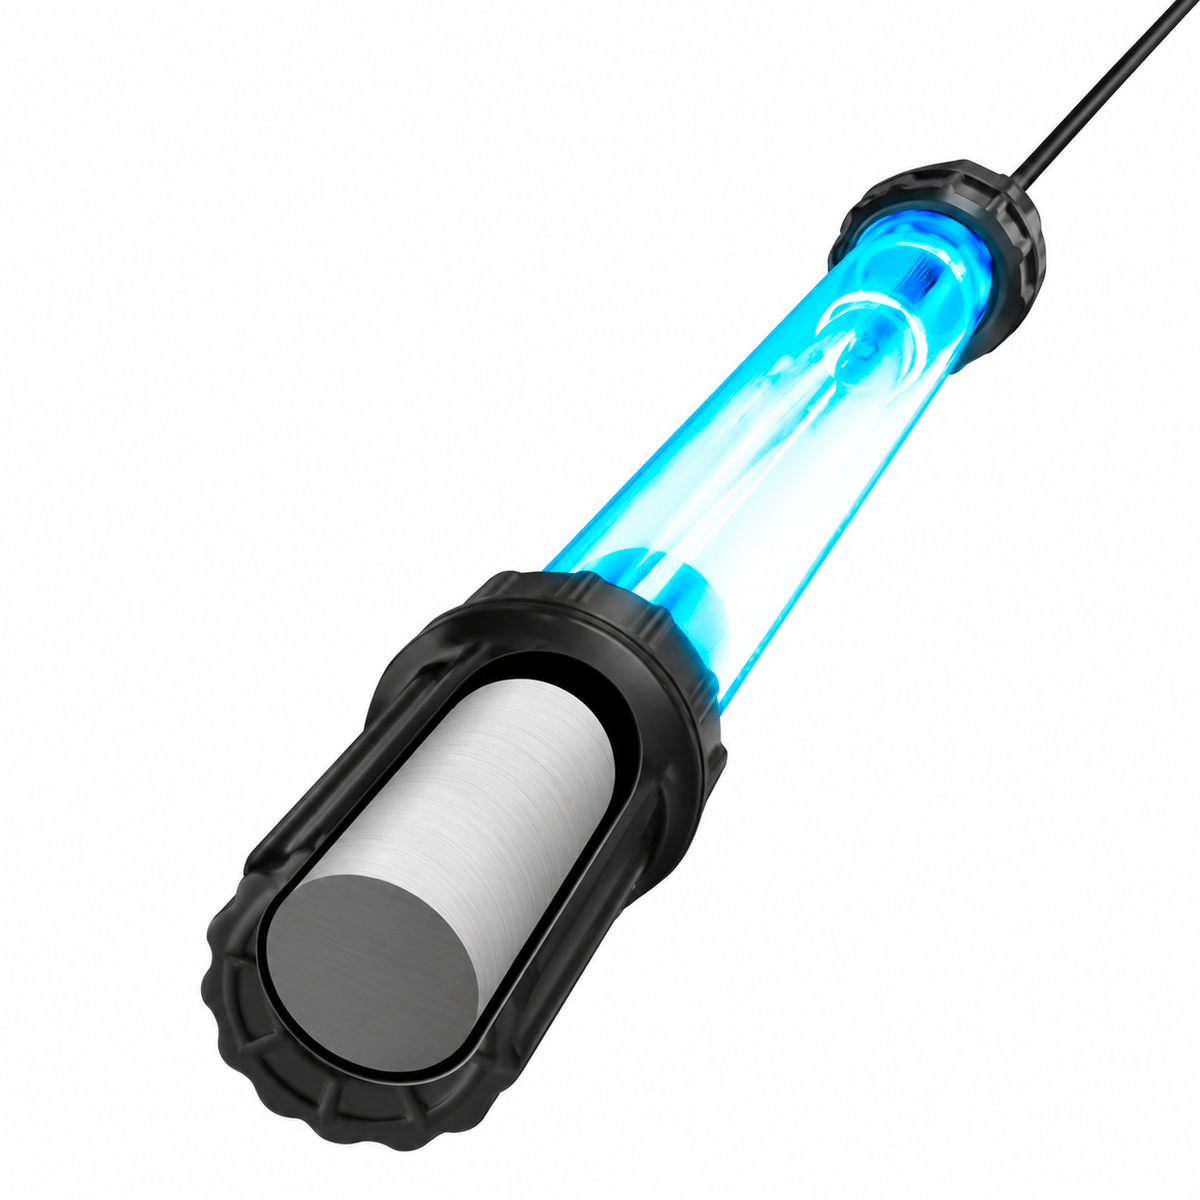
UV Lamp: Produces germicidal ultraviolet radiation. Its output gradually decreases with operating time, even if the lamp continues to illuminate.
Quartz Sleeve: A protective transparent tube surrounding the UV lamp in many sterilizer designs. It helps transmit UV radiation while separating the electrical lamp from aquarium water.
Sterilizer Chamber: The housing through which aquarium water flows and receives UV exposure.
Water Connections: Inlet and outlet fittings that connect the sterilizer to aquarium plumbing, filtration equipment, or a dedicated pump.
Power Supply or Ballast: Supplies the electrical power required to operate the UV lamp.
Seals and O-Rings: Prevent water leakage around serviceable connections and components.
Pump or Flow Control System: Determines how quickly water passes through the sterilizer.
Proper maintenance involves more than simply replacing the bulb. Each component contributes to overall sterilizer performance.
2. Why Regular Aquarium UV Sterilizer Maintenance Is Important
Aquarium UV sterilizer maintenance directly affects the equipment's ability to deliver effective ultraviolet exposure.
When maintenance is neglected, multiple factors can reduce performance.
Maintaining Effective UV Exposure
UV lamps gradually lose germicidal output as they age.
A lamp may still produce visible light while generating insufficient UV-C radiation for its intended treatment performance.
Following the manufacturer's recommended lamp replacement interval helps maintain dependable UV exposure.
Preventing Quartz Sleeve Buildup
Aquarium water contains minerals, organic particles, microorganisms, and dissolved substances.
Over time, these materials can accumulate on the quartz sleeve.
Even a relatively thin coating can interfere with UV transmission, reducing the radiation reaching microorganisms in the water.
Regular inspection and cleaning help maintain efficient operation.
Supporting Consistent Water Flow
A UV sterilizer needs an appropriate flow rate to work effectively.
Excessively fast water flow may reduce exposure time below the level required for a particular treatment objective.
Insufficient flow can reduce the volume of water processed and, in some designs, create overheating concerns.
Maintaining clean prefilters, pumps, tubing, and water connections helps keep the system operating within its recommended specifications.
Preventing Equipment Damage
Routine inspections can identify small problems before they become expensive repairs.
Examples include:
-
Loose plumbing connections
-
Damaged O-rings
-
Deteriorating electrical cables
-
Restricted water flow
-
Water leakage
-
Unusual vibration
-
Overheating
-
Damaged lamp connectors
Detecting these issues early can protect both your aquarium and your equipment.
Extending Equipment Lifespan
A consistent maintenance routine can reduce unnecessary wear on pumps, seals, connections, and other serviceable components.
Instead of waiting for the sterilizer to malfunction, preventive maintenance keeps the entire system in better operating condition.
3. Complete Aquarium UV Sterilizer Maintenance Schedule
The following checklist provides a practical starting point for routine maintenance.
Always prioritize the maintenance requirements specified in your sterilizer's instruction manual.
| Maintenance Task | Recommended Frequency |
|---|---|
| Check power and operating indicators | Daily |
| Inspect for visible leaks | Daily |
| Observe water flow | Daily |
| Monitor aquarium water clarity | Daily |
| Check for unusual sounds or vibration | Weekly |
| Inspect accessible tubing and connections | Weekly |
| Examine pump and prefilter performance | Monthly |
| Clean accessible intake screens and prefilters | Monthly or as needed |
| Inspect electrical cables and connectors | Monthly |
| Review UV lamp operating hours | Monthly |
| Inspect quartz sleeve condition | Every 1–3 months or according to the manufacturer |
| Clean quartz sleeve | As needed after inspection |
| Check O-rings and seals | During scheduled servicing |
| Replace UV lamp | According to rated operating life |
| Perform comprehensive system inspection | Annually |
| Review maintenance records | Annually |
These intervals are general recommendations rather than universal requirements.
Aquariums with heavy biological loads, mineral-rich water, substantial algae problems, or high levels of suspended debris may require more frequent maintenance.
Likewise, UV sterilizers with automatic cleaning mechanisms, monitoring sensors, or specialized lamp technology may have different service requirements.
4. Daily Aquarium UV Sterilizer Maintenance Checklist
Daily maintenance should focus on quick visual and operational inspections.
Most daily tasks take only a few minutes and don't require opening the sterilizer.
Check 1: Confirm the UV Sterilizer Is Operating
Begin by checking the sterilizer's external power or operating indicator, if provided.
Look for:
-
A normal power indicator
-
An active operating display
-
No warning lights or error messages
-
Normal pump operation
-
No unexpected shutdowns
Some UV sterilizers include a lamp-life counter, flow sensor, or digital controller.
Review these displays for unusual readings.
Never look directly at an exposed operating UV-C lamp. UV-C radiation can damage your eyes and skin, and visible illumination does not confirm effective germicidal output.
If the unit has no external operating indicator, follow the manufacturer's recommended method for checking operation.
Check 2: Inspect for Water Leaks
Examine the outside of the sterilizer and the surrounding aquarium equipment.
Pay particular attention to:
-
Inlet fittings
-
Outlet fittings
-
Threaded connections
-
Quartz sleeve retaining assemblies
-
Housing joints
-
Flexible tubing connections
Even a small water leak deserves attention, especially when electrical equipment is nearby.
If you discover a leak, safely disconnect power, isolate water flow, and resolve the issue before returning the unit to service.
Never handle wet electrical connections or attempt repairs while the sterilizer is energized.
Check 3: Observe Water Flow
Water must circulate through the sterilizer at the appropriate rate.
Watch for signs of restricted or interrupted flow, including reduced outlet movement, air bubbles trapped in the plumbing, or a pump operating abnormally.
Compare the current flow with the normal operating condition of your aquarium.
If the flow decreases noticeably, inspect the system according to its maintenance instructions.
Remember that faster water movement isn't automatically better.
The correct flow rate depends on the sterilizer model and its intended application.
Check 4: Monitor Aquarium Water Clarity
One reason aquarium owners install UV sterilizers is to help control green water caused by suspended algae.
Observe the appearance of your aquarium each day.
Look for:
-
Increasing green coloration
-
Unusual cloudiness
-
Sudden changes in water transparency
-
Recurring suspended algae blooms
These conditions don't automatically mean your UV sterilizer is malfunctioning.
Cloudy aquarium water may result from bacterial blooms, suspended debris, substrate disturbances, or other water quality issues.
However, changing water clarity can provide an early reason to examine the UV system and overall aquarium conditions.
Check 5: Observe Fish and Aquarium Livestock
An aquarium UV sterilizer supports water management, but livestock health remains the most important concern.
During your daily routine, observe fish behavior, feeding activity, respiration, and general appearance.
Watch for:
-
Unusual lethargy
-
Rapid breathing
-
Loss of appetite
-
Abnormal swimming behavior
-
Visible lesions or spots
-
Unexpected aggression or stress
A UV sterilizer cannot reliably prevent or eliminate every fish disease.
If your fish show symptoms of illness, assess water quality and seek appropriate aquarium health guidance rather than relying on UV treatment alone.
Daily UV Sterilizer Checklist Summary
-
Confirm normal power and operating indicators.
-
Check for visible water leaks.
-
Observe water circulation.
-
Monitor aquarium water clarity.
-
Check for unusual warning messages.
-
Observe livestock health.
-
Record any unexpected changes.
5. Weekly Aquarium UV Sterilizer Maintenance Tips
Although daily inspections are essential, a slightly more detailed weekly check can help identify developing problems.
Inspect Tubing and Water Connections
Examine any accessible flexible tubing connected to the sterilizer.
Look for kinks, discoloration, excessive debris accumulation, loose clamps, and developing cracks.
Make sure tubing is properly supported and isn't pulling against the sterilizer housing.
Correct plumbing alignment can reduce stress on fittings and seals.
Listen for Unusual Pump Noise
A properly operating aquarium pump should generally maintain a consistent sound pattern.
Grinding noises, rattling, irregular humming, or increased vibration may indicate problems with the pump or water circulation.
If abnormal sounds develop, inspect the pump according to its instructions.
Review Prefilter Condition
Many UV sterilizers operate downstream of mechanical filtration.
Mechanical filtration removes suspended debris before water reaches the UV chamber.
Check whether the prefilter appears excessively dirty or restricted.
Clean or replace filtration material when needed, following the filtration system's maintenance recommendations.
Check the Surrounding Installation Area
Keep the area around the UV sterilizer dry, accessible, and adequately ventilated.
Ensure electrical cords remain properly arranged with drip loops where applicable.
Do not allow stored supplies, decorations, or other objects to block necessary ventilation or interfere with access.
These simple weekly checks can reduce the likelihood of unexpected equipment problems.
6. Monthly Aquarium UV Sterilizer Maintenance Checklist
Monthly maintenance involves a more detailed evaluation of the UV sterilizer and the equipment supporting it.
It is particularly important for aquariums where the sterilizer operates continuously.
Step 1: Inspect the Pump and Water Circulation System
A UV sterilizer depends on consistent water circulation.
Inspect the pump, tubing, prefilters, and any flow-control components.
Look for sediment buildup, restricted intake screens, or excessive algae growth.
If the pump requires cleaning, disconnect electrical power and follow its manufacturer's servicing instructions.
A clean pump helps maintain predictable water movement.
If possible, compare actual flow with the flow rate recommended for your UV sterilizer.
Keep in mind that rated pump output can differ substantially from actual installed flow because of tubing length, plumbing restrictions, elevation changes, and filter resistance.
Step 2: Clean Intake Screens and Prefilters
Dirty intake screens and mechanical prefilters can restrict water entering the UV sterilizer.
During monthly maintenance:
-
Turn off the relevant equipment safely.
-
Remove accessible screens or prefilter components.
-
Rinse away accumulated debris using an appropriate cleaning method.
-
Inspect components for physical damage.
-
Reinstall them securely.
-
Restore water circulation and confirm normal operation.
Avoid using soaps, detergents, or cleaning chemicals that could leave harmful residues in aquarium water.
If the prefilter includes established biological filter media, clean it carefully using an aquarium-safe method to preserve beneficial bacteria.
Step 3: Review UV Lamp Operating Hours
UV lamp replacement schedules are usually based on operating hours, not simply calendar age.
Record the installation date and accumulated lamp operating time.
Some conventional UV-C lamps have manufacturer-recommended replacement intervals around 8,000–9,000 operating hours, but specifications vary significantly by product.
Certain systems use different lamp technologies and rated lifespans.
Never assume every UV sterilizer requires replacement after exactly one year.
Instead, consult your model's published lamp-life specifications.
Step 4: Inspect Electrical Components
Inspect accessible electrical cables, plugs, connectors, and external power supplies.
Look for:
-
Cracked insulation
-
Frayed wiring
-
Corrosion
-
Discoloration
-
Signs of excessive heat
-
Moisture around connections
-
Loose or damaged connectors
Do not open sealed electrical components or attempt to repair a ballast unless you are appropriately qualified.
If you discover damaged electrical parts, stop using the equipment until the issue has been properly resolved.
Step 5: Examine the Quartz Sleeve When Scheduled
The quartz sleeve is one of the most important components to inspect because it allows UV-C radiation to pass from the lamp into the water.
Its outer surface can gradually accumulate mineral scale, biofilm, and debris.
Some systems benefit from quartz sleeve inspection approximately every three months, while others have different maintenance intervals.
A monthly inspection may be appropriate for heavily loaded aquariums if the manufacturer recommends it, but unnecessary disassembly should be avoided.
If the sleeve is due for inspection, follow the complete shutdown and disassembly procedure supplied with your sterilizer.
Step 6: Check Seals and O-Rings
When the sterilizer is already disassembled for authorized maintenance, inspect its seals.
Look for signs of:
-
Cracking
-
Flattening
-
Hardening
-
Deformation
-
Loss of elasticity
-
Visible damage
Replace any worn or damaged seals with compatible replacement parts.
Use only lubricants specifically approved by the equipment manufacturer, if lubrication is required.
Certain lubricants can damage rubber materials or contaminate aquarium water.
Monthly Maintenance Checklist Summary
-
Inspect pump operation.
-
Clean intake screens and prefilters.
-
Check water flow.
-
Examine accessible tubing and fittings.
-
Inspect electrical cables.
-
Review lamp operating hours.
-
Inspect quartz sleeve if scheduled.
-
Check seals during authorized servicing.
-
Update maintenance records.
7. How to Clean an Aquarium UV Sterilizer Properly
Cleaning an aquarium UV sterilizer is one of the most important maintenance procedures.
The exact steps vary between manufacturers and models, so the equipment manual should always take priority.
Step 1: Disconnect Electrical Power
Before servicing the sterilizer, switch it off and unplug it.
Disconnect the associated pump when necessary.
Allow the lamp and housing to cool before handling them.
UV lamps may become hot during operation, and opening energized UV equipment can create serious electrical and radiation hazards.
Step 2: Stop Water Flow and Drain the Chamber
Close appropriate isolation valves, if installed.
Relieve pressure and drain the sterilizer according to the manufacturer's instructions.
Place a container underneath the housing to collect residual water.
Do not disconnect pressurized fittings while the system is operating.
Step 3: Remove the UV Lamp Carefully
Follow your model's instructions for accessing the lamp.
Depending on the design, you may need to disconnect a lamp connector or remove a retaining assembly.
Handle the lamp gently to avoid breaking the glass.
Avoid touching the lamp surface with bare fingers.
Use clean gloves when recommended.
Step 4: Remove the Quartz Sleeve
Carefully remove the quartz sleeve following the manufacturer's disassembly procedure.
Quartz is fragile and can crack if subjected to uneven pressure or impact.
Support the sleeve throughout removal.
Never force a stuck sleeve or apply excessive torque.
If removal is difficult, refer to the manufacturer's troubleshooting instructions.
Step 5: Inspect the Quartz Sleeve
Check the sleeve for:
-
Mineral deposits
-
Biofilm
-
Cloudy coatings
-
Scratches
-
Chips
-
Hairline cracks
-
Other damage
A damaged quartz sleeve should generally be replaced rather than reused.
Step 6: Clean the Quartz Sleeve
For compatible designs, use a soft, nonabrasive cloth to remove loose deposits.
Some manufacturers permit diluted white vinegar or other specified mild cleaning solutions for mineral buildup.
Before using any cleaning product, confirm that it is approved for your exact sterilizer model.
Avoid abrasive pads, metal scrapers, and harsh chemicals not specifically approved by the manufacturer.
These may scratch the sleeve or damage nearby seals.
After cleaning, thoroughly rinse the sleeve according to the manufacturer's instructions so cleaning residues cannot enter the aquarium.
Step 7: Inspect the Interior Chamber
Check the accessible chamber interior for debris, sediment, or buildup.
Clean only the surfaces the manufacturer identifies as serviceable.
Avoid using tools or chemicals that might damage plastic housings, reflective surfaces, seals, or electrical components.
Step 8: Reassemble the Sterilizer
Reinstall the quartz sleeve, O-rings, retaining components, and lamp in the correct order.
Make sure all parts are properly aligned.
Use the specified tightening procedure.
Overtightening may damage seals, threads, or fragile quartz components.
Step 9: Restore Water Flow and Check for Leaks
Restore water circulation before energizing the UV lamp, unless the manufacturer's startup instructions specify a different sequence.
Inspect the housing and all connections for leaks.
Remove trapped air if required by the model.
Confirm that the chamber is properly filled and that adequate flow has been established.
Step 10: Restart the UV Sterilizer
Reconnect electrical power only after the system is correctly assembled and safe to operate.
Check the power indicator, controller, water connections, and flow conditions.
Record the maintenance date and any replaced parts.
A properly completed cleaning process can restore UV transmission and improve overall sterilizer reliability.
8. How Often Should You Clean an Aquarium UV Sterilizer?
There is no single cleaning interval suitable for every aquarium.
Cleaning frequency depends on water quality, filtration efficiency, mineral concentration, biological load, and the sterilizer's design.
Freshwater Aquariums
Freshwater aquariums with effective mechanical filtration may experience relatively limited sleeve contamination.
However, aquariums with high mineral concentrations or excessive organic debris can require more frequent cleaning.
Saltwater Aquariums
Saltwater systems can experience mineral deposits and biofilm accumulation.
Salt residue around external connections may also require attention.
Use manufacturer-approved cleaning methods and prevent cleaning residues from entering the aquarium.
Planted Aquariums
Planted aquariums may contain suspended organic material, plant debris, and occasional algae blooms.
Maintaining prefilters and circulation can help reduce contamination inside the UV chamber.
Heavily Stocked Aquariums
Aquariums with large fish populations or substantial feeding activity often generate more suspended waste.
These systems may benefit from more frequent mechanical filter maintenance and quartz sleeve inspection.
Recommended Approach
Instead of following a rigid cleaning schedule, inspect the equipment at manufacturer-recommended intervals and adjust maintenance frequency according to actual buildup.
If the sleeve repeatedly becomes dirty before its next scheduled inspection, consider improving upstream mechanical filtration.
9. Annual Aquarium UV Sterilizer Maintenance Checklist
Annual maintenance provides an opportunity to examine the entire system and address components approaching the end of their service life.
Replace the UV Lamp When Due
UV lamp replacement is one of the most important long-term maintenance tasks.
A lamp can remain visibly illuminated after its germicidal output has fallen below the level required for the intended treatment.
Check the manufacturer's rated operating life and replacement guidance.
For example, a lamp rated for 9,000 operating hours would reach that interval after approximately 375 days of continuous operation.
However, this example does not establish a universal replacement schedule.
Some lamps require earlier replacement, while other technologies have longer rated service lives.
Always select the correct replacement lamp for your sterilizer.
Perform a Comprehensive Quartz Sleeve Inspection
During annual servicing, inspect the quartz sleeve carefully.
Even if the sleeve appears clean, check for scratches, cracks, permanent cloudiness, or damage around the sealing surfaces.
Replace it if damaged or if the manufacturer specifies replacement.
A clean, intact sleeve helps maintain effective UV transmission.
Inspect and Replace Worn Seals
Review the condition of all accessible serviceable O-rings, gaskets, and seals.
Replace components that show deterioration.
Some manufacturers also recommend periodic preventive seal replacement.
Use compatible parts designed for the specific model.
Inspect the Housing and Plumbing
Examine the exterior housing for cracks, distortion, corrosion where applicable, or other signs of wear.
Inspect mounting brackets and plumbing connections.
Confirm that the sterilizer remains securely installed.
Evaluate the Pump and Filtration System
Annual maintenance is also a good opportunity to assess whether the supporting water circulation equipment remains suitable.
Check for:
-
Reduced pump output
-
Excessive vibration
-
Worn pump components
-
Clogged plumbing
-
Aging tubing
-
Inefficient prefiltration
Replace worn components as necessary.
Review Equipment Performance
Compare current operation with the system's original specifications.
If your equipment provides validated UV intensity, flow, or lamp-status information, review those measurements.
For systems without monitoring sensors, verify operating conditions using manufacturer-approved methods.
Do not assume that a glowing lamp proves effective UV performance.
Annual Maintenance Checklist Summary
-
Replace UV lamp if its rated operating life has been reached.
-
Thoroughly inspect the quartz sleeve.
-
Replace damaged or deteriorated seals.
-
Inspect the housing and mounting system.
-
Examine plumbing and tubing.
-
Evaluate pump performance.
-
Review electrical components.
-
Confirm recommended flow conditions.
-
Update maintenance documentation.
-
Plan future replacement-part purchases.
10. UV Sterilizer Bulb Replacement: What Aquarium Owners Should Know
Understanding UV lamp replacement is essential for maintaining long-term sterilizer performance.
Why UV Bulbs Lose Effectiveness
Traditional UV-C lamps gradually experience reduced ultraviolet output during operation.
This reduction occurs because of normal lamp aging and internal material changes.
As a result, the lamp may produce visible light while delivering less germicidal radiation.
Signs That a UV Lamp May Need Replacement
Common reasons to investigate or replace a lamp include:
-
Reaching the manufacturer's rated operating hours
-
A lamp-life warning
-
Failure to start
-
Intermittent lamp operation
-
A manufacturer-defined UV intensity warning
-
Visible physical damage
Declining aquarium water clarity may justify checking lamp condition, but it is not reliable proof that the lamp has failed.
Other factors, including water flow, sleeve contamination, and nutrient levels, can also affect results.
Choosing the Correct Replacement Bulb
When purchasing a replacement aquarium UV sterilizer bulb, confirm compatibility with:
-
Sterilizer brand and model
-
Lamp wattage
-
Lamp length
-
Connector configuration
-
Electrical requirements
-
Manufacturer part number
Never install a higher-wattage bulb simply because you want stronger UV treatment.
Using an incompatible lamp can damage the ballast, housing, or other components.
Avoid Unnecessary On-and-Off Cycling
Some UV lamp systems experience additional wear from frequent switching.
Follow the manufacturer’s guidance regarding normal operation and switching frequency.
If your aquarium setup uses scheduled UV operation, make sure the chosen schedule is compatible with the lamp and ballast.
11. Understanding Quartz Sleeve Maintenance
The quartz sleeve plays a critical role in many aquarium UV sterilizer designs.
Its purpose is to separate the lamp from the surrounding water while transmitting UV radiation.
Why Quartz Sleeve Cleanliness Matters
Mineral scale, biofilm, and suspended solids can accumulate on the sleeve's surface.
These deposits may absorb or scatter UV radiation before it reaches the water.
As contamination increases, treatment performance can decrease.
What Causes Quartz Sleeve Buildup?
Common contributing factors include:
Mineral-Rich Water: Calcium and other minerals can form deposits on surfaces.
Inadequate Mechanical Filtration: Suspended particles can enter the UV chamber and settle on the sleeve.
High Organic Loads: Excess food and waste can increase contamination.
Biofilm Formation: Microorganisms and organic substances may form surface coatings.
Irregular Maintenance: Allowing deposits to accumulate can make them more difficult to remove.
When Should a Quartz Sleeve Be Replaced?
Replace a quartz sleeve when it becomes cracked, chipped, severely scratched, or permanently damaged.
A sleeve that cannot be restored to acceptable cleanliness may also need replacement.
Unlike UV lamps, quartz sleeves don't necessarily have a universal annual replacement interval.
Their service life depends on material condition, operating conditions, and manufacturer requirements.
12. Maintaining the Correct UV Sterilizer Flow Rate
Water flow is a major factor in aquarium UV treatment performance.
A UV sterilizer works by exposing passing water to ultraviolet radiation.
The delivered UV dose depends on multiple variables, including UV intensity, exposure time, chamber design, and water quality.
What Happens When Water Flows Too Quickly?
When water moves through the UV chamber too quickly, exposure time may decrease.
This can reduce the delivered UV dose.
Different treatment objectives require different exposure conditions.
Controlling suspended algae may require less demanding treatment conditions than targeting certain waterborne pathogens.
Therefore, a flow rate suitable for water clarification may not be appropriate for more demanding microbial reduction goals.
What Happens When Water Flows Too Slowly?
Very low flow may reduce the amount of aquarium water processed.
Depending on the sterilizer design, inadequate circulation can also contribute to elevated chamber temperatures.
Some UV sterilizers require a minimum flow rate or specific cooling conditions.
How to Maintain Proper Flow
To maintain suitable water movement:
-
Consult the manufacturer's recommended flow range.
-
Check actual flow when practical.
-
Clean prefilters regularly.
-
Inspect tubing for restrictions.
-
Maintain the pump.
-
Avoid unnecessary bends and plumbing restrictions.
-
Confirm that the system operates within its intended conditions.
Never rely on a universal flow-rate recommendation for all aquarium UV sterilizers.
The correct setting depends on the specific model and treatment purpose.
13. Aquarium UV Sterilizer Maintenance for Freshwater Tanks
Freshwater aquarium owners often use UV sterilizers to manage green water and improve visual clarity.
A properly maintained UV sterilizer can be especially helpful when free-floating algae are present.
Focus on Mechanical Filtration
Mechanical filtration helps remove debris before it enters the UV chamber.
Maintaining filter pads, sponges, and other mechanical media can reduce quartz sleeve contamination.
Monitor Nutrient Levels
Green water problems may be associated with excessive light and available nutrients.
UV treatment may reduce suspended algae, but it doesn't eliminate the underlying nutrient imbalance.
Monitor feeding practices, lighting duration, water changes, and appropriate water quality parameters.
Support Beneficial Biological Filtration
Avoid unnecessary disturbance of established biological filter media during UV maintenance.
Beneficial bacteria perform essential functions in the aquarium nitrogen cycle.
A UV sterilizer should complement biological filtration, not replace it.
14. Aquarium UV Sterilizer Maintenance for Saltwater and Reef Aquariums
Saltwater and reef aquariums require careful equipment maintenance because their ecosystems can be particularly sensitive to unstable conditions.
Inspect for Salt Creep
Salt deposits can accumulate around external plumbing and equipment surfaces.
During routine inspections, look for deposits near fittings, tubing connections, and mounting areas.
Clean external deposits safely while keeping electrical components dry.
Maintain Consistent Water Flow
Reef aquariums often include complex filtration systems with protein skimmers, reactors, return pumps, and multiple plumbing branches.
Changes elsewhere in the system may affect flow through the UV sterilizer.
Periodically verify that the sterilizer continues receiving appropriate water circulation.
Understand UV Sterilization Limitations
UV sterilizers may reduce certain waterborne pathogen stages that pass through the treatment chamber.
However, they don't reliably eliminate parasites already attached to fish or present elsewhere in the aquarium.
Proper quarantine, livestock observation, disease management, and water quality remain essential.
Protect Sensitive Aquarium Equipment
Keep sterilizer electrical connections away from splashing saltwater.
Inspect exposed mounting hardware and external fittings for corrosion where applicable.
Use components suitable for marine aquarium environments.
15. Common Aquarium UV Sterilizer Problems and Troubleshooting Tips
Even with regular maintenance, UV sterilizers can experience operational problems.
Understanding common symptoms can help you identify the source of an issue.
Problem 1: The UV Sterilizer Won't Turn On
Possible causes include:
-
Disconnected power
-
A tripped electrical protection device
-
A failed UV lamp
-
A defective ballast or power supply
-
An improperly seated connector
-
A safety interlock condition
Recommended Solution:
Check accessible power connections and operating indicators without exposing yourself to water or energized components.
Review any error codes.
If the system has damaged wiring, signs of moisture intrusion, or internal electrical faults, discontinue use and contact the manufacturer or a qualified technician.
Problem 2: The Aquarium Water Is Still Green
Possible causes include:
-
An aging UV lamp
-
A dirty quartz sleeve
-
Excessive water flow
-
Insufficient circulation through the unit
-
An undersized sterilizer
-
Heavy ongoing algae growth
Recommended Solution:
Inspect the overall aquarium conditions.
Verify lamp life, quartz sleeve cleanliness, recommended flow, and filtration performance.
Also address the factors supporting algae growth, including excessive lighting and nutrient availability.
Problem 3: Reduced Water Flow
Possible causes include:
-
Clogged prefilters
-
Debris inside tubing
-
A dirty pump impeller
-
Trapped air
-
Partially closed valves
-
Plumbing restrictions
Recommended Solution:
Safely shut down the equipment and inspect the water circulation system.
Clean accessible components and restore the manufacturer's recommended operating conditions.
Problem 4: Water Leaks Around the Housing
Possible causes include:
-
Damaged O-rings
-
Improperly seated seals
-
Loose fittings
-
Cracked housing components
-
Incorrect assembly
Recommended Solution:
Disconnect electrical power, isolate the water supply, and relieve pressure.
Inspect the affected components.
Replace damaged parts and follow the correct assembly instructions.
Never operate a leaking UV sterilizer.
Problem 5: The UV Lamp Keeps Failing
Possible causes include:
-
An incompatible replacement lamp
-
A defective ballast
-
Electrical supply problems
-
Moisture exposure
-
Excessive switching
-
Overheating
Recommended Solution:
Verify that the replacement lamp matches the manufacturer's specifications.
Inspect operating conditions and use a qualified technician for electrical diagnosis when necessary.
Problem 6: Excessive Mineral Deposits
Possible causes include:
-
High mineral concentrations
-
Infrequent sleeve inspection
-
Water chemistry conditions that promote scale formation
Recommended Solution:
Clean the quartz sleeve using an approved method.
Adjust the inspection schedule if deposits return quickly.
Avoid adding chemicals directly to aquarium water solely to clean the UV equipment.
16. Essential Tools and Supplies for UV Sterilizer Maintenance
Having the correct supplies makes aquarium UV sterilizer maintenance easier and safer.
A basic maintenance kit may include:
-
Clean, nonabrasive microfiber cloths
-
Protective gloves
-
Manufacturer-approved quartz sleeve cleaning solution
-
A small container for collecting water
-
Compatible replacement O-rings
-
A spare UV lamp when appropriate
-
Soft cleaning brushes approved for the equipment
-
A maintenance log
-
The sterilizer instruction manual
-
Compatible replacement tubing or fittings
Not every sterilizer requires every item.
Choose supplies according to the equipment design and manufacturer recommendations.
Why Quality Replacement Parts Matter
Using compatible components helps preserve proper operation.
Poorly fitting seals may cause leaks.
Incorrect lamps may fail to provide the expected UV output.
Incompatible power components may create electrical hazards.
Whenever possible, use replacement parts that meet the original manufacturer's specifications.
17. Common Aquarium UV Sterilizer Maintenance Mistakes to Avoid
Even experienced aquarium owners occasionally make maintenance mistakes.
Avoiding these problems can improve equipment reliability.
Mistake 1: Waiting Until the Lamp Burns Out
A UV lamp can lose substantial germicidal effectiveness before it stops illuminating.
Replace it according to the recommended operating life, not simply when it goes dark.
Mistake 2: Ignoring the Quartz Sleeve
A new lamp cannot deliver its intended performance through a heavily contaminated sleeve.
Inspect and clean the sleeve at appropriate intervals.
Mistake 3: Using Abrasive Cleaning Materials
Abrasive materials can scratch quartz surfaces.
Use nonabrasive cleaning tools and approved cleaning solutions.
Mistake 4: Increasing Water Flow Without Checking Specifications
Higher flow doesn't necessarily produce better sterilization.
Maintain the flow rate recommended for the equipment and treatment objective.
Mistake 5: Operating Without Adequate Water Circulation
Some sterilizers depend on proper water flow for thermal management.
Never intentionally operate the unit without the required circulation unless the manufacturer explicitly permits that condition.
Mistake 6: Neglecting O-Rings
Worn seals can cause leaks and possible equipment damage.
Inspect seals during scheduled servicing.
Mistake 7: Looking Directly at an Operating UV Lamp
UV-C exposure can cause serious eye and skin injuries.
Never operate an exposed germicidal lamp or bypass protective interlocks.
Mistake 8: Treating UV Sterilization as a Complete Filtration Solution
UV sterilization cannot remove accumulated fish waste, ammonia, nitrite, or dissolved nutrients.
Maintain proper mechanical filtration, biological filtration, and water quality management.
Mistake 9: Forgetting Maintenance Records
Without a record, it can be difficult to know when the lamp was installed or when the sleeve was last cleaned.
Keep a simple log to avoid missed maintenance tasks.
18. How to Extend the Lifespan of Your Aquarium UV Sterilizer
You can improve the long-term reliability of your aquarium UV sterilizer through several practical habits.
Install It Correctly
Follow the manufacturer's installation instructions regarding orientation, mounting location, water flow, electrical protection, and accessibility.
A properly installed system is easier to maintain.
Use Adequate Prefiltration
Mechanical filtration helps reduce the amount of suspended debris entering the chamber.
This can slow contamination of the quartz sleeve.
Keep the Equipment Accessible
Avoid placing the sterilizer where routine servicing requires dismantling large sections of aquarium plumbing.
Convenient access encourages regular maintenance.
Avoid Excessive Plumbing Stress
Support tubing and piping so their weight doesn't pull on the housing connections.
This can help prevent leaks and physical damage.
Follow Lamp Replacement Specifications
Use the correct lamp and replace it at the prescribed interval.
Maintain Stable Operating Conditions
Protect the unit from freezing, overheating, physical impacts, and other conditions outside its rated operating environment.
Keep Spare Parts Available
Having compatible seals and replacement lamps readily available can reduce downtime.
For heavily relied-upon systems, consider keeping essential manufacturer-approved replacement components on hand.
19. Seasonal Aquarium UV Sterilizer Maintenance Tips
Seasonal inspections provide additional opportunities to protect your equipment.
Spring Maintenance
Spring is a convenient time to review equipment performance and complete overdue cleaning.
Check the lamp's remaining operating life, inspect plumbing, and evaluate quartz sleeve cleanliness.
Summer Maintenance
Higher room temperatures may affect aquarium systems, especially where equipment is installed in enclosed cabinets.
Monitor ventilation and verify that the sterilizer remains within its rated operating temperature range.
Fall Maintenance
Inspect the system before seasonal changes in room temperature and aquarium maintenance routines.
Review water connections, pump performance, and electrical components.
Winter Maintenance
Protect equipment installed in unheated locations from freezing.
Follow the manufacturer's winterization procedure if the system will be shut down or exposed to low temperatures.
Water left inside a freezing sterilizer chamber may expand and damage its housing.
These seasonal recommendations supplement rather than replace the manufacturer's specified service intervals.
20. Creating a Personalized Aquarium UV Sterilizer Maintenance Plan
Every aquarium is different.
A maintenance schedule should reflect your tank size, livestock, filtration system, water conditions, and UV sterilizer specifications.
Step 1: Record Your Equipment Details
Write down:
-
UV sterilizer manufacturer
-
Model number
-
Lamp type and wattage
-
Recommended flow range
-
Lamp installation date
-
Rated lamp operating life
-
Quartz sleeve inspection interval
-
Replacement part numbers
Step 2: Establish a Daily Inspection Routine
Combine UV sterilizer checks with feeding and normal aquarium observation.
This makes it easier to notice unusual changes before they become serious.
Step 3: Schedule Monthly Equipment Reviews
Choose a consistent day each month to inspect water circulation, electrical connections, prefilters, and maintenance records.
Step 4: Track Lamp Operating Hours
Record when a new lamp is installed.
If the unit operates continuously, accumulate operating hours accordingly.
If the system includes a reliable hour counter, use it.
Step 5: Plan Major Servicing
Schedule quartz sleeve cleaning and lamp replacement based on the manufacturer's specifications and actual operating conditions.
Step 6: Adjust Based on Experience
If your quartz sleeve accumulates deposits quickly, shorten its inspection interval.
If water flow changes frequently, evaluate prefilter maintenance and plumbing design.
A personalized maintenance schedule is generally more effective than applying an identical routine to every aquarium.
21. Aquarium UV Sterilizer Maintenance Log Template
A simple maintenance log can help organize your routine.
| Date | Maintenance Task | Observations | Next Action |
|---|---|---|---|
| January 5 | Daily inspection | Normal operation | Continue monitoring |
| January 12 | Weekly inspection | No leaks detected | Routine check |
| February 1 | Monthly service | Prefilter cleaned | Check next month |
| April 1 | Quartz sleeve inspection | Light mineral buildup | Clean as directed |
| July 1 | Equipment review | Flow within recommended range | Continue monitoring |
| December 15 | Lamp-hour review | Replacement interval approaching | Order correct lamp |
These dates and observations are illustrative examples.
Your actual maintenance log should reflect the needs of your aquarium and equipment.
Recording maintenance activities helps you identify recurring problems, anticipate replacement needs, and maintain consistent equipment performance.
22. Frequently Asked Questions About Aquarium UV Sterilizer Maintenance
How often should I clean my aquarium UV sterilizer?
Cleaning frequency depends on the equipment and aquarium conditions.
Inspect the quartz sleeve according to the manufacturer's recommendation, which may range from relatively frequent inspections to longer intervals.
Clean it when buildup is present and the manufacturer indicates cleaning is necessary.
How often should I replace an aquarium UV sterilizer bulb?
Replace the UV bulb according to its specified operating life.
Many traditional UV-C lamps have recommended replacement intervals measured in thousands of hours, but exact lifespans vary.
Do not assume that a lamp remains effective simply because it still produces visible light.
Can I clean a UV sterilizer with vinegar?
Some manufacturers approve vinegar for removing mineral deposits from quartz sleeves.
However, the cleaning method depends on the model.
Always check the instruction manual and rinse thoroughly as directed before reassembly.
Can I leave my aquarium UV sterilizer running 24 hours a day?
Many aquarium UV sterilizers are designed for continuous operation when properly installed with adequate water flow.
Others may have specific operating requirements.
Follow your manufacturer's recommendations.
Continuous operation also means lamp operating hours accumulate continuously.
Does a UV sterilizer remove beneficial bacteria?
A UV sterilizer primarily affects susceptible microorganisms suspended in water passing through its chamber.
Most established beneficial bacteria live attached to filter media, substrate, and aquarium surfaces.
Properly used UV sterilization generally does not replace or eliminate the need for biological filtration.
Why is my aquarium water cloudy even with a UV sterilizer?
Cloudy aquarium water can have multiple causes, including suspended particles, bacterial blooms, and algae.
UV treatment may help with certain causes but not others.
Check aquarium water quality, filtration performance, lamp condition, quartz sleeve cleanliness, and water flow.
Do I need to clean the quartz sleeve every month?
Not necessarily.
Some systems require relatively frequent inspection, while others have longer recommended intervals.
Cleaning should be based on the manufacturer's instructions and actual contamination.
Avoid unnecessary disassembly because quartz components are fragile.
Can I use any UV replacement bulb with my sterilizer?
No.
Replacement lamps must match the sterilizer's electrical and physical specifications.
Use a lamp approved for your exact model.
What happens if I never replace my UV bulb?
The lamp's germicidal output may decline below the level needed for effective treatment.
Eventually, the lamp may also fail completely.
Regular replacement helps maintain predictable performance.
Does a UV sterilizer kill algae growing on aquarium glass?
An aquarium UV sterilizer primarily treats organisms passing through the water chamber.
It does not directly remove algae attached to glass, rocks, plants, or decorations.
Surface algae management requires appropriate aquarium cleaning, lighting control, and nutrient management.
Should I turn off the UV sterilizer when adding beneficial bacteria?
The appropriate procedure depends on the bacterial product and its manufacturer's instructions.
Some products recommend temporarily disabling UV treatment during application so newly introduced suspended bacteria are not immediately exposed to UV-C.
Follow the instructions for both the bacterial product and the sterilizer.
Can a UV sterilizer prevent fish diseases?
UV sterilization can reduce certain susceptible waterborne microorganisms under appropriate operating conditions.
However, it cannot guarantee disease prevention.
Quarantine, good water quality, appropriate stocking, and responsible fish health management remain important.
How do I know if my UV sterilizer is working properly?
Check the unit's operating indicators, lamp-life information, flow conditions, and maintenance history.
If the sterilizer includes a UV intensity monitor, follow the manufacturer's guidance for interpreting the readings.
Visible lamp illumination alone is not sufficient proof of effective UV treatment.
Does an aquarium UV sterilizer need a separate pump?
Some UV sterilizers work with existing filtration system pumps.
Others require a dedicated pump.
The correct configuration depends on the manufacturer's design and recommended flow specifications.
Is aquarium UV sterilizer maintenance expensive?
Routine maintenance costs depend on lamp prices, replacement-part requirements, electricity usage, and the system's design.
Regular inspections and timely maintenance may help prevent avoidable equipment damage and unplanned replacement expenses.
23. Final Aquarium UV Sterilizer Maintenance Checklist
Maintaining your aquarium UV sterilizer becomes easier when tasks are organized into a consistent routine.
Daily Tasks
-
Confirm normal operating indicators.
-
Check for leaks.
-
Observe water movement.
-
Monitor aquarium clarity.
-
Watch for warnings or unexpected behavior.
-
Observe fish and other livestock.
Weekly Tasks
-
Inspect accessible tubing.
-
Check plumbing connections.
-
Listen for unusual pump sounds.
-
Review prefilter condition.
-
Check the surrounding installation area.
Monthly Tasks
-
Inspect pump and circulation performance.
-
Clean intake screens and prefilters as needed.
-
Review UV lamp operating hours.
-
Inspect accessible electrical components.
-
Examine seals during scheduled servicing.
-
Inspect the quartz sleeve when due.
-
Update the maintenance log.
Annual Tasks
-
Review lamp replacement requirements.
-
Perform a thorough quartz sleeve inspection.
-
Replace deteriorated O-rings and seals.
-
Inspect the complete housing.
-
Evaluate water circulation equipment.
-
Check mounting hardware and plumbing.
-
Review maintenance records.
-
Prepare replacement parts for the coming year.
Remember that the manufacturer's instructions always take priority over a general maintenance checklist.
Conclusion: Keep Your Aquarium UV Sterilizer Working at Its Best
A reliable aquarium UV sterilizer can be a valuable addition to your aquarium maintenance system, helping control certain suspended microorganisms and supporting clearer aquarium water.
However, long-term performance depends on consistent care.
Daily inspections help you identify leaks, unusual operating conditions, and changing water clarity. Weekly checks help detect developing circulation and equipment problems. Monthly maintenance supports proper filtration, water flow, and component condition. Annual servicing provides an opportunity to address aging lamps, worn seals, and other long-term maintenance needs.
The most important habits include keeping the quartz sleeve clean, replacing UV lamps according to their rated operating life, maintaining the correct water flow, and using compatible replacement parts.
Equally important is remembering that UV sterilization works best as part of a complete aquarium care routine that includes appropriate filtration, water changes, water quality monitoring, responsible feeding, and livestock health management.
By following a practical aquarium UV sterilizer maintenance checklist, you can reduce avoidable equipment problems, protect your investment, and maintain a healthier, clearer, and more enjoyable aquarium.
Looking for a reliable aquarium UV sterilizer or compatible replacement parts? Feel free to leave a comment below with your questions or contact us for product inquiries and a personalized quote!