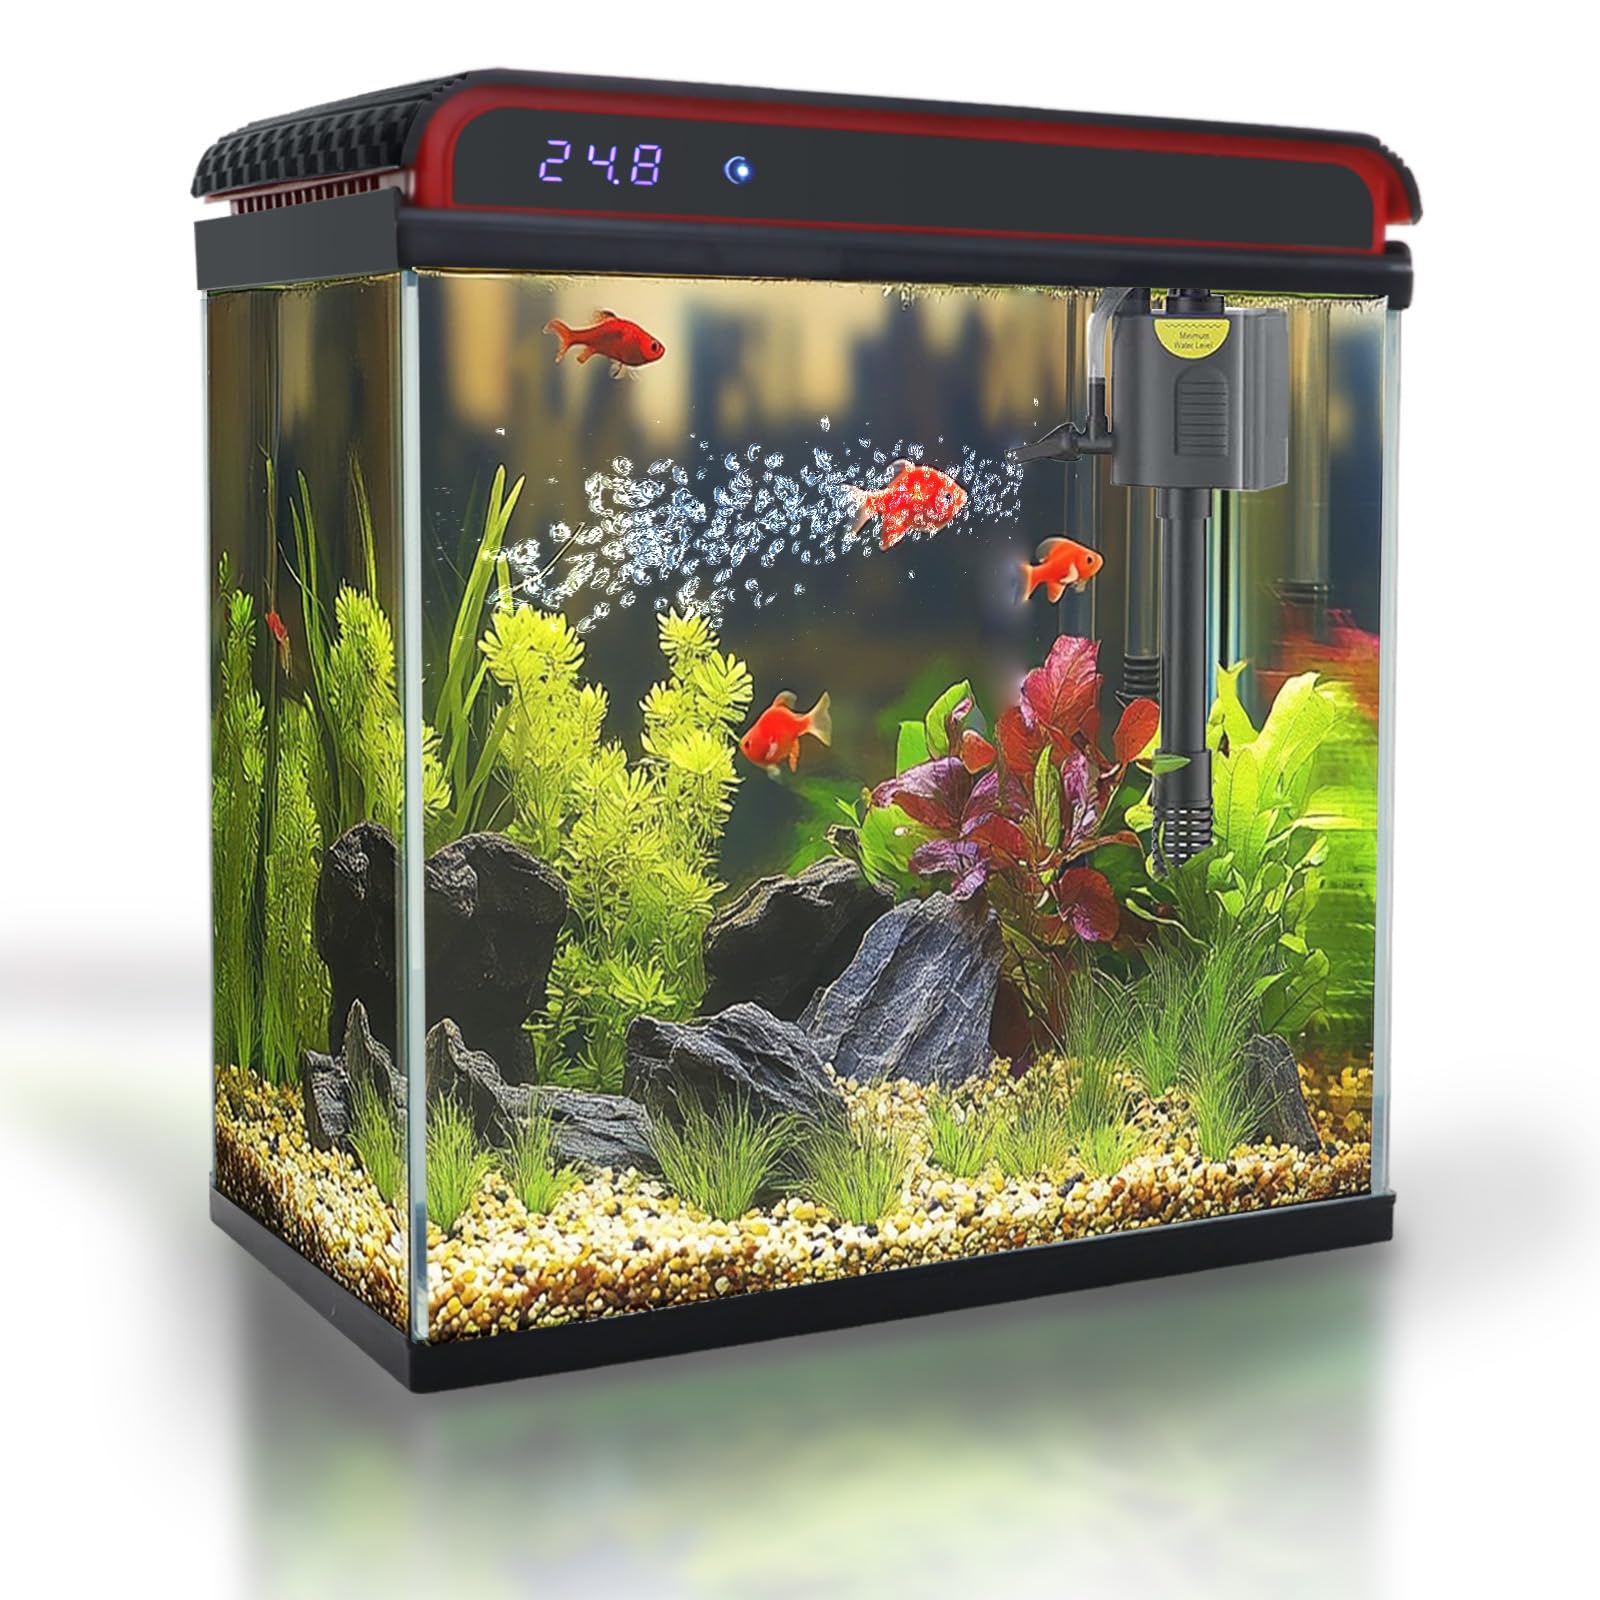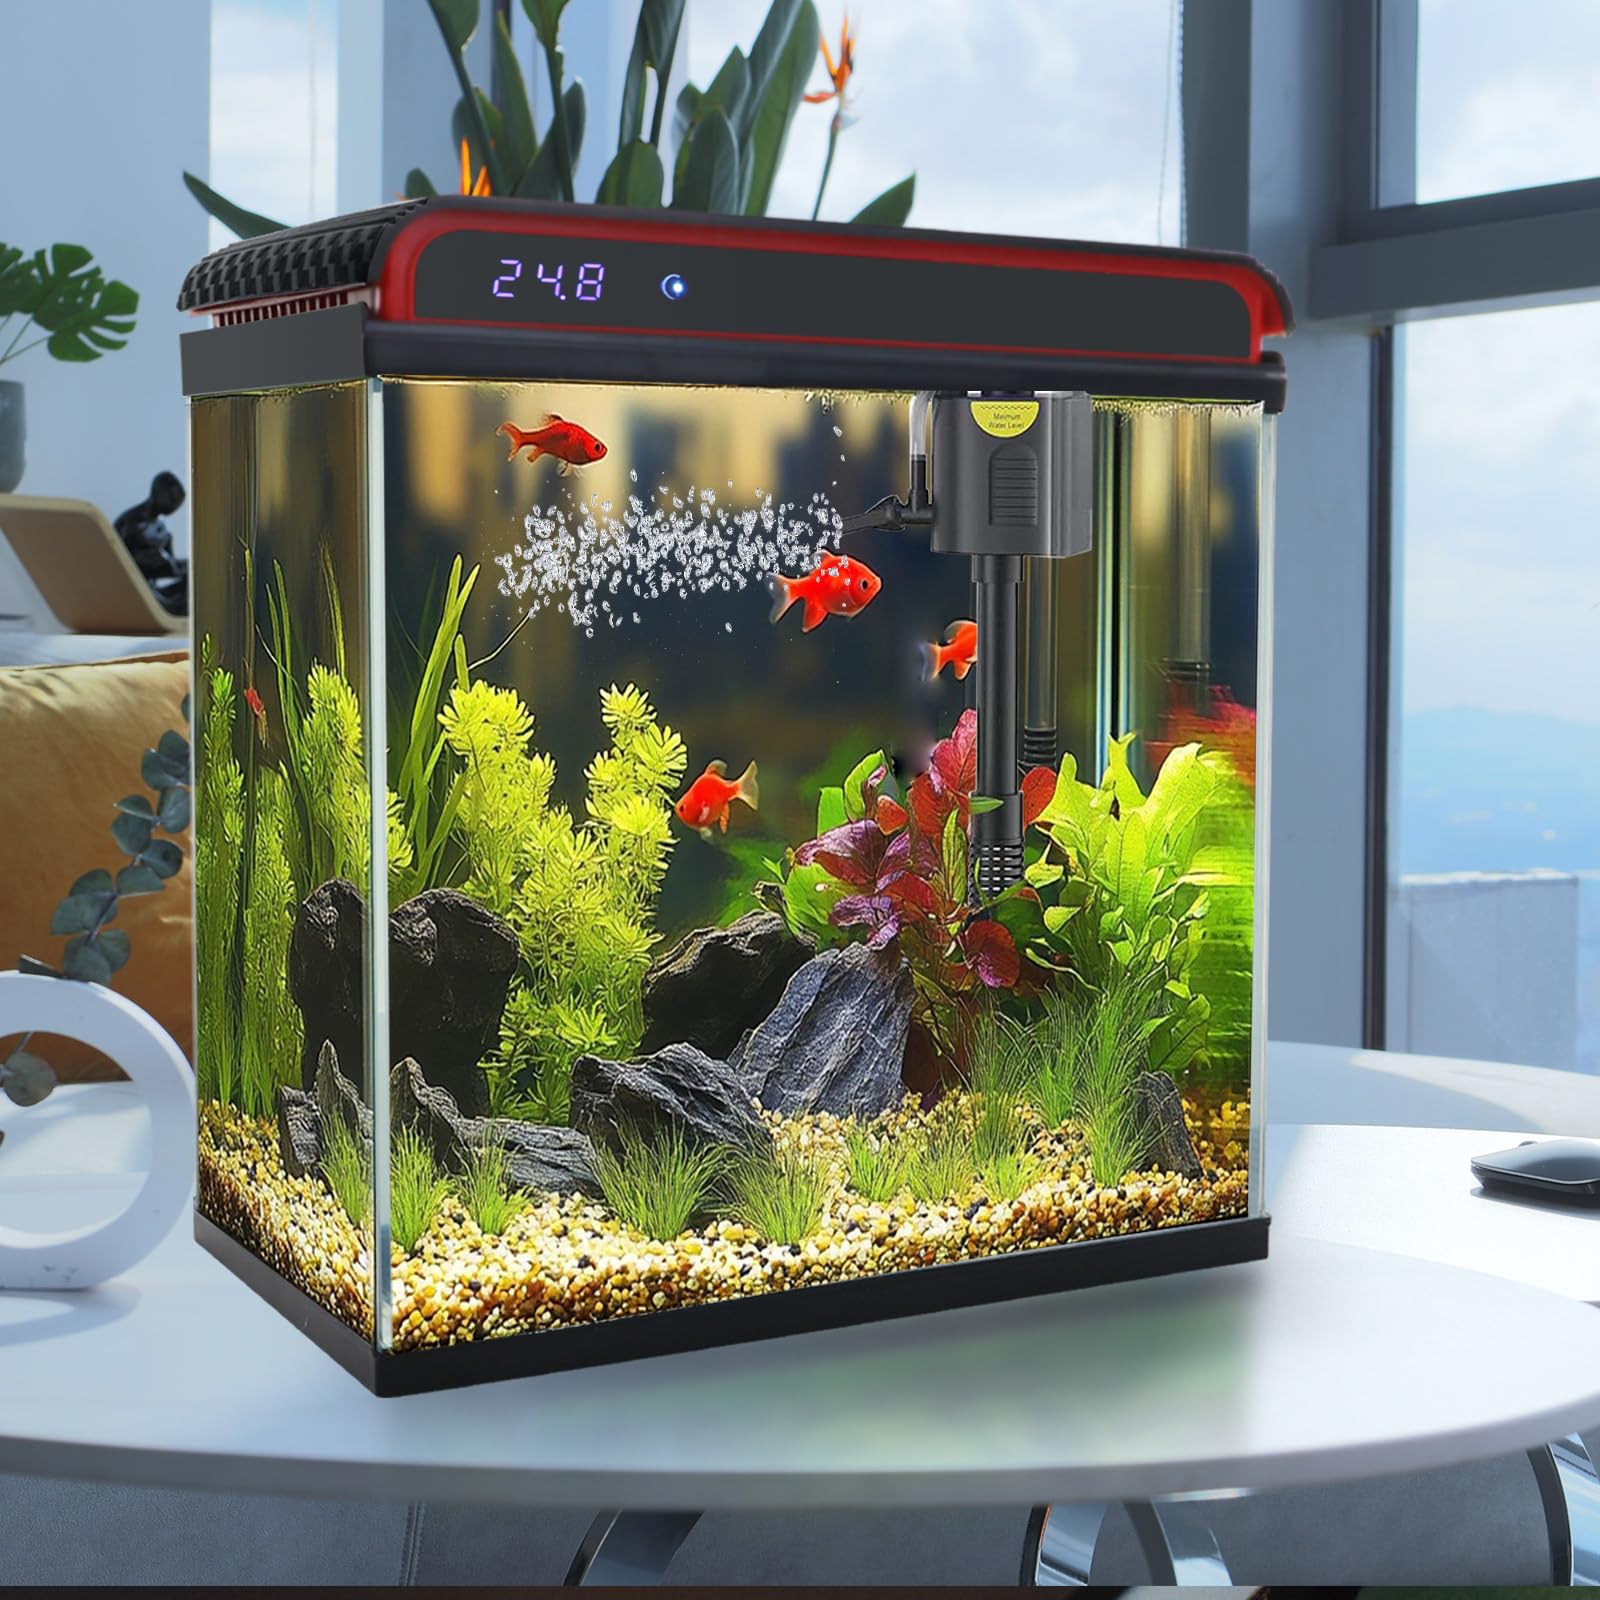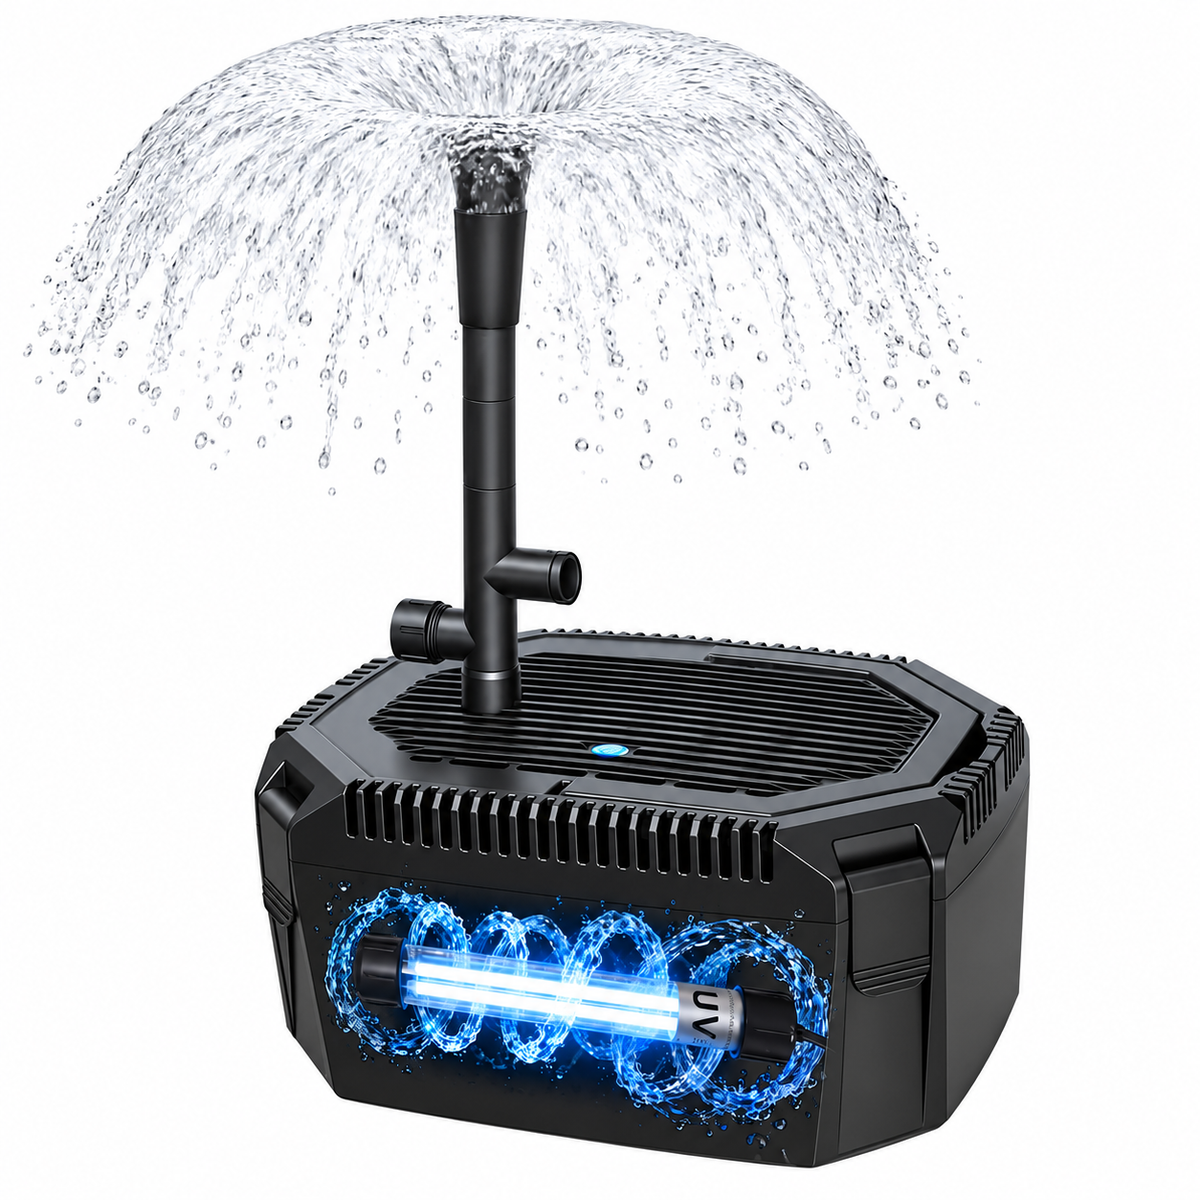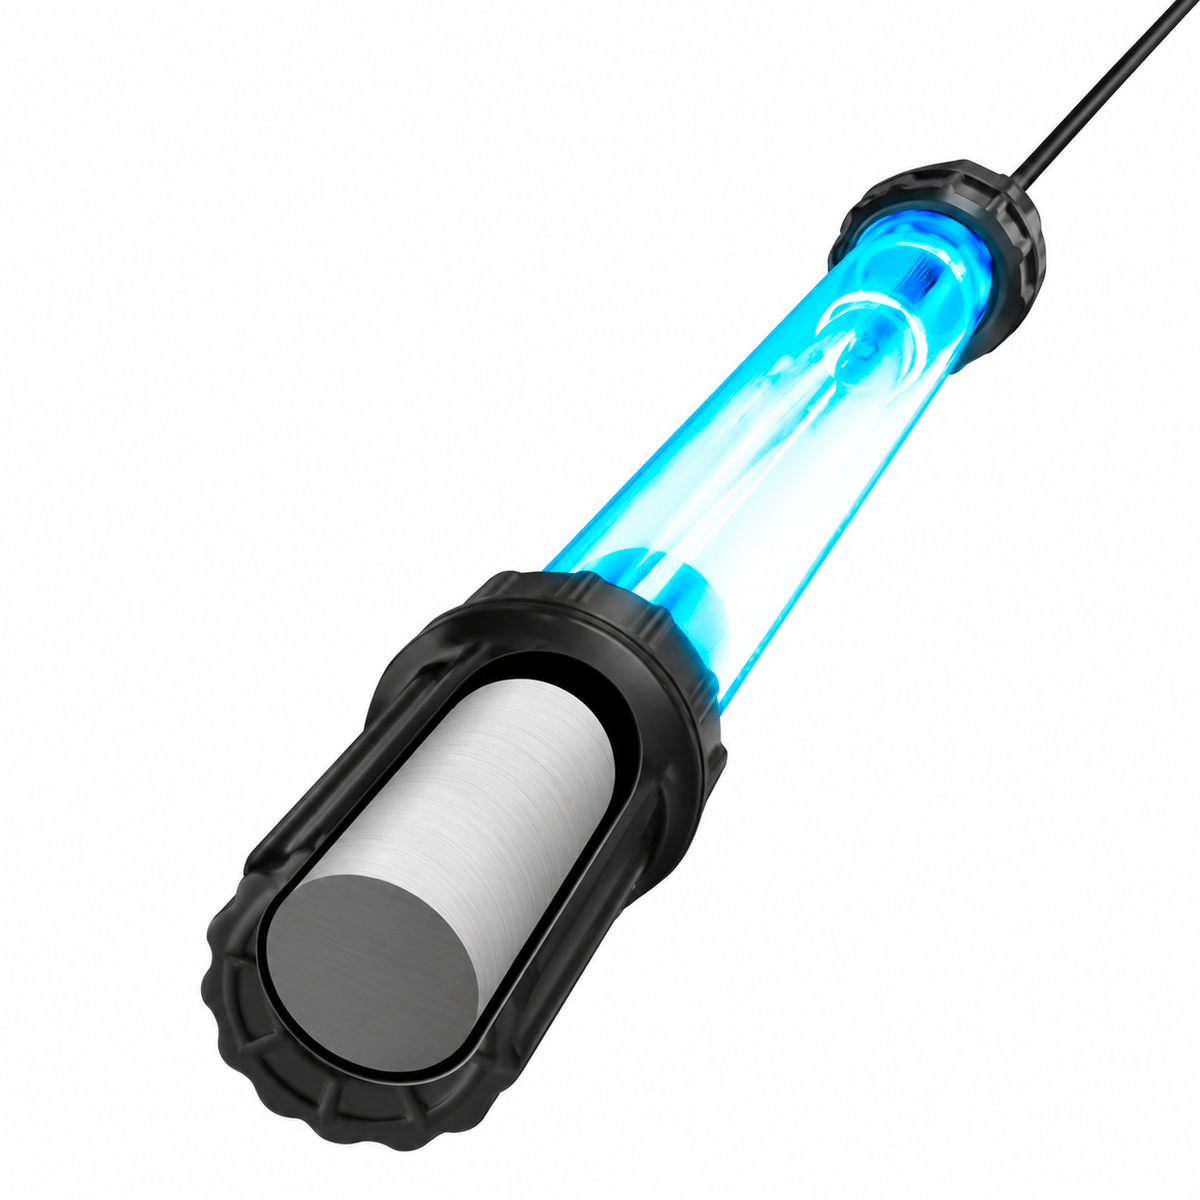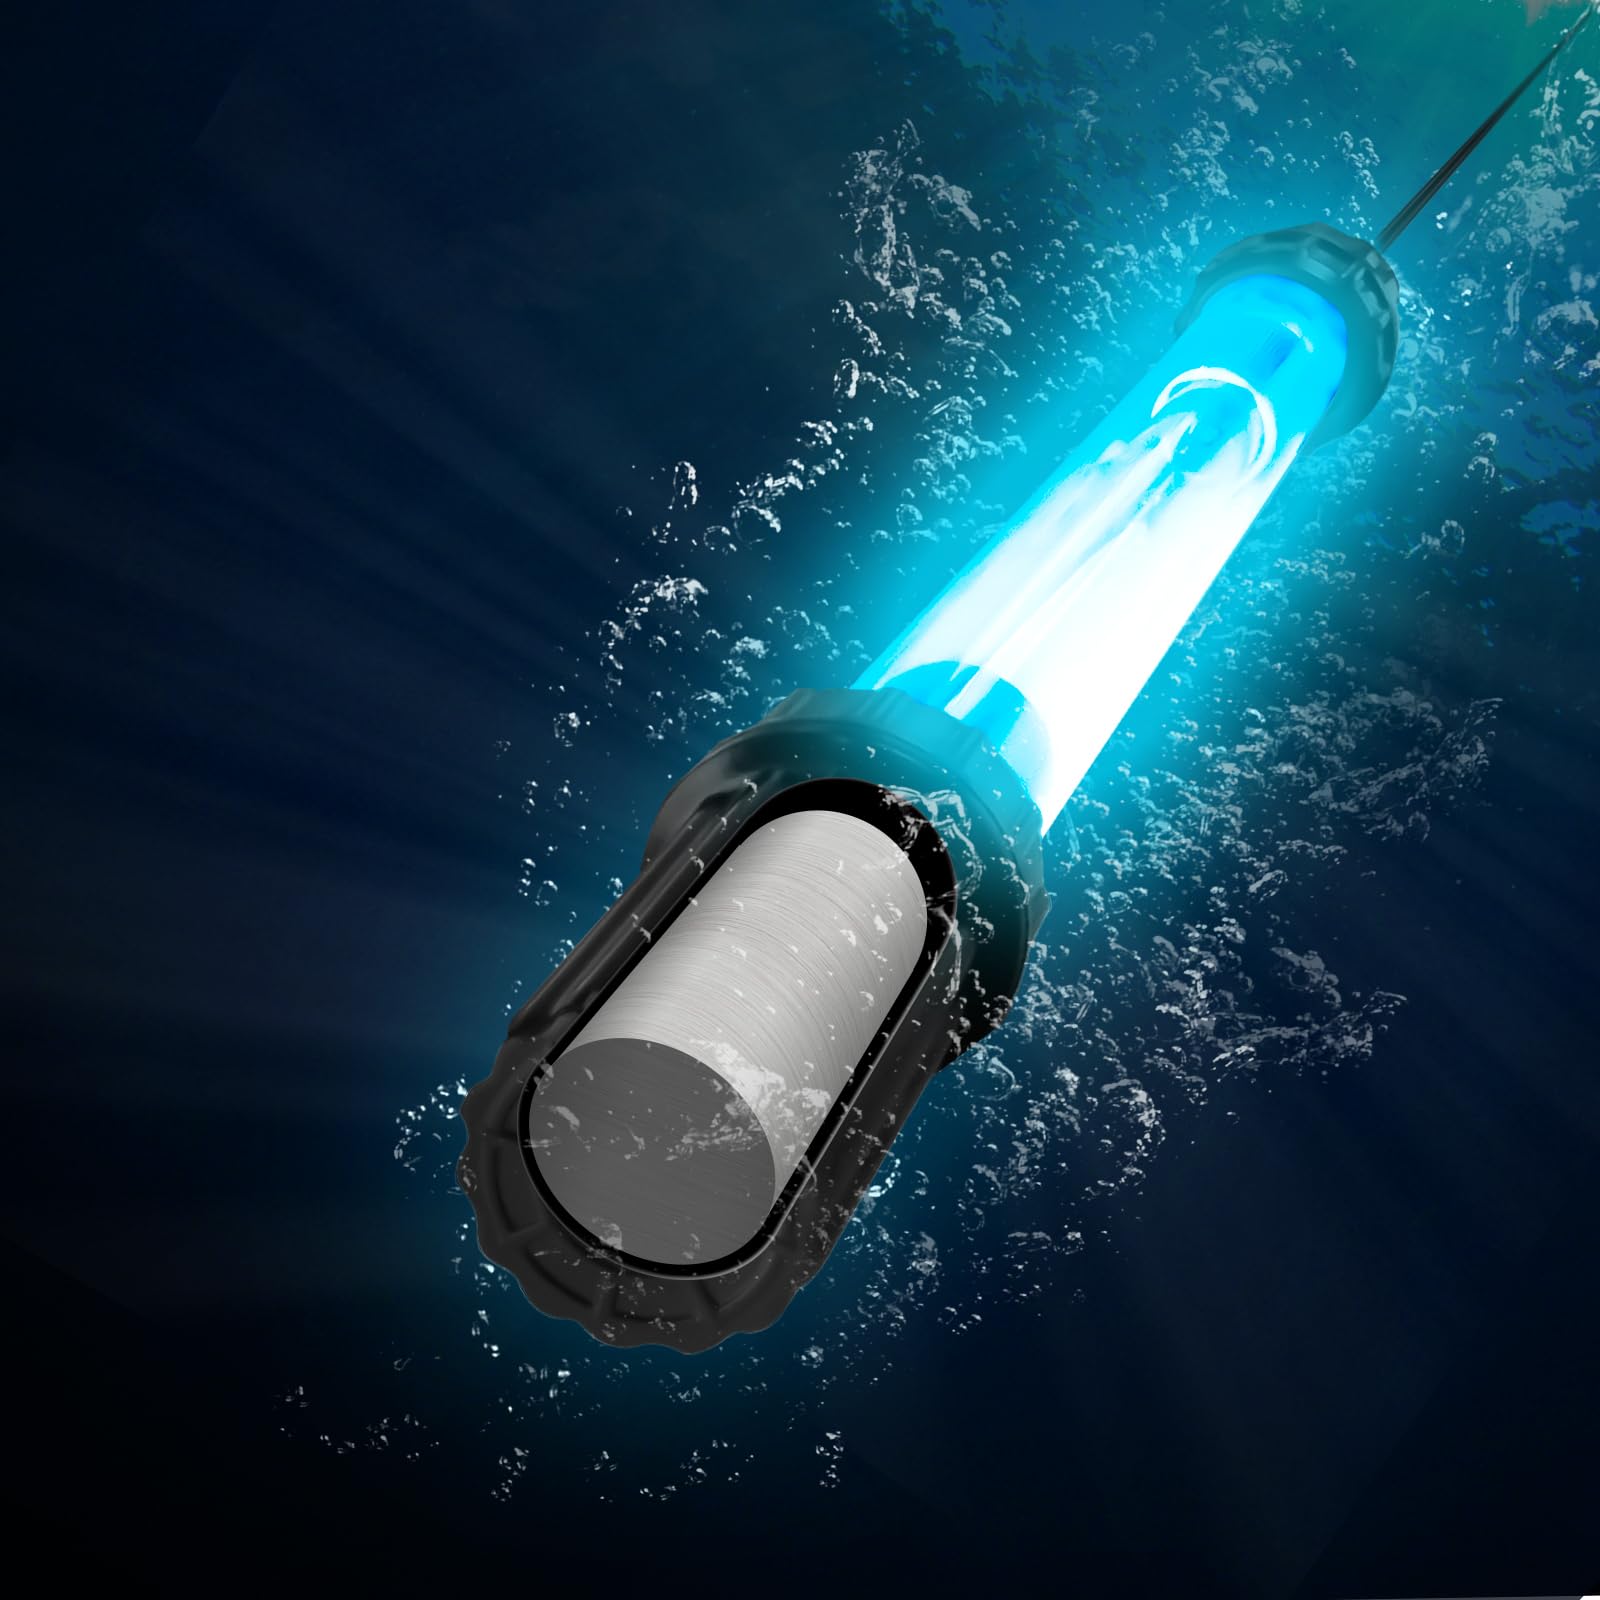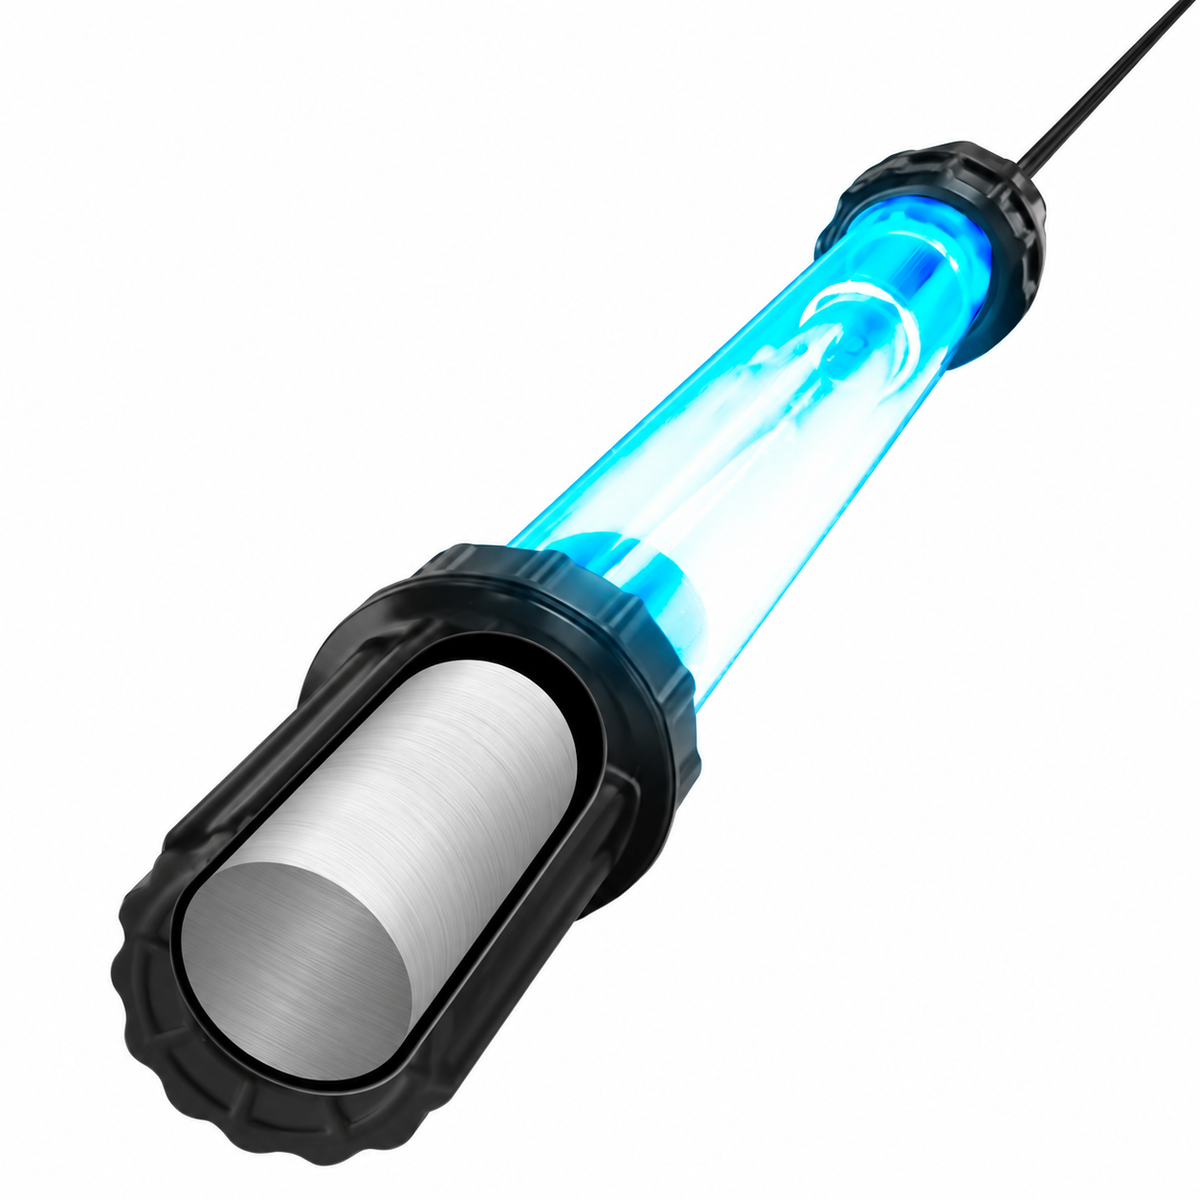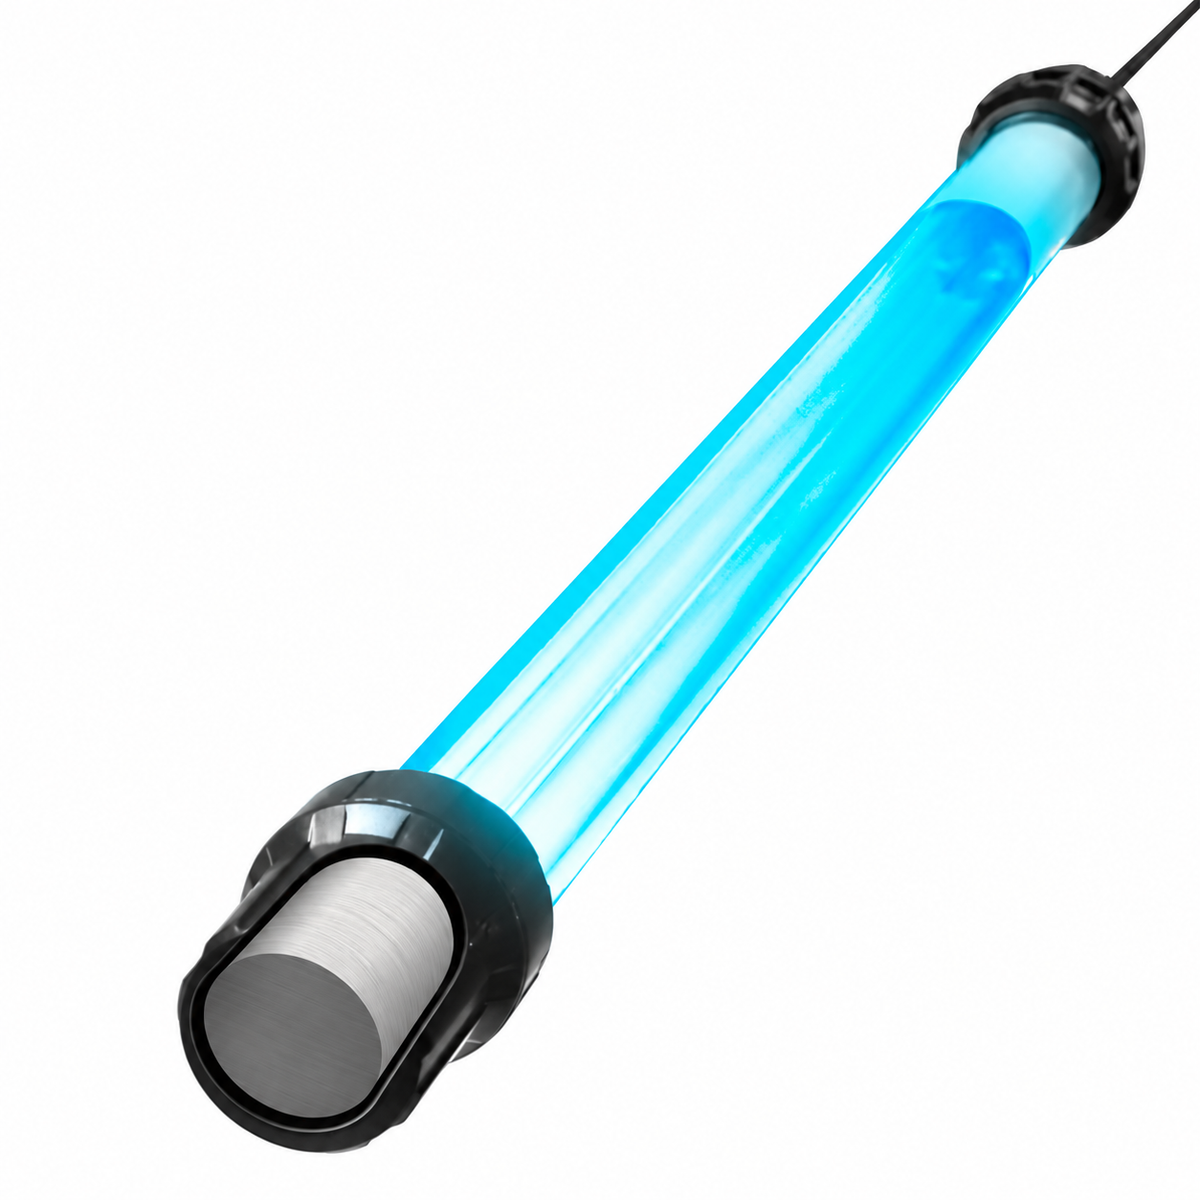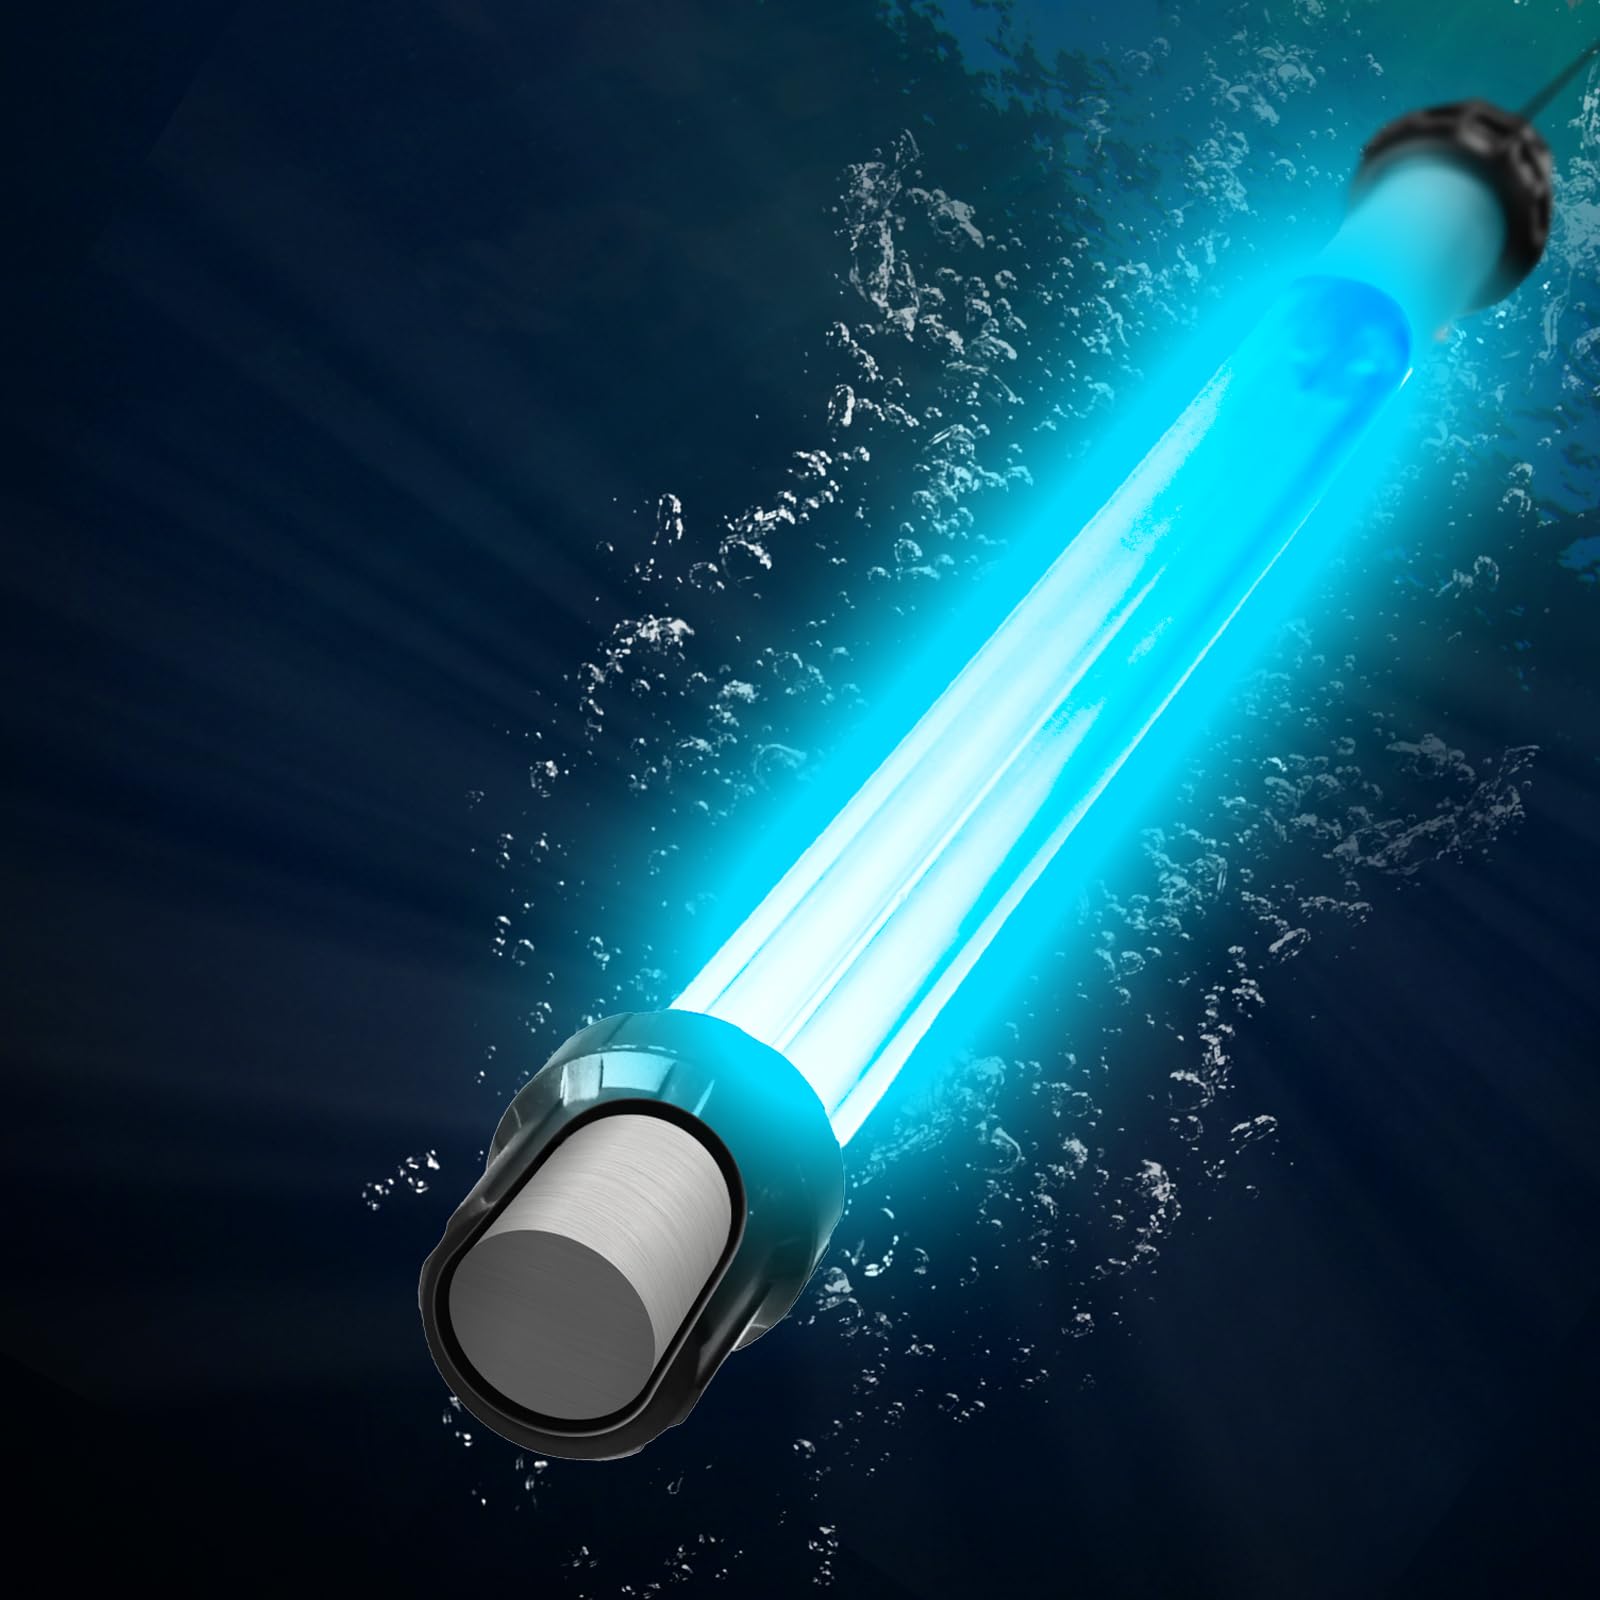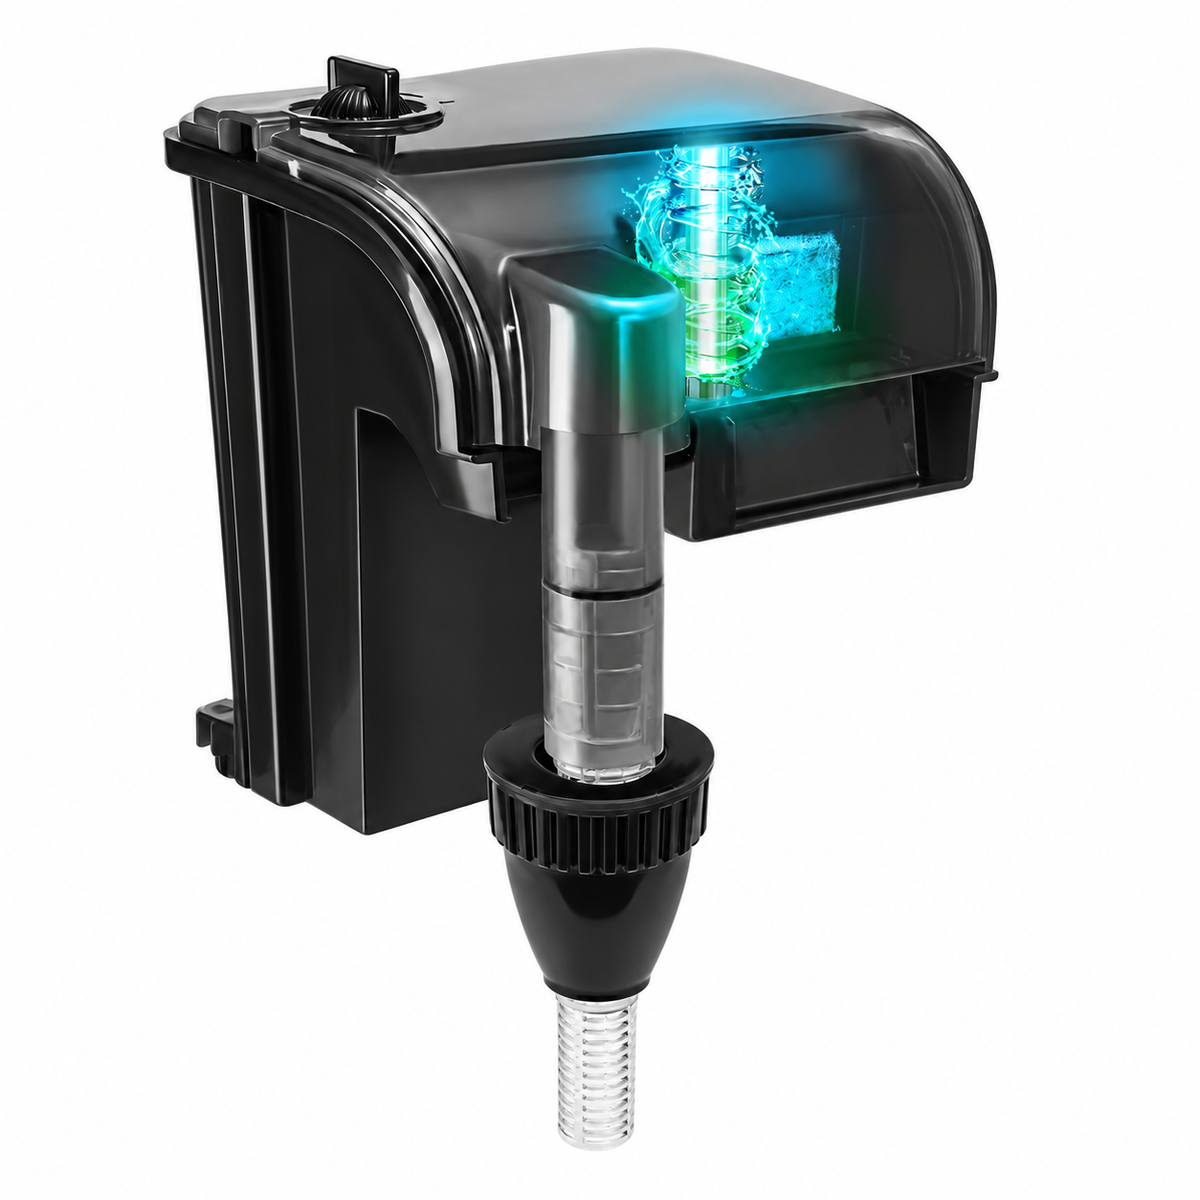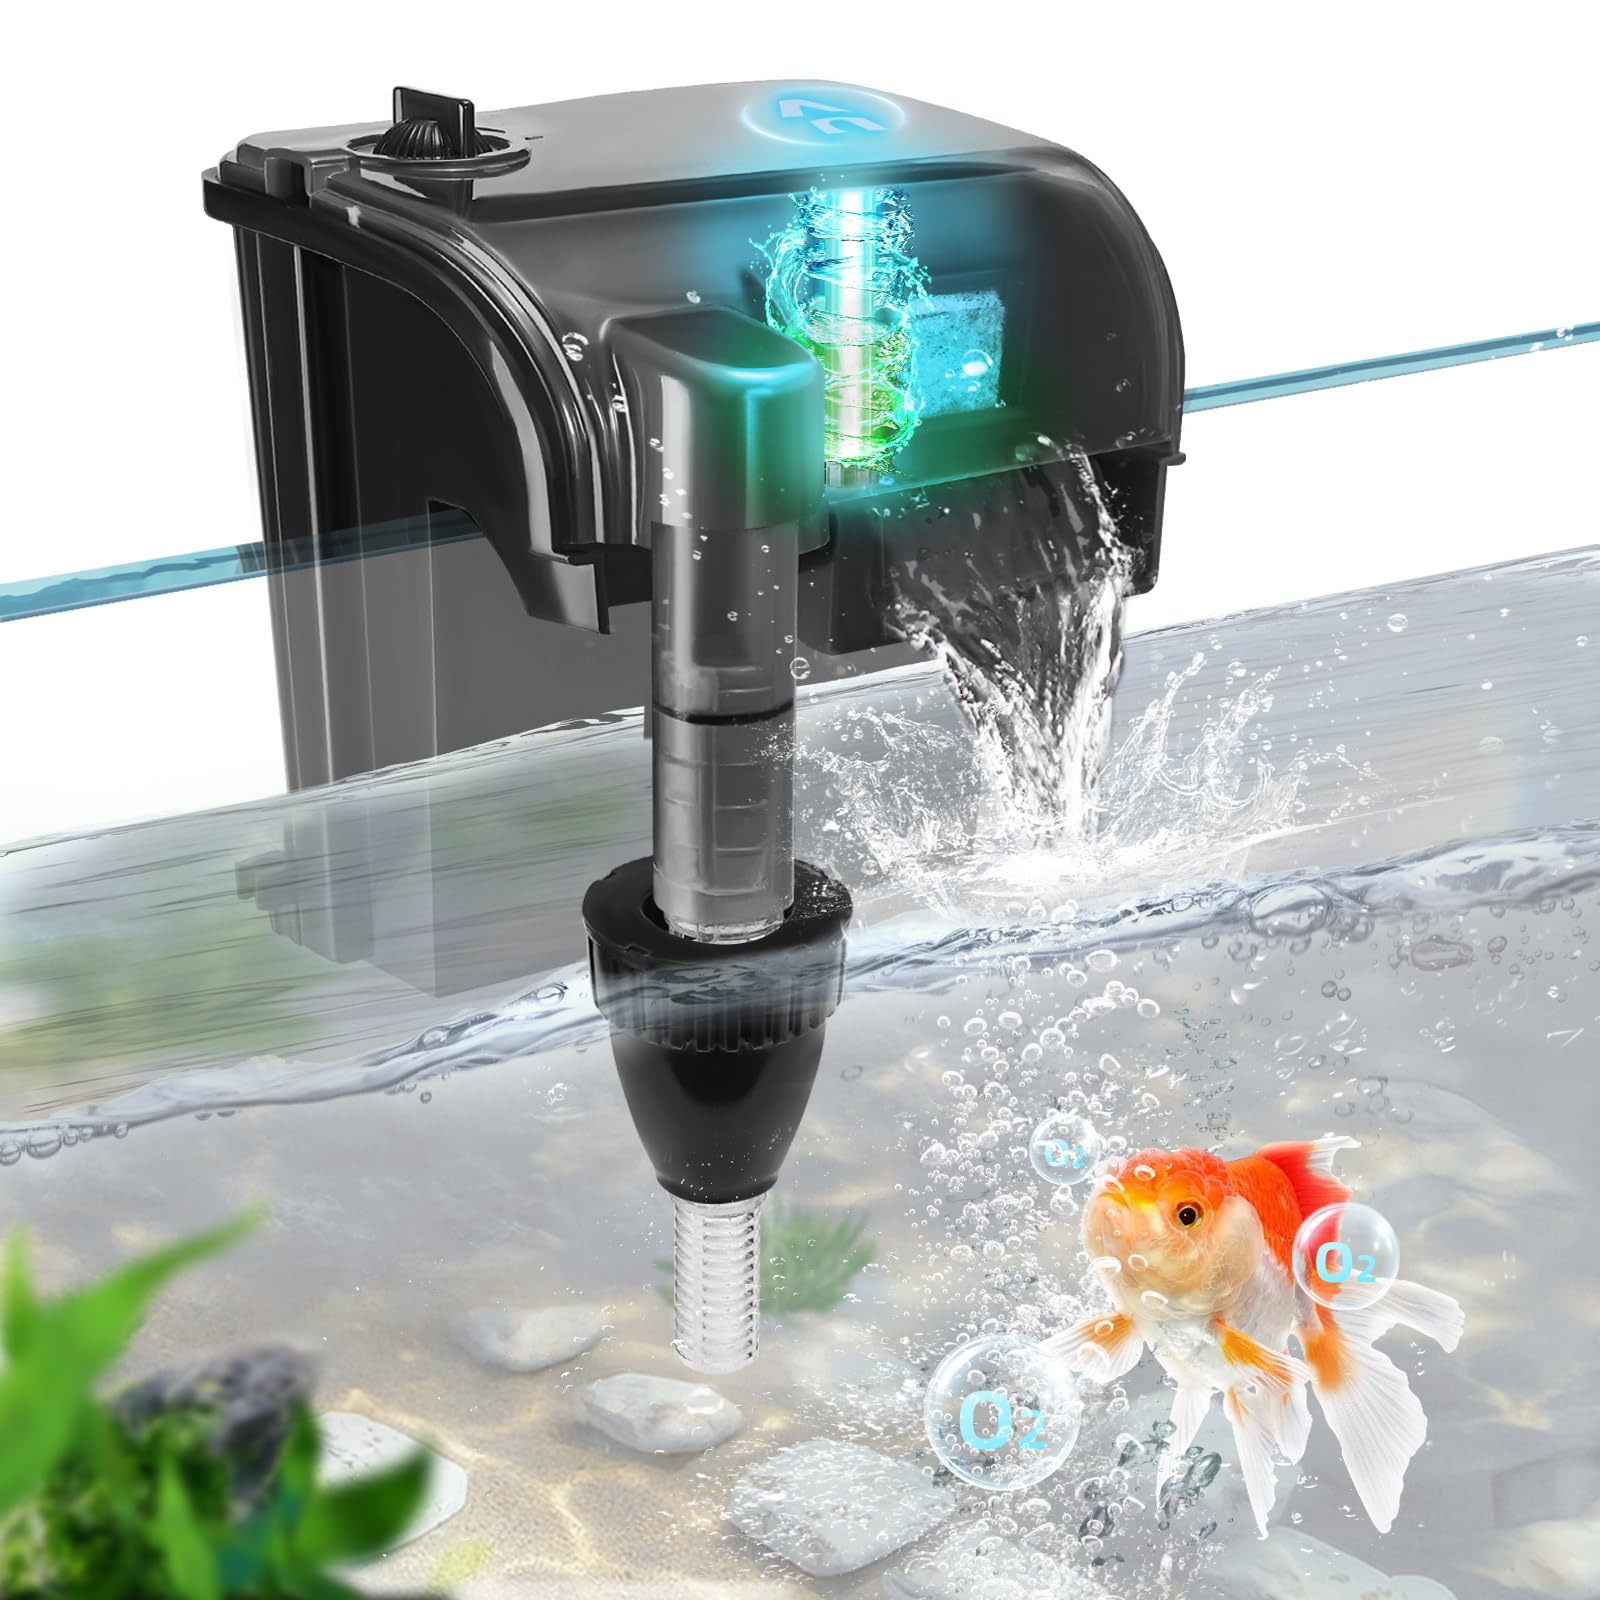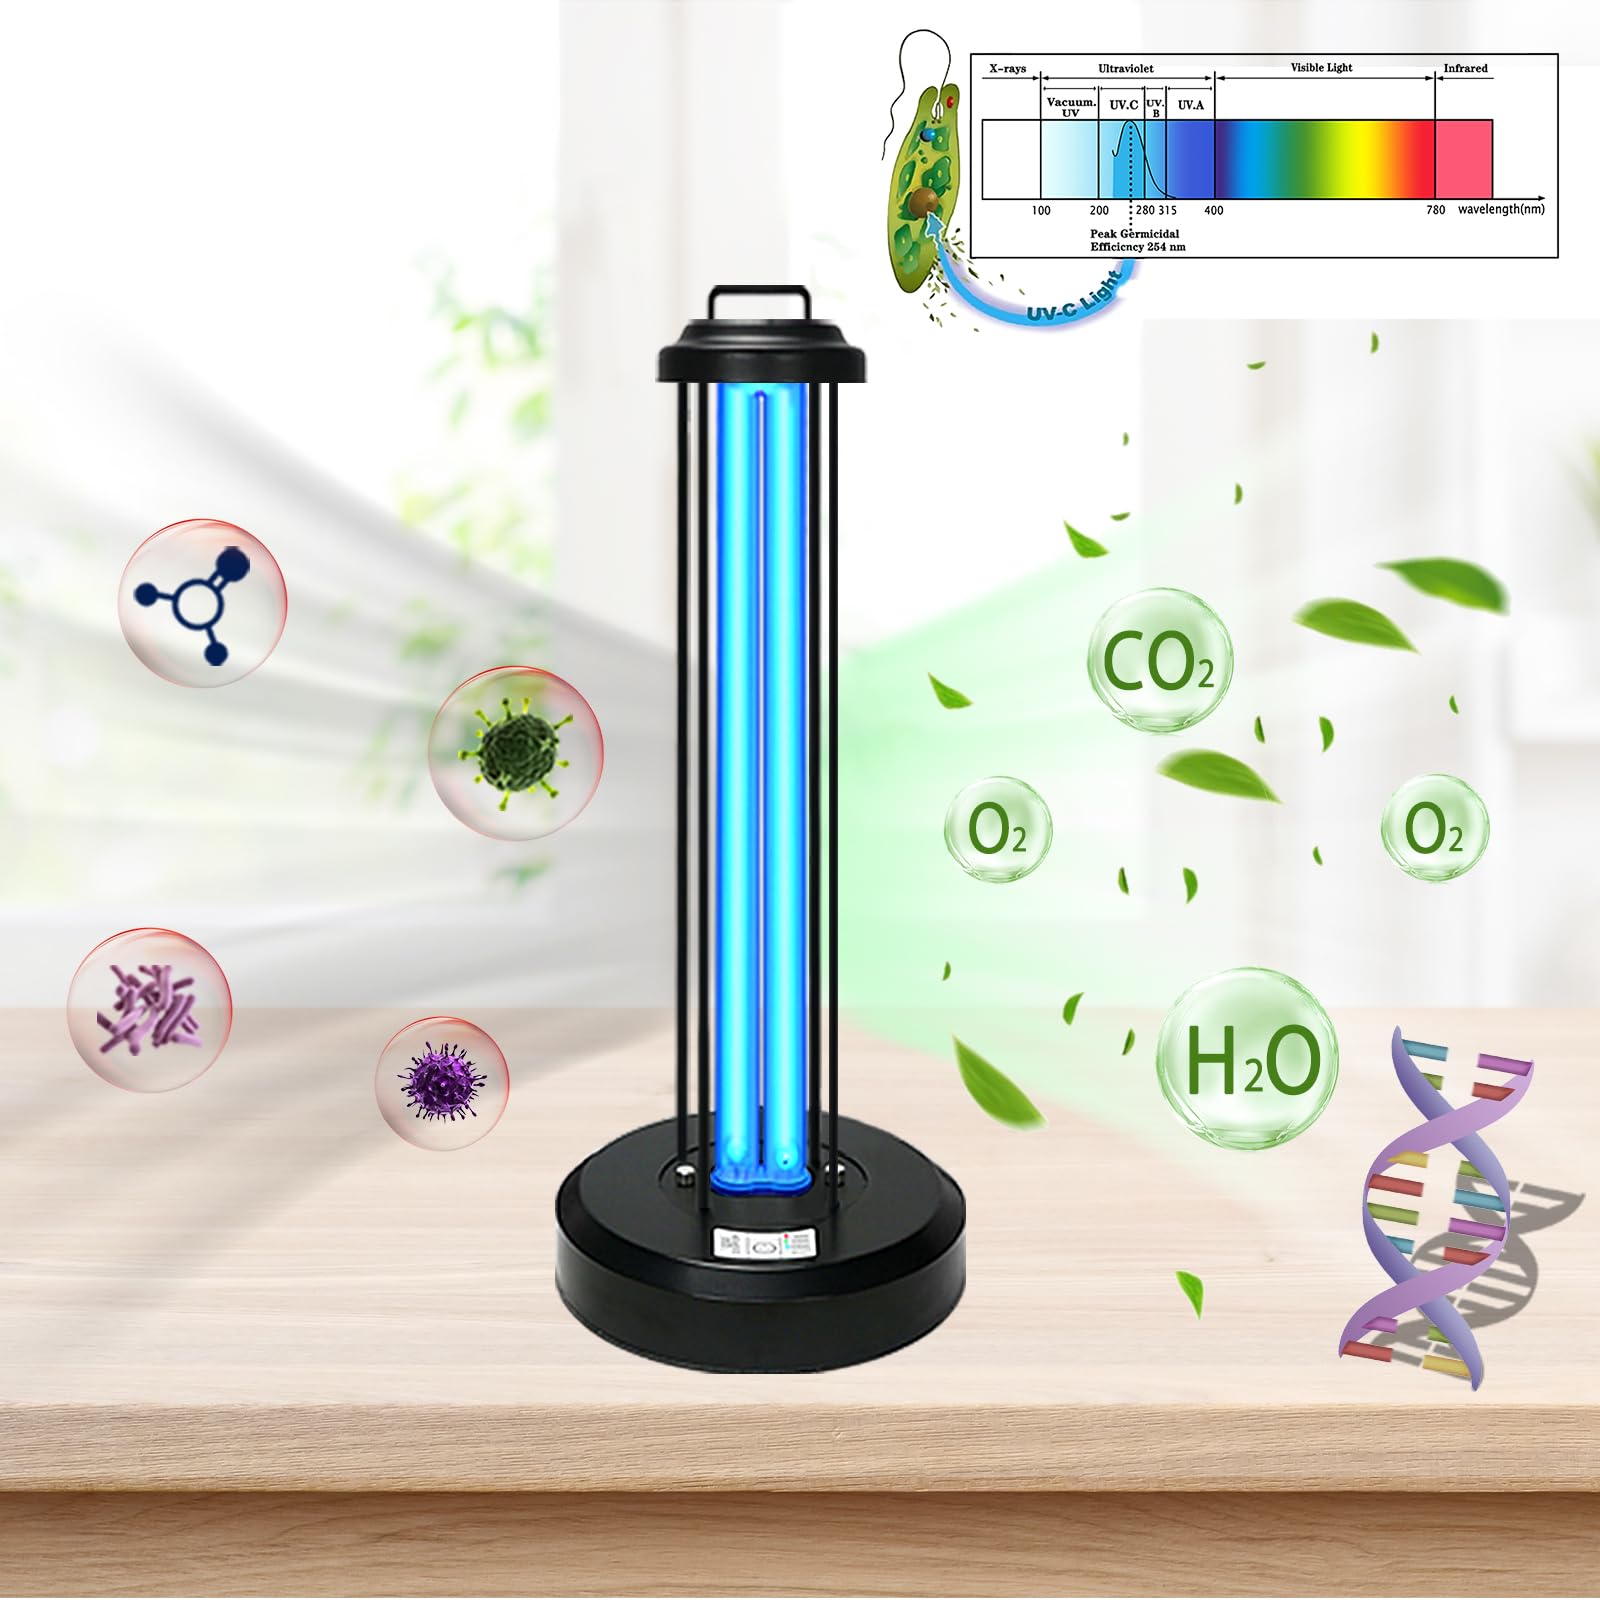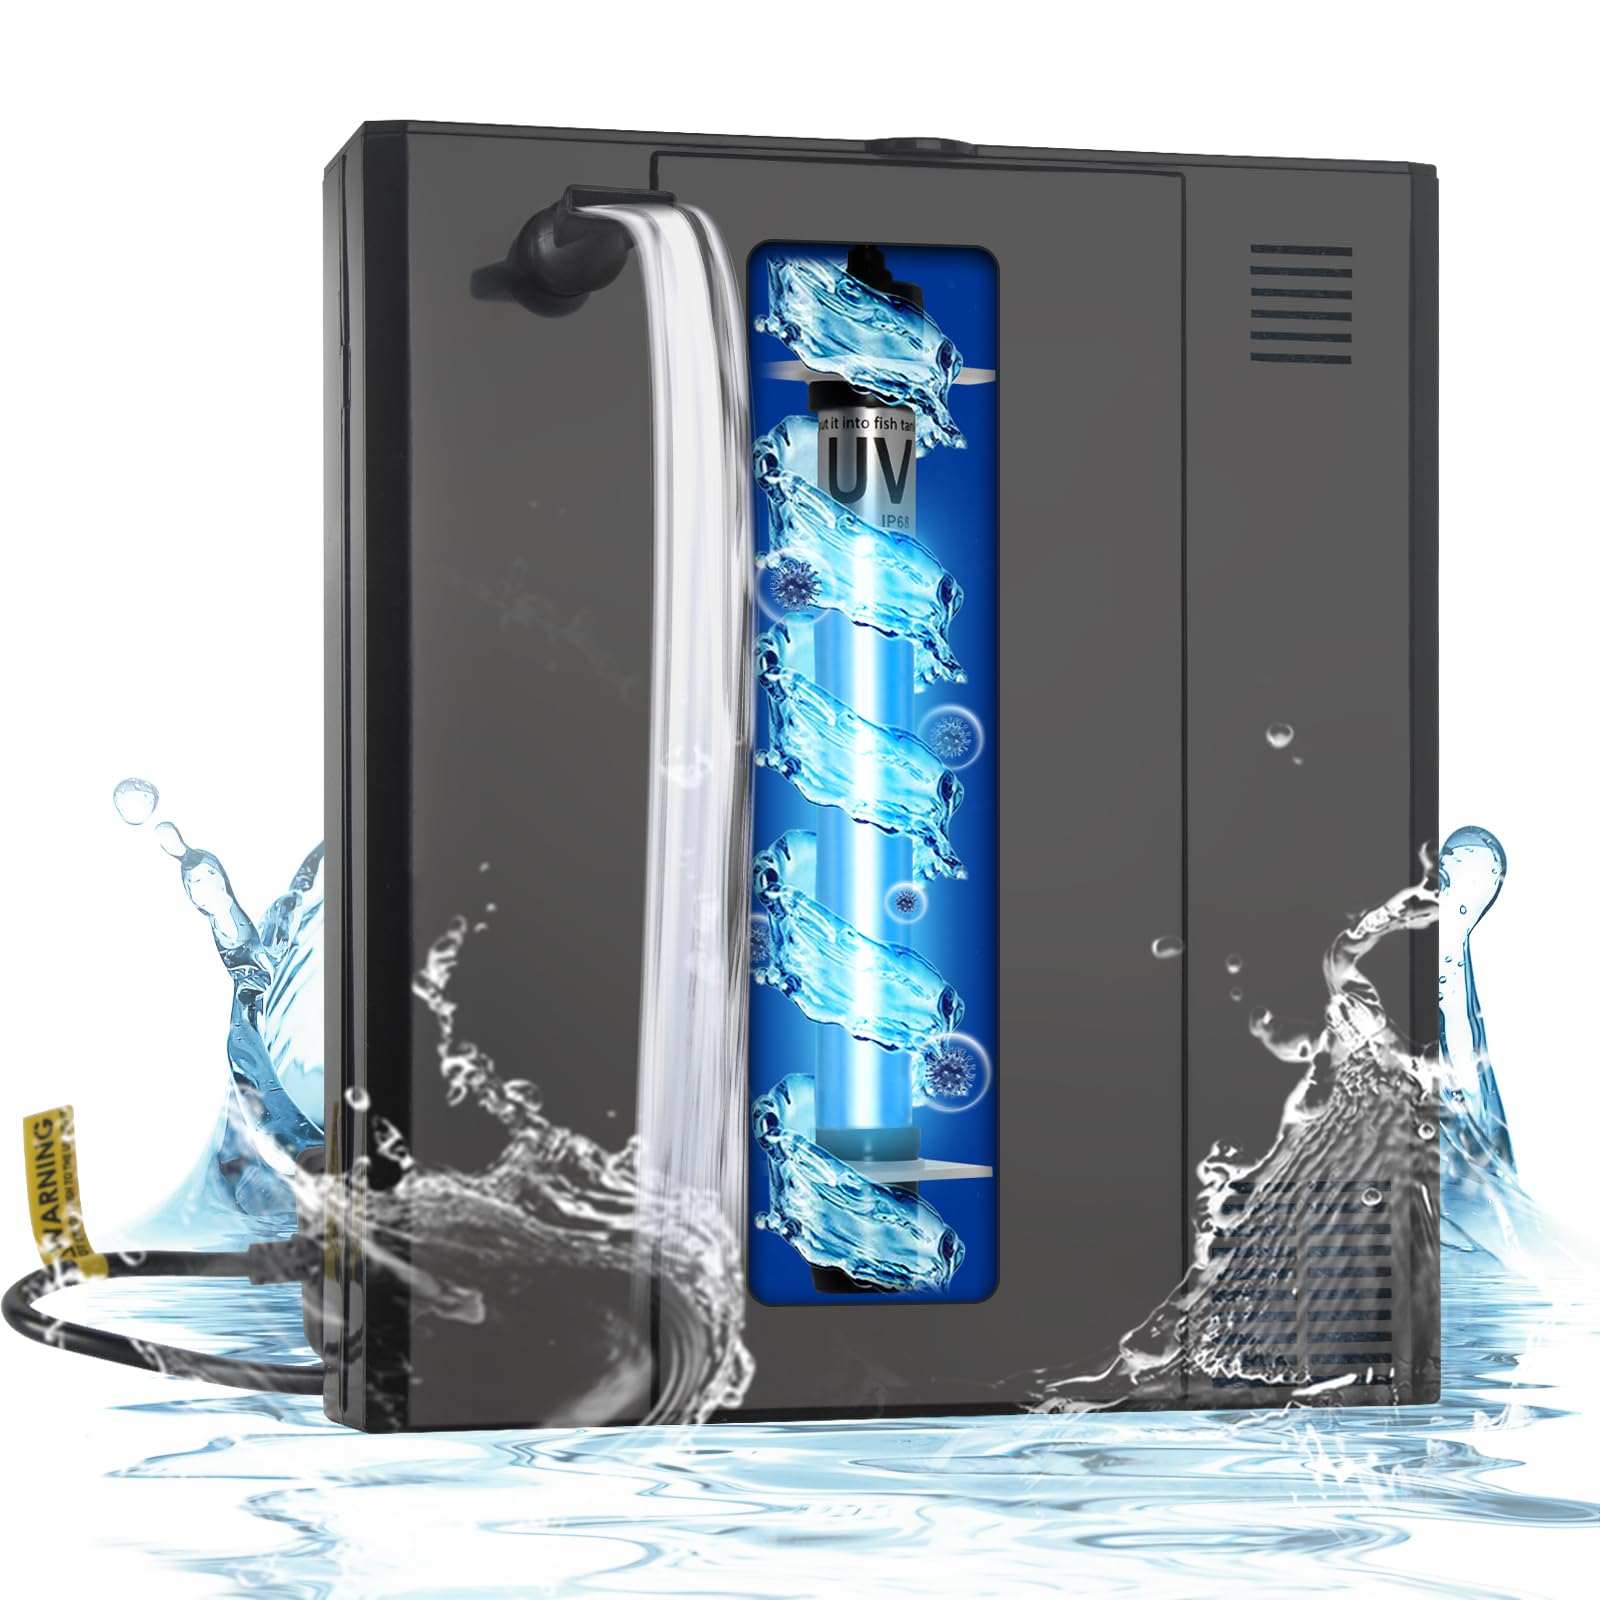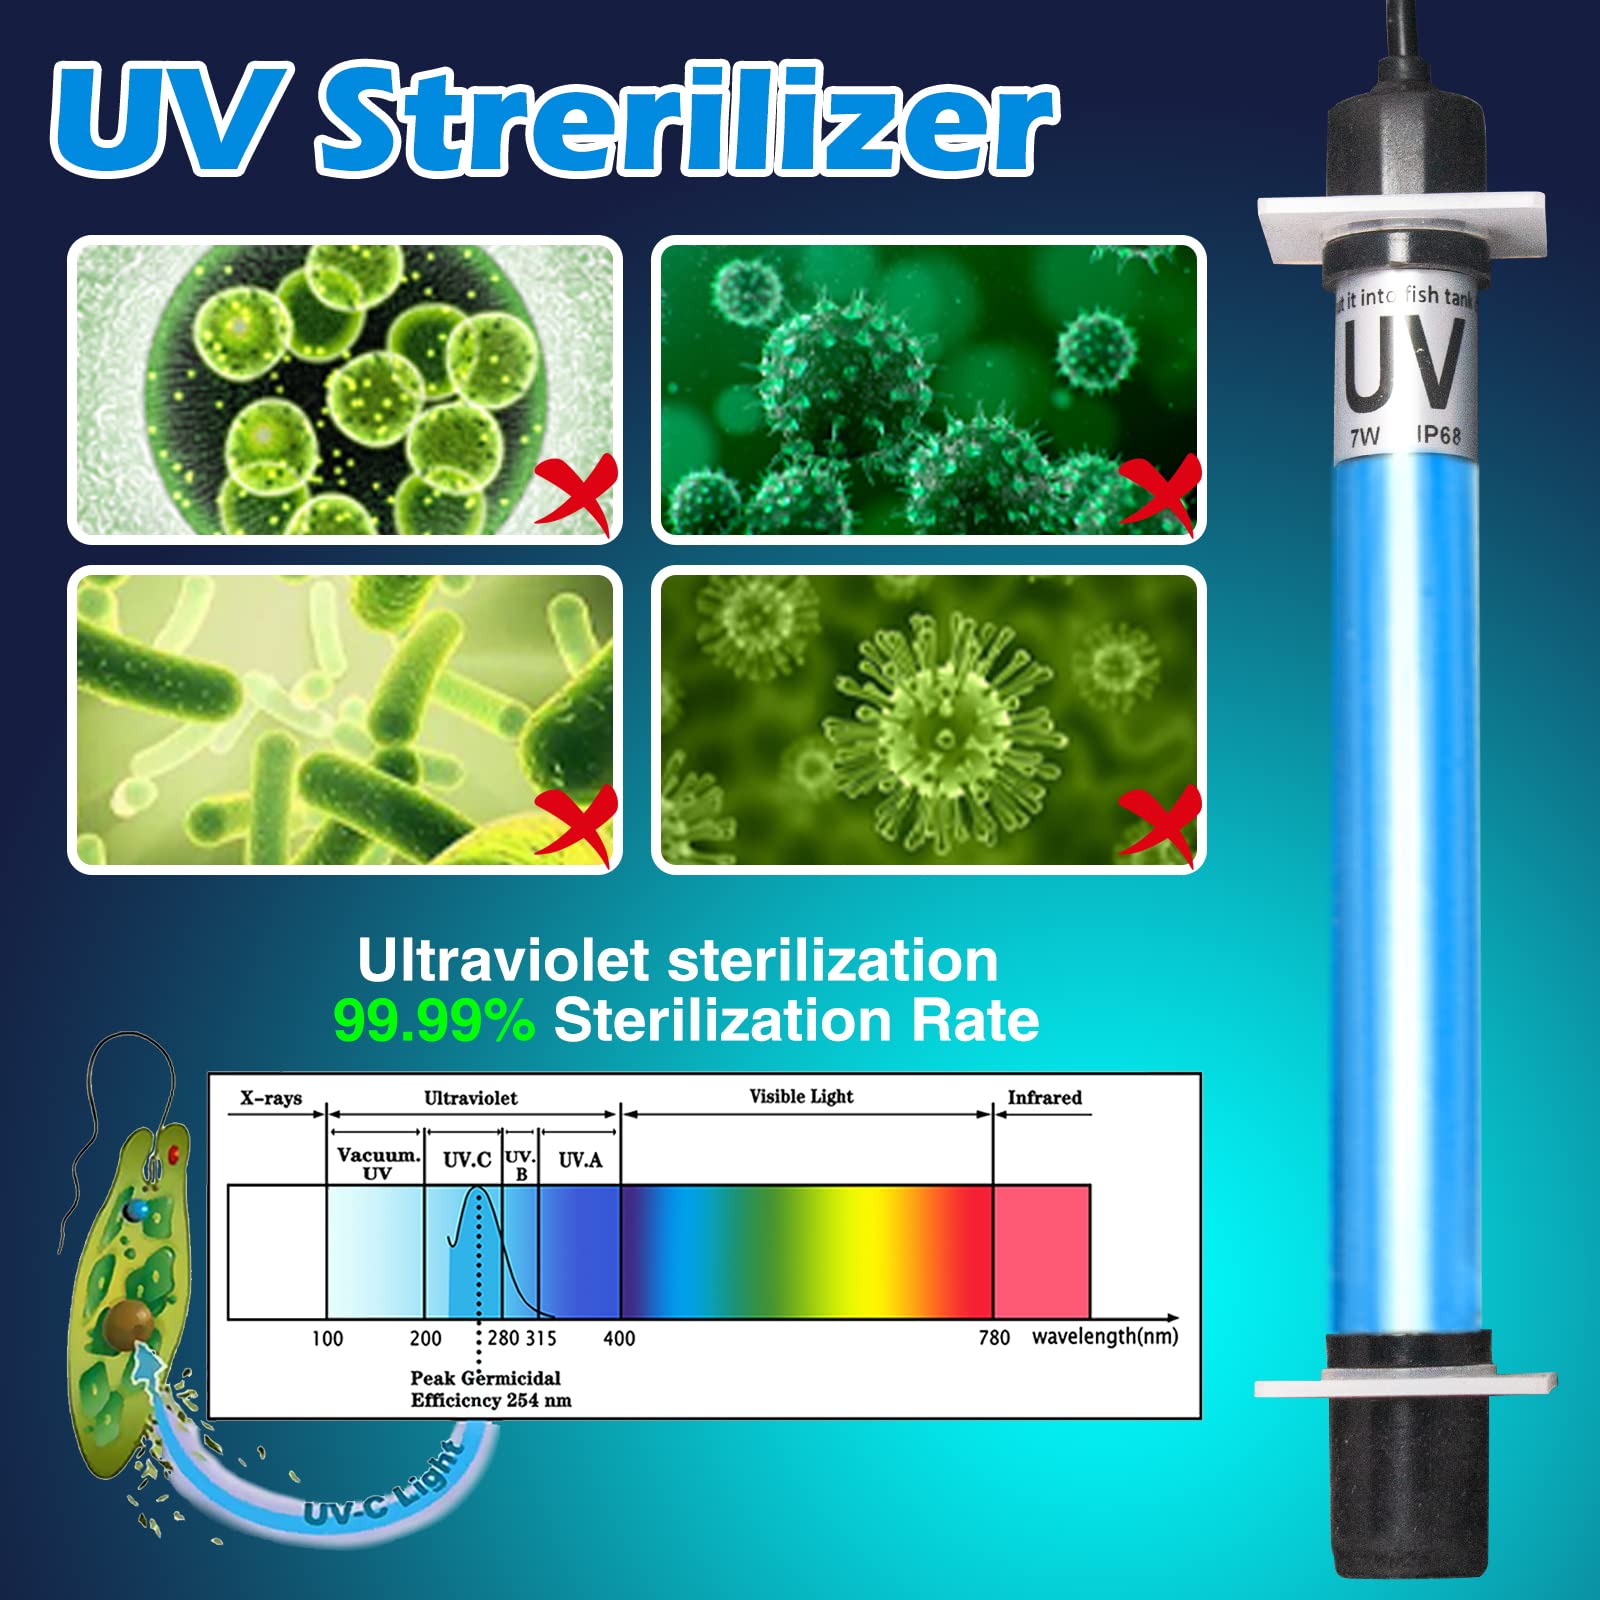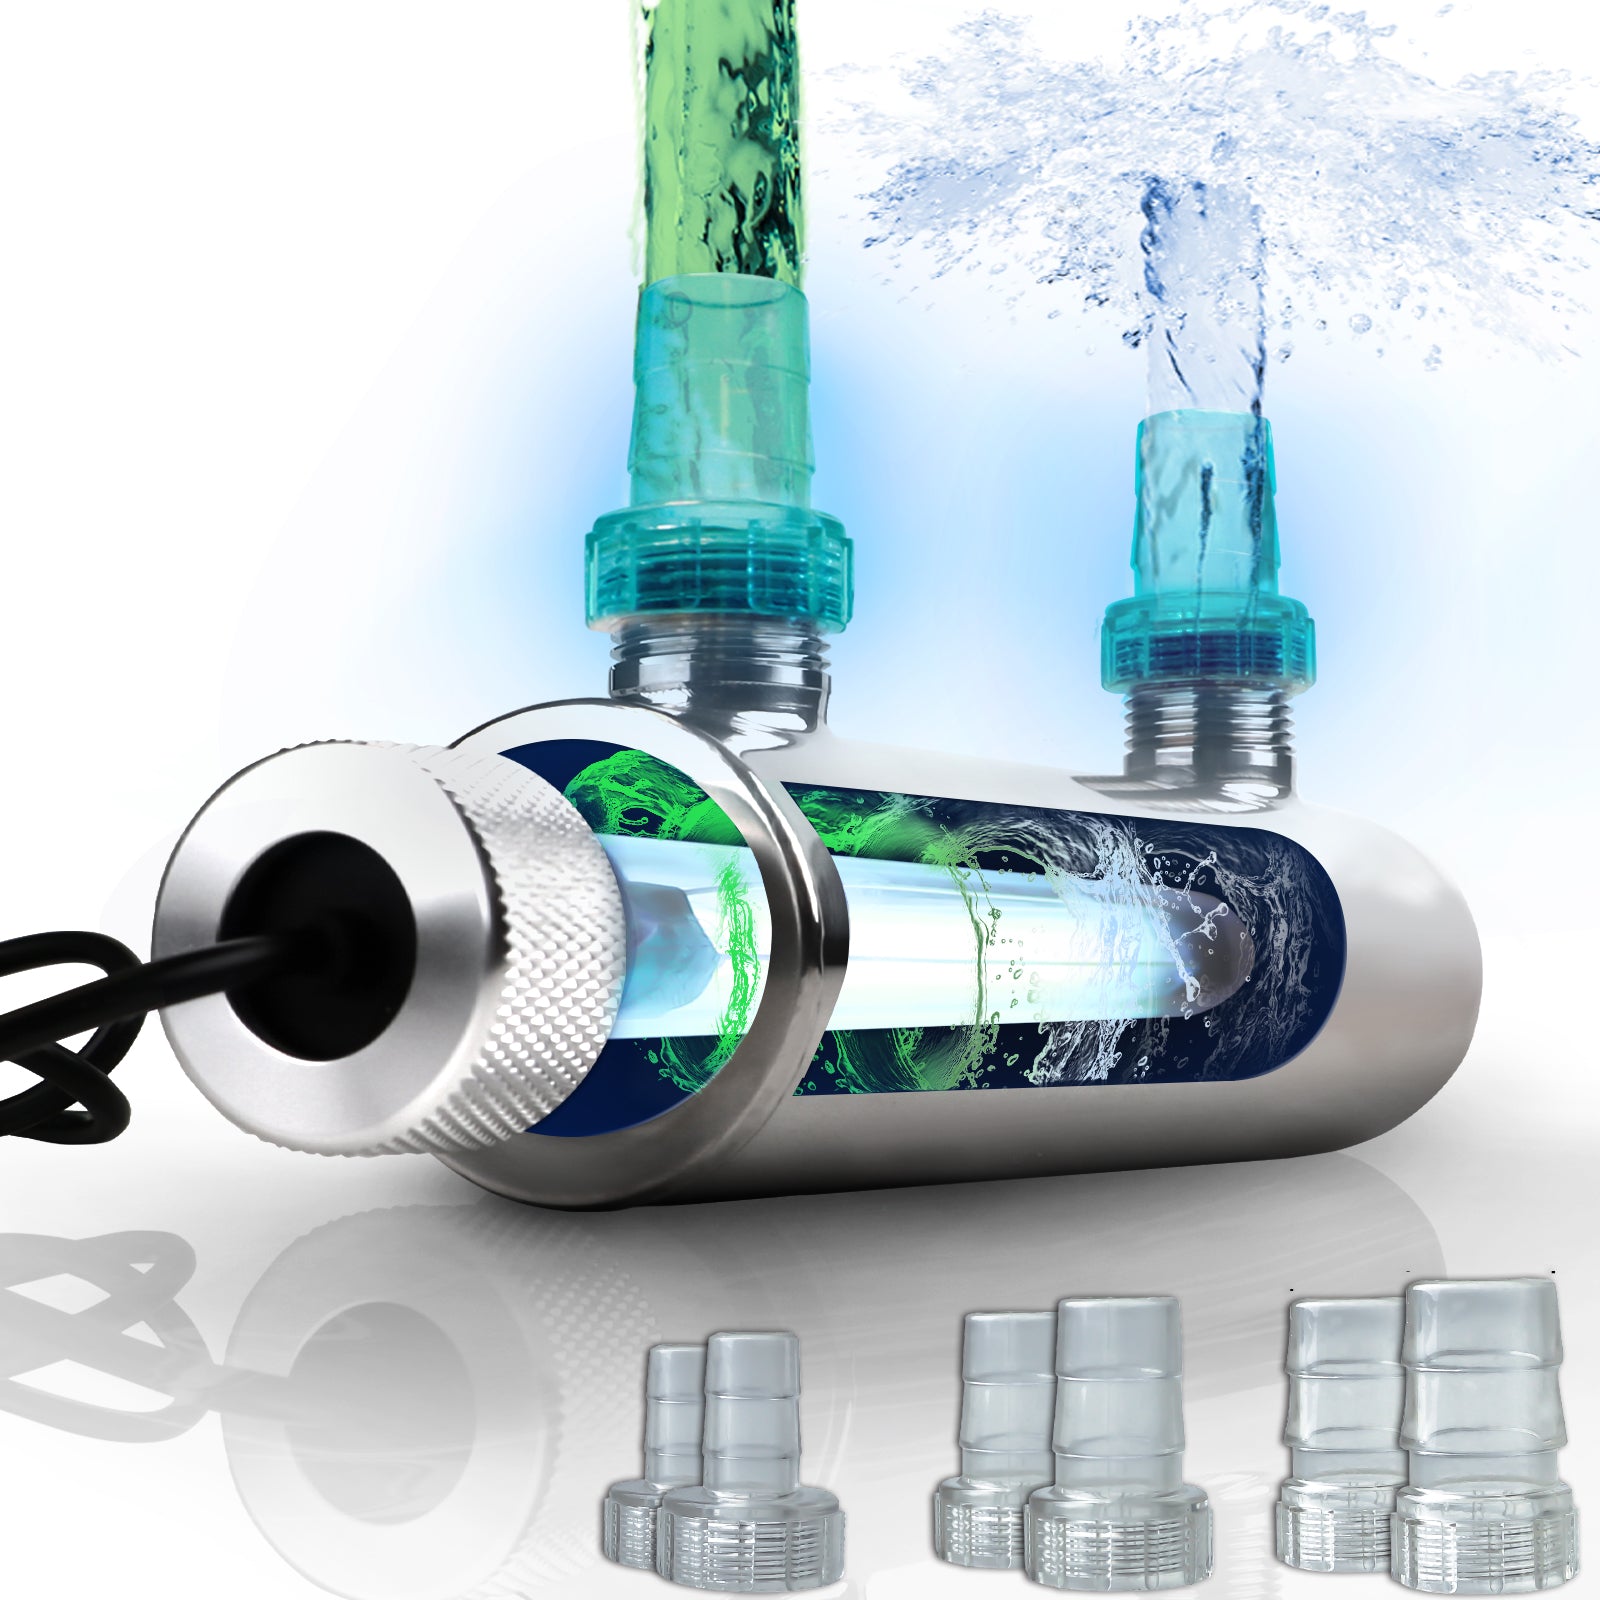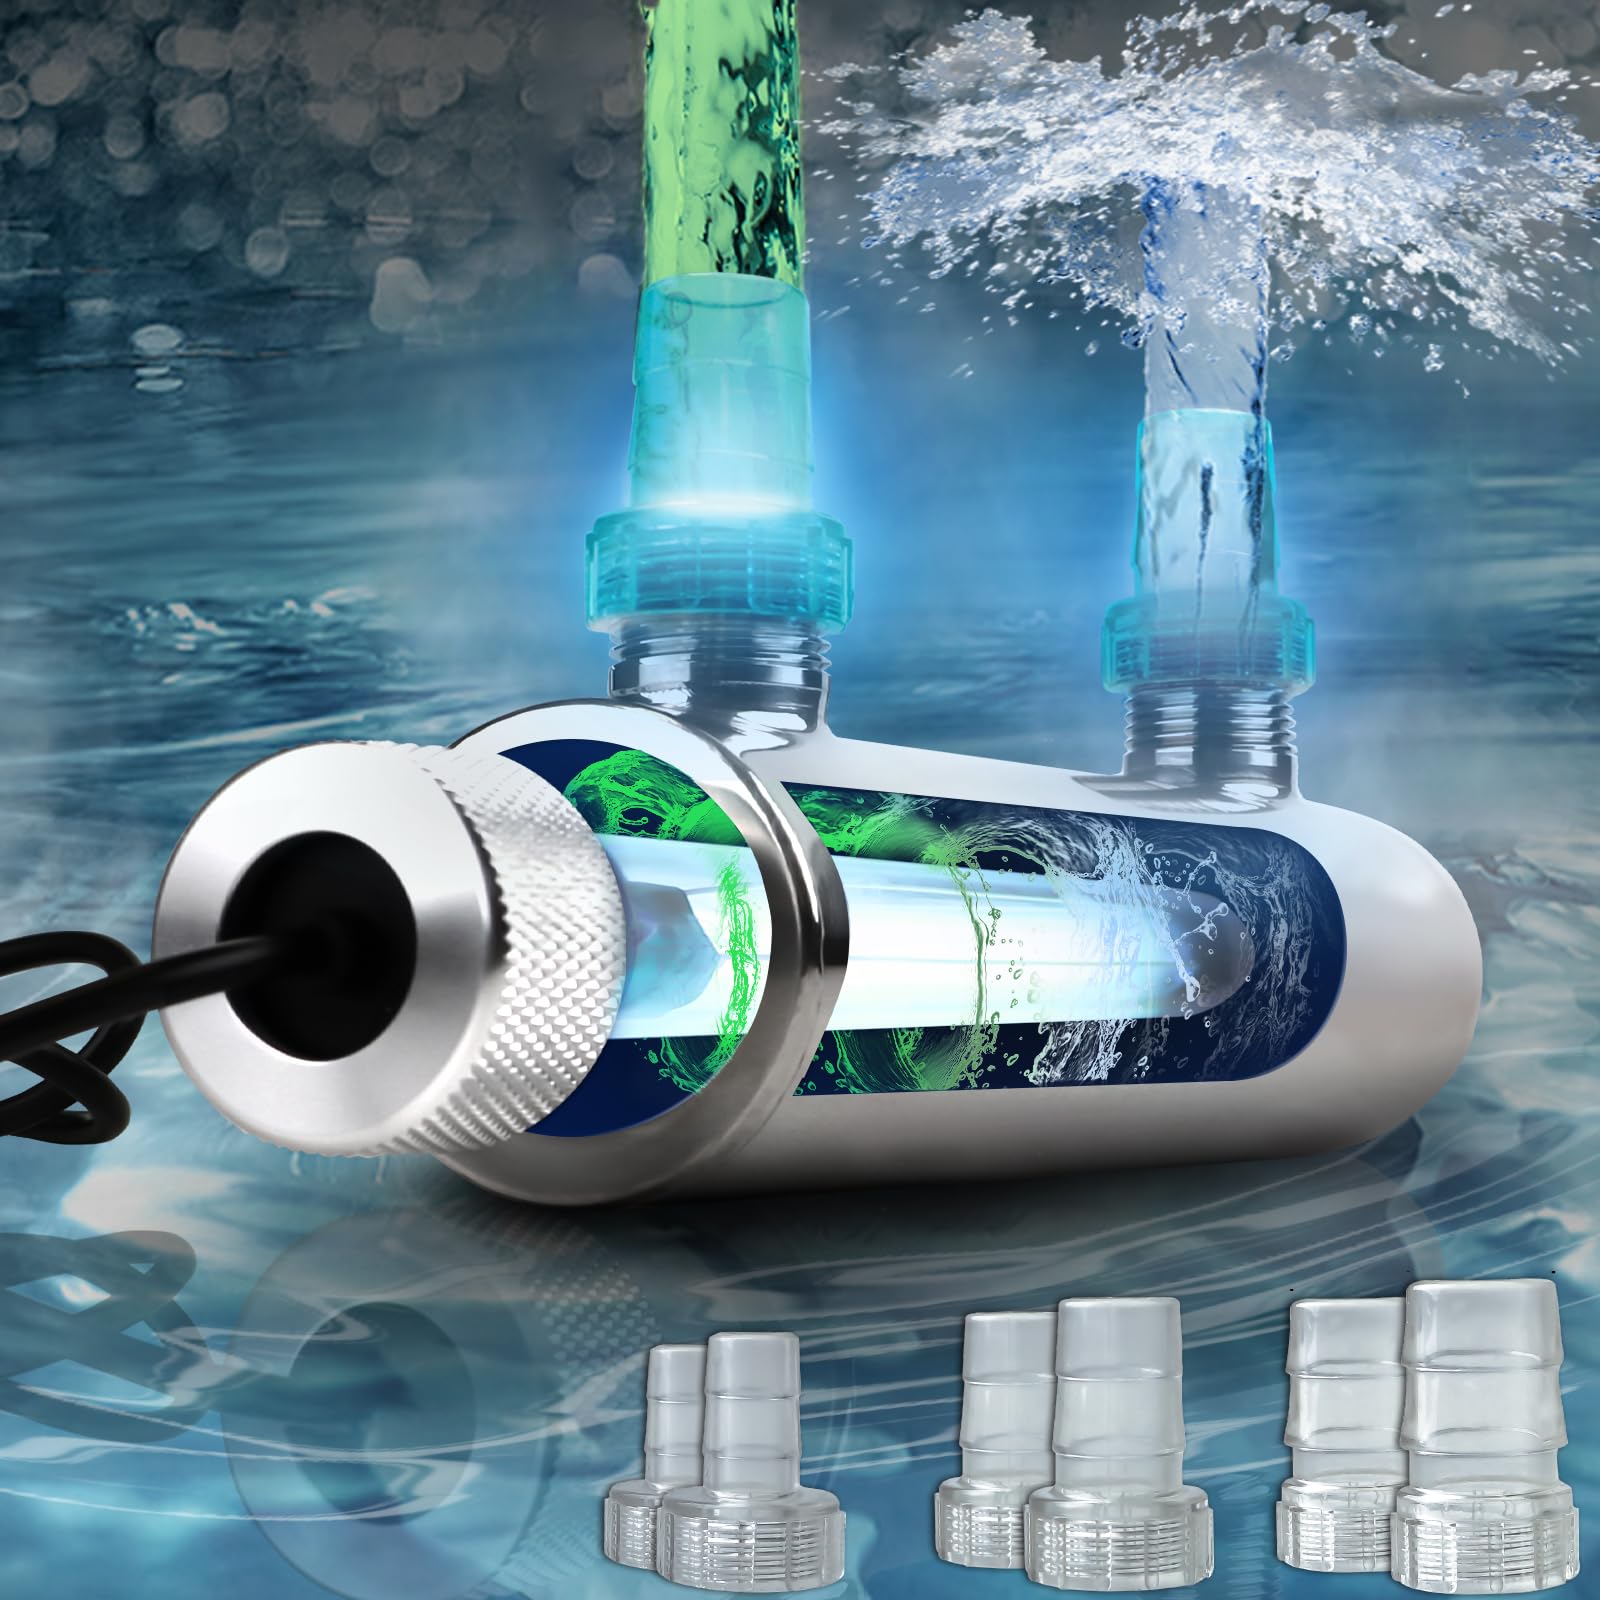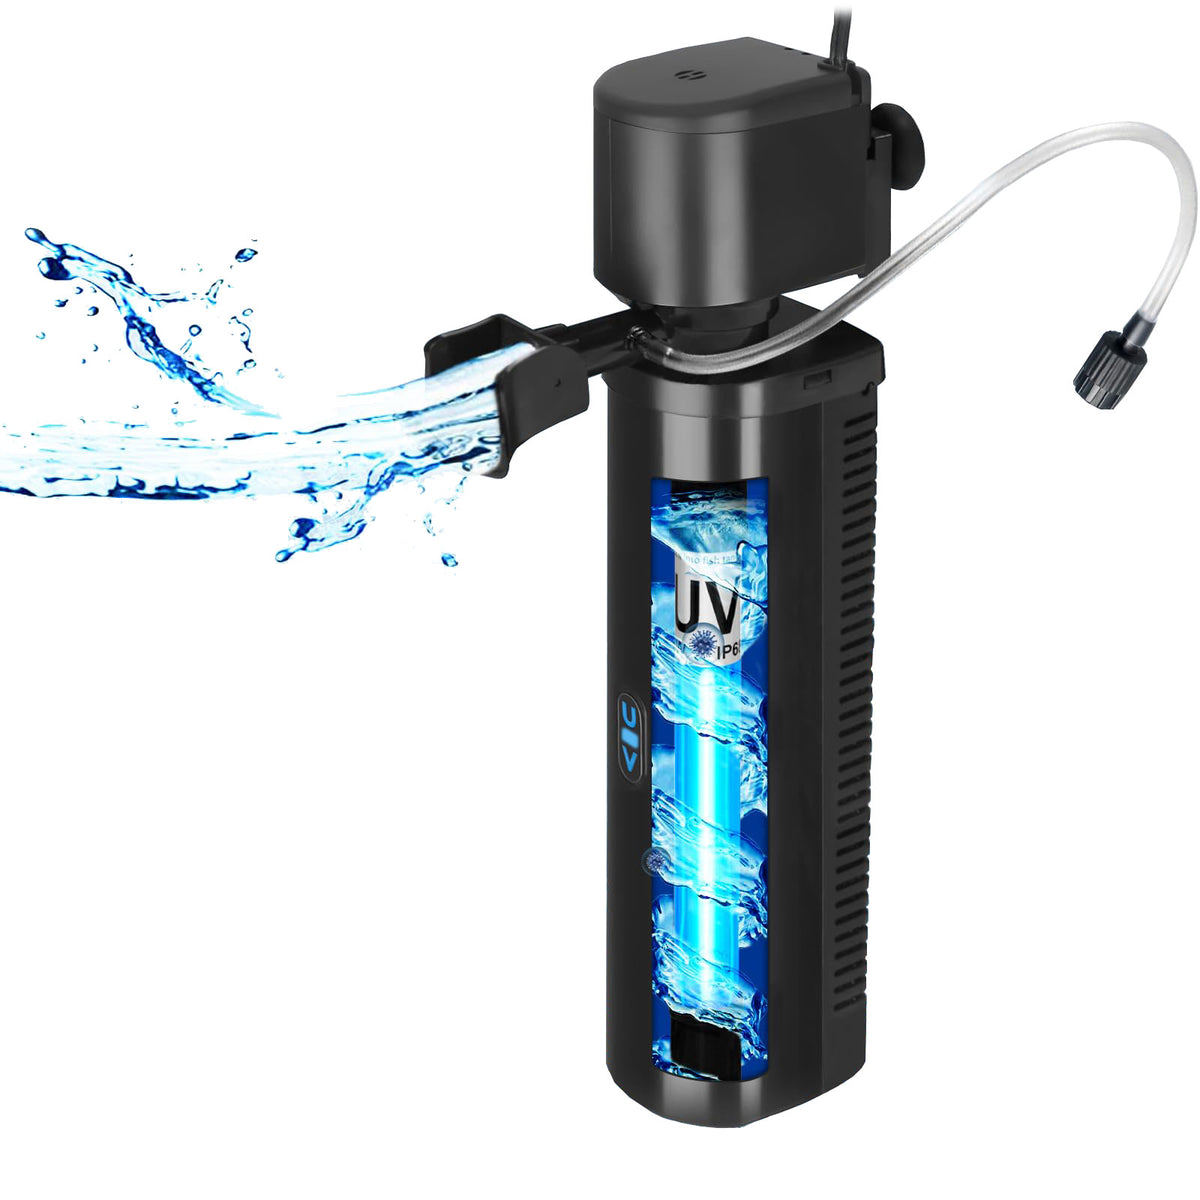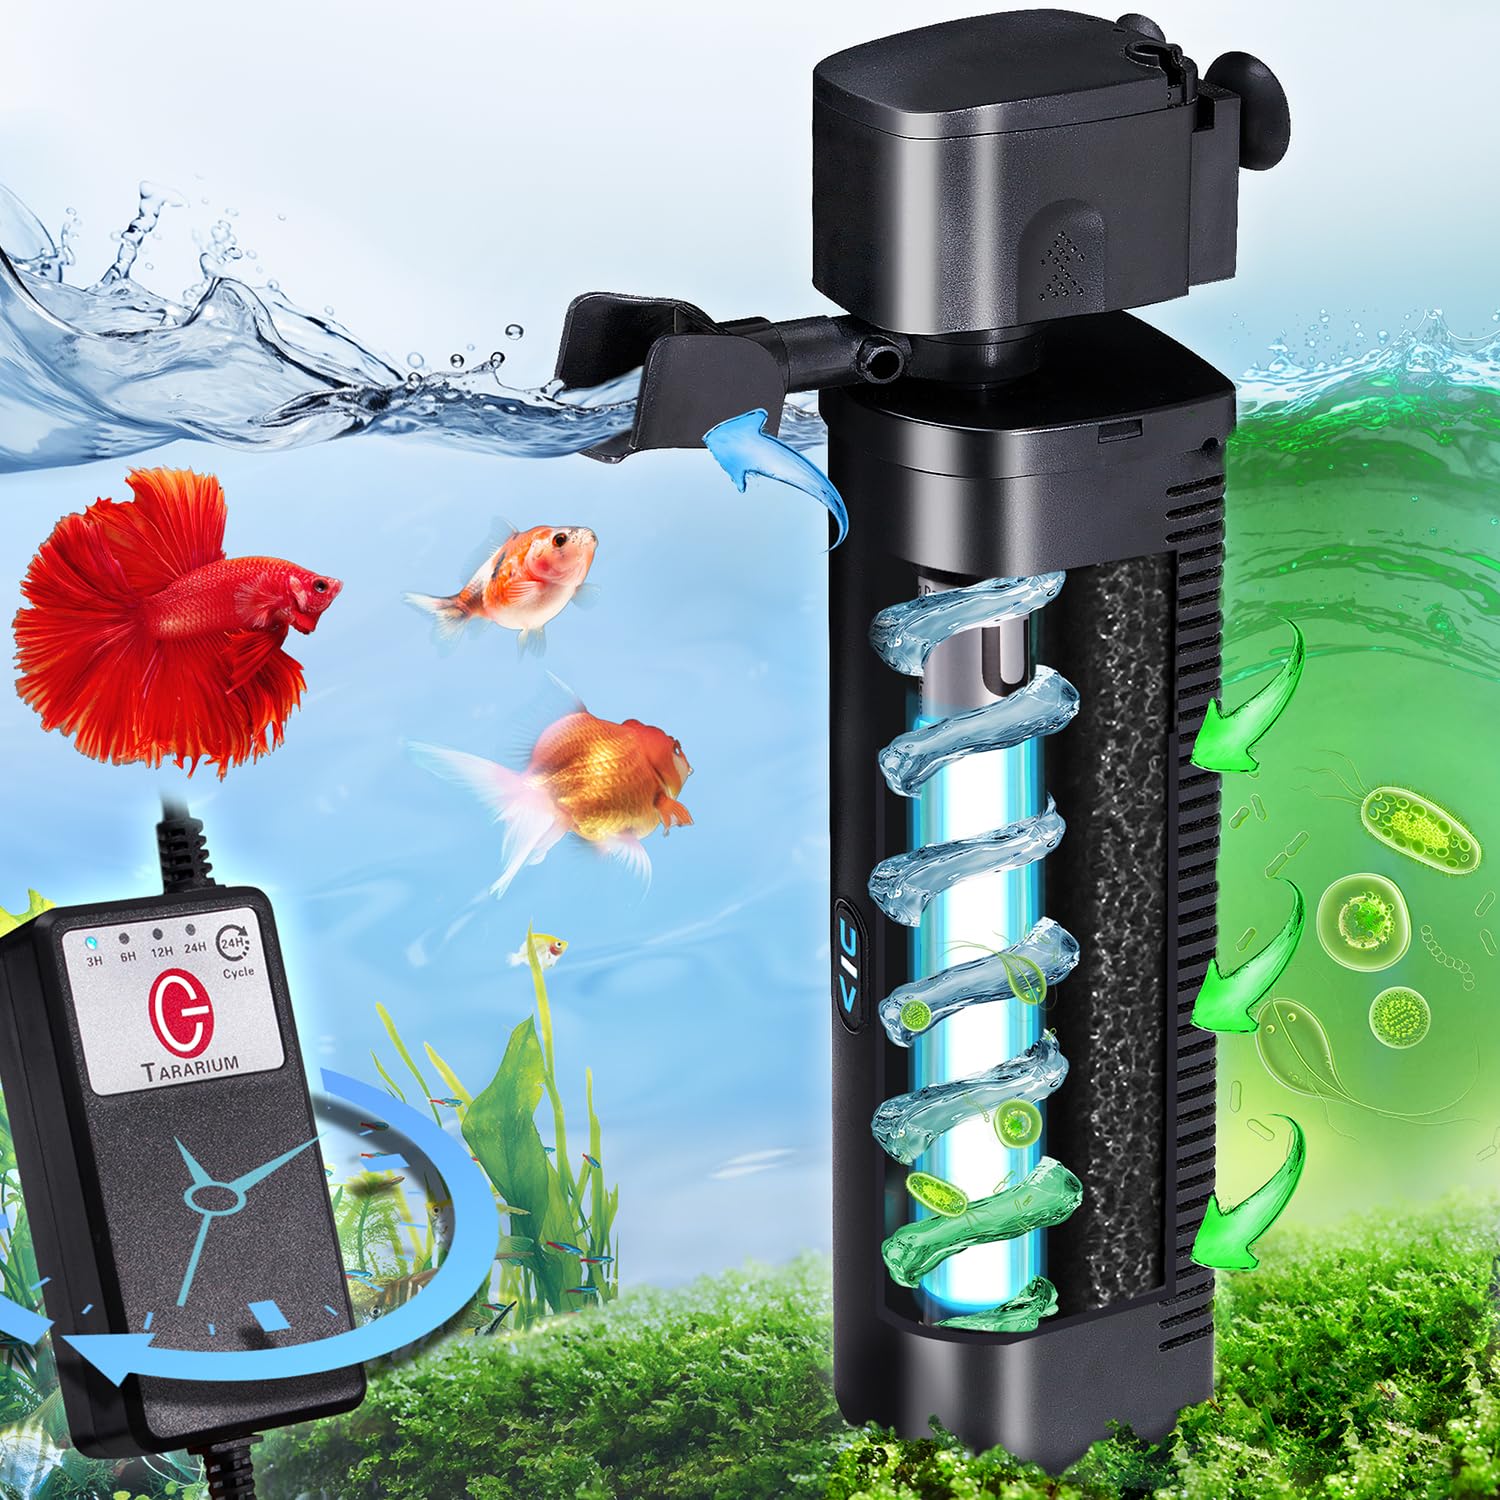
An aquarium UV sterilizer is one of the most valuable pieces of equipment for maintaining clean, clear, and healthy aquarium water. Whether you have a freshwater aquarium, saltwater reef tank, planted aquarium, or large fishkeeping system, ultraviolet sterilization can help control free-floating algae, reduce certain waterborne microorganisms, and improve overall water clarity.
However, simply installing a UV sterilizer does not guarantee consistent performance.
Over time, mineral deposits, algae residue, organic matter, and other contaminants can accumulate inside the sterilizer. These deposits can reduce the amount of ultraviolet light reaching the water, lowering the effectiveness of the equipment even when the UV lamp continues operating.
This is why regular aquarium UV sterilizer cleaning is essential.
Proper cleaning not only helps maintain effective ultraviolet exposure but also extends the useful life of important components, reduces unexpected maintenance problems, and protects your investment in aquarium equipment.
The good news is that cleaning an aquarium UV sterilizer does not have to be complicated. With the right tools, appropriate precautions, and a consistent maintenance schedule, most aquarium owners can safely complete routine maintenance at home.
In this comprehensive guide, we will explain how to clean an aquarium UV sterilizer step by step, how often maintenance should be performed, which cleaning solutions are appropriate, and how to recognize common problems before they affect your aquarium.
1. Why Regular Aquarium UV Sterilizer Cleaning Is Important
An aquarium UV sterilizer works by exposing waterborne organisms to ultraviolet-C (UV-C) radiation as aquarium water passes through a specially designed chamber.
UV-C radiation can damage the genetic material of susceptible microorganisms, interfering with their ability to reproduce or remain viable.
Depending on the sterilizer's design, UV intensity, water flow rate, and exposure time, ultraviolet sterilization may help control:
-
Free-floating green water algae
-
Certain waterborne bacteria
-
Some fungal spores
-
Certain free-swimming parasite stages
-
Other susceptible microorganisms suspended in aquarium water
The effectiveness of this process depends on how much usable ultraviolet radiation reaches the organisms passing through the sterilization chamber.
Unfortunately, contamination inside the UV sterilizer can interfere with that process.
Mineral Deposits Reduce UV Transmission
One of the most common maintenance problems involves mineral buildup on the quartz sleeve.
The quartz sleeve is a transparent protective tube surrounding the ultraviolet lamp in many conventional UV sterilizers.
Its purpose is to separate the electrical lamp from aquarium water while allowing ultraviolet radiation to pass into the treatment chamber.
As aquarium water circulates around the sleeve, dissolved minerals can gradually accumulate on its surface.
Calcium carbonate, magnesium compounds, and other mineral deposits may create a cloudy or whitish coating.
This coating blocks or scatters some of the ultraviolet radiation.
Consequently, less UV-C energy reaches the circulating water.
Even a fully functioning UV lamp may deliver reduced treatment performance if the quartz sleeve is heavily coated.
Organic Debris Can Accumulate Inside the Chamber
Aquarium water contains suspended organic particles, fish waste, uneaten food, microbial films, and microscopic debris.
Although mechanical filtration removes many larger particles, smaller contaminants may still enter the UV chamber.
Over time, deposits can accumulate along internal surfaces, especially in areas with relatively slow water movement.
Excessive buildup may interfere with water circulation, create additional resistance, or make future cleaning more difficult.
Dirty Components Can Create Maintenance Problems
Accumulated debris can also affect seals, fittings, and serviceable internal components.
For example, material trapped around an O-ring can prevent proper sealing after reassembly.
This increases the possibility of water leakage.
Regular inspection allows aquarium owners to identify worn seals, damaged sleeves, loose fittings, and other problems before they become serious.
Cleaning Helps Preserve Equipment Performance
An aquarium UV sterilizer represents an ongoing investment.
Routine maintenance helps ensure that the equipment continues operating as intended rather than gradually losing effectiveness.
The key benefits include improved UV transmission, more reliable water circulation, reduced component contamination, and earlier detection of mechanical damage.
For these reasons, regular cleaning should be considered a normal part of aquarium care rather than an optional emergency procedure.
2. Understanding the Main Components of an Aquarium UV Sterilizer
Before cleaning your equipment, it is helpful to understand the basic components of a typical ultraviolet sterilization system.
Different manufacturers use different designs, so always consult the specific instruction manual for your model.
UV-C Lamp
The UV-C lamp generates the ultraviolet radiation used for water treatment.
Many traditional aquarium sterilizers use low-pressure mercury UV lamps, although other technologies are available.
The lamp is one of the most important components because its ultraviolet output determines how much radiation is available for treatment.
A lamp can remain visibly illuminated even after its useful germicidal output has declined.
Therefore, proper maintenance includes monitoring lamp operating hours and replacing the lamp according to the manufacturer's specifications.
Quartz Sleeve
The quartz sleeve is a transparent tube that protects the UV lamp from direct contact with aquarium water.
Quartz is used because suitable grades transmit UV-C radiation more effectively than ordinary glass.
The sleeve must remain sufficiently clean for the sterilizer to operate efficiently.
Mineral deposits and biological films on the quartz surface can interfere with ultraviolet transmission.
Because the sleeve is fragile, it must be removed and cleaned carefully.
Sterilization Chamber
The sterilization chamber is the housing through which aquarium water flows.
Its geometry influences water distribution and exposure time.
Depending on the model, the chamber may be made from specialized plastic, stainless steel, or another UV-resistant material.
The chamber should be inspected for debris accumulation and cleaned according to the manufacturer's recommendations.
O-Rings and Seals
O-rings prevent water from escaping around removable components.
These seals are typically made from rubber or another flexible material.
Their condition is critical for preventing leaks.
During cleaning, inspect each seal for cracks, deformation, hardening, or other signs of damage.
Water Connections and Flow Components
Aquarium UV sterilizers commonly connect to canister filters, external pumps, return lines, or dedicated circulation systems.
These connections determine how water enters and exits the unit.
Hoses, fittings, valves, and prefilters may also require periodic maintenance.
A clean UV chamber cannot compensate for a severely restricted or improperly adjusted water supply.
3. How Often Should You Clean an Aquarium UV Sterilizer?
One of the most frequently asked questions is how often an aquarium UV sterilizer needs cleaning.
The answer depends on aquarium conditions, sterilizer design, water chemistry, and manufacturer requirements.
There is no universal cleaning schedule suitable for every aquarium.
However, the following intervals provide a practical starting point.
Recommended Maintenance Schedule
| Maintenance Task | Suggested Starting Frequency |
|---|---|
| Check for leaks, alarms, and abnormal operation | Weekly |
| Inspect flow rate and connected prefilter | Every 2–4 weeks |
| Check quartz sleeve for deposits, if accessible | Every 1–3 months |
| Clean quartz sleeve when deposits appear | As needed |
| Inspect chamber and accessible seals | Every 3–6 months |
| Perform comprehensive maintenance | Every 6–12 months or as specified |
| Replace UV lamp | According to manufacturer-rated operating hours |
| Replace damaged O-rings or quartz sleeves | Immediately when needed |
These intervals are general planning recommendations, not universal manufacturer requirements.
Some systems need quartz sleeve cleaning more frequently because of mineral-heavy water or substantial organic loading. Others can operate for longer periods between maintenance visits.
Freshwater Aquarium Maintenance
Freshwater tanks with hard, mineral-rich water may develop visible scale on quartz sleeves more quickly than systems using softer water.
Aquariums with high feeding rates, heavy fish populations, or insufficient mechanical filtration can also experience increased organic buildup.
For these aquariums, inspecting the quartz sleeve every month or two may be beneficial until you establish the actual rate of accumulation.
Saltwater Aquarium Maintenance
Marine aquariums can develop calcium-based deposits because of their water chemistry.
Reef tanks containing elevated calcium and alkalinity levels may require particular attention to mineral accumulation.
Salt residue can also form around exterior fittings, especially where small amounts of water evaporate.
Regular inspection helps prevent mineral deposits from becoming difficult to remove.
High-Bioload Aquariums
Aquariums containing large fish or heavily stocked populations generate more waste.
This can contribute to faster contamination of filters, hoses, and water-treatment equipment.
UV sterilizers serving these systems may benefit from more frequent inspection.
Manufacturer Recommendations Come First
Some UV sterilizers feature automatic or manual quartz-cleaning mechanisms.
Other units have sealed or specialized designs that require different maintenance procedures.
Always prioritize the manufacturer’s instructions over a general cleaning schedule.
The best approach is to inspect your sterilizer regularly, document how quickly deposits develop, and adjust cleaning intervals accordingly.
4. Tools and Materials Needed to Clean an Aquarium UV Sterilizer
Preparing the correct cleaning supplies before beginning maintenance makes the process safer and more efficient.
Most conventional aquarium UV sterilizers can be serviced using relatively simple materials.
Basic Cleaning Supplies
You may need:
-
A clean, soft microfiber cloth
-
A nonabrasive sponge
-
A small, soft-bristled cleaning brush
-
Clean water for rinsing
-
White distilled vinegar, if approved for your model
-
A clean bucket or shallow container
-
Nitrile or other suitable protective gloves
-
A dry towel
-
Replacement O-rings if required
-
Manufacturer-approved spare parts
-
The sterilizer's instruction manual
For substantial mineral deposits, a manufacturer-approved descaling solution may be appropriate.
However, not all UV sterilizers use the same materials.
A cleaning chemical that is acceptable for one manufacturer's quartz sleeve may not be suitable for another unit's housing, seals, coatings, or electrical components.
Always verify chemical compatibility before use.
Why White Vinegar Is Commonly Used
White distilled vinegar contains acetic acid, which can help dissolve certain mineral deposits, including calcium carbonate.
It is often useful for removing the whitish scale that forms on aquarium equipment.
When the manufacturer allows vinegar cleaning, it can provide a convenient option for routine quartz sleeve maintenance.
After cleaning, the sleeve should be rinsed thoroughly with clean water.
Never assume that vinegar is safe for every component of the sterilizer.
Cleaning Products to Avoid
Unless explicitly approved by the manufacturer, avoid:
-
Steel wool
-
Metal scrapers
-
Abrasive cleaning pads
-
Harsh scouring powders
-
Household bleach
-
Ammonia-based cleaning agents
-
Strong chemical solvents
-
Unapproved acidic descalers
Abrasive materials can scratch quartz surfaces.
Damaged or scratched sleeves may transmit ultraviolet radiation less effectively and can be more difficult to clean in the future.
Strong chemicals can also damage certain seals or housing materials.
Additionally, chemical residues can be harmful to aquarium organisms if they are introduced into the water.
Never mix vinegar or other acidic cleaning solutions with bleach.
5. Safety Precautions Before Cleaning Your UV Sterilizer
Safety should always come first when maintaining ultraviolet sterilization equipment.
A UV sterilizer combines electricity, water, fragile components, and potentially hazardous ultraviolet radiation.
Improper maintenance can create risks for both the aquarium owner and the equipment.
Disconnect Electrical Power
Before opening the sterilizer, unplug the UV unit from its electrical outlet.
Do not rely solely on an indicator switch.
Disconnecting the power supply prevents accidental lamp activation during maintenance.
If your sterilizer shares electrical equipment with a pump or filter, identify which components must also be turned off.
Never work on electrical connections with wet hands.
Never Look Directly at an Operating UV-C Lamp
UV-C radiation is dangerous to exposed eyes and skin.
Direct exposure can cause serious eye irritation or injury and skin damage.
Never operate an exposed UV-C lamp to check whether it works.
If a lamp needs testing, follow the manufacturer's enclosed, shielded diagnostic procedure.
Turn Off Water Flow
Stop the water pump or isolate the sterilizer using installed valves.
This prevents water from circulating through an open chamber.
Some systems operate under pressure, so allow pressure to dissipate before loosening fittings.
Allow Components to Cool
UV lamps can become warm during operation.
Allow adequate cooling time before removing the lamp.
Handling a hot glass tube increases the chance of injury or accidental breakage.
Protect Fragile Components
Quartz sleeves and UV lamps can break if dropped, bent, or forced against hard surfaces.
Choose a clean, stable workspace.
Place removed components on a soft towel and keep them away from areas where they could roll.
Check for Lamp Damage
If a mercury-containing UV lamp breaks, avoid touching the broken material directly.
Keep people and pets away from the area and follow current official mercury-lamp cleanup guidance and the manufacturer's disposal instructions.
Do not use a vacuum cleaner as an improvised cleanup method.
Following these precautions helps ensure that routine cleaning remains a safe maintenance activity.
6. How to Clean an Aquarium UV Sterilizer: Step-by-Step Instructions
The following procedure describes the general maintenance process for a conventional serviceable aquarium UV sterilizer with a removable lamp and quartz sleeve.
The exact order of disassembly varies by manufacturer.
Always use the model-specific manual to identify the correct parts, removal sequence, and reassembly requirements.
Step 1: Disconnect the UV Sterilizer From Power
Start by turning off and unplugging the UV sterilizer.
Then shut down the connected pump or isolate the UV unit from circulating water.
If your system includes shutoff valves, close them according to the manufacturer's instructions.
Confirm that water is no longer moving through the chamber.
For pressurized systems, release pressure using the approved procedure before opening any fittings.
Step 2: Drain the Sterilization Chamber
Place a clean bucket beneath the unit to collect any remaining water.
Depending on the design, you may need to disconnect hoses or open a drain fitting.
Allow the chamber to empty before proceeding.
Draining reduces accidental spills and makes component removal easier.
Avoid pulling hoses forcefully because this can damage connectors or plumbing.
Step 3: Remove the UV Lamp Carefully
Locate the lamp access cap or electrical connector.
Release it according to the manufacturer's instructions.
Carefully withdraw the lamp in a straight line, avoiding sideways pressure against the quartz sleeve.
Do not pull on electrical wires.
If the lamp resists removal, stop and verify that all required retaining parts have been released.
Place the lamp on a clean, stable, padded surface.
Avoid touching the glass portion unnecessarily, because fingerprints and contaminants can create deposits.
Step 4: Remove the Quartz Sleeve
After removing the lamp, locate the quartz sleeve retaining assembly.
Depending on the sterilizer, this may include a threaded cap, compression fitting, gasket, or O-ring.
Carefully release the approved retaining mechanism.
Gently slide out the quartz sleeve without applying sideways force.
The sleeve may contain mineral deposits that make it appear cloudy, white, or slightly yellowed.
Inspect it for visible contamination and physical damage.
If the quartz sleeve is cracked or chipped, replace it instead of cleaning and reinstalling it.
Step 5: Inspect the Quartz Sleeve
Hold the quartz sleeve under suitable ambient lighting.
Look for:
-
White mineral deposits
-
Cloudy surface buildup
-
Slimy biological films
-
Brown or yellow discoloration
-
Cracks or chips
-
Surface scratches
-
Persistent residue near the ends
A dirty sleeve may look very different from a clean replacement.
However, appearance alone cannot confirm actual UV-C transmission.
If the sleeve remains visibly damaged or permanently discolored after cleaning, replacement may be necessary.
Step 6: Remove Loose Dirt and Organic Residue
Begin with the gentlest cleaning method.
Rinse the sleeve with clean water.
Use a soft microfiber cloth to wipe away loose particles, slime, and other removable contaminants.
Avoid applying excessive pressure.
Do not use abrasive scrubbers or sharp objects to remove stubborn deposits.
The goal is to clean the quartz without damaging its surface.
Step 7: Remove Mineral Deposits
If the sleeve has calcium scale or other mineral buildup, use the cleaning method approved by the manufacturer.
For models that permit white vinegar, lightly wet a soft cloth with vinegar and gently wipe the mineral-coated surface.
If necessary, allow a short contact period so the deposits can soften.
Then wipe the sleeve again without excessive force.
Repeat as necessary rather than scraping hardened scale.
Some manufacturers approve specific commercial descaling products. These should only be used when compatible with your particular sterilizer.
Follow the cleaning product's safety instructions and avoid unnecessary contact with seals or other components.
Step 8: Rinse the Quartz Sleeve Thoroughly
After removing deposits, rinse the sleeve thoroughly with clean water.
Make sure all cleaning solution and loosened material have been removed.
This is particularly important because the sleeve will return to contact with circulating aquarium water.
If there is any uncertainty about chemical residue, continue rinsing according to the manufacturer's instructions.
Use a clean microfiber cloth to dry the exterior gently if recommended.
Step 9: Clean the Sterilization Chamber
While the sleeve is removed, inspect the internal chamber.
Look for organic deposits, sediment, slime, or other accumulated material.
Clean accessible surfaces using a soft brush or nonabrasive cloth.
For chambers that can be rinsed safely, flush them with clean water to remove loosened material.
Avoid introducing water into electrical compartments or other areas that must remain dry.
Do not use strong cleaning chemicals inside the chamber unless the manufacturer explicitly permits them.
Step 10: Inspect the O-Rings and Seals
Remove and inspect serviceable seals according to the product manual.
Check for cracking, flattening, swelling, hardening, or visible deformation.
Clean reusable seals gently with clean water.
Remove any particles that might interfere with proper sealing.
Replace damaged seals with parts matching the original manufacturer's specifications.
Some manufacturers recommend replacing particular seals whenever the lamp or quartz sleeve is serviced.
Follow those instructions even if the old seal still looks usable.
Do not apply petroleum jelly, silicone grease, or other lubricants unless the manufacturer specifies the correct product and application method.
Step 11: Reinstall the Quartz Sleeve
Once the sleeve and chamber are clean, carefully reinstall the quartz sleeve.
Insert it straight into the chamber without twisting or bending it against internal surfaces.
Make sure the sleeve is positioned correctly and that all seals are installed in their proper locations.
Tighten retaining fittings according to the manufacturer's instructions.
Overtightening can crack quartz or deform sealing components.
For fittings designed to be hand-tightened, avoid using pliers or pipe wrenches.
Step 12: Reinstall the UV Lamp
Inspect the UV lamp before reinstalling it.
If the lamp has reached its recommended replacement interval, this is a convenient time to install a new compatible lamp.
Otherwise, reinstall the existing lamp according to the manual.
Slide it straight into the quartz sleeve without forcing it.
Reconnect the electrical connector securely and reinstall the protective cap.
Ensure all electrical parts remain dry.
Step 13: Restore Water Flow and Check for Leaks
Reconnect the sterilizer to the aquarium plumbing.
Open the appropriate valves and restart water circulation according to the manufacturer’s startup sequence.
Keep the UV electrical power disconnected while performing the initial leak inspection where the design allows.
Examine fittings, end caps, and seal locations for moisture.
Allow sufficient time for water to circulate and for potential leaks to become visible.
If leakage occurs, stop the pump, isolate the unit, and correct the sealing problem before continuing.
Step 14: Restart the UV Sterilizer
Before energizing the UV lamp, make sure the chamber is properly filled with water and any required air bleeding has been completed.
Many water-cooled UV systems must not operate dry.
Once the system is assembled, circulating properly, and confirmed leak-free, reconnect the UV power.
Check the manufacturer's indicator lights or other approved status signals.
Do not open the chamber or expose the lamp while the unit is powered.
Step 15: Monitor Operation
Observe the sterilizer and surrounding plumbing after restarting.
Check for unusual noises, vibration, leaks, pump problems, or warning indicators.
Monitor aquarium water clarity over the following days.
Remember that improved water appearance does not prove that a UV sterilizer is delivering a particular disinfection dose.
For specialized applications requiring verified treatment performance, additional monitoring and manufacturer-approved testing may be necessary.
7. How to Clean the Quartz Sleeve Without Damaging It
The quartz sleeve deserves special attention because it is one of the most important parts of the entire UV treatment system.
A clean sleeve allows more of the lamp's ultraviolet output to reach aquarium water.
An excessively scratched, coated, or damaged sleeve can reduce performance.
Use Nonabrasive Materials
Always choose soft cleaning materials.
A microfiber cloth is generally preferable to a rough household sponge.
Avoid scouring pads, metal brushes, and sharp scraping tools.
Even small surface scratches may make the sleeve more difficult to clean in the future.
Handle the Sleeve by Its Ends
When possible, hold the quartz sleeve near its ends.
This reduces fingerprints and accidental surface contamination.
It also provides better control while handling the fragile tube.
Avoid Sudden Impacts
Do not knock the sleeve against a sink, faucet, or countertop.
Place a soft towel beneath it during cleaning.
If you are soaking an approved removable sleeve, use a stable container that prevents the quartz from rolling or hitting hard surfaces.
Do Not Force Stubborn Deposits
If mineral deposits do not come off immediately, avoid increasing pressure aggressively.
Repeat the approved descaling process instead.
Hard deposits often soften with appropriate chemical treatment.
Scraping them off mechanically can cause permanent damage.
Know When Replacement Is Better
Cleaning cannot repair cracks or deep scratches.
A quartz sleeve should be replaced if it is visibly cracked, chipped, structurally damaged, or cannot be cleaned adequately.
Although replacing the sleeve creates an additional expense, continuing to operate with damaged quartz can lead to leakage, lamp damage, and poor treatment performance.
8. Cleaning and Maintaining the UV Lamp
The UV lamp and the quartz sleeve require different maintenance approaches.
The quartz sleeve is normally cleaned to remove water-contact deposits.
The UV lamp itself is generally protected from aquarium water in conventional sleeve-based designs.
Therefore, the lamp should not require aggressive washing or descaling.
Remove Dust and Fingerprints Carefully
If the manufacturer permits cleaning the lamp surface, use the specified lint-free cloth and approved cleaning method.
Some manufacturers recommend a suitable alcohol wipe for certain lamp surfaces.
Do not automatically apply alcohol, vinegar, or water to every UV lamp.
Different lamp designs and protective coatings may require different handling procedures.
Monitor Operating Hours
UV lamps gradually lose germicidal output during use.
A lamp may continue producing visible light while generating less effective UV-C radiation.
This means lamp brightness is not a reliable measure of remaining sterilization performance.
Many conventional UV systems specify a lamp replacement interval of roughly 8,000–9,000 operating hours, while some models have different ratings.
Always use the replacement interval stated for your exact lamp and sterilizer.
Replace Lamps With Compatible Models
Replacement UV lamps must match the sterilizer's requirements.
Important considerations include electrical compatibility, lamp dimensions, UV output characteristics, and connector design.
Using an incorrect lamp can compromise performance or damage equipment.
Choose original or manufacturer-approved replacement parts whenever required.
Dispose of Used Lamps Properly
Many traditional germicidal UV lamps contain mercury.
They should be recycled or disposed of through an appropriate hazardous or specialty lamp collection program, according to local rules.
Do not place mercury-containing UV lamps into ordinary household trash where prohibited.
9. How to Clean an Aquarium UV Sterilizer Pump and Hoses
Cleaning the UV chamber is only part of maintaining the overall aquarium sterilization system.
Water must also reach the chamber at a suitable flow rate.
Restricted plumbing or neglected pumps can reduce flow, while excessive flow may provide insufficient UV exposure for the intended treatment objective.
Inspect the Pump
If your UV sterilizer uses a dedicated water pump, inspect it regularly.
Remove debris from the intake area.
Clean the impeller chamber according to the pump manufacturer's instructions.
Check for unusual vibrations or signs of excessive wear.
A poorly maintained pump may struggle to provide consistent water circulation.
Clean the Hoses
Flexible aquarium hoses can accumulate algae, biofilm, and other deposits.
Inspect hoses for visible contamination and restrictions.
Where the design permits, remove and clean hoses using an appropriate aquarium hose brush.
Rinse thoroughly before reconnecting them.
Replace hoses that are cracked, excessively hardened, or structurally damaged.
Maintain Mechanical Prefiltration
A mechanical filter upstream of the UV chamber can reduce the amount of suspended debris entering the sterilizer.
This helps prevent unnecessary contamination of the chamber and quartz sleeve.
Clean or replace mechanical filter media according to its maintenance requirements.
Be careful not to disrupt established biological filtration unnecessarily.
Verify the Flow Rate
Flow rate has a major influence on UV sterilization.
A higher flow rate generally reduces the time water spends inside the treatment chamber.
A lower flow rate increases residence time, although actual UV dose also depends on lamp output, chamber geometry, UV transmission, and other factors.
Different treatment goals may require different flow conditions.
For example, flow suitable for controlling free-floating algae may not deliver the same treatment performance against more UV-resistant microorganisms.
Use the manufacturer's validated flow recommendations for your intended application.
10. Signs That Your Aquarium UV Sterilizer Needs Cleaning
You do not always need to wait for a scheduled maintenance date.
Certain warning signs indicate that inspection may be necessary sooner.
Aquarium Water Becomes Cloudy or Green
If your aquarium water becomes green after previously remaining clear, the UV sterilizer may not be performing as expected.
Possible causes include dirty quartz, lamp aging, inappropriate flow rate, insufficient UV capacity, or increased algae growth.
However, cloudy water can also have many causes unrelated to UV sterilization.
For example, bacterial blooms, fine suspended particles, and disturbed substrate can affect water clarity.
Always investigate the underlying cause rather than assuming the sterilizer is dirty.
Visible Scale on the Quartz Sleeve
White or chalky deposits are a clear indication that mineral accumulation has occurred.
These deposits should be addressed using the approved cleaning method.
Reduced Water Flow
A noticeable reduction in water circulation may indicate a clogged prefilter, dirty hose, pump problem, or internal restriction.
Inspect the entire water path.
Leaking Connections
Water around the housing or end caps may indicate a seal problem.
Stop using the affected equipment until the leak has been corrected.
Never continue operating a leaking UV sterilizer with exposed electrical components.
Unexpected Warning Lights
Some modern sterilizers use alarms or monitoring systems.
Warning indicators may signal lamp failure, electrical issues, or other maintenance needs.
Consult the product manual before attempting corrective action.
11. Common Aquarium UV Sterilizer Cleaning Mistakes to Avoid
Cleaning an aquarium UV sterilizer incorrectly can cause more harm than leaving it alone.
Several avoidable mistakes are especially common.
Mistake 1: Cleaning While the Unit Is Powered
Never disassemble an energized UV sterilizer.
Electrical shock and harmful UV exposure are serious risks.
Always disconnect power before maintenance.
Mistake 2: Using Abrasive Cleaning Tools
Rough brushes and cleaning pads can scratch quartz.
Use gentle, nonabrasive materials instead.
Mistake 3: Ignoring the Quartz Sleeve
Some aquarium owners focus only on replacing the UV lamp.
However, a heavily coated quartz sleeve can significantly reduce the ultraviolet radiation reaching the water.
Always inspect the sleeve during lamp replacement.
Mistake 4: Using Excessively Strong Chemicals
Unapproved cleaners can damage seals, plastic housings, and other components.
Chemical residues may also harm aquarium livestock.
Use manufacturer-approved products and rinse thoroughly.
Mistake 5: Overtightening Fittings
Excessive force can crack a quartz sleeve or damage retaining components.
Follow the specified tightening instructions.
Mistake 6: Reusing Damaged Seals
Old O-rings may lose flexibility or become deformed.
Replacing inexpensive damaged seals can prevent expensive equipment failures.
Mistake 7: Forgetting to Replace the UV Lamp
Cleaning cannot restore UV output lost through normal lamp aging.
Replace the lamp at its rated service interval.
Mistake 8: Restarting Without Checking for Leaks
Water leaks can damage nearby equipment and create electrical hazards.
Always verify proper sealing before restoring UV power.
Mistake 9: Assuming Clear Water Means Complete Sterilization
Clear aquarium water does not necessarily mean all pathogens have been eliminated.
UV sterilization performance depends on multiple operating conditions, and some organisms are more resistant than others.
Mistake 10: Ignoring the Manufacturer's Manual
UV sterilizers differ in design.
Disassembly and cleaning procedures that work for one brand may damage another.
Model-specific instructions should always guide maintenance.
12. Freshwater vs. Saltwater UV Sterilizer Cleaning
Although the basic maintenance principles are similar, freshwater and saltwater aquariums can create different cleaning challenges.
Freshwater Aquariums
In freshwater systems, mineral scale often depends heavily on water hardness.
Hard-water aquariums may develop visible deposits on the quartz sleeve relatively quickly.
Freshwater tanks with high organic loading may also experience biofilm buildup.
Regular mechanical filtration and careful inspection help reduce these problems.
For planted aquariums, organic debris and algae growth may require attention even when water hardness is relatively low.
Saltwater Aquariums
Saltwater aquariums present additional challenges involving calcium deposits, salt residue, and marine organic matter.
In reef systems, calcium carbonate deposits may form on water-contact surfaces.
External salt creep can also accumulate near fittings.
Wipe exterior salt deposits only after the equipment has been safely disconnected and use a cleaning approach compatible with the electrical housing.
Never allow saltwater or cleaning liquids to enter electrical connections.
Which Type Requires More Frequent Cleaning?
Neither freshwater nor saltwater aquariums universally require more frequent UV cleaning.
The actual frequency depends on water chemistry, livestock, filtration, maintenance habits, and sterilizer design.
Monitoring the condition of the quartz sleeve is more useful than following a rigid schedule based solely on aquarium type.
13. How to Improve UV Sterilizer Performance After Cleaning
A clean sterilizer is an important starting point, but several additional practices can help maintain reliable operation.
Match Flow Rate to the Treatment Goal
Different microorganisms require different ultraviolet exposures.
The flow rate suitable for controlling suspended green water algae may not be suitable for more demanding pathogen-control applications.
Consult the manufacturer’s recommendations for the particular UV unit and treatment objective.
Use Appropriate Mechanical Filtration
Suspended particles can absorb or scatter ultraviolet radiation and may shield microorganisms.
Good mechanical filtration helps reduce this interference.
Positioning the UV unit downstream of suitable particle removal equipment can improve incoming water clarity.
Choose the Correct Sterilizer Size
UV sterilizers should not be selected solely based on aquarium volume.
Actual performance depends on lamp output, water flow, UV dose, chamber configuration, and operating conditions.
A large aquarium or heavily stocked system may require greater UV capacity.
Maintain Stable Water Circulation
Avoid repeatedly allowing the sterilizer to run dry or operate without adequate flow.
Maintain the circulation system according to the manufacturer's requirements.
Track Lamp Service Life
Record the installation date or operating hours of each UV lamp.
This makes it easier to replace the lamp at the appropriate interval.
Keep the Aquarium Properly Maintained
A UV sterilizer should support normal aquarium maintenance rather than replace it.
Continue performing water changes, monitoring water parameters, removing accumulated waste, and maintaining biological filtration.
UV sterilization does not eliminate dissolved ammonia, nitrite, or nitrate.
It also does not remove settled debris from the aquarium.
14. Aquarium UV Sterilizer Troubleshooting After Cleaning
Occasionally, a UV sterilizer may not operate normally immediately after maintenance.
Most problems can be traced to installation, electrical connections, water flow, or damaged components.
Problem: The UV Lamp Does Not Turn On
Possible causes include an unplugged power supply, incomplete electrical connection, faulty lamp, failed ballast, or safety interlock.
Check the manufacturer's permitted indicators and connections without exposing yourself to UV-C radiation.
If troubleshooting requires electrical repairs, consult a qualified technician or the manufacturer.
Problem: Water Leaks Around the Quartz Sleeve
Possible causes include incorrectly positioned O-rings, damaged seals, cracked quartz, or improperly tightened fittings.
Disconnect power and stop water flow.
Inspect and correct the sealing assembly before restarting.
Problem: Water Flow Is Lower Than Before
Possible causes include trapped air, blocked tubing, improperly positioned valves, dirty pump components, or an incorrectly installed internal part.
Inspect the plumbing and reassembly sequence.
Problem: The Sterilizer Works but Green Water Returns
This may indicate an aging lamp, dirty quartz sleeve, inadequate UV capacity, incorrect flow rate, or ongoing excessive algae growth.
Check the complete system.
Also investigate lighting duration, nutrient levels, and aquarium maintenance practices.
Problem: The UV Sterilizer Makes Unusual Noises
Unusual noise may come from the pump, trapped air, vibration, or incorrectly secured components.
Stop operation if the sound suggests mechanical damage or unsafe conditions.
Review the manufacturer's troubleshooting instructions before restarting.
15. How to Extend the Lifespan of Your Aquarium UV Sterilizer
A properly maintained UV sterilizer can provide useful service over many operating cycles.
The following habits can help reduce unnecessary wear.
Establish a Consistent Maintenance Routine
Routine inspections make it easier to detect contamination and component wear before they become major problems.
Use Compatible Replacement Parts
Select replacement lamps, quartz sleeves, seals, and fittings that meet the manufacturer's specifications.
Avoid Unnecessary Disassembly
Opening the sterilizer more often than necessary can increase the risk of damaging delicate components or disturbing seals.
Inspect regularly, but perform disassembly only when appropriate.
Protect Electrical Components From Moisture
Keep plugs, power supplies, and electrical connections away from splashing water.
Use properly installed electrical protection, including a ground-fault circuit interrupter where required or recommended.
Maintain appropriate drip loops on electrical cords.
Prevent Excessive Heat
Some UV sterilizers rely on water circulation to regulate operating temperature.
Follow the manufacturer's minimum-flow and startup instructions.
Maintain the Aquarium's Overall Water Quality
Good filtration, appropriate feeding, and regular water changes help reduce the amount of material that may accumulate inside water-treatment equipment.
Keep Maintenance Records
A simple maintenance log can include cleaning dates, lamp replacement dates, observed deposits, and any repairs.
This information helps you develop a more accurate servicing schedule.
16. Aquarium UV Sterilizer Maintenance Checklist
Use the following checklist when performing routine UV sterilizer maintenance.
Before cleaning:
-
Disconnect UV electrical power.
-
Turn off or isolate the water supply.
-
Allow the lamp to cool.
-
Drain the chamber if required.
-
Prepare approved cleaning supplies.
-
Review the manufacturer’s instructions.
During cleaning:
-
Remove the lamp carefully.
-
Inspect the quartz sleeve.
-
Remove deposits with approved materials.
-
Rinse cleaned components thoroughly.
-
Inspect the chamber.
-
Check O-rings and seals.
-
Examine the lamp and electrical connectors.
After cleaning:
-
Reinstall the quartz sleeve correctly.
-
Reinstall or replace the UV lamp.
-
Reassemble all fittings.
-
Restore water flow.
-
Check for leaks.
-
Confirm the chamber is filled and properly vented.
-
Restore UV power.
-
Verify normal operating indicators.
-
Record the maintenance date.
This checklist can help reduce forgotten steps and improve maintenance consistency.
17. Frequently Asked Questions About Cleaning Aquarium UV Sterilizers
How often should I clean my aquarium UV sterilizer?
Inspect the sterilizer regularly and clean it according to the manufacturer's guidance and actual deposit buildup.
Many aquarium owners can begin by checking the quartz sleeve every one to three months, then adjust the interval based on water conditions.
More frequent cleaning may be necessary in mineral-rich or heavily stocked systems.
Can I use vinegar to clean a UV sterilizer?
White distilled vinegar can help remove calcium carbonate and other acid-soluble mineral deposits from quartz sleeves.
However, vinegar should only be used when permitted by the manufacturer.
Do not expose electrical parts, incompatible housing materials, or seals to cleaning chemicals.
Rinse thoroughly after cleaning.
Can I clean the UV lamp with water?
Do not wash a UV lamp with water unless the manufacturer explicitly instructs you to do so.
Many conventional UV lamps are designed to remain dry inside a protective quartz sleeve.
Use the manufacturer-approved cleaning method for the lamp surface.
What happens if I never clean my UV sterilizer?
Over time, deposits may accumulate on the quartz sleeve and other water-contact surfaces.
These deposits can reduce UV transmission and interfere with treatment performance.
Neglected seals and components may also become more difficult to maintain.
How do I know if my quartz sleeve is dirty?
Visible signs include white scale, cloudy deposits, biological film, and persistent discoloration.
Inspect the sleeve under normal ambient lighting after disconnecting and opening the unit safely.
If the sleeve cannot be cleaned adequately or is physically damaged, replacement may be required.
Does cleaning the quartz sleeve improve UV sterilization?
Removing deposits can improve the amount of UV radiation passing through the sleeve and reaching aquarium water.
The actual improvement depends on how contaminated the sleeve was and the condition of the rest of the system.
Cleaning does not compensate for a worn-out lamp or unsuitable water flow.
How long does an aquarium UV sterilizer lamp last?
Lamp life depends on the technology and manufacturer.
Many conventional lamps have a recommended replacement interval around 8,000–9,000 operating hours, while other models may differ substantially.
Follow the manufacturer's specified service-life rating.
Can I leave my UV sterilizer running 24 hours a day?
Many aquarium UV sterilizers are designed for continuous operation, provided that adequate water flow and other required operating conditions are maintained.
However, some models have different operating requirements.
Continuous operation does not eliminate the need for regular cleaning and lamp replacement.
Why is my aquarium still cloudy after cleaning the UV sterilizer?
Cloudy water can result from bacterial blooms, suspended debris, algae, substrate disturbance, or other aquarium conditions.
UV sterilization is not a universal solution for every cause of cloudy water.
Check filtration, water chemistry, flow rate, lamp condition, and the underlying cause of the cloudiness.
Can UV sterilization replace aquarium filtration?
No.
UV sterilization is a supplementary water-treatment method.
Mechanical filtration removes suspended particles, while biological filtration supports the microbial processes that convert toxic nitrogen compounds into less harmful forms.
A UV sterilizer cannot replace these essential filtration functions.
Is it necessary to replace the quartz sleeve every year?
Not necessarily.
Some manufacturers recommend specific sleeve replacement intervals, while others recommend replacement based on condition.
A sleeve may continue functioning if it remains clean, undamaged, and within the manufacturer's service requirements.
Follow the specifications for your model.
Can a dirty UV sterilizer harm aquarium fish?
A dirty sterilizer usually creates an indirect problem by reducing the effectiveness of water treatment.
However, damaged seals, leaks, or electrical faults can create more immediate hazards.
Proper maintenance supports equipment reliability, but fish health still depends on water quality, appropriate husbandry, disease management, and other environmental factors.
Should I clean my UV sterilizer when replacing the lamp?
Yes, this is often a convenient opportunity to inspect and clean the quartz sleeve.
Many manufacturers specifically recommend quartz sleeve inspection or cleaning during lamp replacement.
Also check the relevant seals and replace them where required.
What is the best way to prevent calcium buildup on a quartz sleeve?
There is no universal method that completely prevents mineral accumulation.
Maintaining appropriate aquarium water chemistry, following a regular inspection schedule, and removing deposits before they become severe are practical approaches.
Do not make sudden or inappropriate changes to aquarium hardness simply to reduce sleeve maintenance.
Fish, invertebrates, and corals have specific water chemistry requirements that should remain the priority.
Can I use bleach to clean an aquarium UV sterilizer?
Routine bleach cleaning is not recommended unless the manufacturer explicitly authorizes a controlled procedure.
Bleach can damage certain materials and leave residues that are dangerous to aquatic organisms.
Never mix bleach with vinegar, acids, ammonia, or other household cleaning products.
For normal quartz sleeve maintenance, use an approved nonabrasive cleaning method.
18. Professional Maintenance Tips for Aquarium Owners
Aquarium owners who want consistent long-term sterilizer performance should focus on prevention rather than waiting for visible problems.
One effective practice is to coordinate UV sterilizer inspections with routine filter maintenance.
For example, when cleaning a canister filter, check whether the connected UV plumbing shows signs of reduced flow.
When replacing the UV lamp, inspect the quartz sleeve and seals.
When testing aquarium water parameters, observe whether water clarity or circulation has changed unexpectedly.
These combined checks make maintenance easier to manage.
Another important practice is to separate cleaning tasks from performance diagnosis.
If a sterilizer is not producing the expected results, cleaning should be only one part of the investigation.
Also consider lamp age, sterilizer capacity, water flow, incoming water quality, and the specific organisms being targeted.
For specialized aquaculture, quarantine, or disease-control applications, UV performance may need to be evaluated using validated operating specifications rather than visual water clarity.
It is also useful to keep a small stock of essential replacement parts.
Having the correct O-rings and an approved spare lamp available can reduce equipment downtime.
When selecting replacement components, verify compatibility before purchasing.
A correctly sized quartz sleeve or properly specified UV lamp is more important than choosing a part based solely on appearance or price.
Finally, remember that a UV sterilizer works best as one part of a complete aquarium management strategy.
Healthy aquariums depend on stable water chemistry, appropriate livestock stocking, reliable filtration, sufficient oxygenation, balanced feeding, and regular observation.
UV sterilization can contribute to that system, but it should never be treated as a substitute for responsible aquarium care.
19. Creating a Long-Term Aquarium UV Sterilizer Maintenance Plan
A long-term maintenance plan can help aquarium owners avoid unnecessary cleaning while ensuring that essential tasks are not forgotten.
The best plan should reflect the specific system rather than follow arbitrary dates.
Monthly Maintenance
Perform a general external inspection.
Check for visible leaks, loose plumbing connections, and abnormal operating indicators.
Review pump performance and inspect connected filtration equipment.
If the quartz sleeve is accessible without unnecessary disassembly, inspect it according to the manufacturer's guidance.
Quarterly Maintenance
Review whether quartz sleeve cleaning is necessary based on the rate of mineral or organic buildup.
Inspect accessible hoses and water connections.
Check whether the lamp is approaching its rated replacement interval.
Compare current flow performance with normal operation.
Semiannual Maintenance
Consider a more detailed inspection of the UV chamber and serviceable seals, provided that the manufacturer recommends or permits it.
Remove accumulated deposits when necessary.
Check the condition of fittings and mounting hardware.
Review your maintenance records to determine whether cleaning intervals should be adjusted.
Annual Maintenance
Perform scheduled lamp replacement if the manufacturer's rated operating hours indicate that replacement is due.
Inspect and clean the quartz sleeve.
Replace seals or other wear components when recommended.
Review the overall condition of the sterilizer and its connected water circulation system.
A consistent maintenance plan can help improve reliability and reduce the likelihood of unexpected equipment problems.
20. Final Thoughts: Keep Your Aquarium UV Sterilizer Clean for Reliable Performance
An aquarium UV sterilizer can be a valuable tool for controlling free-floating algae, improving water clarity, and reducing exposure to certain waterborne microorganisms.
However, its effectiveness depends on much more than simply switching on the UV lamp.
A clean quartz sleeve, properly maintained water chamber, suitable water flow, functioning seals, and an appropriately rated UV lamp are all important for reliable operation.
Mineral deposits and organic buildup can gradually interfere with ultraviolet transmission, even when the sterilizer appears to be functioning normally.
Fortunately, routine inspection and careful cleaning can help prevent these problems.
The most important practices are straightforward: disconnect power before maintenance, follow the manufacturer's disassembly instructions, clean quartz surfaces with nonabrasive approved materials, inspect seals and fittings, replace aging lamps, and check for leaks before restoring electrical power.
It is equally important to recognize that aquarium UV sterilization is only one component of a healthy aquatic environment.
Regular water changes, effective mechanical and biological filtration, proper feeding, and stable water chemistry remain essential.
By combining responsible aquarium maintenance with a consistent UV sterilizer cleaning routine, you can help your equipment operate efficiently, protect important components, and support cleaner, clearer aquarium water over the long term.
Looking for high-quality aquarium UV sterilizers, replacement UV lamps, quartz sleeves, or reliable water sterilization solutions? Feel free to leave a comment below to discuss your requirements and request a quotation!