Introduction
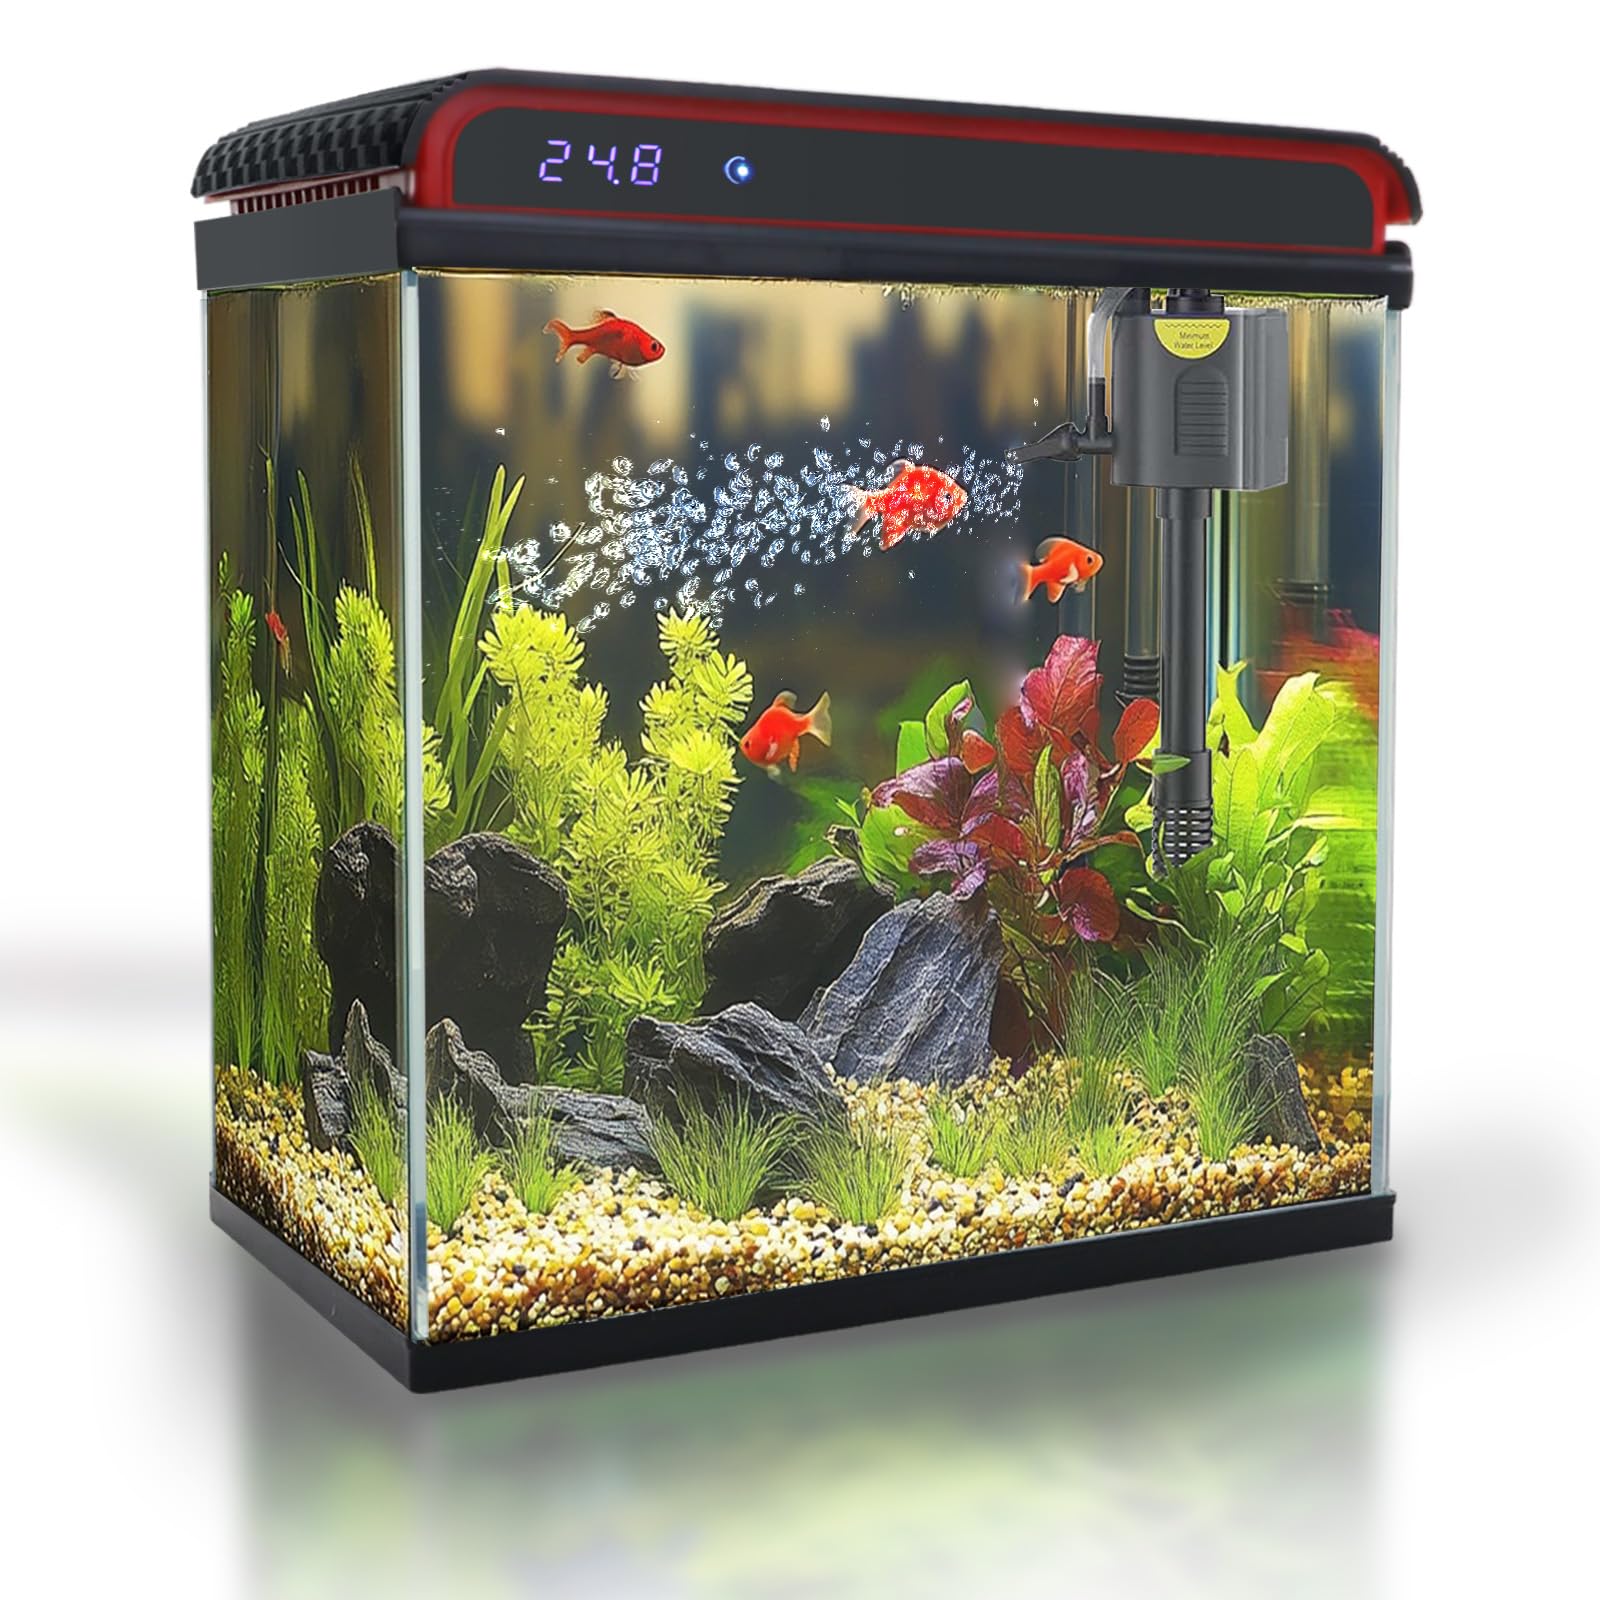
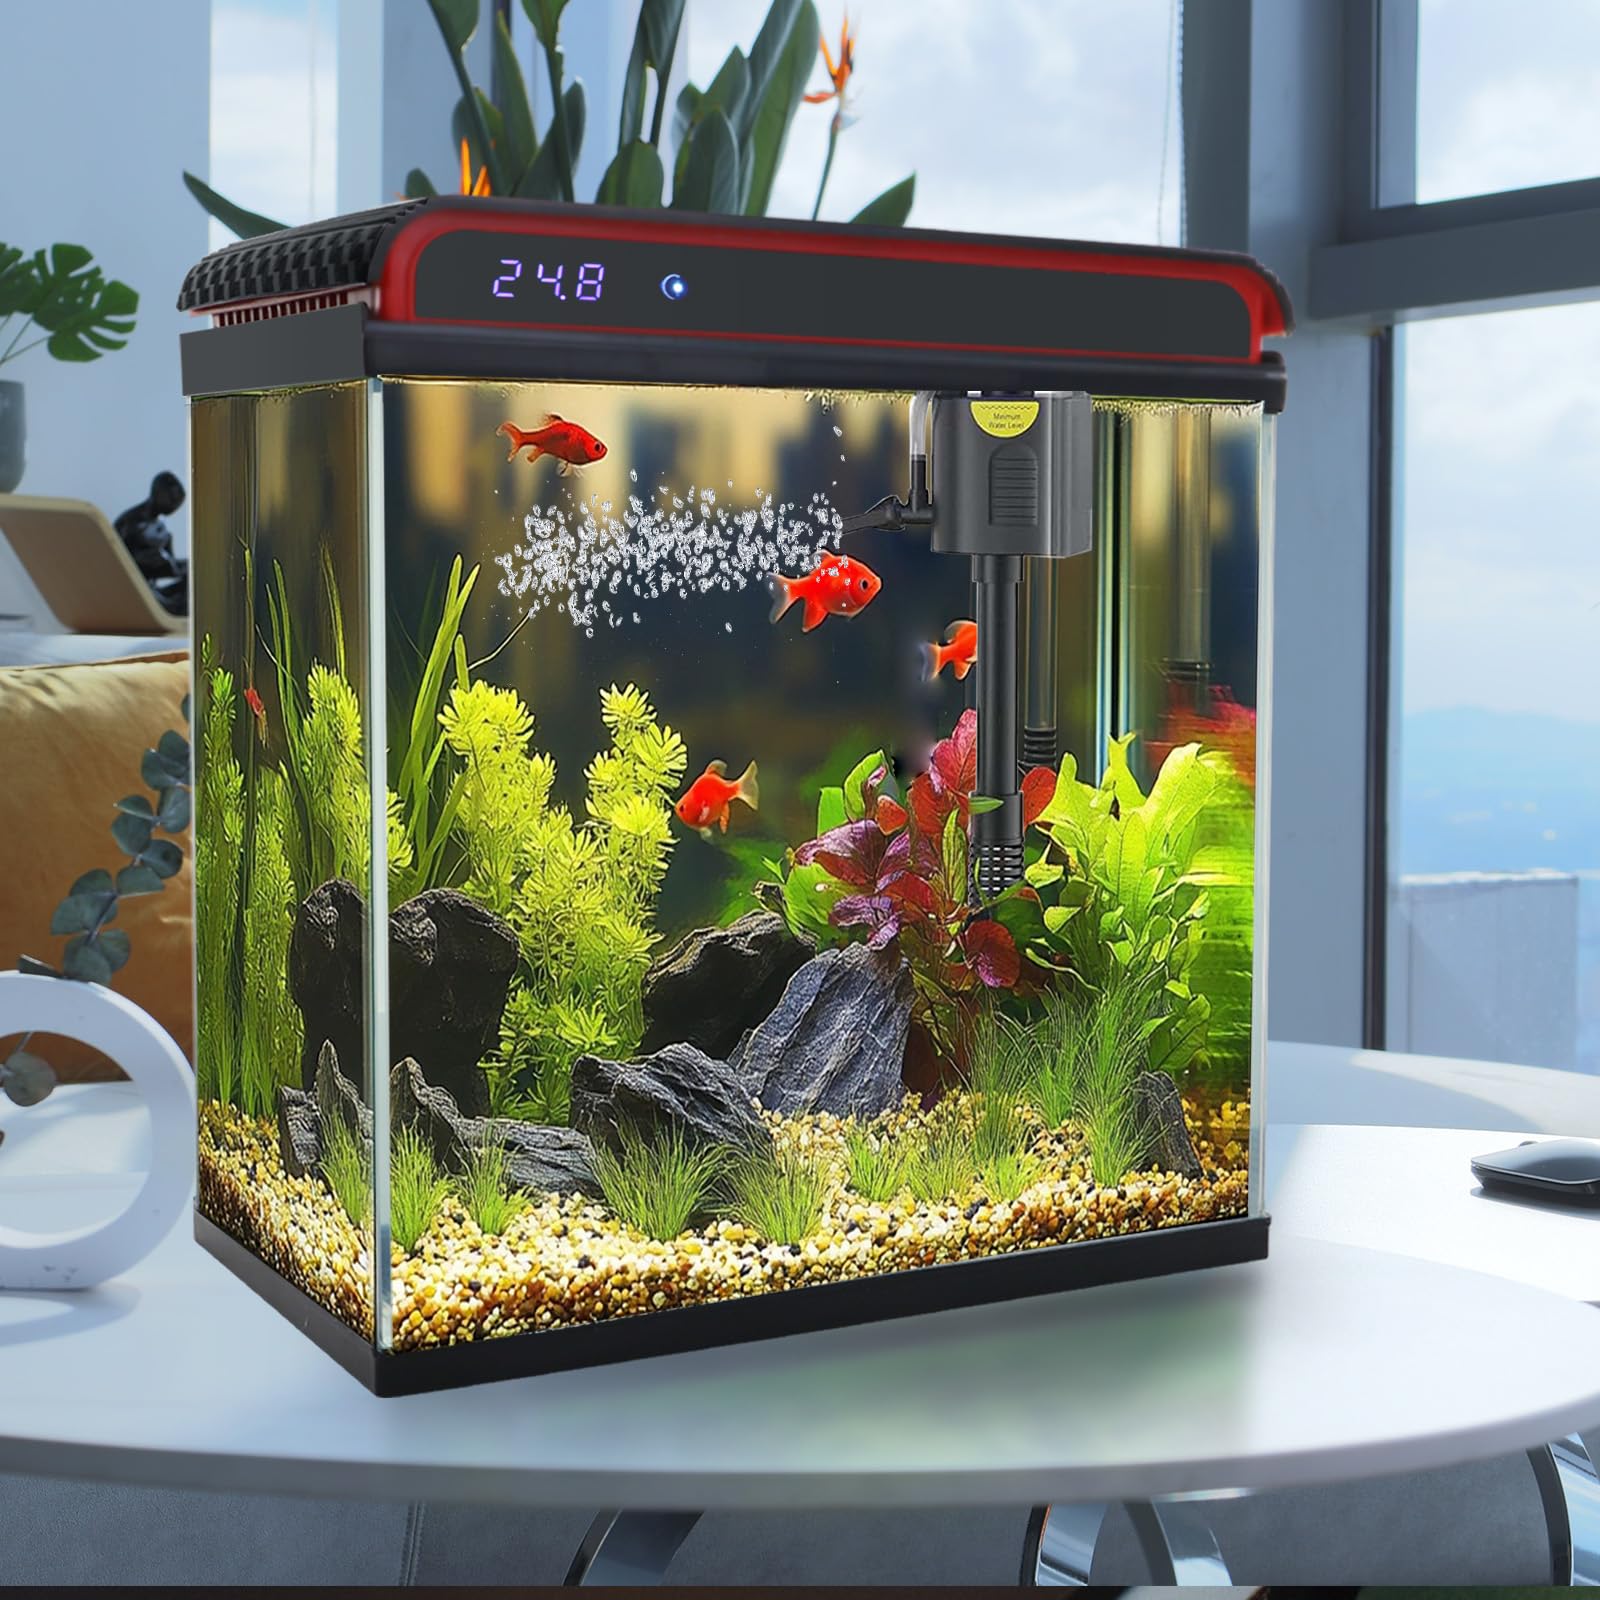
An aquarium UV sterilizer is an important piece of equipment for maintaining a clean, healthy aquatic environment. Whether you operate a freshwater aquarium, a saltwater reef tank, a planted aquarium, or a large ornamental fish system, a properly functioning UV sterilizer can help control free-floating algae, reduce certain waterborne microorganisms, and improve overall water clarity.
However, like any electrical and mechanical aquarium device, a UV sterilizer can develop problems over time. You may notice that the indicator light is off, the aquarium water remains green, the UV lamp flickers, or the sterilizer appears to be running without producing noticeable results. In some cases, the water flow may decrease, the unit may overheat, or the lamp may stop working entirely.
When an aquarium UV sterilizer stops working, identifying the actual cause is essential. Simply replacing the UV bulb may not solve the problem if the real issue involves the power supply, quartz sleeve, water circulation, ballast, or internal electrical connections.
The good news is that many common UV sterilizer problems can be diagnosed through a systematic inspection. Some issues require only routine cleaning or a replacement lamp, while others may involve damaged electrical components that require professional repair or complete equipment replacement.
This guide explains the most common reasons an aquarium UV sterilizer stops working, how to identify each problem, and what practical steps you can take to restore normal operation. It also covers preventive maintenance practices that can help extend equipment life and maintain consistent sterilization performance.
1. Understanding How an Aquarium UV Sterilizer Works
Before troubleshooting a UV sterilizer, it is helpful to understand its basic operating principle.
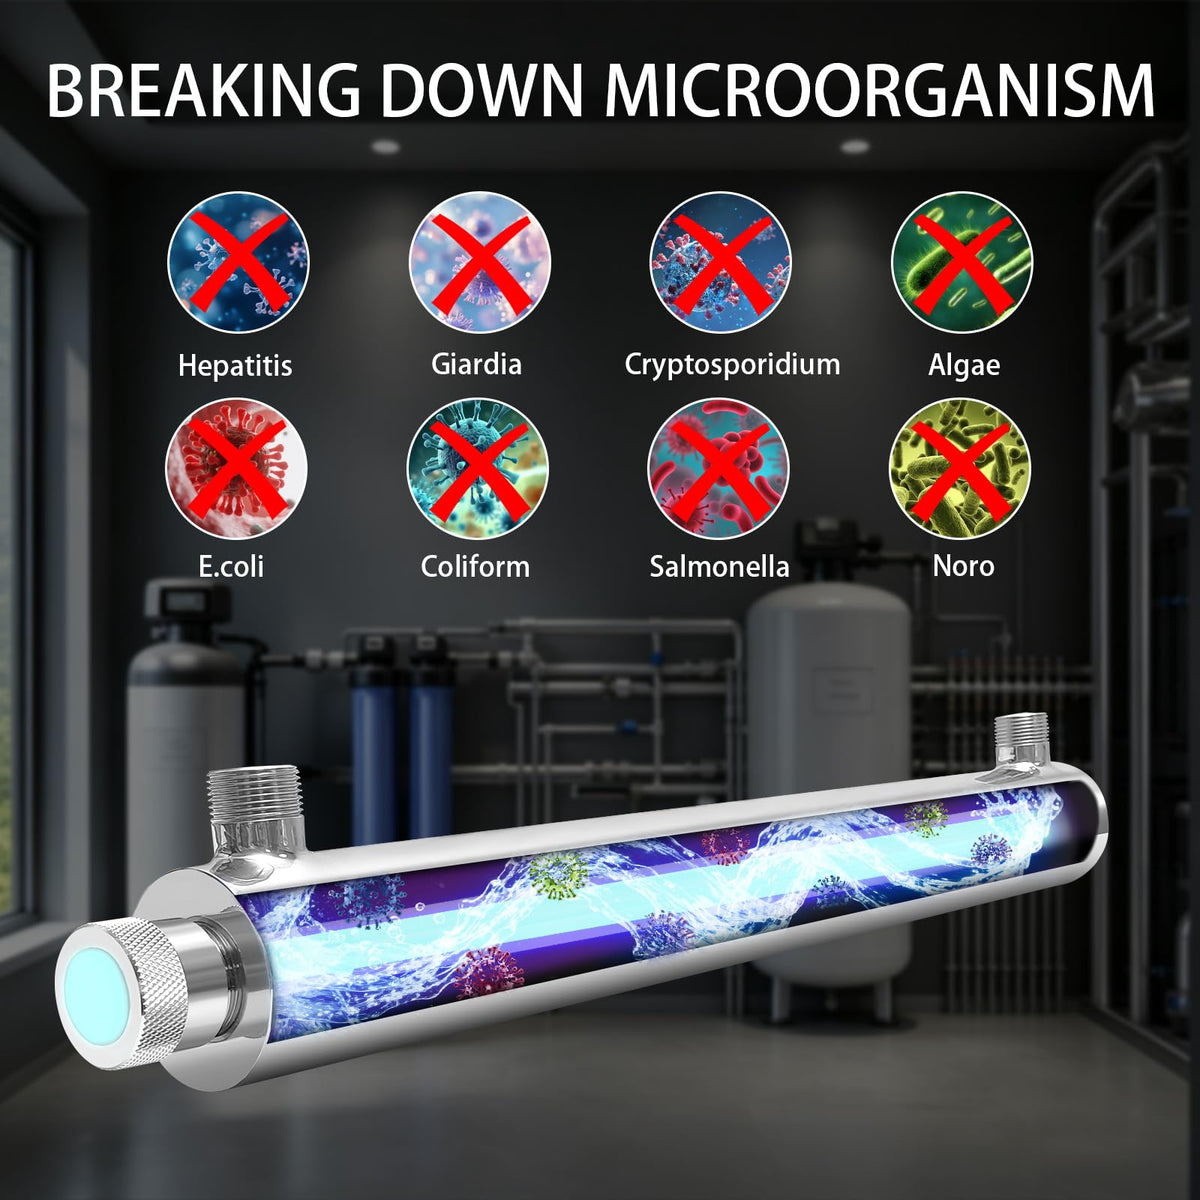
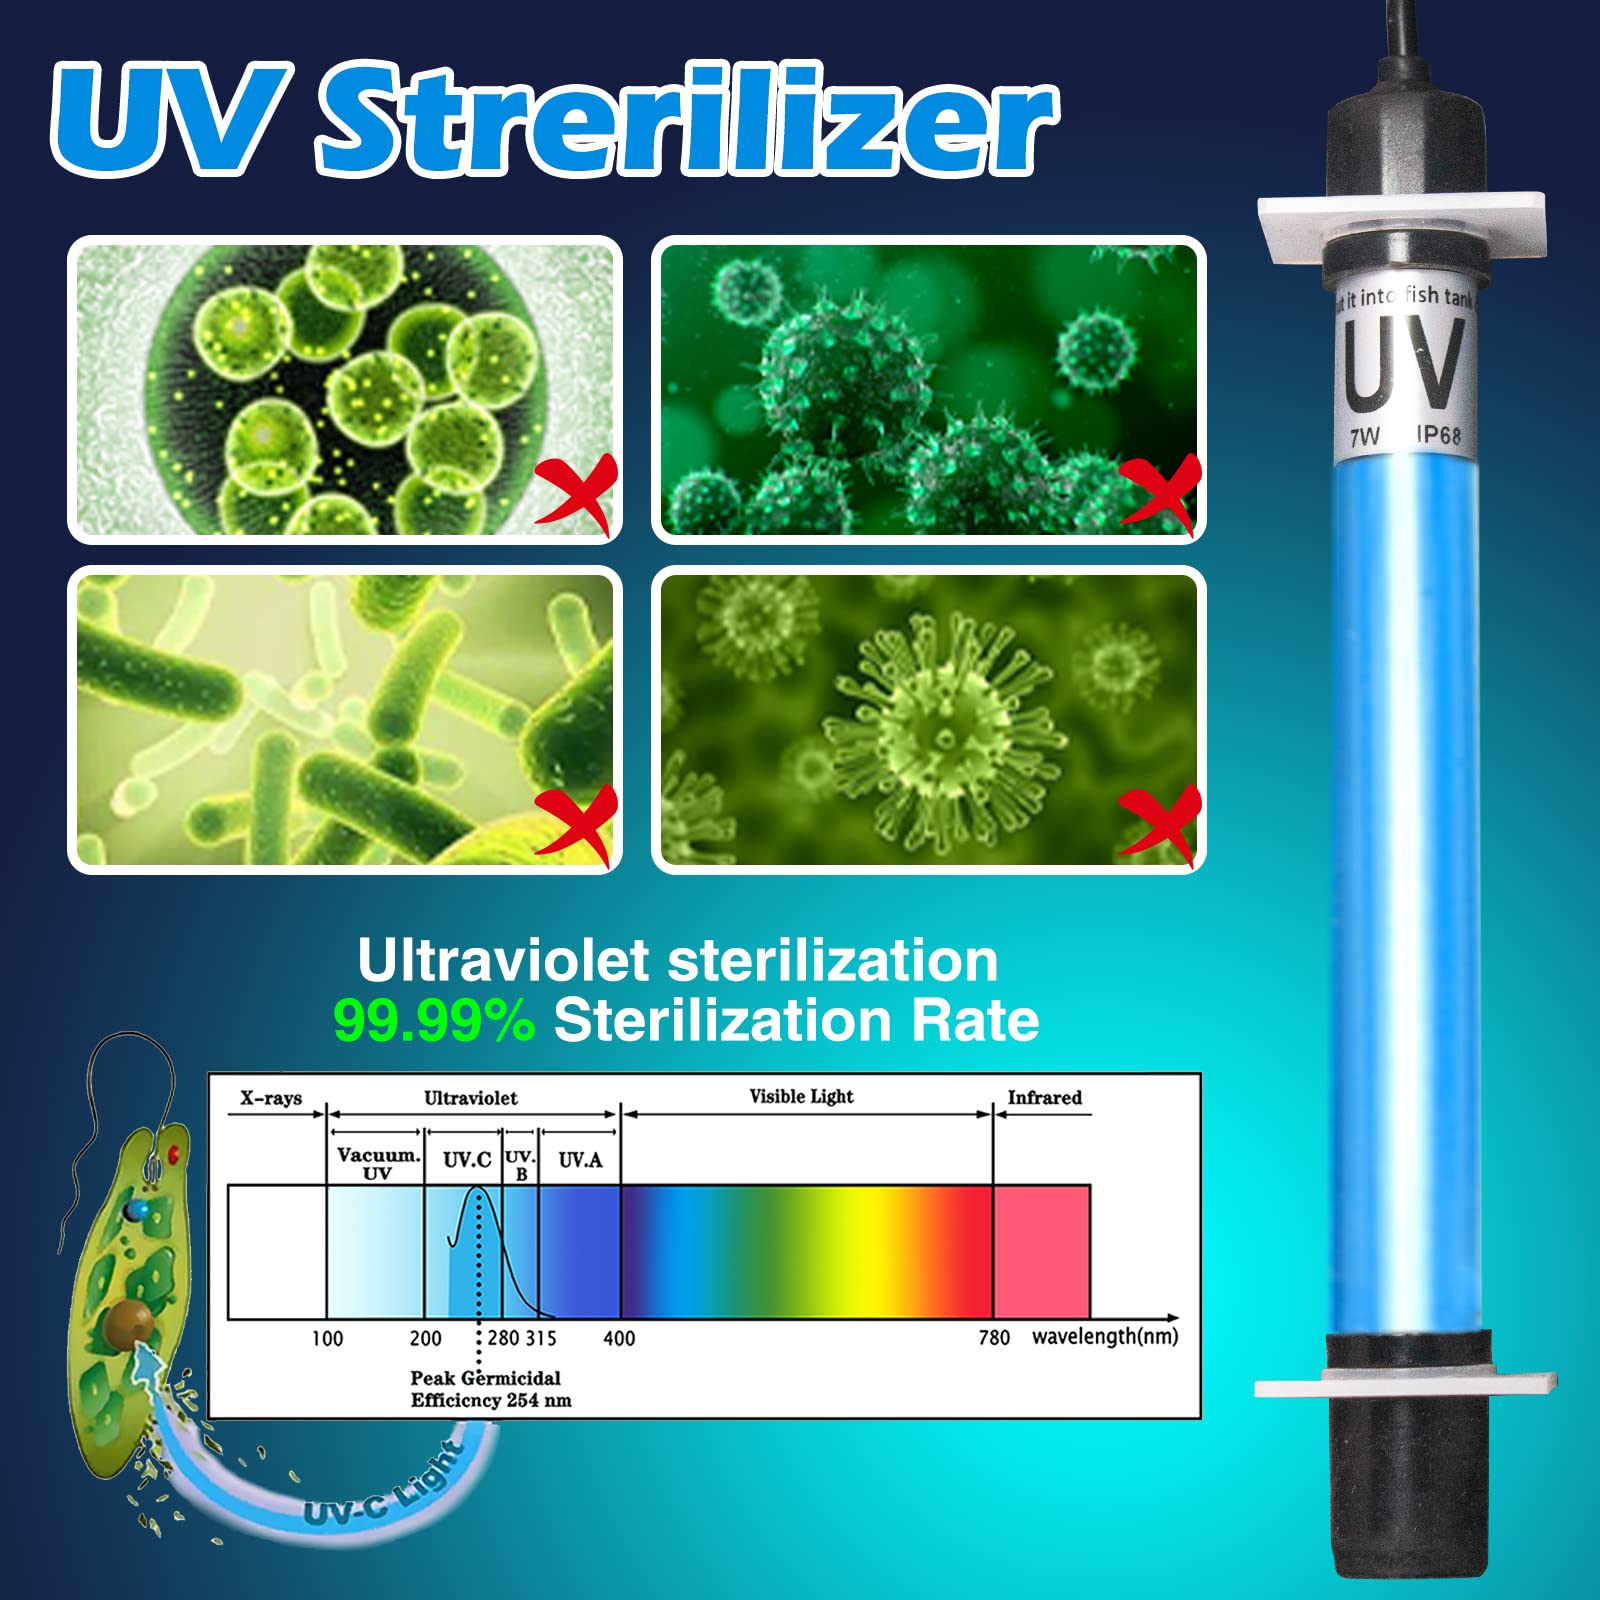
Most aquarium UV sterilizers use ultraviolet-C (UV-C) light to affect microorganisms as water passes through a specially designed chamber. UV-C radiation can damage the genetic material of susceptible microorganisms, preventing them from reproducing effectively.
Unlike chemical treatments, UV sterilization does not require adding substances directly to the aquarium water. Instead, it treats water as it flows through the sterilizer.
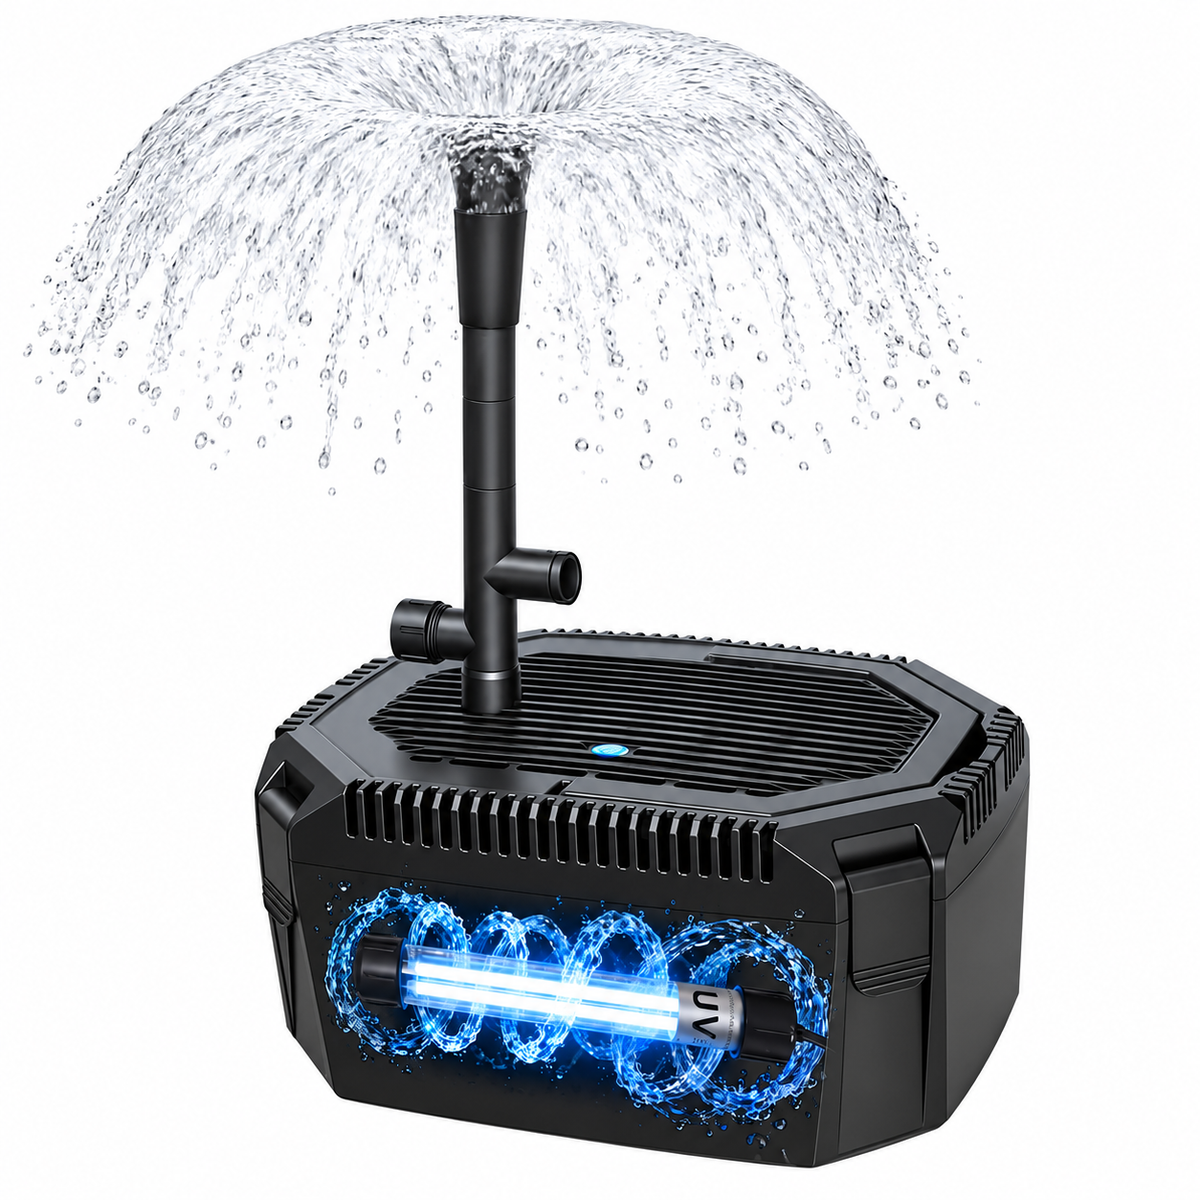
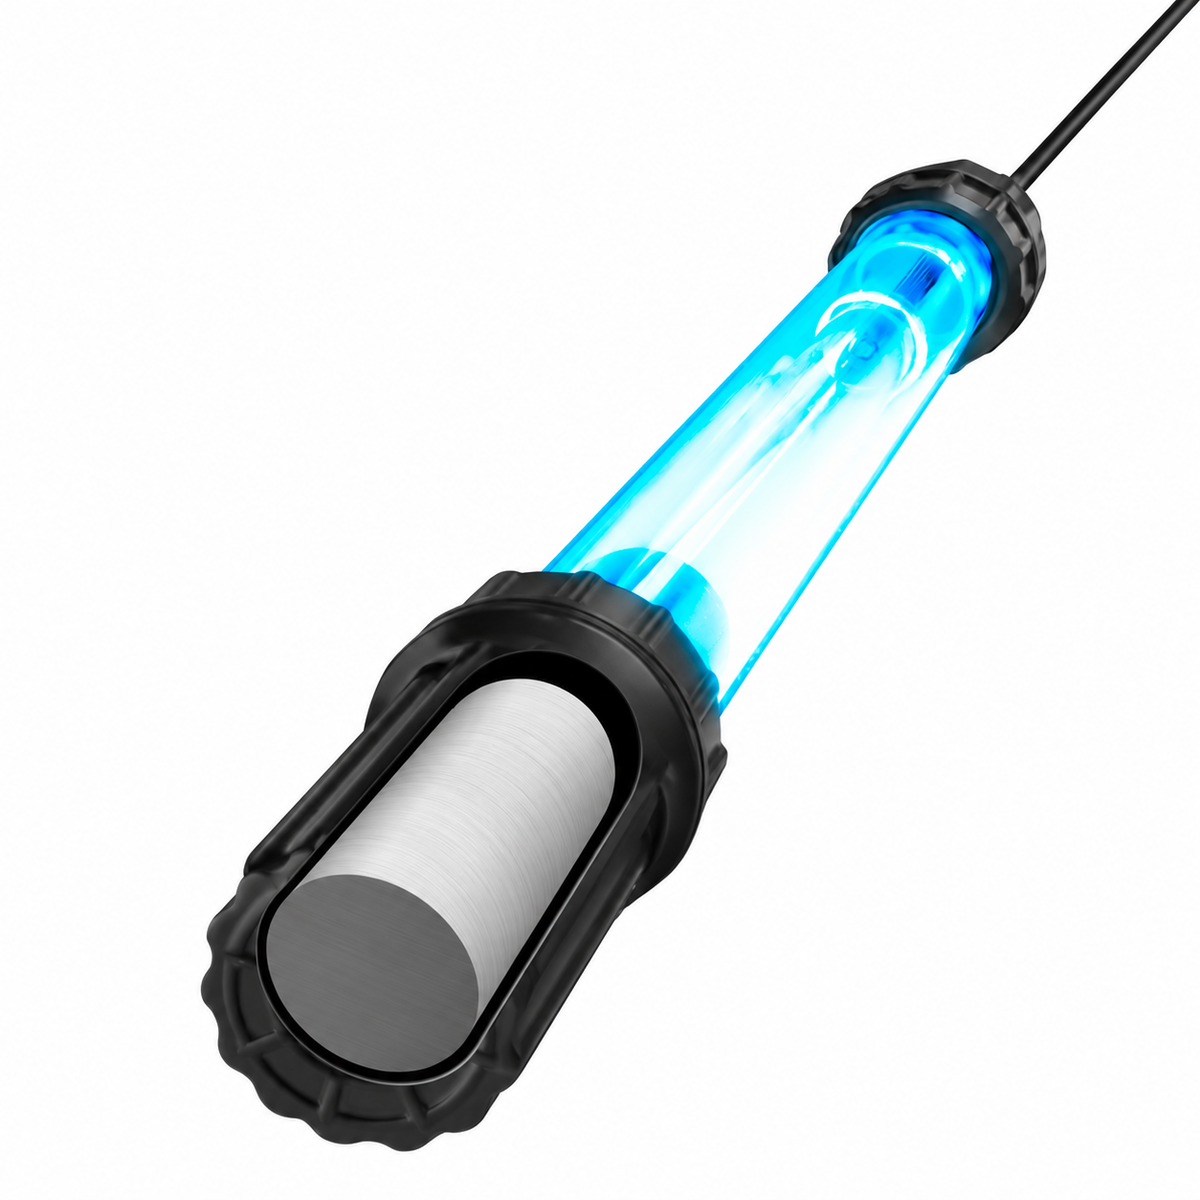
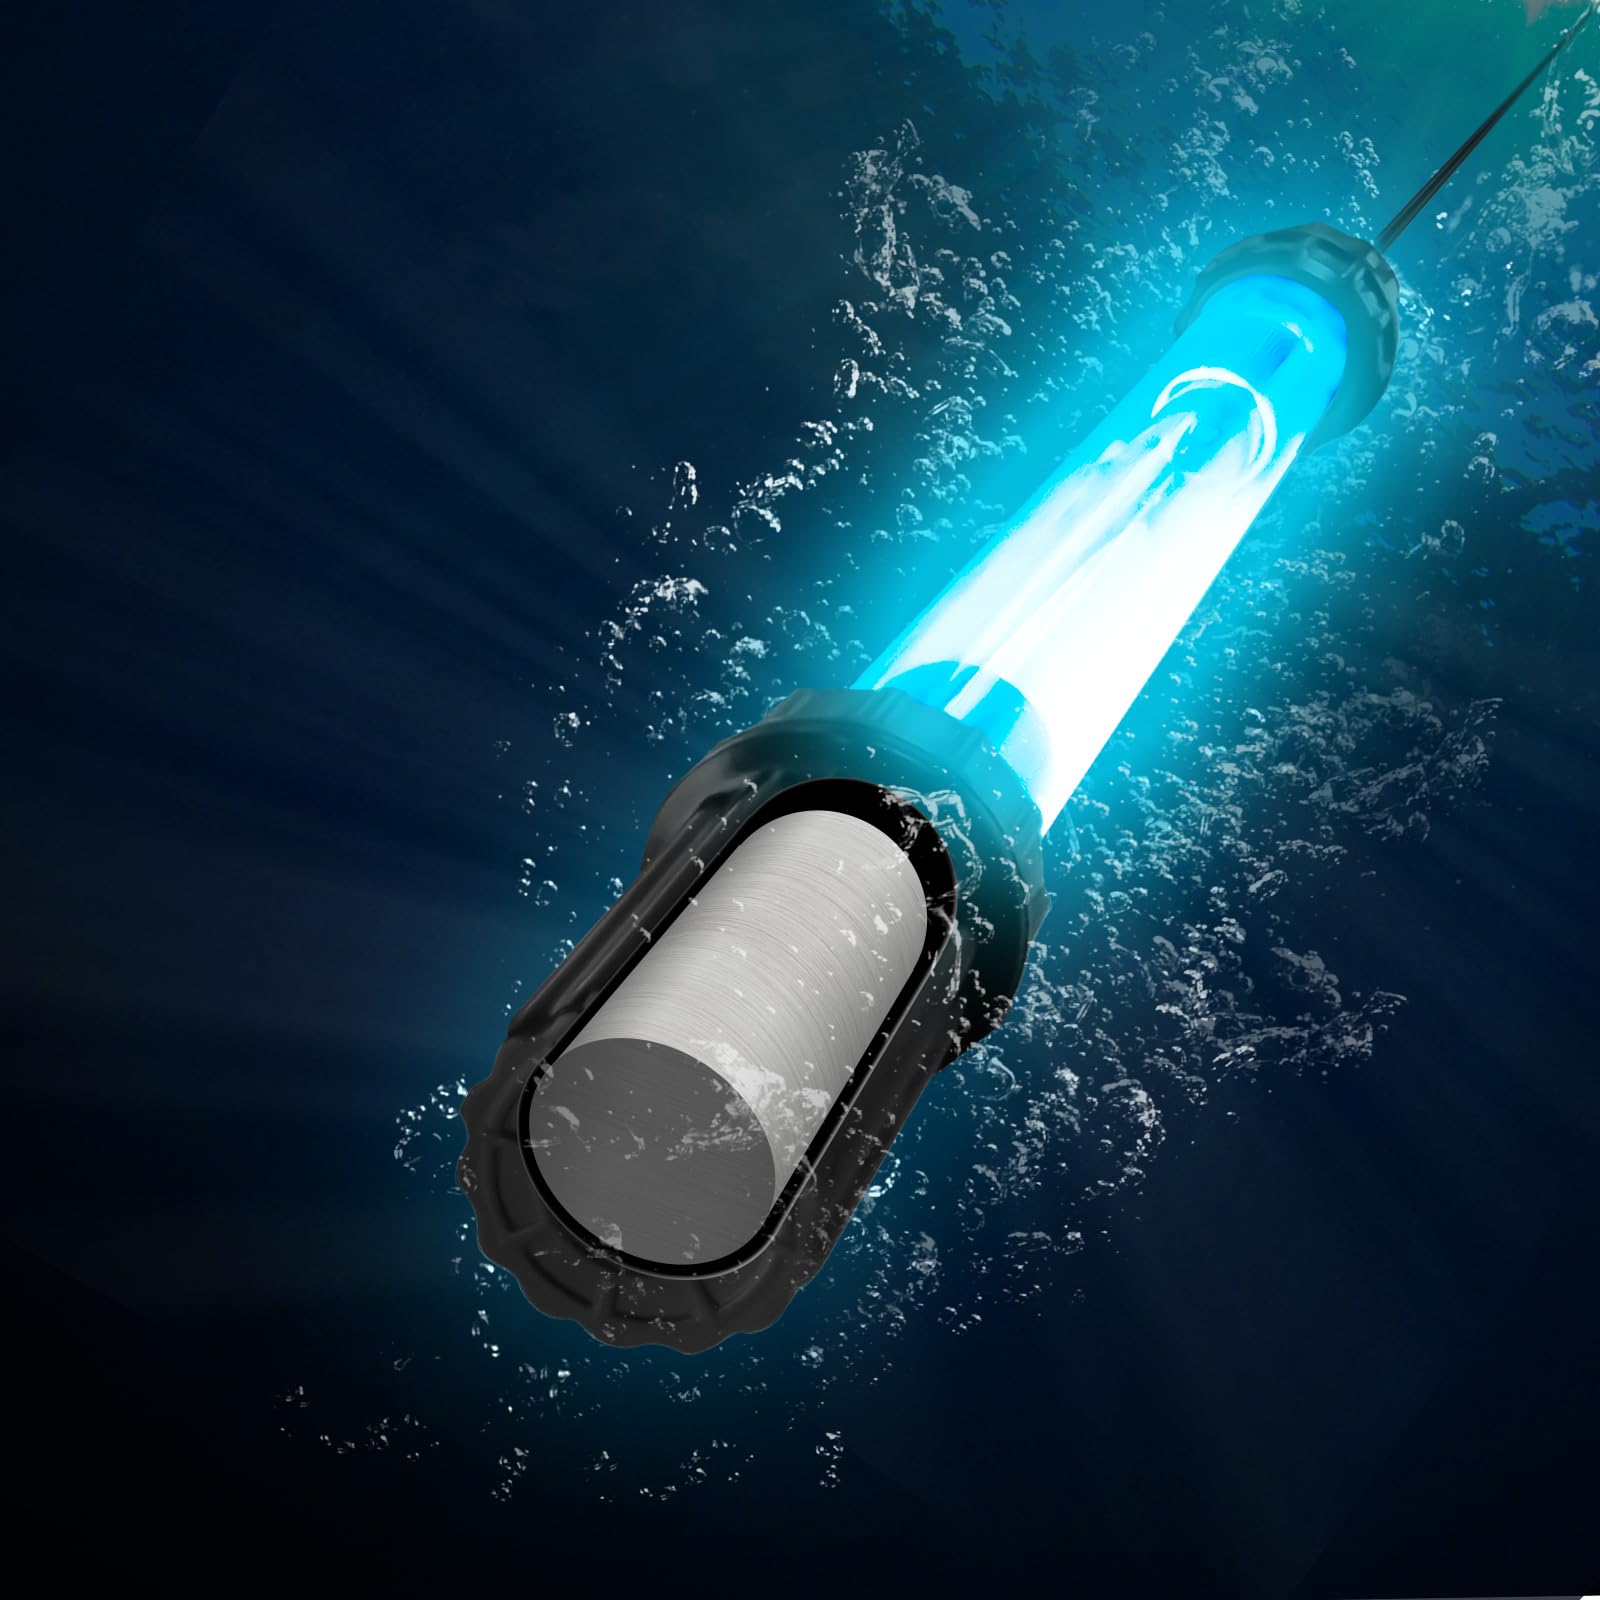
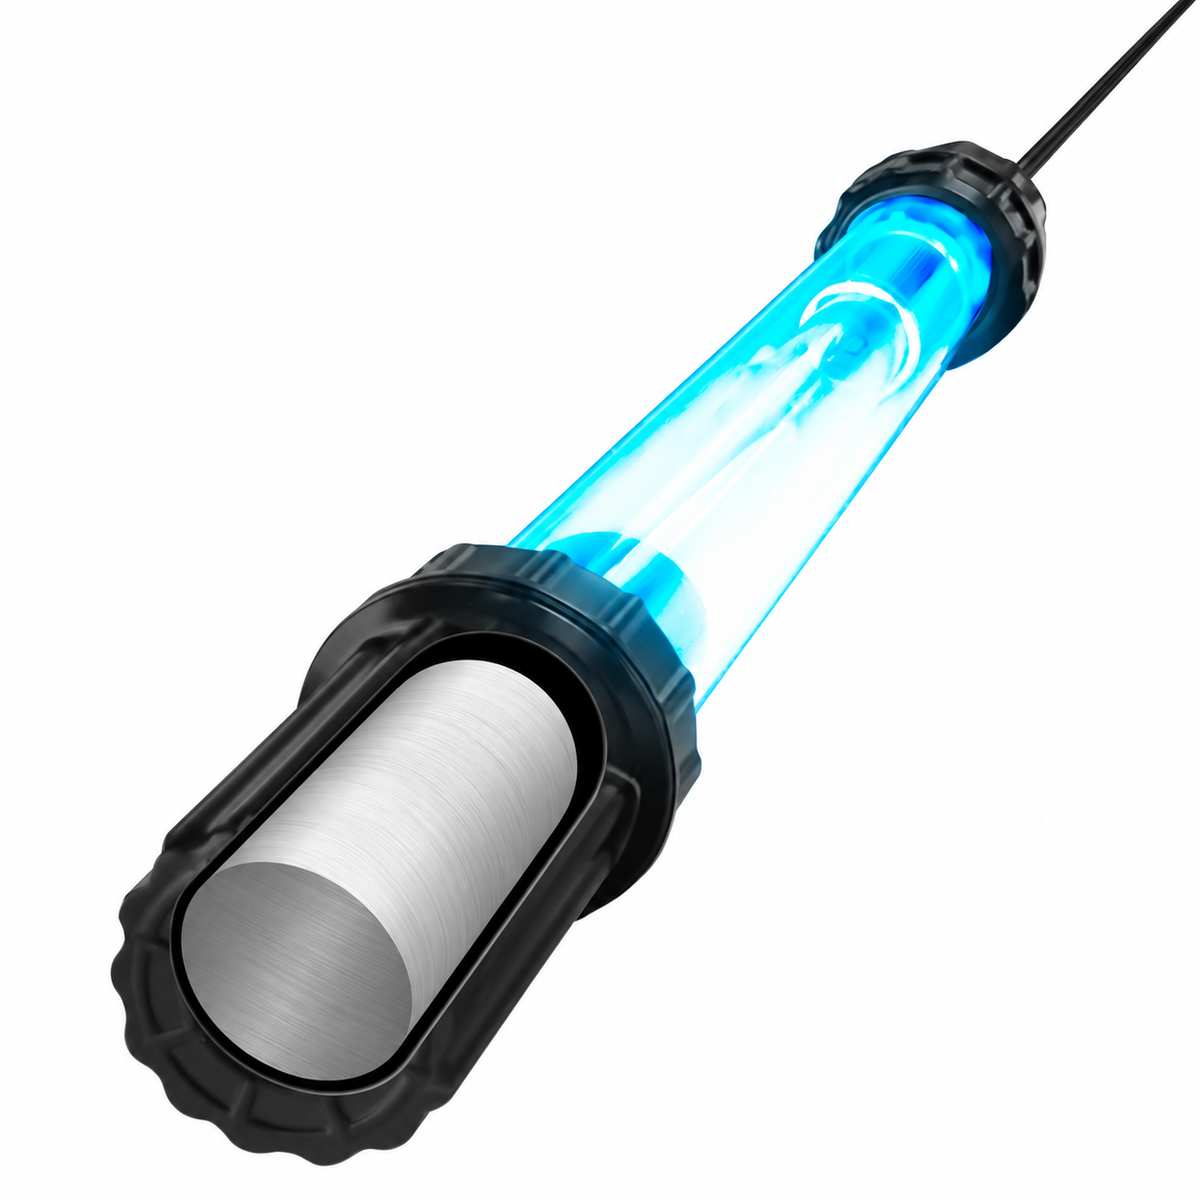
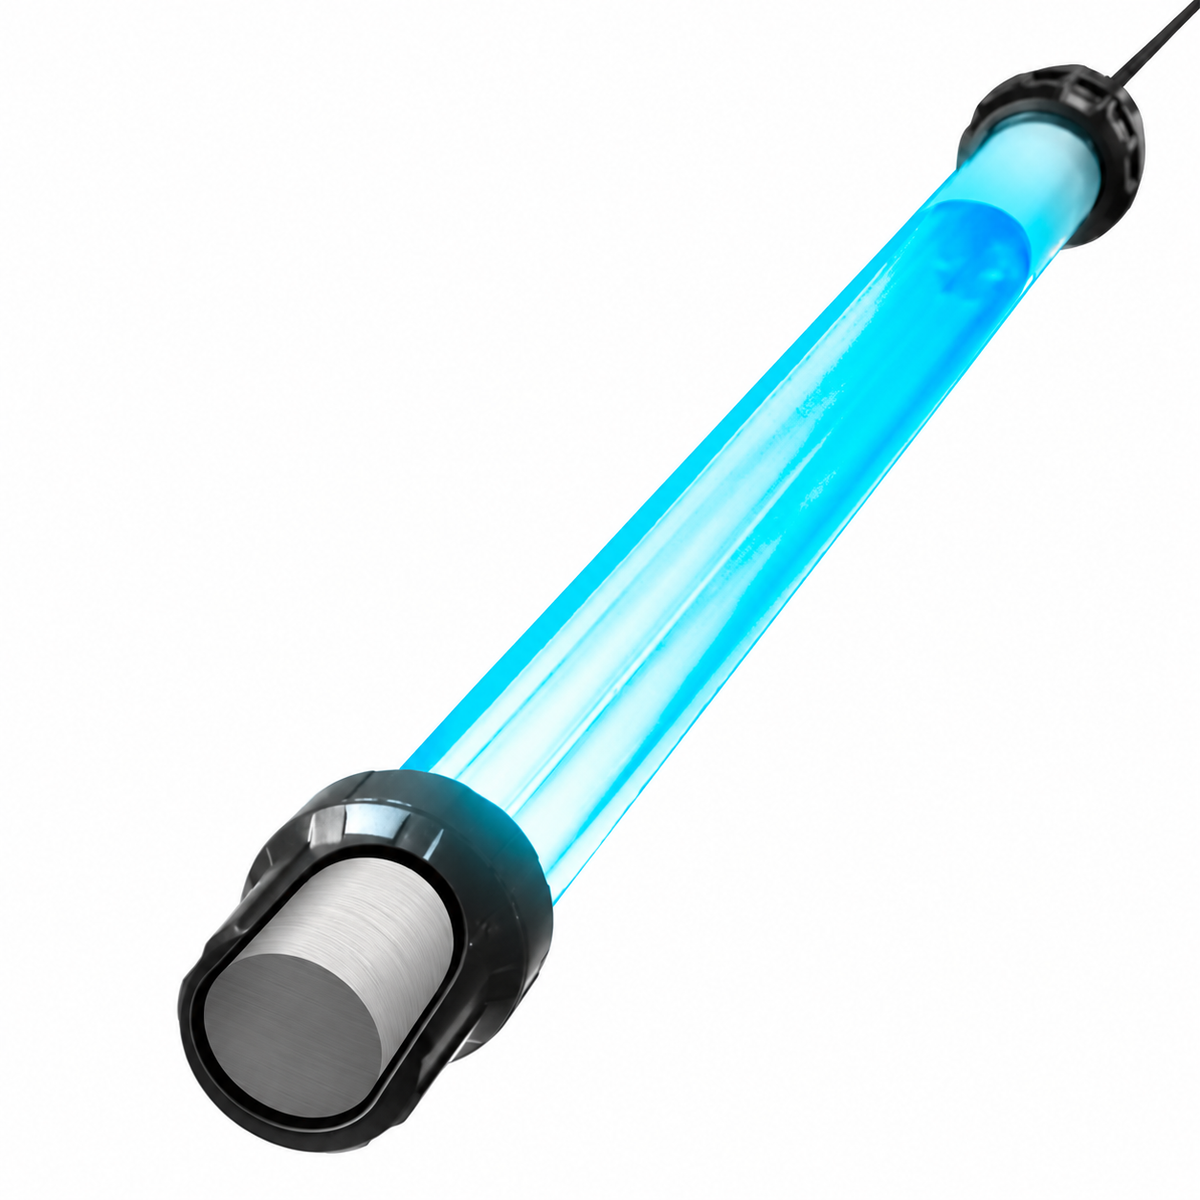
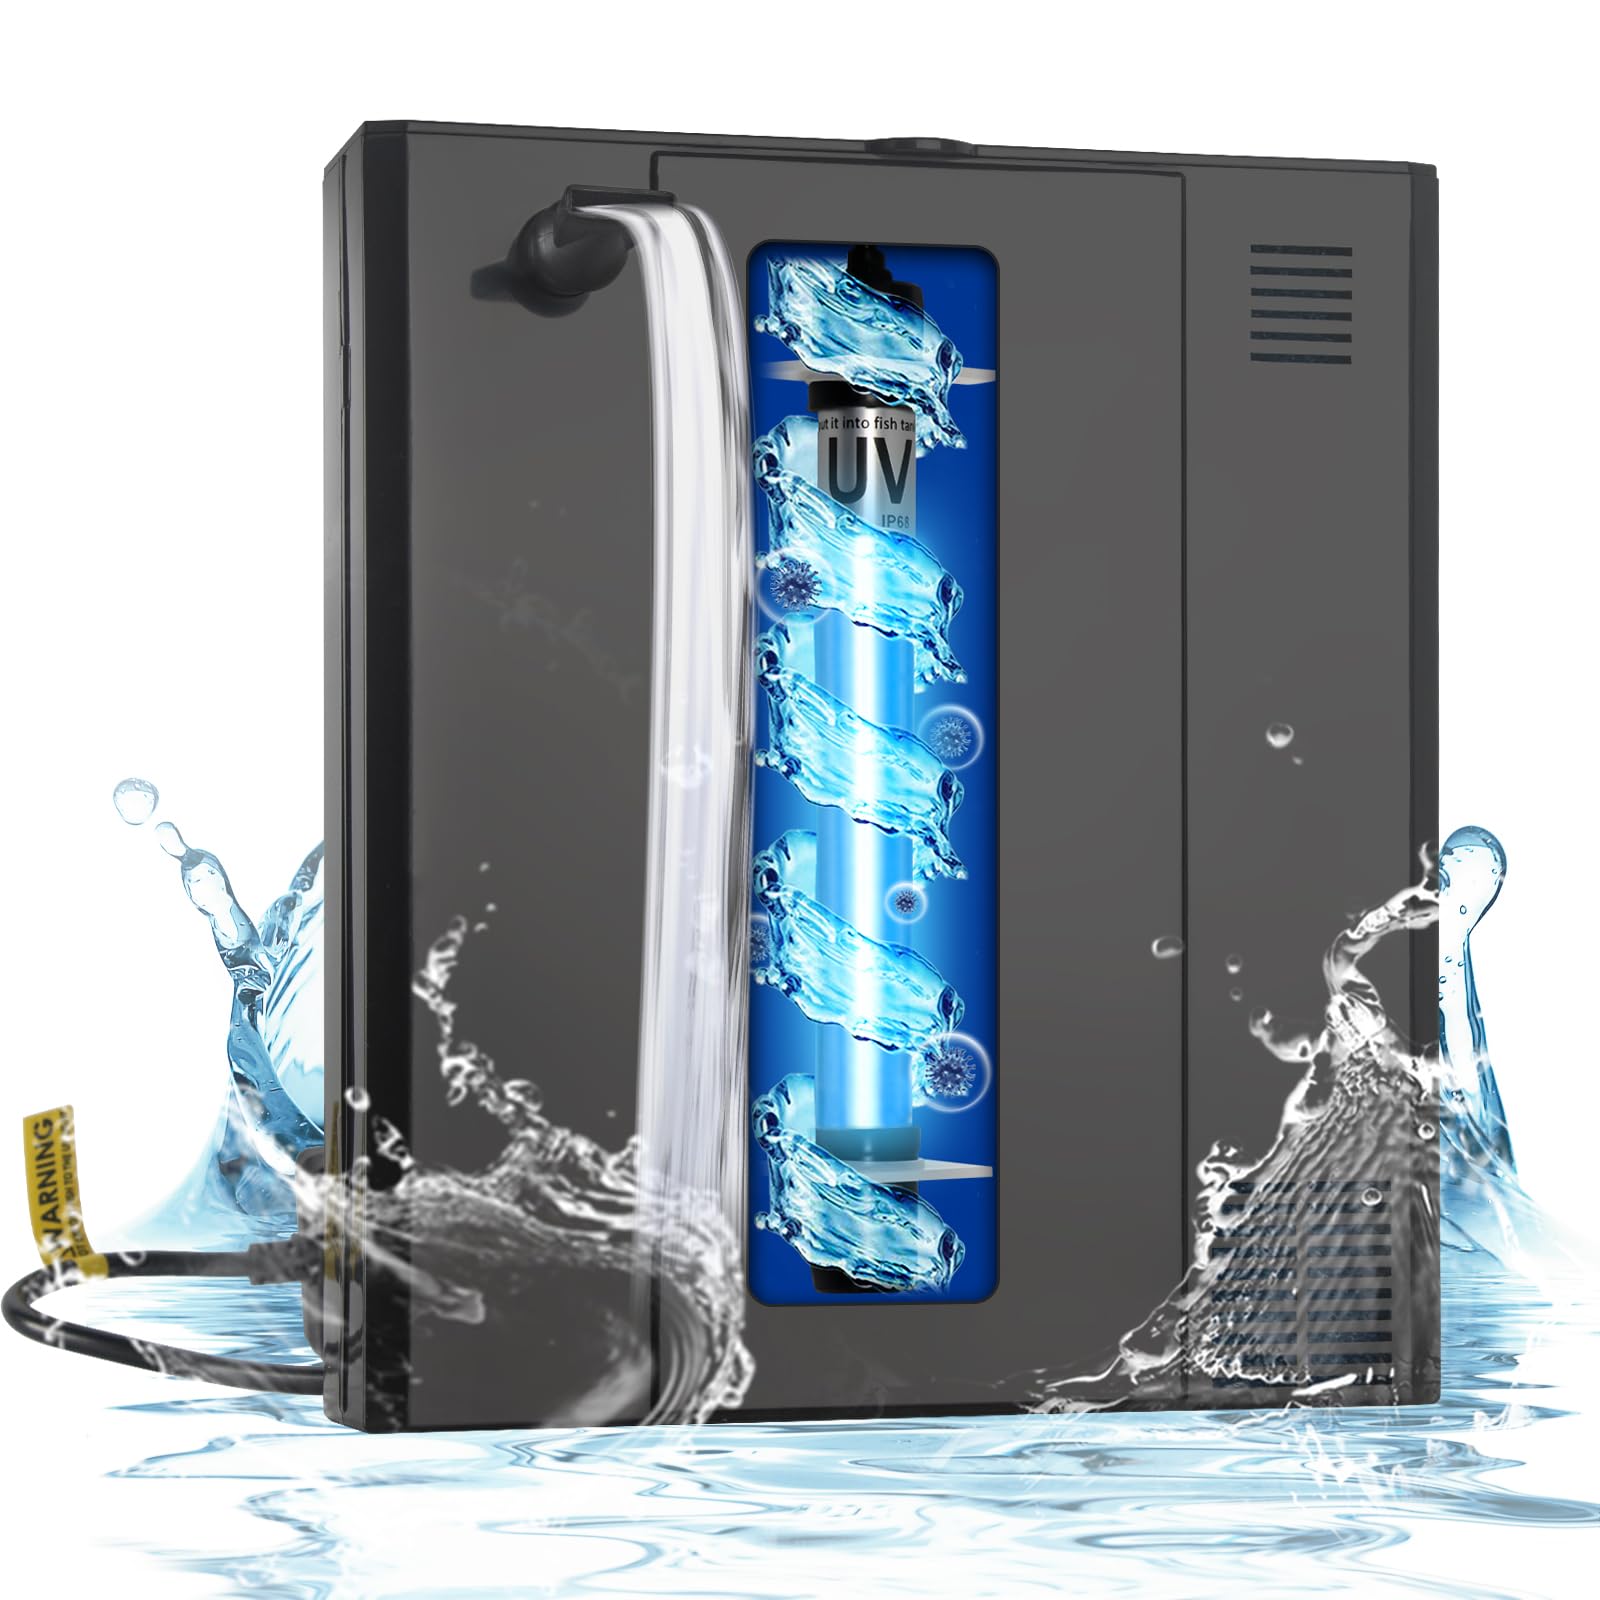
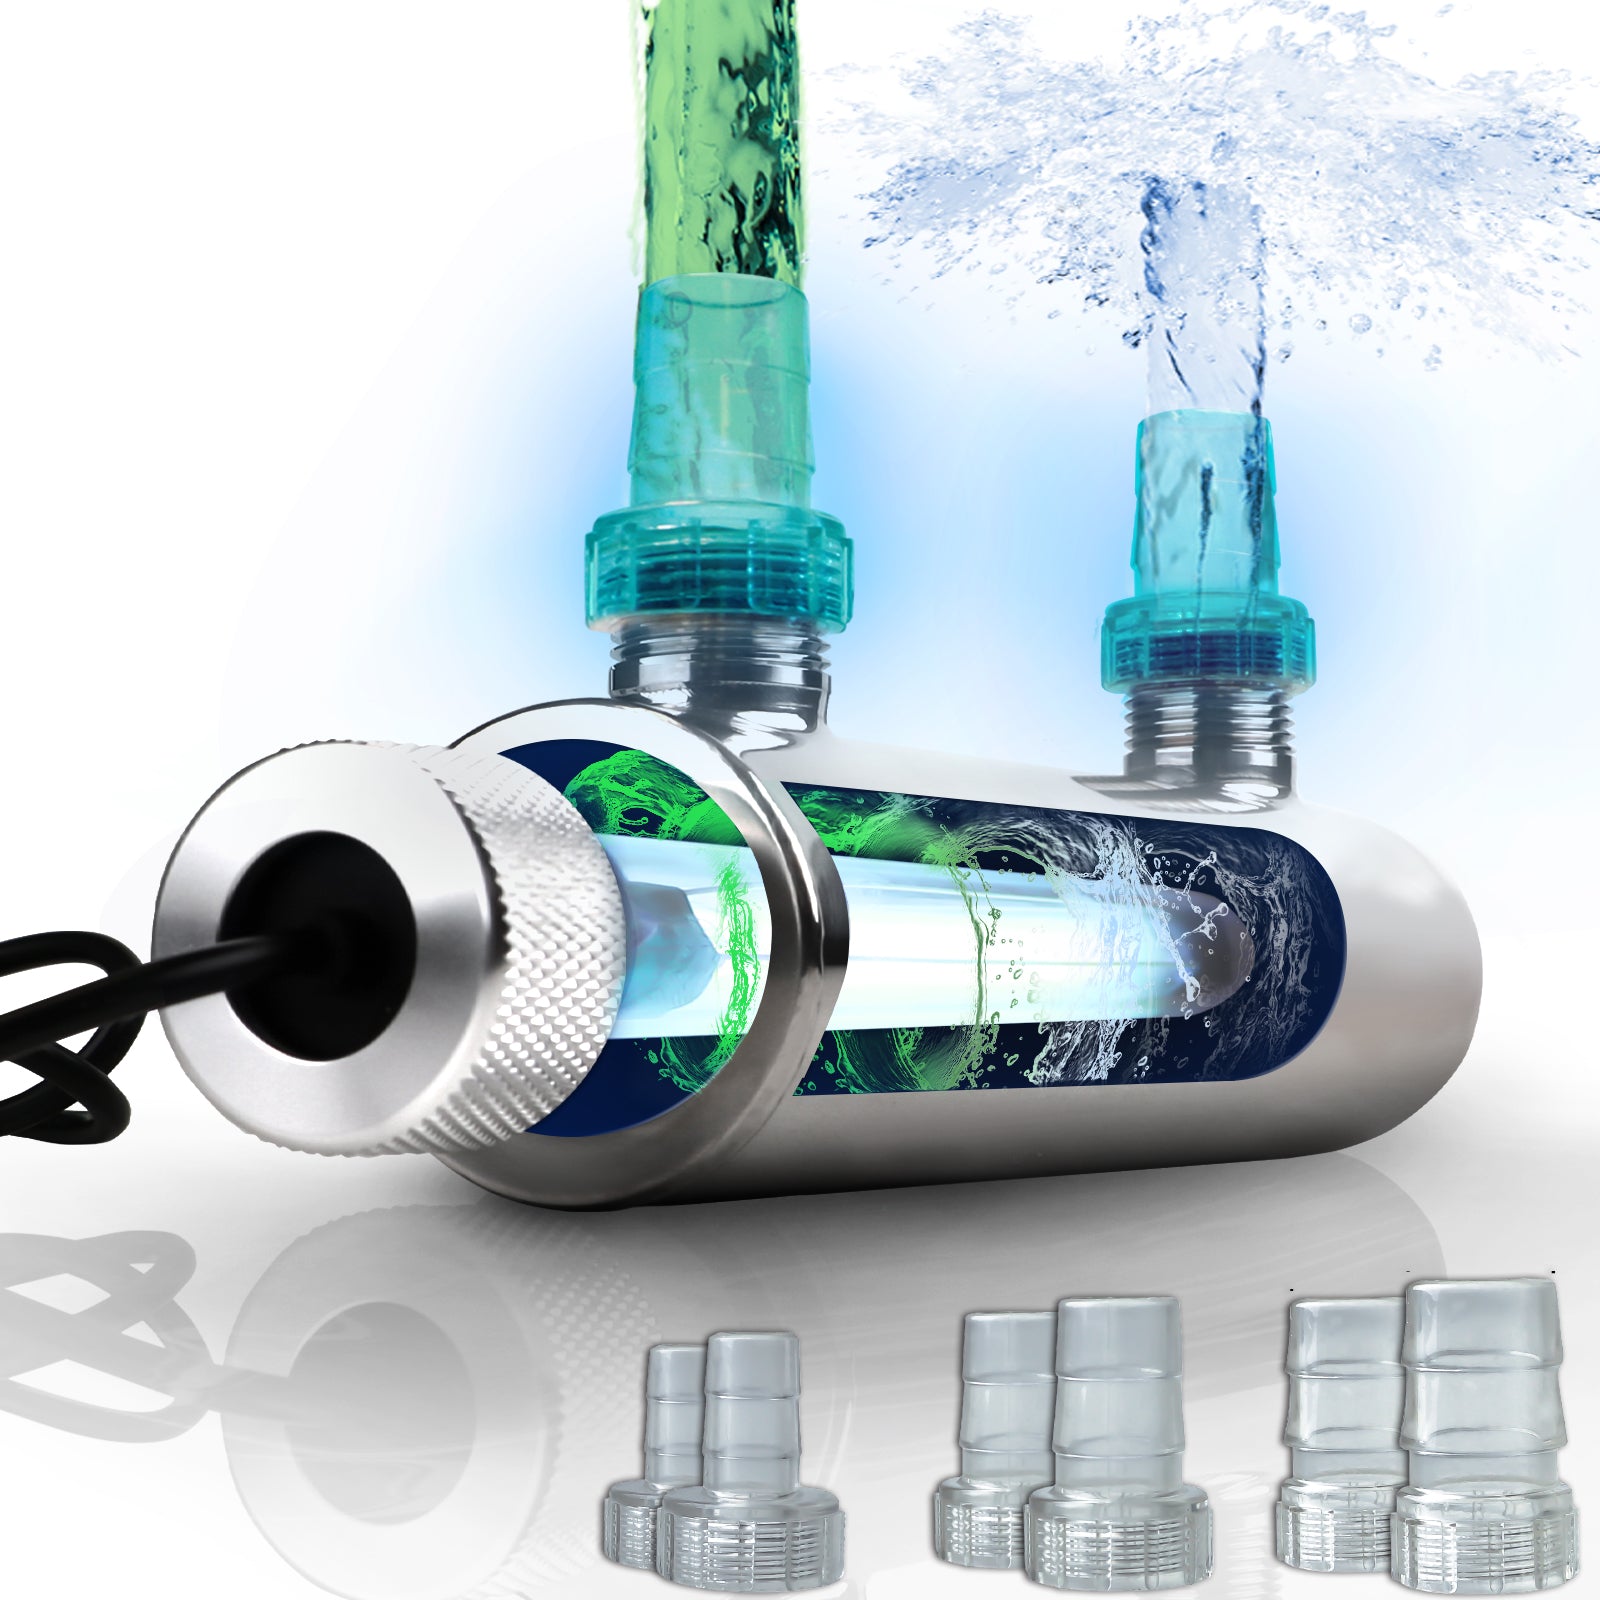
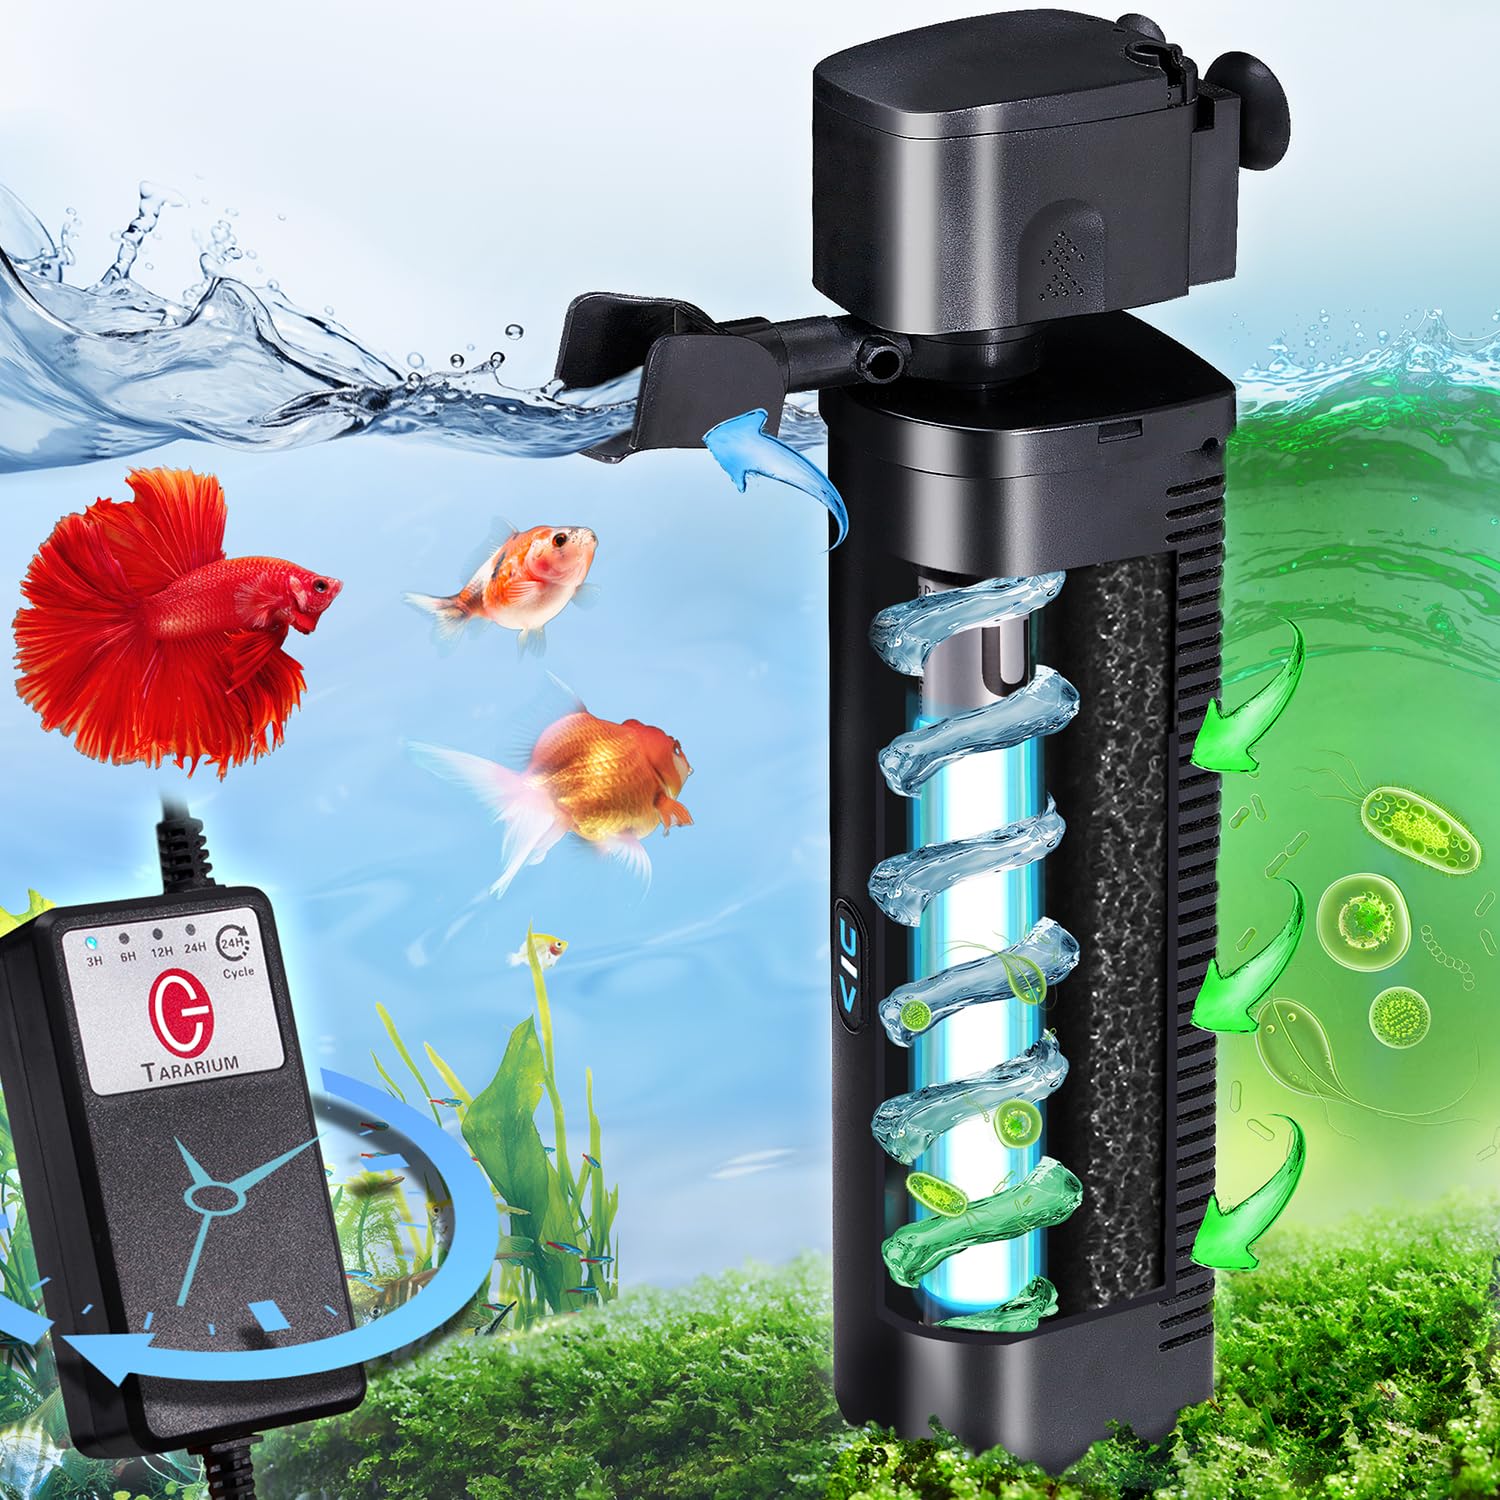
A typical aquarium UV sterilizer consists of several major components:
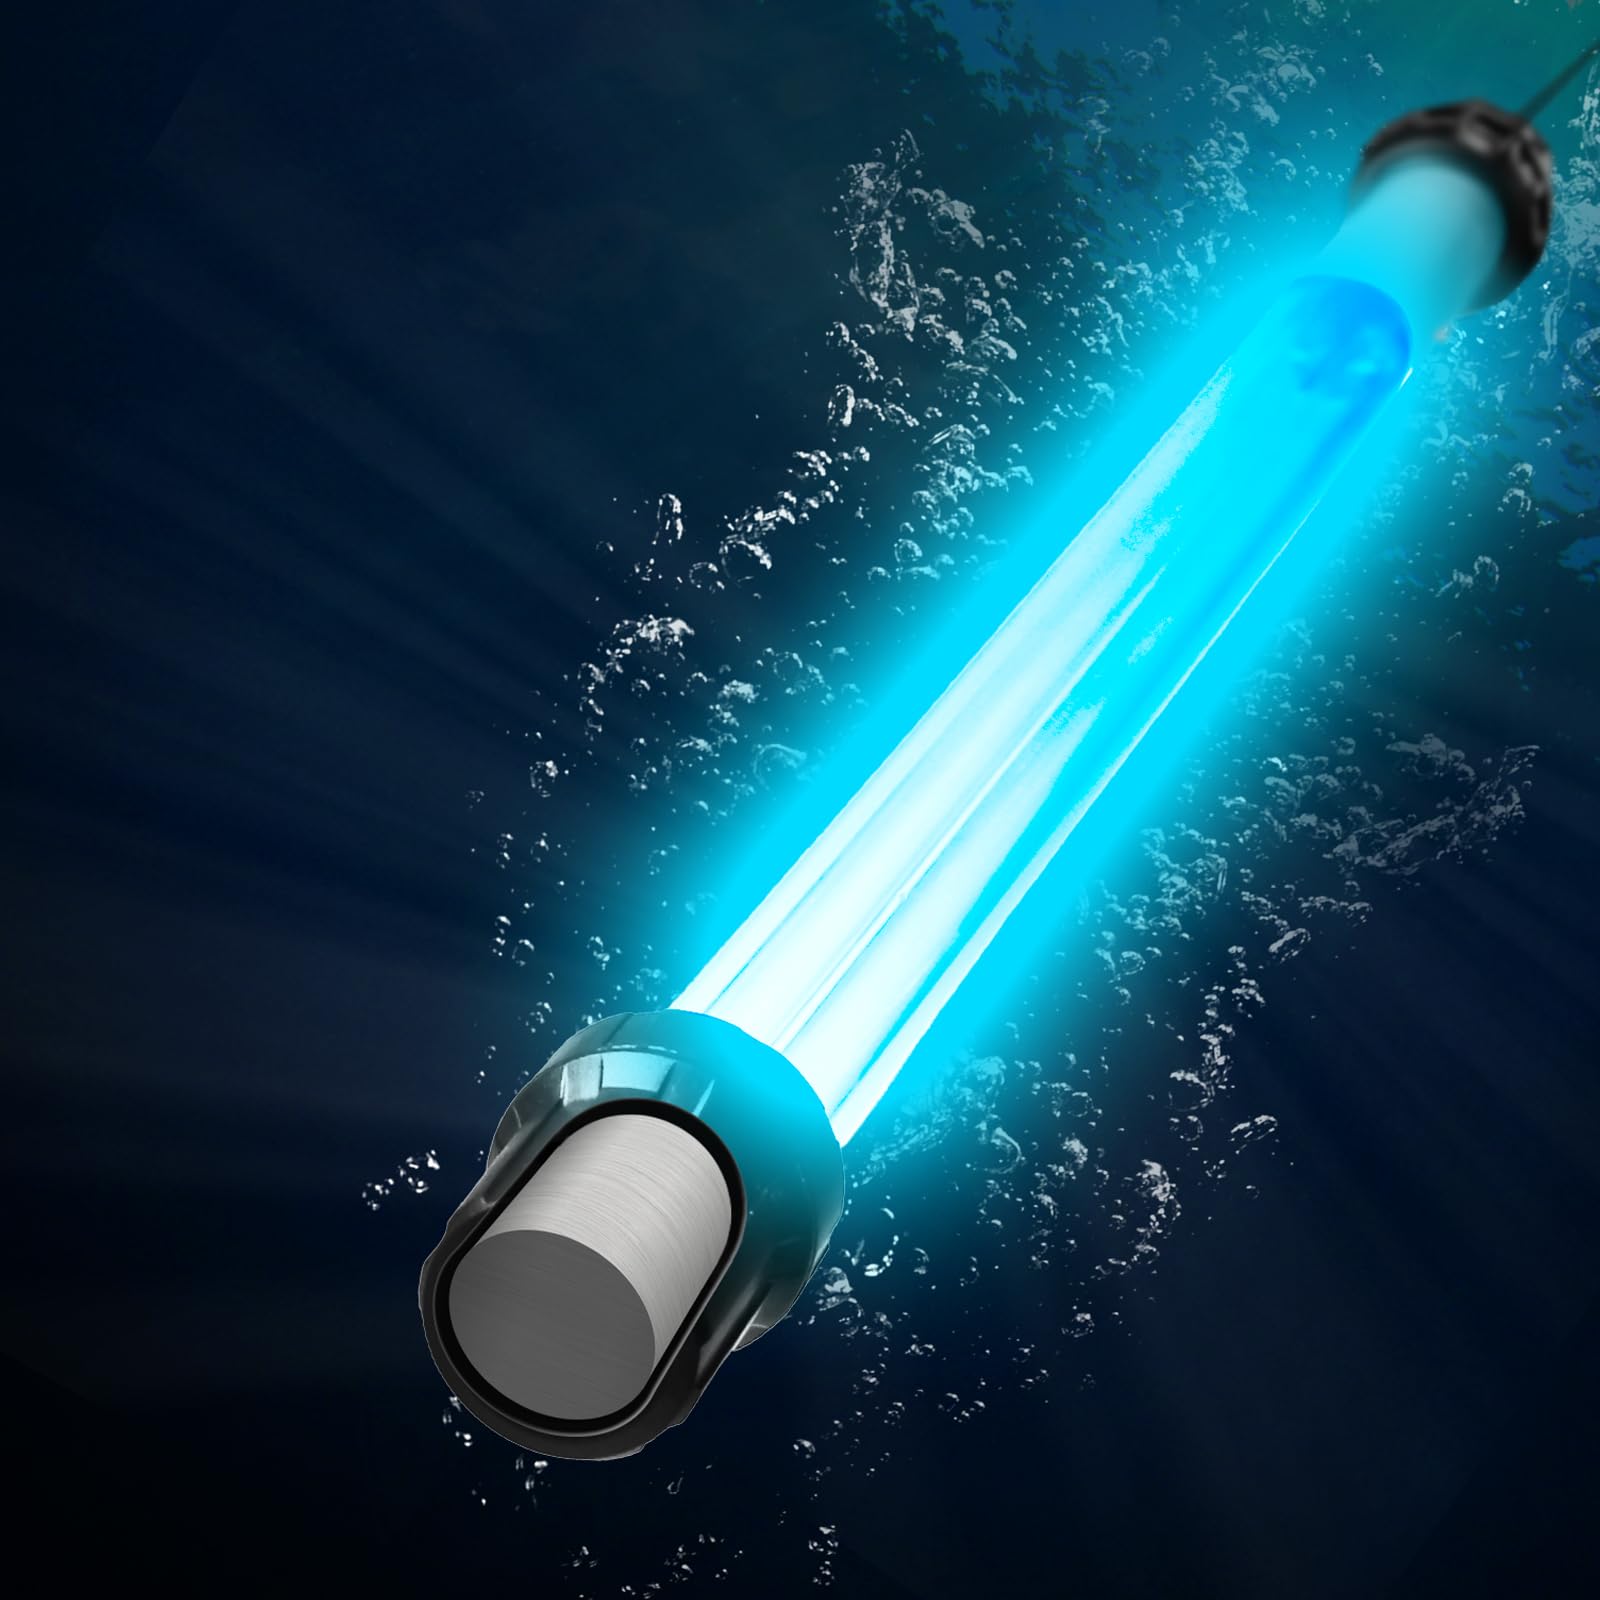
UV-C Lamp: The light source that produces germicidal ultraviolet radiation. Many aquarium UV sterilizers use low-pressure mercury vapor lamps, although other technologies are also available.
Quartz Sleeve: A transparent protective tube surrounding the UV lamp. It separates the electrical lamp from the flowing water while allowing ultraviolet light to pass through.
Ballast: The electrical component responsible for supplying the appropriate operating power to the UV lamp.
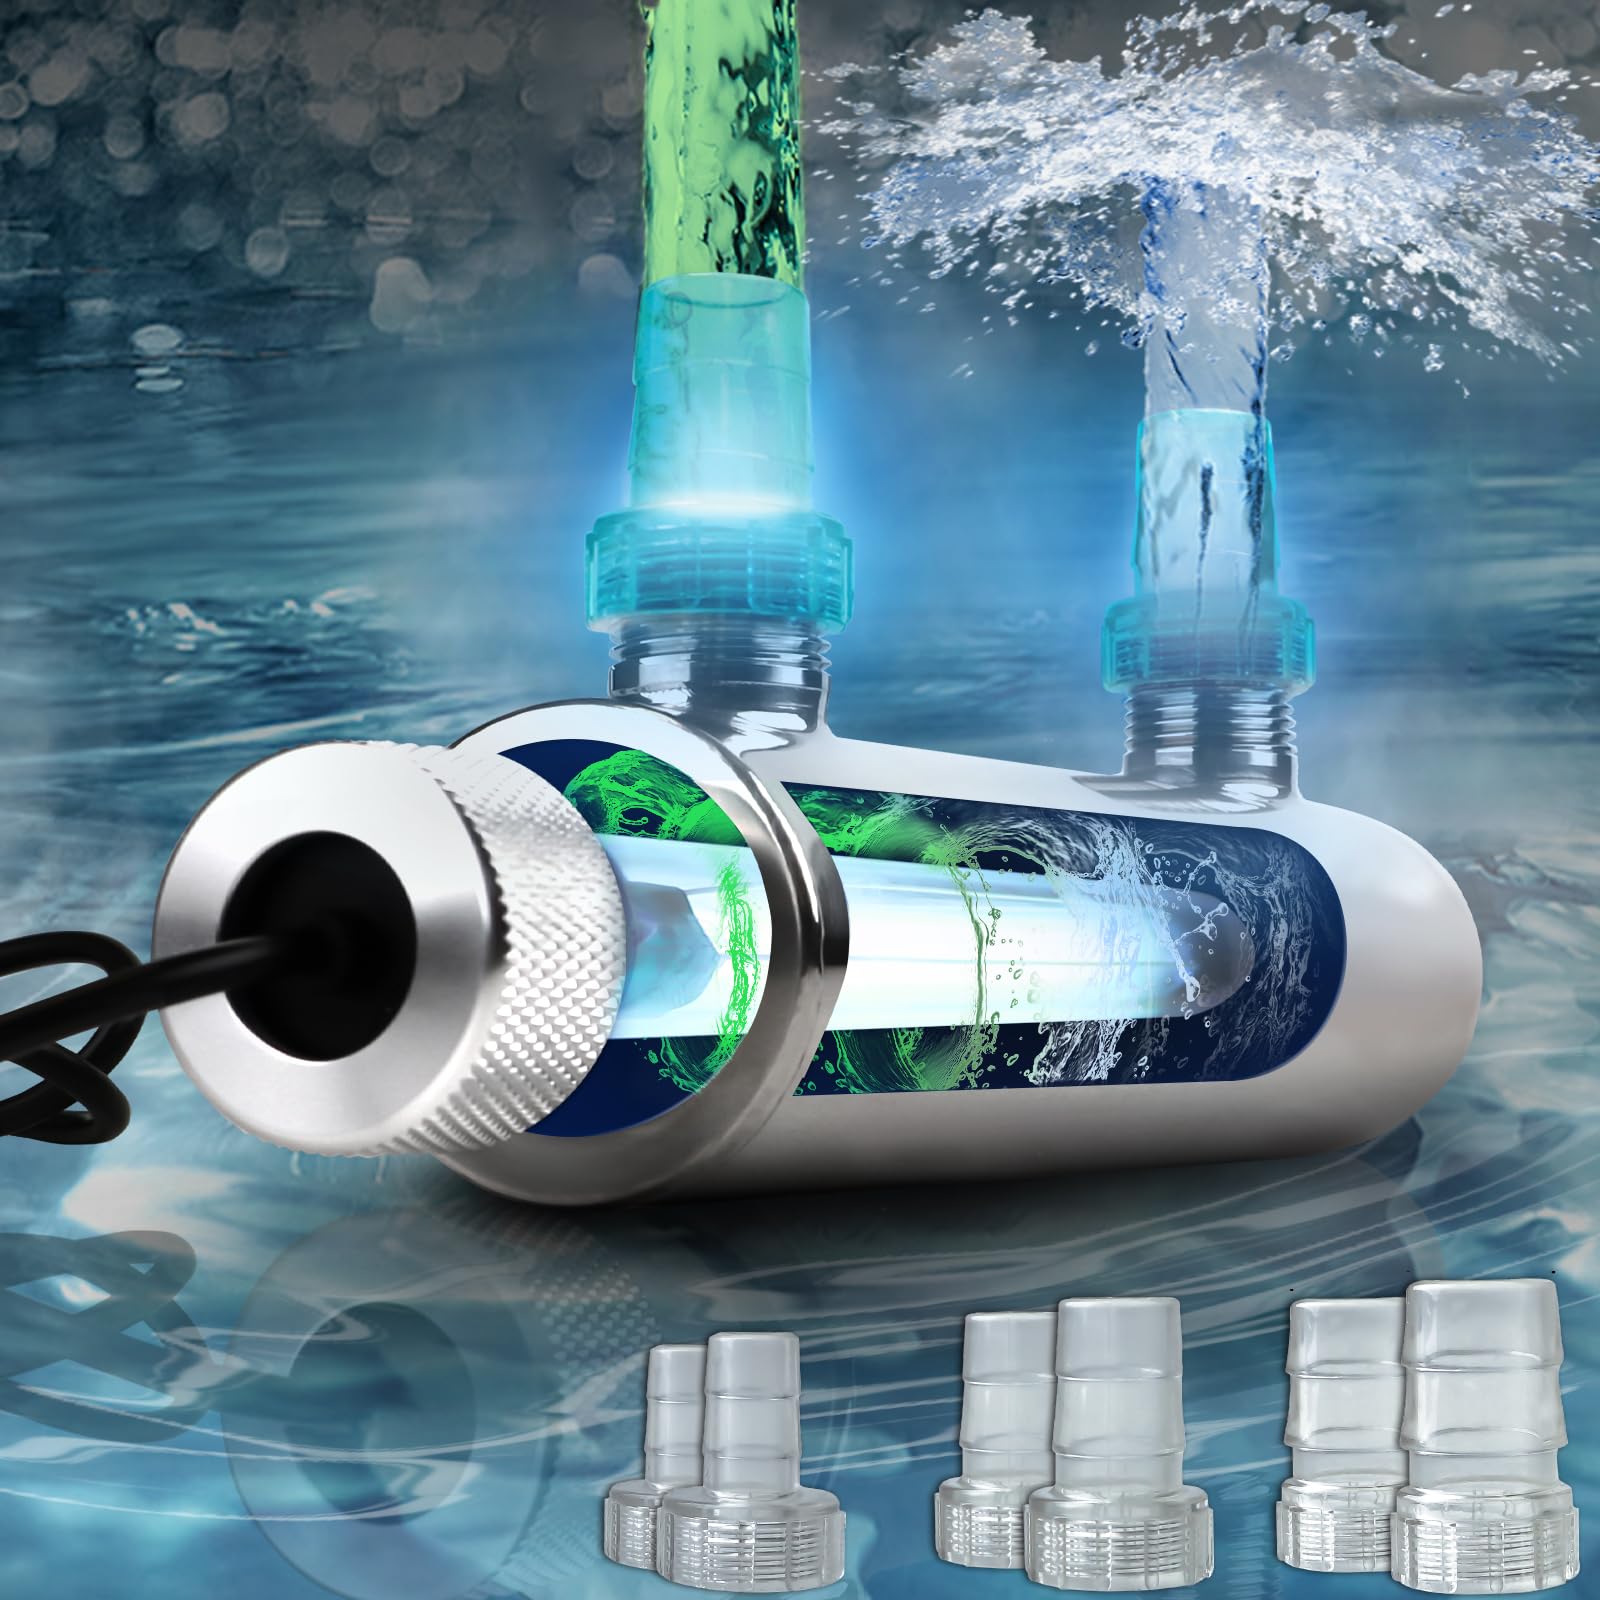
Sterilization Chamber: The housing through which aquarium water passes while exposed to UV-C radiation.
Water Inlet and Outlet: These connections allow water to enter and leave the sterilizer.
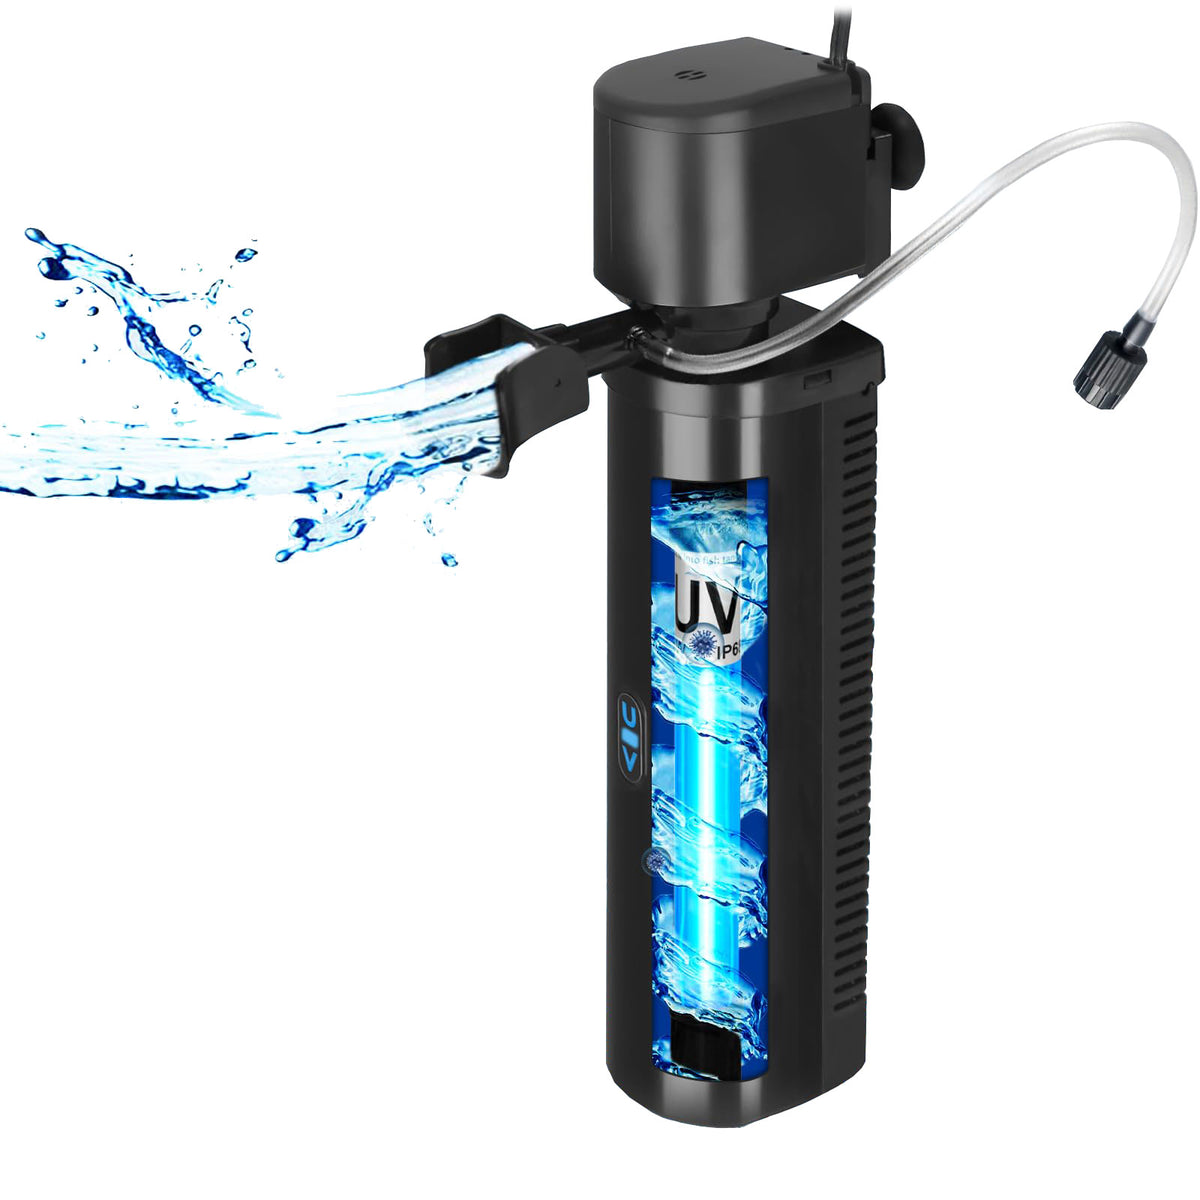
Pump or Filtration System: A pump or external filter circulates aquarium water through the UV sterilization chamber.
All these components must function correctly for the system to deliver its intended performance.
For example, a UV lamp may illuminate normally while producing insufficient UV-C output. A quartz sleeve covered in mineral deposits may prevent enough ultraviolet light from reaching the water. Similarly, an excessively high water flow rate may reduce exposure time.
Therefore, seeing a glowing lamp does not necessarily mean that your aquarium UV sterilizer is working effectively.
2. Problem One: The UV Sterilizer Will Not Turn On
One of the most common complaints from aquarium owners is that the UV sterilizer suddenly stops operating.
You may notice that the indicator light is off, the lamp does not illuminate, or the entire unit appears to have no electrical power.
Several factors can cause this problem.
Possible Causes
1. Power Supply Problems
The simplest explanation is that the sterilizer is not receiving electricity.
A loose plug, damaged power cord, switched-off outlet, tripped circuit breaker, or faulty power strip may interrupt the power supply.
2. Damaged UV Lamp
UV lamps have a limited service life. After extended operation, the lamp may fail to start or may become electrically defective.
3. Faulty Ballast
The ballast provides the electrical conditions necessary for the lamp to operate. If the ballast fails, the UV lamp may not illuminate even when the power supply is functioning.
4. Loose Internal Connections
Vibration, moisture exposure, manufacturing defects, or repeated maintenance can sometimes cause electrical connections to become loose.
How to Fix It
Start with the simplest checks.
-
Confirm that the outlet is receiving power.
-
Inspect the plug and external power cord for visible damage.
-
Check whether the circuit breaker or protective device has tripped.
-
Make sure the sterilizer's power switch is in the correct position.
-
Inspect the lamp according to the manufacturer's maintenance instructions.
Before opening the housing or touching any internal components, disconnect the device from the power supply.
If the lamp is damaged or has exceeded its recommended service life, replace it with a compatible UV-C lamp specified by the manufacturer.
If a new lamp still does not work, the ballast or internal wiring may be defective.
Do not attempt to bypass electrical safety components or operate the sterilizer with exposed wiring. If the ballast has failed, use an approved replacement component or consult a qualified technician.
3. Problem Two: The UV Lamp Lights Up but Does Not Sterilize the Water
This problem can be particularly confusing.
The lamp appears to be working, the sterilizer is receiving electricity, and water is flowing through the chamber. However, green water remains, algae continues to develop, or water clarity does not improve.
In this situation, the issue may not be a complete equipment failure. Instead, the sterilizer may be operating below its intended performance level.
Possible Causes
1. Reduced UV-C Output
A UV lamp can continue producing visible light while its germicidal UV-C output has declined.
This is why lamp replacement schedules should be based on the manufacturer's recommended operating hours rather than waiting for the bulb to burn out.
2. Incorrect UV Lamp Specifications
Not all UV lamps are interchangeable.
A replacement lamp with the wrong wattage, dimensions, electrical characteristics, or UV-C output may illuminate but fail to deliver the intended performance.
3. Excessive Water Flow
Water must remain inside the UV chamber long enough to receive an effective ultraviolet dose.
If water passes through the chamber too quickly, microorganisms may receive insufficient exposure.
4. Dirty Quartz Sleeve
Mineral deposits, algae, biofilm, and other contaminants can accumulate on the quartz sleeve.
These deposits reduce UV transmission and weaken the sterilization process.
5. Incorrect Equipment Sizing
A UV sterilizer designed for a small aquarium may not provide adequate treatment capacity for a large aquarium or a heavily stocked fish system.
How to Fix It
First, check the lamp's operating hours and replacement recommendations.
If the lamp is approaching the end of its recommended service life, replace it with the correct model.
Next, inspect the quartz sleeve. If it appears cloudy, stained, or covered in mineral deposits, clean it according to the manufacturer's instructions.
Then check the water flow rate.
Compare the actual flow rate with the manufacturer's recommended range for your intended application.
If the water is passing through too quickly, adjust the pump or flow-control valve where appropriate.
Finally, confirm that the sterilizer is properly sized for your aquarium.
Remember that UV sterilization performance depends on several factors working together, including lamp output, water clarity, flow rate, chamber design, and exposure time.
4. Problem Three: The UV Lamp Keeps Flickering
A UV lamp that repeatedly turns on and off can indicate an electrical or component-related problem.
Although some lamps may briefly behave differently during startup, continuous flickering should not be ignored.
Possible Causes
1. Aging UV Lamp
As a UV lamp approaches the end of its useful operating life, its electrical characteristics may change, making reliable startup more difficult.
2. Ballast Failure
An unstable or damaged ballast may provide inconsistent electrical power.
3. Poor Electrical Connections
Loose connections can interrupt power and cause intermittent operation.
4. Moisture in Electrical Components
Aquarium equipment operates in a humid environment. Condensation, water leaks, or improper sealing can create dangerous electrical conditions.
How to Fix It
Disconnect the sterilizer from electricity before inspecting it.
Check the external cable, plug, and housing for visible damage.
If moisture is present near electrical components, do not reconnect the device until it has been inspected and confirmed safe.
Replace an aging lamp with the manufacturer's specified model.
If the flickering continues after lamp replacement, the ballast may need professional inspection.
Avoid repeatedly switching a malfunctioning sterilizer on and off. Doing so may place additional stress on the electrical components.
5. Problem Four: Water Flow Through the UV Sterilizer Is Too Weak
A UV sterilizer cannot perform its intended function without proper water circulation.
If water flow becomes weak or stops completely, the system may provide little or no treatment.
You may notice that the outlet produces only a small stream of water or that the pump appears to be operating harder than usual.
Possible Causes
1. Clogged Inlet or Outlet
Fish waste, plant debris, algae, and other particles can accumulate inside hoses and fittings.
2. Dirty Mechanical Filter
If the UV sterilizer is connected to an aquarium filtration system, clogged filter media may reduce the amount of water reaching the sterilizer.
3. Weak Pump Performance
A worn impeller, damaged pump motor, or blocked pump intake can reduce circulation.
4. Kinked Hoses
Flexible tubing may become bent, compressed, or twisted, restricting water movement.
5. Air Trapped Inside the System
Air pockets can interfere with water circulation and reduce the effective flow through the sterilization chamber.
How to Fix It
Begin by checking the water inlet and outlet.
Remove visible debris and inspect the hoses for blockages.
Clean the mechanical filter according to its maintenance requirements.
Inspect the pump intake and impeller for accumulated debris.
If the pump is making unusual noises or producing consistently weak flow, it may require cleaning or replacement.
Straighten any bent hoses and make sure all connections are secure.
Follow the manufacturer's instructions for filling and priming the sterilizer to remove trapped air.
Once circulation has been restored, measure the actual flow rate if possible.
Do not assume that a running pump automatically provides the correct flow rate for UV sterilization.
6. Problem Five: The Quartz Sleeve Is Dirty or Damaged
The quartz sleeve is one of the most important components in an aquarium UV sterilizer.
It protects the UV lamp from direct contact with water while allowing ultraviolet radiation to pass into the treatment chamber.
Unfortunately, it can gradually become covered with mineral deposits, organic material, and biofilm.
In some cases, the sleeve may also crack or become damaged during maintenance.
Common Signs of Quartz Sleeve Problems
-
The sleeve looks cloudy or discolored.
-
White mineral deposits are visible on the surface.
-
Brown or green buildup appears inside the chamber.
-
The lamp appears normal, but sterilization performance declines.
-
Water leaks around the sleeve seals.
-
The sleeve has visible cracks or chips.
How to Clean the Quartz Sleeve
Before cleaning, disconnect the sterilizer from the power supply and isolate the water supply.
Allow the equipment to cool completely.
Follow the manufacturer's disassembly instructions to remove the quartz sleeve.
For ordinary dirt and biofilm, use a soft cloth or nonabrasive cleaning material.
For stubborn mineral deposits, use an appropriate cleaning solution approved by the manufacturer. A diluted citric acid solution may be suitable for some models, but chemical compatibility must be confirmed first.
Avoid rough brushes, metal tools, and abrasive cleaning pads.
After cleaning, rinse the sleeve thoroughly with clean water.
Inspect it carefully for scratches, cracks, and other damage.
Replace the sleeve if it is cracked or structurally compromised.
Before restarting the sterilizer, check the seals and O-rings and confirm that all components are correctly installed.
Never operate a UV sterilizer with a damaged quartz sleeve.
7. Problem Six: Water Is Leaking From the UV Sterilizer
A leaking UV sterilizer is a problem that requires immediate attention.
Water near electrical equipment creates a serious risk of electric shock, equipment damage, and aquarium flooding.
Even a small leak can become more serious if the sterilizer continues operating.
Possible Causes
1. Worn O-Rings
Rubber seals can deteriorate, become flattened, or lose flexibility over time.
2. Loose Connections
Incorrectly tightened fittings may allow water to escape.
3. Damaged Quartz Sleeve
A cracked quartz sleeve can allow water to enter areas that should remain dry.
4. Housing Damage
Impacts, excessive pressure, or aging materials may cause cracks in the sterilizer housing.
5. Incorrect Reassembly
A seal installed in the wrong position can prevent the unit from forming a watertight connection.
How to Fix It
If you discover a leak, immediately disconnect power using a safe method that does not require touching wet electrical equipment.
Do not handle a wet plug or electrical connector.
Isolate the water supply and stop the pump.
Inspect the housing, fittings, quartz sleeve, and seals after the system has been safely drained.
Replace damaged O-rings with manufacturer-approved replacements.
Check that the sealing surfaces are clean and properly positioned.
If the housing is cracked or the quartz sleeve is damaged, replace the affected component rather than attempting an unreliable repair.
Before reconnecting electricity, perform a careful leak test with the power disconnected.
Only return the sterilizer to service after confirming that it is completely watertight and electrically safe.
8. Problem Seven: The UV Sterilizer Overheats
A UV sterilizer may become warm during normal operation. However, excessive heat, unusual odors, or repeated shutdowns indicate a possible problem.
Overheating can shorten lamp life and damage electrical components.
Possible Causes
1. Insufficient Water Flow
Some UV sterilizer designs depend on water circulation to remove heat from the treatment chamber.
If circulation stops, internal temperatures may rise.
2. Incorrect Installation
Installing the unit in a poorly ventilated or excessively hot location can interfere with heat dissipation.
3. Faulty Ballast
A defective ballast may generate abnormal heat.
4. Incorrect Lamp
Using an incompatible lamp can create operating conditions outside the manufacturer's specifications.
5. Blocked Cooling Openings
Dust and debris may accumulate around ventilation openings on certain models.
How to Fix It
Turn off the sterilizer and disconnect it from the power supply.
Allow the equipment to cool before inspecting it.
Check the water flow and make sure the pump is operating correctly.
Verify that the UV lamp matches the manufacturer's specifications.
Inspect the installation area and make sure the device has adequate ventilation where required.
If the ballast or electrical housing becomes unusually hot, discontinue use and arrange a professional inspection.
Never operate a sterilizer that repeatedly overheats.
9. Problem Eight: The Aquarium Water Is Still Green
Green aquarium water is commonly associated with suspended single-celled algae.
A properly sized and correctly operated UV sterilizer can help control free-floating algae by exposing it to UV-C radiation.
However, if the water remains green, the cause may involve more than one factor.
Possible Causes
1. Insufficient UV-C Exposure
The lamp may be too weak, the quartz sleeve may be dirty, or the flow rate may be too high.
2. Excessive Nutrients
High concentrations of nitrate and phosphate can encourage algae growth.
3. Excessive Lighting
Long photoperiods and excessive light intensity can contribute to algae problems.
4. Undersized UV Equipment
A sterilizer with insufficient treatment capacity may struggle to keep up with algae growth.
5. Poor Water Circulation
If aquarium water does not circulate effectively through the sterilizer, a portion of the water may remain untreated for extended periods.
How to Fix It
Start by checking the UV sterilizer itself.
Inspect the lamp, quartz sleeve, flow rate, and equipment specifications.
Then evaluate the aquarium environment.
Test nitrate and phosphate levels using reliable aquarium test kits.
Avoid overfeeding and remove uneaten food and decaying organic matter.
Consider reducing excessive lighting and establishing a consistent photoperiod.
Clean the mechanical filtration system to remove suspended debris.
Make sure the aquarium has adequate circulation so that water can reach the sterilizer.
Keep in mind that UV sterilization is not a substitute for controlling the underlying causes of algae growth.
It also does not remove algae growing on aquarium glass, rocks, plants, or decorations because those organisms do not normally pass through the sterilizer chamber.
10. Problem Nine: The UV Sterilizer Makes Unusual Noise
Most aquarium UV sterilizers operate relatively quietly.
If you hear rattling, buzzing, grinding, or vibration, the device may have a mechanical or electrical problem.
Possible Causes
-
Air trapped inside the chamber.
-
Loose mounting brackets.
-
Vibrating hoses.
-
A worn pump impeller.
-
Damaged internal components.
-
Electrical ballast problems.
How to Fix It
First, determine where the noise is coming from.
If the noise appears to originate from the pump, inspect the impeller and intake for debris.
If the sterilizer is vibrating against a cabinet or aquarium stand, check the mounting brackets and supporting surface.
For air-related noise, follow the manufacturer's instructions to remove trapped air.
Persistent electrical buzzing should not be ignored.
Disconnect the equipment and have the ballast inspected if the noise appears to come from the electrical housing.
Never open a powered UV sterilizer to investigate unusual sounds.
11. Problem Ten: The UV Sterilizer Turns Off Automatically
Some modern UV sterilizers include safety features that shut down the lamp under certain operating conditions.
Although automatic shutdown can indicate a malfunction, it may also mean that a protective mechanism is functioning correctly.
Possible Causes
1. Overheating Protection
The unit may automatically shut down if internal temperatures exceed safe operating limits.
2. Electrical Instability
Voltage fluctuations or interruptions may cause the device to restart or shut down.
3. Faulty Sensors
Certain models include sensors that monitor temperature, water flow, or other operating conditions.
4. Damaged Ballast
A failing ballast may cause intermittent power delivery.
How to Fix It
Check the manufacturer's operating manual for the meaning of any warning lights or error codes.
Inspect water circulation and make sure the unit is not overheating.
Check the power supply for interruptions.
If the device repeatedly shuts down despite normal operating conditions, contact the manufacturer or a qualified service technician.
Do not disable automatic safety protection to force the UV lamp to remain on.
12. How to Choose the Correct Replacement UV Lamp
Replacing an old lamp is one of the most common maintenance tasks for aquarium UV sterilizers.
However, choosing the wrong replacement can create new problems.
Not every UV lamp with the same physical appearance is compatible.
Before purchasing a replacement, check the following specifications.
Lamp Wattage
The replacement lamp should match the power rating specified by the manufacturer.
Installing a higher-wattage lamp does not automatically improve sterilization performance.
It may also damage the ballast or create unsafe operating conditions.
Lamp Dimensions
Check the total lamp length, diameter, and connection type.
A lamp that is too long or too short may not fit correctly inside the quartz sleeve.
Electrical Compatibility
The lamp must be compatible with the sterilizer's ballast and electrical configuration.
UV-C Output
Confirm that the replacement lamp produces the appropriate germicidal UV-C radiation.
A standard visible-light bulb is not a suitable replacement.
Operating Life
Different lamp models have different recommended replacement intervals.
Follow the manufacturer's stated operating-hour limit.
Do not rely only on whether the lamp still produces visible light.
A good replacement lamp should be compatible with the entire sterilizer system, not simply look similar to the original.
13. How Often Should You Replace an Aquarium UV Lamp?
There is no universal replacement interval for every aquarium UV sterilizer.
The correct schedule depends on lamp technology, operating conditions, manufacturer specifications, and the quality of the electrical components.
Many conventional low-pressure UV-C lamps are designed for approximately 6,000 to 9,000 hours of effective operation, although some products have different ratings.
For example, a lamp operating continuously for 24 hours per day accumulates approximately 8,760 operating hours in one year.
This means a lamp that appears to be functioning normally may already have reached the end of its recommended service life.
A practical maintenance approach includes:
-
Recording the installation date of each new lamp.
-
Tracking total operating hours.
-
Following the manufacturer's replacement schedule.
-
Checking lamp performance during routine maintenance.
-
Replacing the lamp with a compatible model when recommended.
Avoid waiting until the lamp completely burns out.
The purpose of scheduled replacement is to maintain consistent UV-C output rather than simply keep the light illuminated.
14. Why Water Flow Rate Matters So Much
Water flow rate is one of the most important factors affecting UV sterilization performance.
Even a powerful UV lamp may deliver poor results if water moves through the chamber too quickly.
The reason is simple: microorganisms need sufficient exposure to UV-C radiation.
The UV dose is commonly expressed in millijoules per square centimeter (mJ/cm²).
It depends on the intensity of UV-C radiation and the amount of time the water is exposed to that radiation.
A higher flow rate generally reduces exposure time, while a lower flow rate generally increases it.
However, the correct flow rate depends on the intended treatment goal and the specific sterilizer design.
For example, the flow rate recommended for controlling free-floating algae may differ from the flow rate required for reducing certain microorganisms.
When adjusting water circulation, consider:
-
UV lamp wattage.
-
UV-C output.
-
Chamber dimensions.
-
Quartz sleeve condition.
-
Manufacturer-rated flow range.
-
Desired treatment dose.
-
Actual water clarity.
Always use the manufacturer's flow-rate recommendations for the intended application.
Do not assume that the slowest possible water flow is automatically the best setting. Extremely low circulation may reduce the amount of aquarium water treated over time.
The goal is to balance adequate exposure with effective overall water circulation.
15. Common Installation Mistakes That Reduce UV Sterilizer Performance
Sometimes an aquarium UV sterilizer is not defective at all. It may simply have been installed incorrectly.
Installation errors can reduce performance and cause unnecessary equipment problems.
Mistake 1: Installing the Unit Without Checking Flow Direction
Many sterilizers have clearly marked inlet and outlet connections.
Connecting the hoses incorrectly may interfere with the intended water circulation.
Always follow the manufacturer's flow-direction instructions.
Mistake 2: Using an Inappropriate Pump
A pump that delivers excessive flow may reduce exposure time.
A pump that is too weak may not provide adequate circulation.
Choose a pump based on the required flow rate rather than aquarium size alone.
Mistake 3: Installing the Unit in an Inaccessible Location
UV sterilizers require periodic lamp replacement and quartz sleeve cleaning.
Installing the unit in a cramped area can make maintenance difficult and increase the likelihood of incorrect reassembly.
Choose an accessible location that also satisfies the manufacturer's installation requirements.
Mistake 4: Ignoring Water Pretreatment
Large particles and suspended debris can interfere with the operation of certain UV systems.
Mechanical filtration before the sterilizer can help reduce particle accumulation and maintain cleaner operating conditions.
Mistake 5: Ignoring Electrical Safety
Aquarium equipment should be installed with appropriate electrical protection.
Use a properly grounded outlet where required and an appropriate ground-fault circuit interrupter (GFCI) or residual-current device (RCD) according to local electrical requirements.
Arrange drip loops on power cords so that water cannot easily travel along the cable into an electrical outlet.
Keep electrical connections away from splashes and potential leaks.
16. A Step-by-Step Aquarium UV Sterilizer Troubleshooting Checklist
When your UV sterilizer stops working, a systematic troubleshooting process is more effective than randomly replacing components.
Use the following checklist to identify the problem.
Step 1: Check the Power Supply
Confirm that the outlet works and that the power cord is not damaged.
Check the circuit breaker and electrical protection device.
If there are signs of electrical damage, stop using the unit.
Step 2: Check the UV Lamp
Determine whether the lamp is illuminating.
If it does not start, check its operating age and compatibility.
Replace an expired or defective lamp according to the manufacturer's instructions.
Step 3: Inspect the Ballast
If a compatible replacement lamp still does not work, the ballast may be defective.
Have it inspected by a qualified technician.
Step 4: Check Water Circulation
Confirm that the pump is running and water is flowing through the sterilizer.
Inspect hoses, fittings, and filter components for blockages.
Step 5: Inspect the Quartz Sleeve
Look for mineral deposits, biofilm, scratches, and cracks.
Clean or replace the sleeve as needed.
Step 6: Check for Leaks
Inspect all connections, seals, and housing components.
Replace damaged O-rings and other defective parts.
Step 7: Evaluate Overall Sterilization Performance
If the unit appears to operate normally but water quality does not improve, check the flow rate, lamp replacement schedule, aquarium nutrient levels, and equipment capacity.
This process helps distinguish between electrical failure, mechanical blockage, maintenance problems, and incorrect operating conditions.
17. Preventive Maintenance Tips to Keep Your UV Sterilizer Working Properly
Regular maintenance is one of the most effective ways to prevent unexpected UV sterilizer failures.
Instead of waiting until the water turns green or the equipment stops working, establish a maintenance routine.
Clean the Quartz Sleeve Regularly
Inspect the quartz sleeve periodically.
The ideal cleaning frequency depends on aquarium conditions, water hardness, and the amount of organic material circulating through the system.
Aquariums with hard water may experience faster mineral buildup.
Clean the sleeve whenever visible deposits begin to interfere with light transmission.
Replace UV Lamps on Schedule
Keep track of operating hours and replace lamps according to manufacturer recommendations.
Do not use visible brightness as the only indicator of lamp condition.
Inspect Seals and O-Rings
Check rubber seals during routine maintenance.
Replace worn, cracked, or flattened O-rings before they cause leaks.
Maintain the Water Pump
Clean the pump intake and impeller.
A properly maintained pump helps maintain consistent circulation through the sterilizer.
Check Hoses and Connections
Look for cracks, leaks, kinks, and loose fittings.
Replace deteriorated tubing before it causes a circulation problem.
Monitor Aquarium Water Quality
Use regular water testing to monitor nitrate, phosphate, ammonia, and other important parameters.
Remember that a UV sterilizer cannot replace biological filtration, mechanical filtration, or appropriate water changes.
Keep a Maintenance Record
A simple maintenance log can help you identify recurring issues.
Record:
-
Lamp installation date.
-
Lamp replacement date.
-
Quartz sleeve cleaning date.
-
Pump maintenance date.
-
Flow-rate measurements.
-
Any unusual noises or operating problems.
This information makes future troubleshooting much easier.
18. Can You Continue Running an Aquarium Without a UV Sterilizer?
Yes. A UV sterilizer is generally an optional supplementary component rather than an essential requirement for every aquarium.
Many healthy aquariums operate successfully without UV sterilization.
A properly established aquarium relies on several fundamental systems:
-
Biological filtration.
-
Mechanical filtration.
-
Appropriate water circulation.
-
Stable water temperature.
-
Balanced lighting.
-
Controlled feeding.
-
Regular water changes.
-
Consistent water-quality monitoring.
A UV sterilizer can provide additional water treatment benefits, but it cannot replace these basic requirements.
If your UV sterilizer stops working, the first priority should be maintaining stable aquarium conditions.
Monitor your fish for unusual behavior, maintain adequate filtration, and avoid making unnecessary changes to water chemistry.
If the aquarium has an ongoing disease problem, remember that UV sterilization does not treat infections inside fish or eliminate organisms attached to aquarium surfaces.
Appropriate diagnosis and treatment are still necessary.
For valuable fish collections or systems with specific disease-management requirements, consult an experienced aquatic veterinarian or qualified aquarium professional.
19. Important Safety Precautions When Repairing a UV Sterilizer
UV sterilizers contain electrical components and potentially hazardous ultraviolet radiation.
Safe handling is essential whenever you inspect, clean, or repair the equipment.
Never Look Directly at an Operating UV-C Lamp
Direct exposure to UV-C radiation can damage the eyes and skin.
Never operate a sterilizer with its protective housing or shielding removed.
Disconnect Electricity Before Maintenance
Always disconnect the power supply before opening the housing, replacing the lamp, or cleaning internal components.
Allow the Lamp to Cool
UV lamps can become hot during operation.
Wait until the equipment has cooled before handling internal components.
Avoid Touching the Lamp With Bare Hands
Some lamp manufacturers recommend avoiding direct contact with the glass surface.
Follow the manufacturer's handling instructions and use clean gloves when appropriate.
Never Operate a Leaking Unit
Water leakage around electrical equipment creates a serious safety hazard.
Stop operation immediately and repair the problem before reconnecting power.
Use Compatible Replacement Parts
Incorrect lamps, ballasts, seals, and quartz sleeves can compromise both safety and performance.
Choose components designed for the exact sterilizer model.
Do Not Bypass Safety Features
Automatic shutdown systems, protective switches, and other safety mechanisms should never be disabled to force the unit to operate.
20. Frequently Asked Questions About Aquarium UV Sterilizer Problems
Q1: Why Is My Aquarium UV Sterilizer Not Turning On?
The most common causes include a disconnected power supply, damaged power cord, failed UV lamp, defective ballast, or loose electrical connections.
Start by checking the external power supply. If the outlet works but the lamp remains off, the lamp or ballast may require replacement.
Always disconnect electricity before inspecting internal components.
Q2: Why Is My UV Sterilizer Light On but My Aquarium Water Still Green?
A glowing lamp does not necessarily mean that the sterilizer is producing sufficient UV-C output.
Possible causes include an aging lamp, dirty quartz sleeve, excessive water flow, undersized equipment, or inadequate aquarium circulation.
Check these factors before assuming the sterilizer itself is defective.
Also remember that UV sterilizers primarily target free-floating algae, not algae attached to glass, plants, rocks, or decorations.
Q3: How Long Does an Aquarium UV Sterilizer Lamp Last?
Lamp life varies by technology and manufacturer.
Many conventional low-pressure UV-C lamps have recommended replacement intervals around 6,000 to 9,000 operating hours.
However, always follow the specific replacement schedule provided for your equipment.
Q4: Can I Clean the Quartz Sleeve Without Replacing It?
Yes, provided the quartz sleeve is structurally intact.
Mineral deposits and biofilm can often be removed using an appropriate nonabrasive cleaning method.
However, cracked, chipped, or seriously damaged sleeves should be replaced.
Q5: Does a Higher Water Flow Rate Improve UV Sterilization?
Not necessarily.
Higher flow rates reduce the time water spends inside the sterilization chamber.
If the water moves too quickly, microorganisms may receive an insufficient UV dose.
The correct flow rate depends on the sterilizer's specifications and intended treatment application.
Q6: Can a UV Sterilizer Kill All Fish Diseases?
No.
A UV sterilizer can affect susceptible microorganisms passing through the treatment chamber, but it cannot eliminate every fish pathogen.
It does not directly treat infections inside fish, organisms attached to surfaces, or pathogens that remain outside the water circulation system.
It should be considered a supplementary water-treatment tool, not a replacement for proper disease diagnosis and treatment.
Q7: Should I Turn Off My UV Sterilizer During Aquarium Maintenance?
It depends on the maintenance task and the equipment manufacturer's instructions.
The sterilizer should always be switched off and disconnected before opening the unit, replacing a lamp, or cleaning internal components.
During certain aquarium treatments, manufacturers of medications may recommend temporarily disabling UV sterilization because UV-C exposure can affect some treatment compounds.
Always follow medication instructions and consult a qualified aquatic professional when necessary.
Q8: Why Does My UV Sterilizer Keep Leaking?
Common causes include worn O-rings, incorrectly installed seals, loose fittings, cracked quartz sleeves, or damaged housings.
Stop the unit immediately and disconnect electrical power safely.
Replace damaged components and verify that the system is watertight before returning it to service.
Q9: Is It Normal for a UV Sterilizer to Become Warm?
Some warmth is normal during operation.
However, excessive heat, burning odors, repeated shutdowns, or unusually hot electrical components indicate a possible fault.
Stop operating the equipment and have it inspected.
Q10: Does a UV Sterilizer Need to Run 24 Hours a Day?
Operating schedules depend on the aquarium system, equipment design, and treatment objectives.
Some aquarium systems operate UV sterilizers continuously, while others use specific schedules.
For consistent operation, follow the manufacturer's recommendations and maintain the required flow rate.
Conclusion
An aquarium UV sterilizer that stops working does not always need to be replaced.
In many cases, the underlying problem is relatively simple: an aging UV lamp, dirty quartz sleeve, blocked water inlet, weak pump, damaged seal, or incorrect flow rate.
The key is to identify the cause before replacing parts unnecessarily.
Start with the power supply, inspect the lamp and ballast, verify water circulation, and check the quartz sleeve for mineral deposits or physical damage. If the sterilizer operates normally but produces disappointing results, evaluate its UV-C output, water flow rate, equipment capacity, and overall aquarium conditions.
Most importantly, establish a regular preventive maintenance schedule. Cleaning the quartz sleeve, replacing lamps at the recommended intervals, inspecting seals, and maintaining proper water circulation can significantly improve the reliability of your UV sterilization system.
A well-maintained UV sterilizer can be a valuable part of a complete aquarium water-management system. By understanding how the equipment works and recognizing common warning signs early, aquarium owners can reduce unexpected failures, protect their equipment investment, and maintain a healthier environment for their fish.
Reliable aquarium care begins with properly maintained equipment, consistent water-quality monitoring, and a balanced approach to filtration and water treatment.