
How to Hook Up a UV Sterilizer to Your Canister Filter (Without Losing Your Mind)
Alright, let’s talk about one of the most badass combos in the fishkeeping world: pairing a UV sterilizer with your canister filter. If you’re here, you probably already know UV sterilizers are like the secret service of your aquarium—silently nuking algae, parasites, and bacteria before they wreck your underwater utopia. But connecting one to a canister filter? That’s where things get spicy.
Don’t sweat it, though. I’ve messed this up enough times to write a novel about it. Let’s break it down step by step—no jargon, no fluff, just straight-up “how-to” for regular humans. Grab a snack, and let’s dive in.
Part 1: Why Bother with UV + Canister Filters?
(Spoiler: It’s Not Just for Flexing)
First off, UV sterilizers aren’t magic wands. They’re like bouncers at a club: water flows through them, UV-C light zaps the nasties, and boom—cleaner water. But to work their magic, they need flow. That’s where your canister filter comes in. It’s already moving water like a champ, so why not hitch a UV sterilizer to that flow?
Benefits? Oh, just:
Crystal-clear water (goodbye, green soup tanks)
Fewer fish diseases (no more “mystery deaths”)
Less algae drama (your glass won’t look like a chia pet)
But here’s the kicker: if you hook it up wrong, you’ll either fry the UV bulb, murder your flow rate, or turn your filter into a leaky mess. Let’s avoid that.
Part 2: Stuff You’ll Need
(Amazon List, But Make It Practical)
Before you start playing plumber, gather these:
UV sterilizer unit: Get one rated for your tank size. Pro tip: Go one size up. (If you’ve got a 50-gallon tank, buy the 75-gallon model. Trust me.)
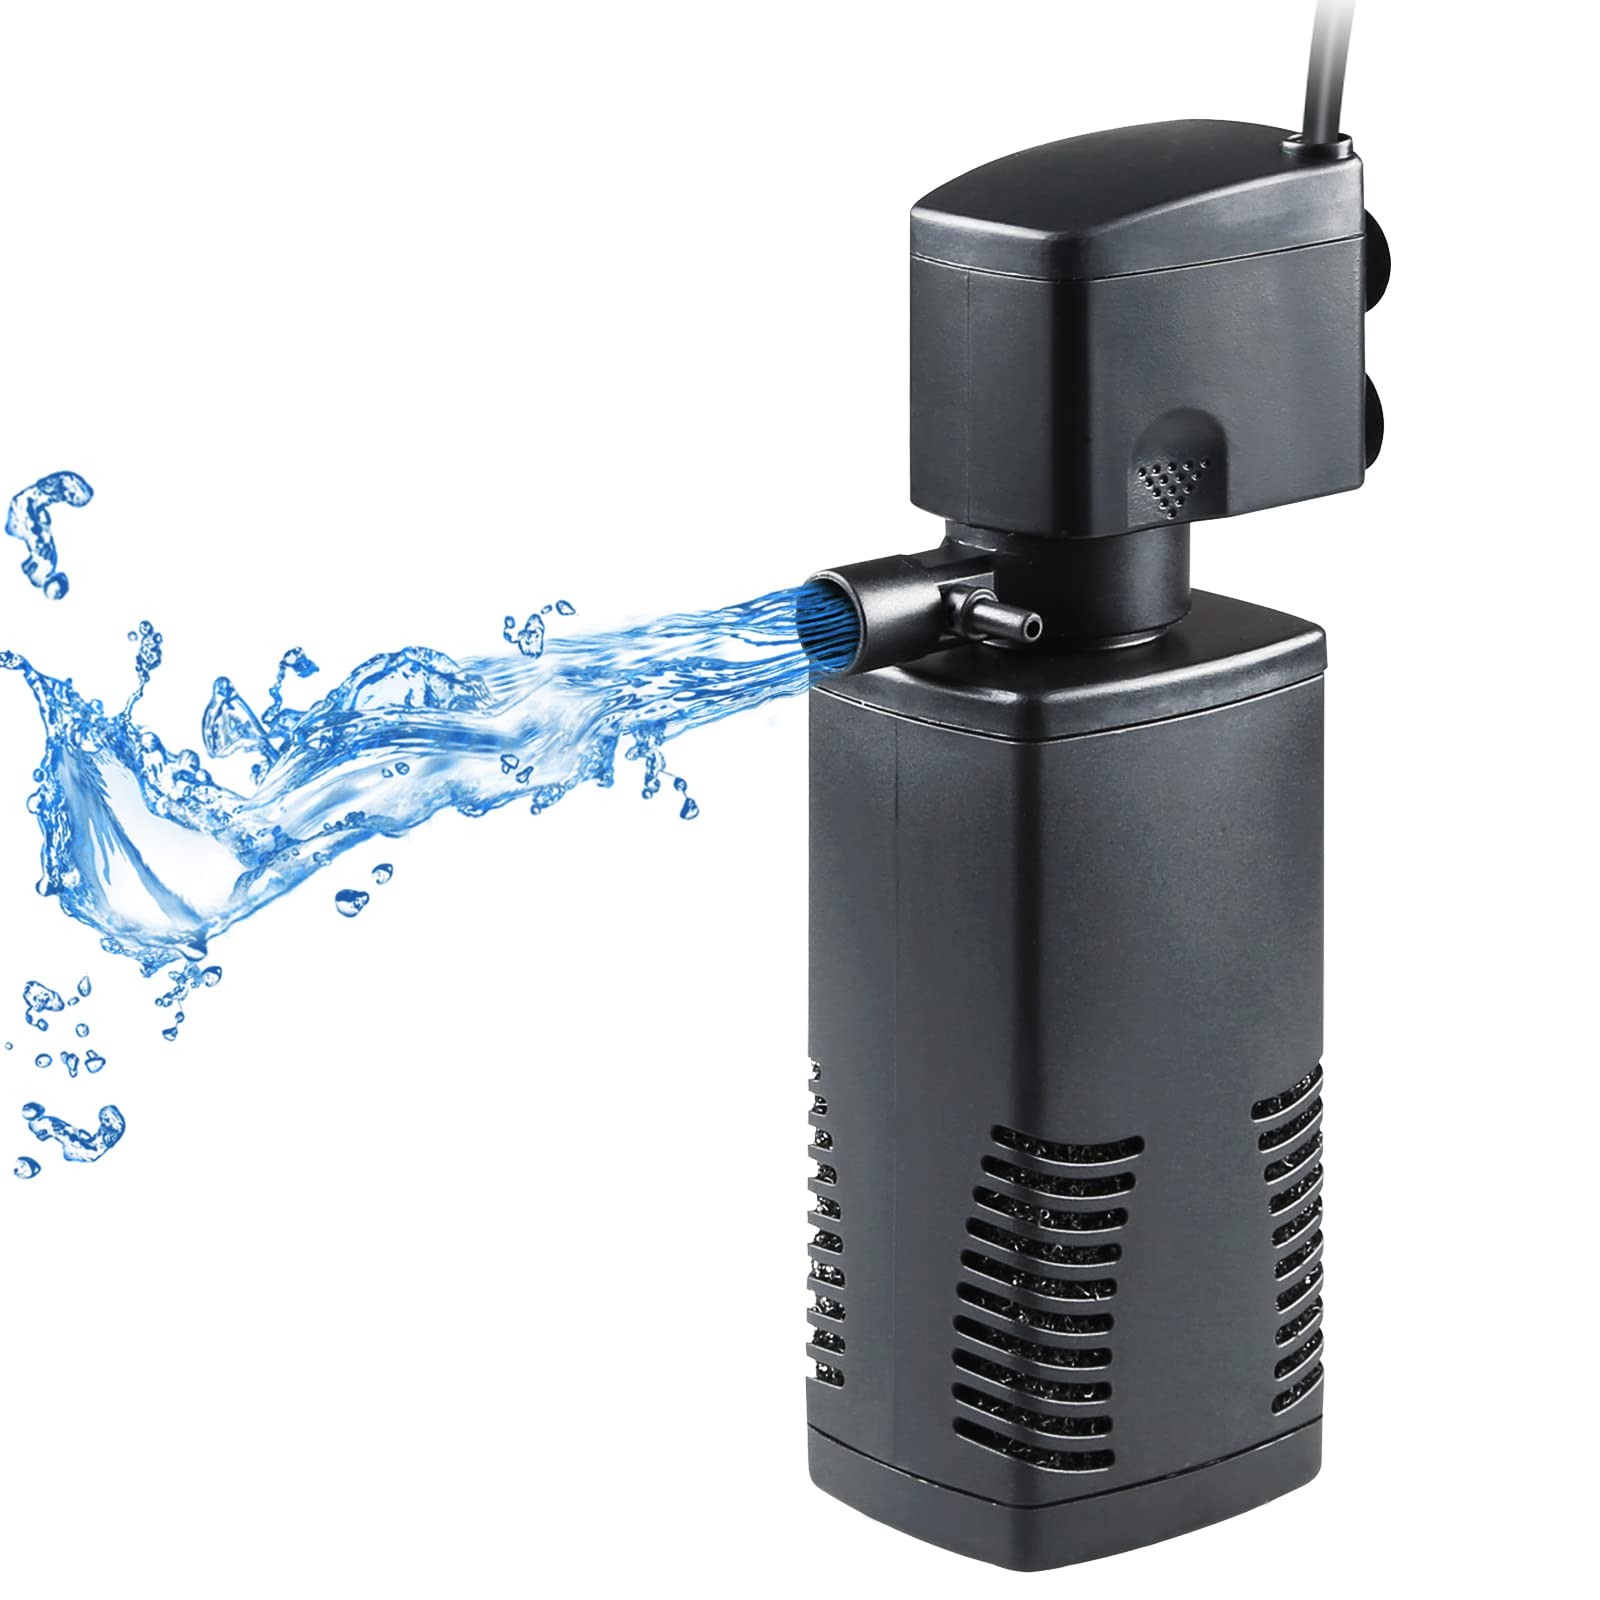
Canister filter: Duh. Fluval, OASE, Eheim—whatever you’ve got.
Plumbing connectors: Hoses, clamps, maybe a couple adapters. Check the diameters! (Your UV’s input/output needs to match your filter’s hoses.)
Zip ties or hose clips: For securing loose tubing. Nobody wants a hose explosion.
Teflon tape: For leak-proofing connections.
A towel: Because water will spill. You’ve been warned.
Part 3: The Step-by-Step Guide
(Or: “How I Stopped My Filter from Sounding Like a Jet Engine”)
Step 0: Turn Everything Off. Seriously.
Unplug the filter. Drain the canister if needed. You’re not trying to get electrocuted today.
Step 1: Map the Flow
Your canister filter has an outflow (shoots clean water back into the tank) and an inflow (sucks dirty water out). The UV sterilizer needs to sit between these. Most folks plug it into the outflow side, so filtered-but-unsterilized water passes through the UV before returning to the tank.
Why? Because your filter’s media (sponges, bio balls) can’t handle getting zapped by UV. It’ll kill the good bacteria. Keep the UV after the filter.
Step 2: Cut the Hose (Carefully)
Find the outflow hose from your canister filter. Measure where you’ll splice in the UV unit. Mark it with a Sharpie, then cut the hose with tubing scissors (or a razor blade—just don’t saw your finger off).
Step 3: Connect the Dots
Slap the UV sterilizer’s input hose onto the cut end of the filter’s outflow. Use hose clamps or push-fit connectors. Wrap threads with Teflon tape to prevent leaks. Repeat for the UV’s output hose, connecting it back to the tubing that leads to your tank.
Step 4: Secure Everything
Zip tie loose hoses to the filter or stand. Avoid kinks! A bent hose = reduced flow = sad UV performance.
Step 5: Test for Leaks (AKA The Moment of Truth)
Fill the canister filter, plug it back in, and let ‘er rip. Check every connection for drips. If you spot a leak, power off, dry the area, and re-wrap with Teflon tape. Repeat until your floor isn’t a swimming pool.
Step 6: Set the Flow Rate
UV sterilizers work best at a specific flow rate (check the manual). Too fast? The water won’t get enough UV exposure. Too slow? You’ll cook the bulb. Adjust your canister filter’s flow valve if needed, or add a bypass valve to the UV unit.
Part 4: Common Screw-Ups (And How to Fix Them)
Problem 1: “My UV Light Keeps Burning Out!”
Cause: You’re running it 24/7. UV bulbs have a lifespan (usually 6-12 months). Use a timer—6-8 hours a day is plenty.
Fix: Buy a backup bulb. Rotate them yearly.
Problem 2: “Water’s Still Green, Bro”
Cause: Your flow rate’s too high. The water’s blasting past the UV too fast to get zapped.
Fix: Crank down the flow or get a bigger UV unit.
Problem 3: “My Filter’s Making a Gurgling Noise”
Cause: Air trapped in the UV chamber or hoses.
Fix: Tilt the sterilizer to burp out bubbles. Prime the canister filter again.
Part 5: Pro Tips They Don’t Tell You
Clean the Quartz Sleeve: Gunk builds up on the UV bulb’s sleeve. Soak it in vinegar every 3 months.
Skip the Cheap UV Units: Amazon’s $30 “sterilizers” are often junk.
Don’t UV Everything: If you’re dosing meds or liquid fertilizers, turn the UV off. It’ll break down chemic


1 comment
Mark Anderson
How to slow down flow speed on coospider 800 model. Recommendations please.