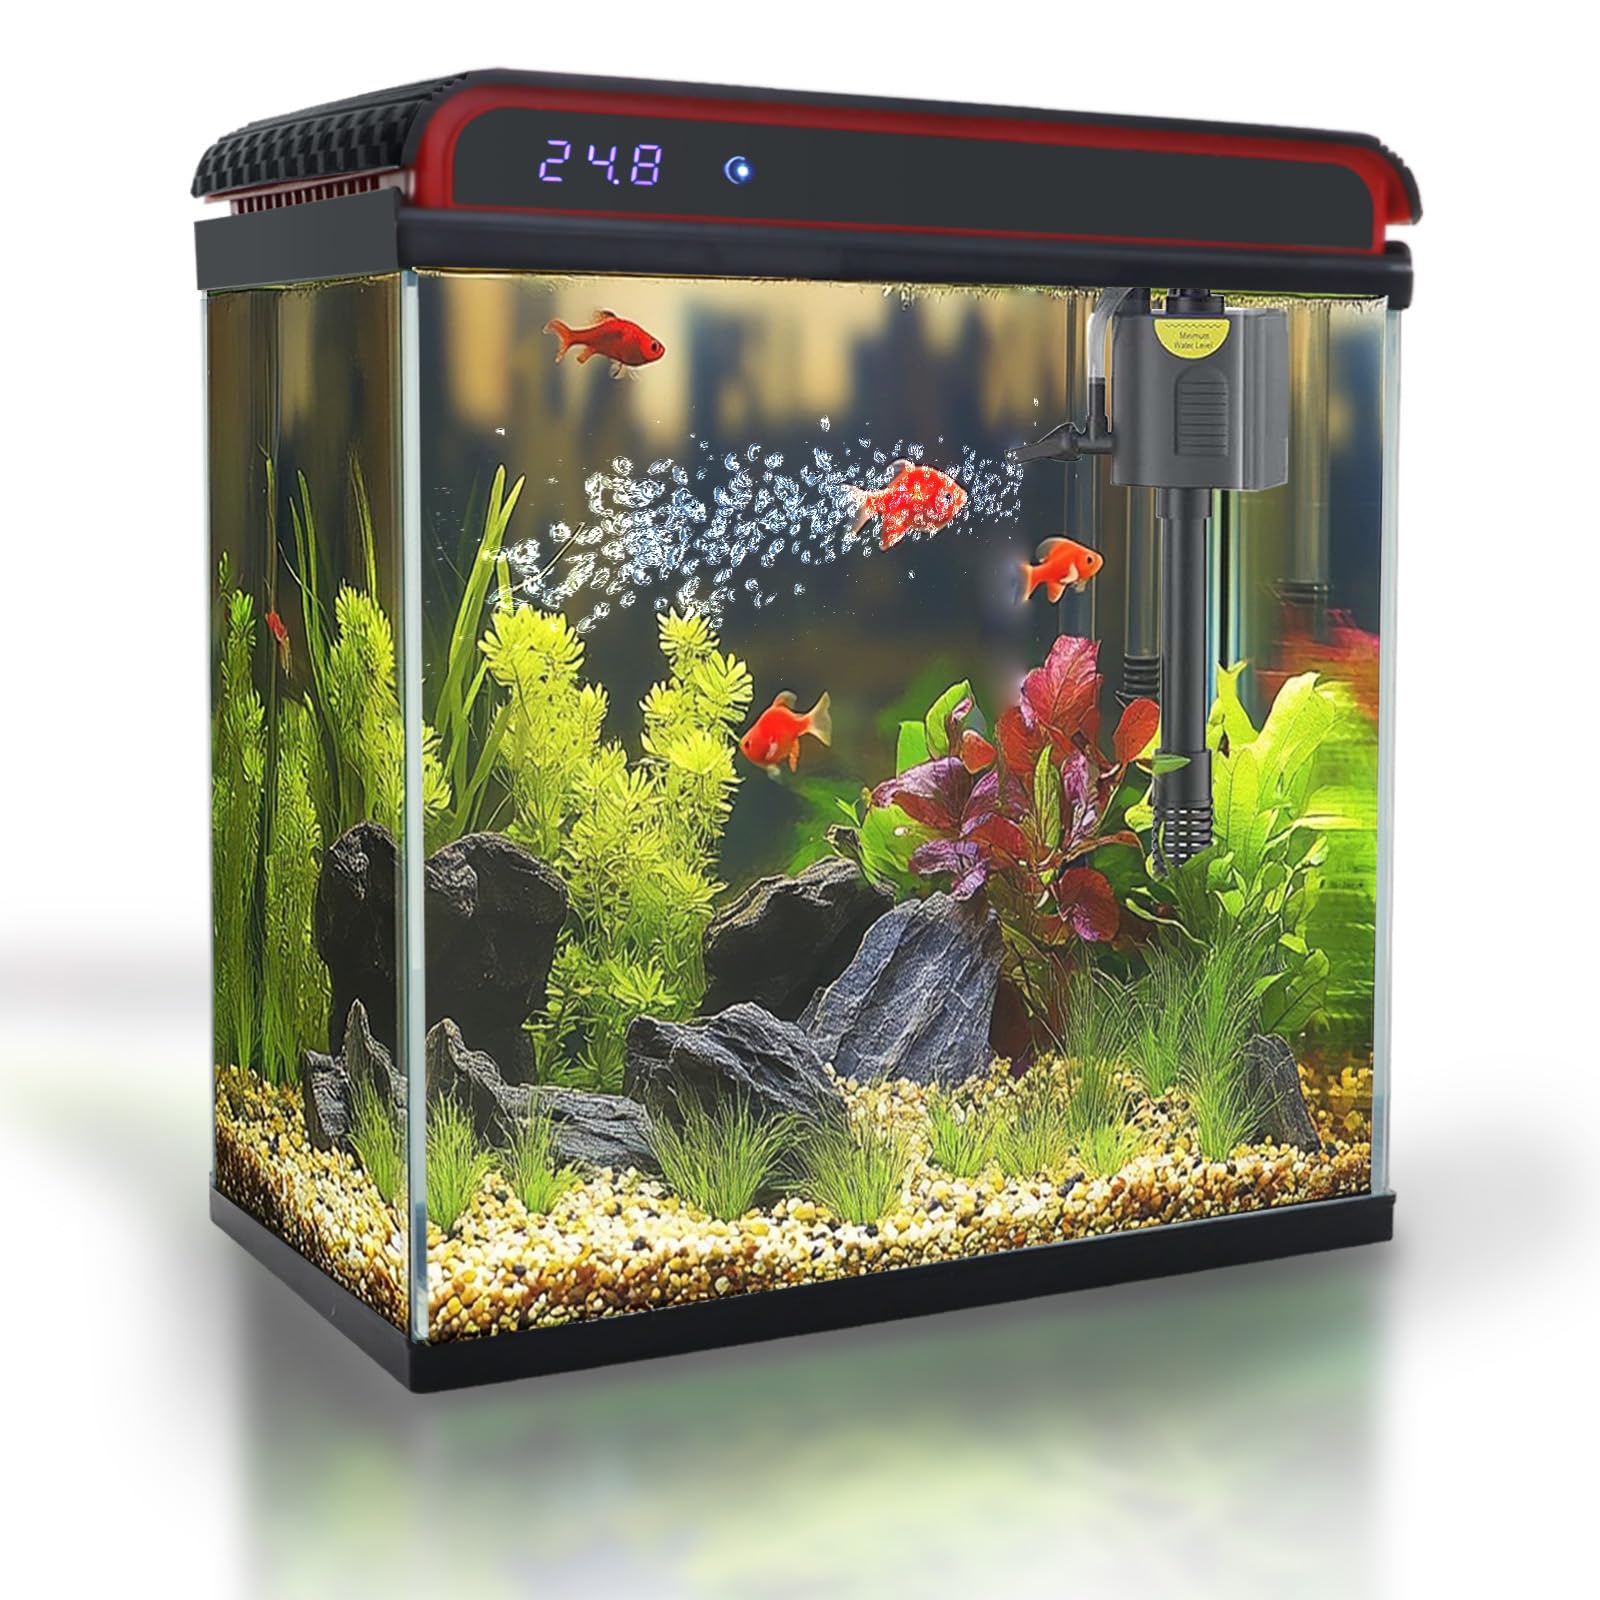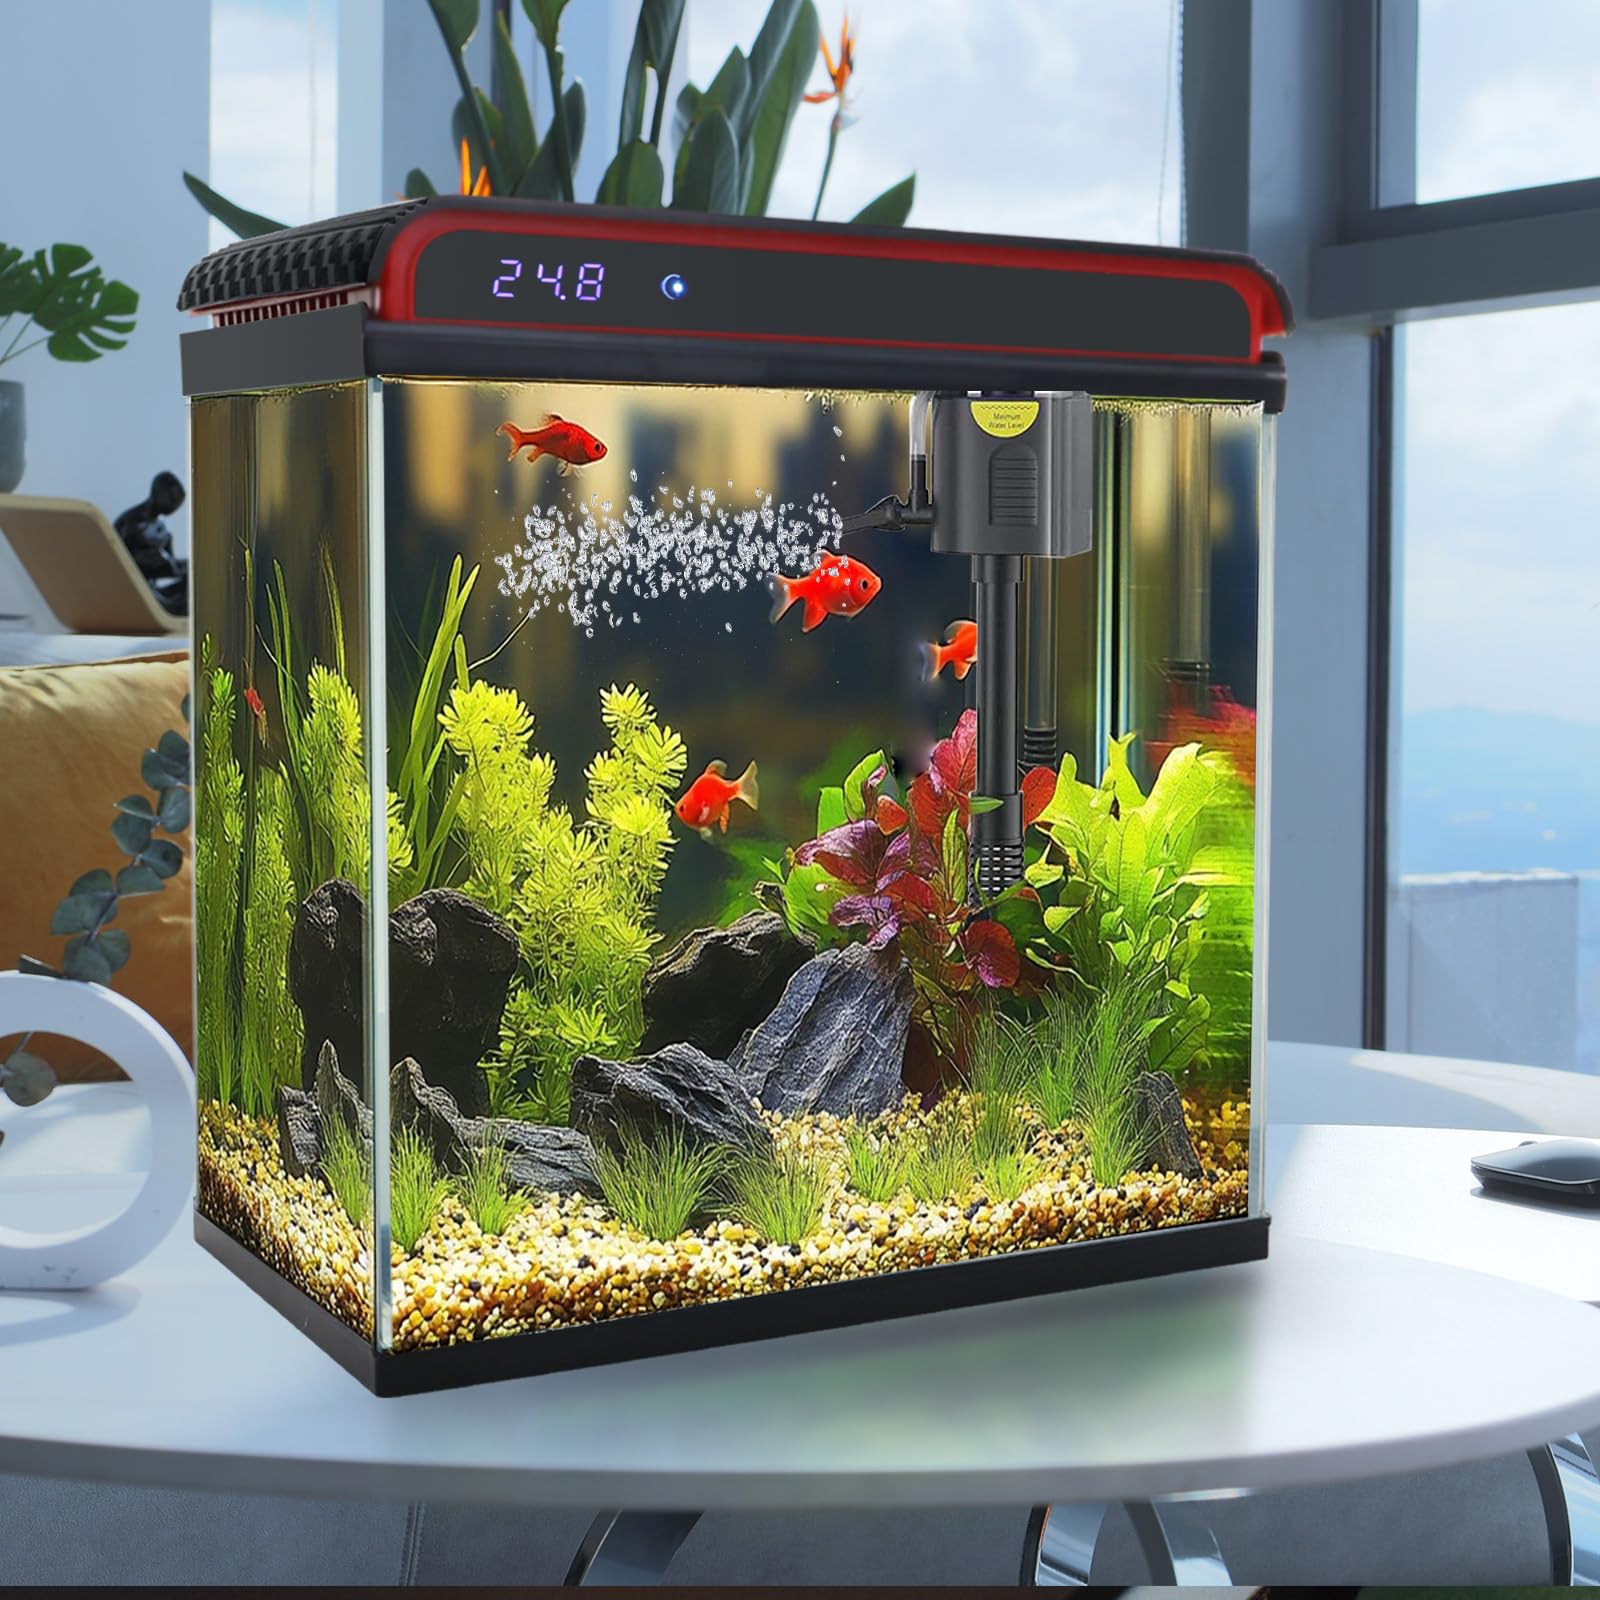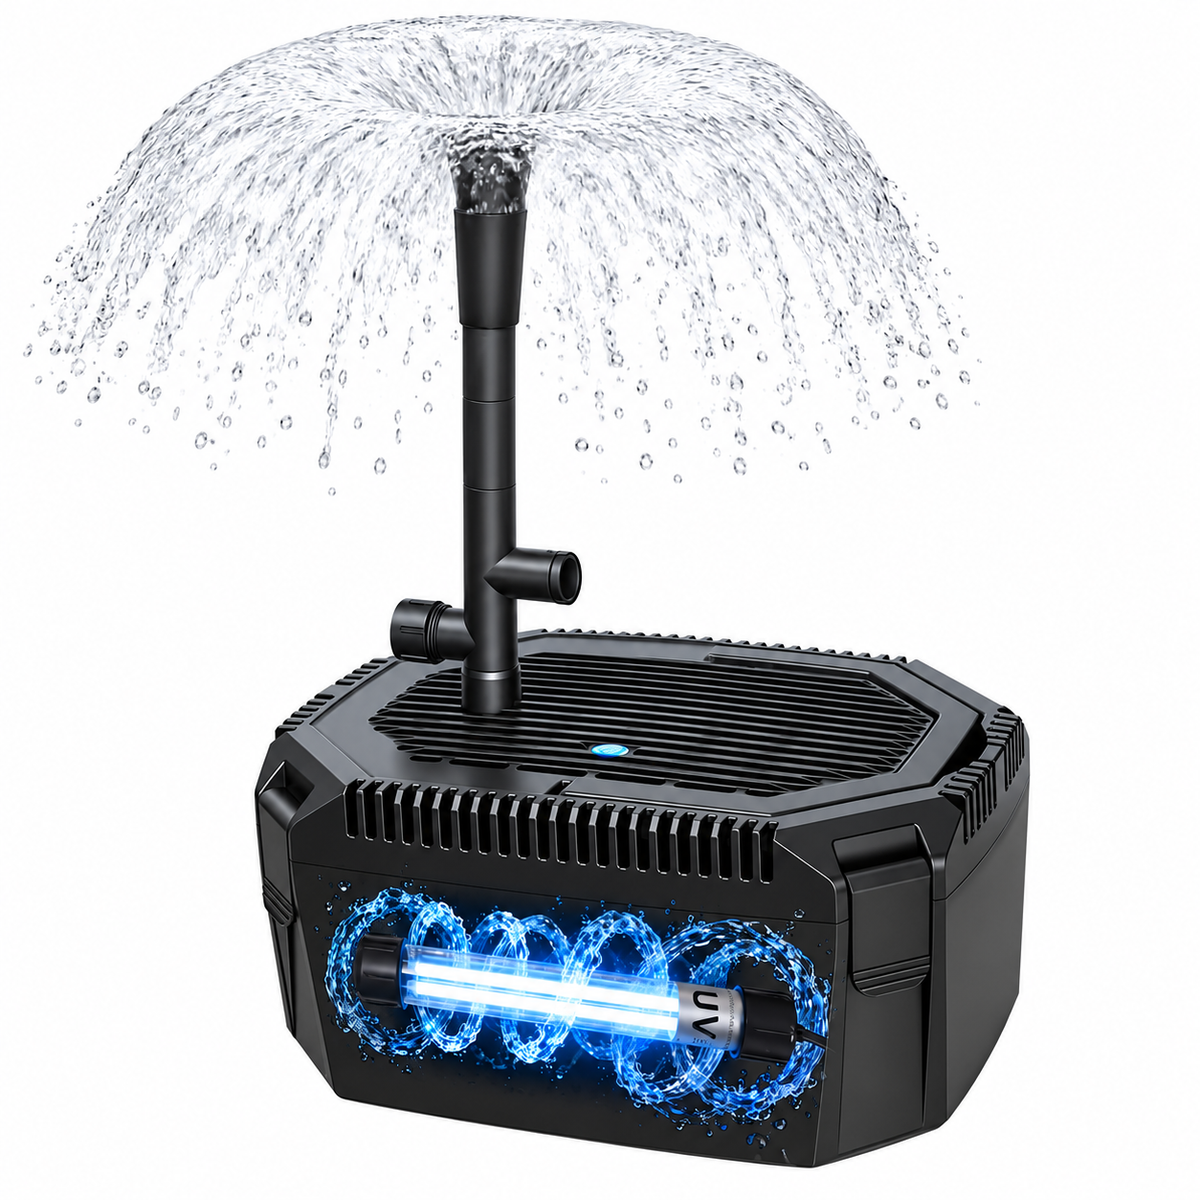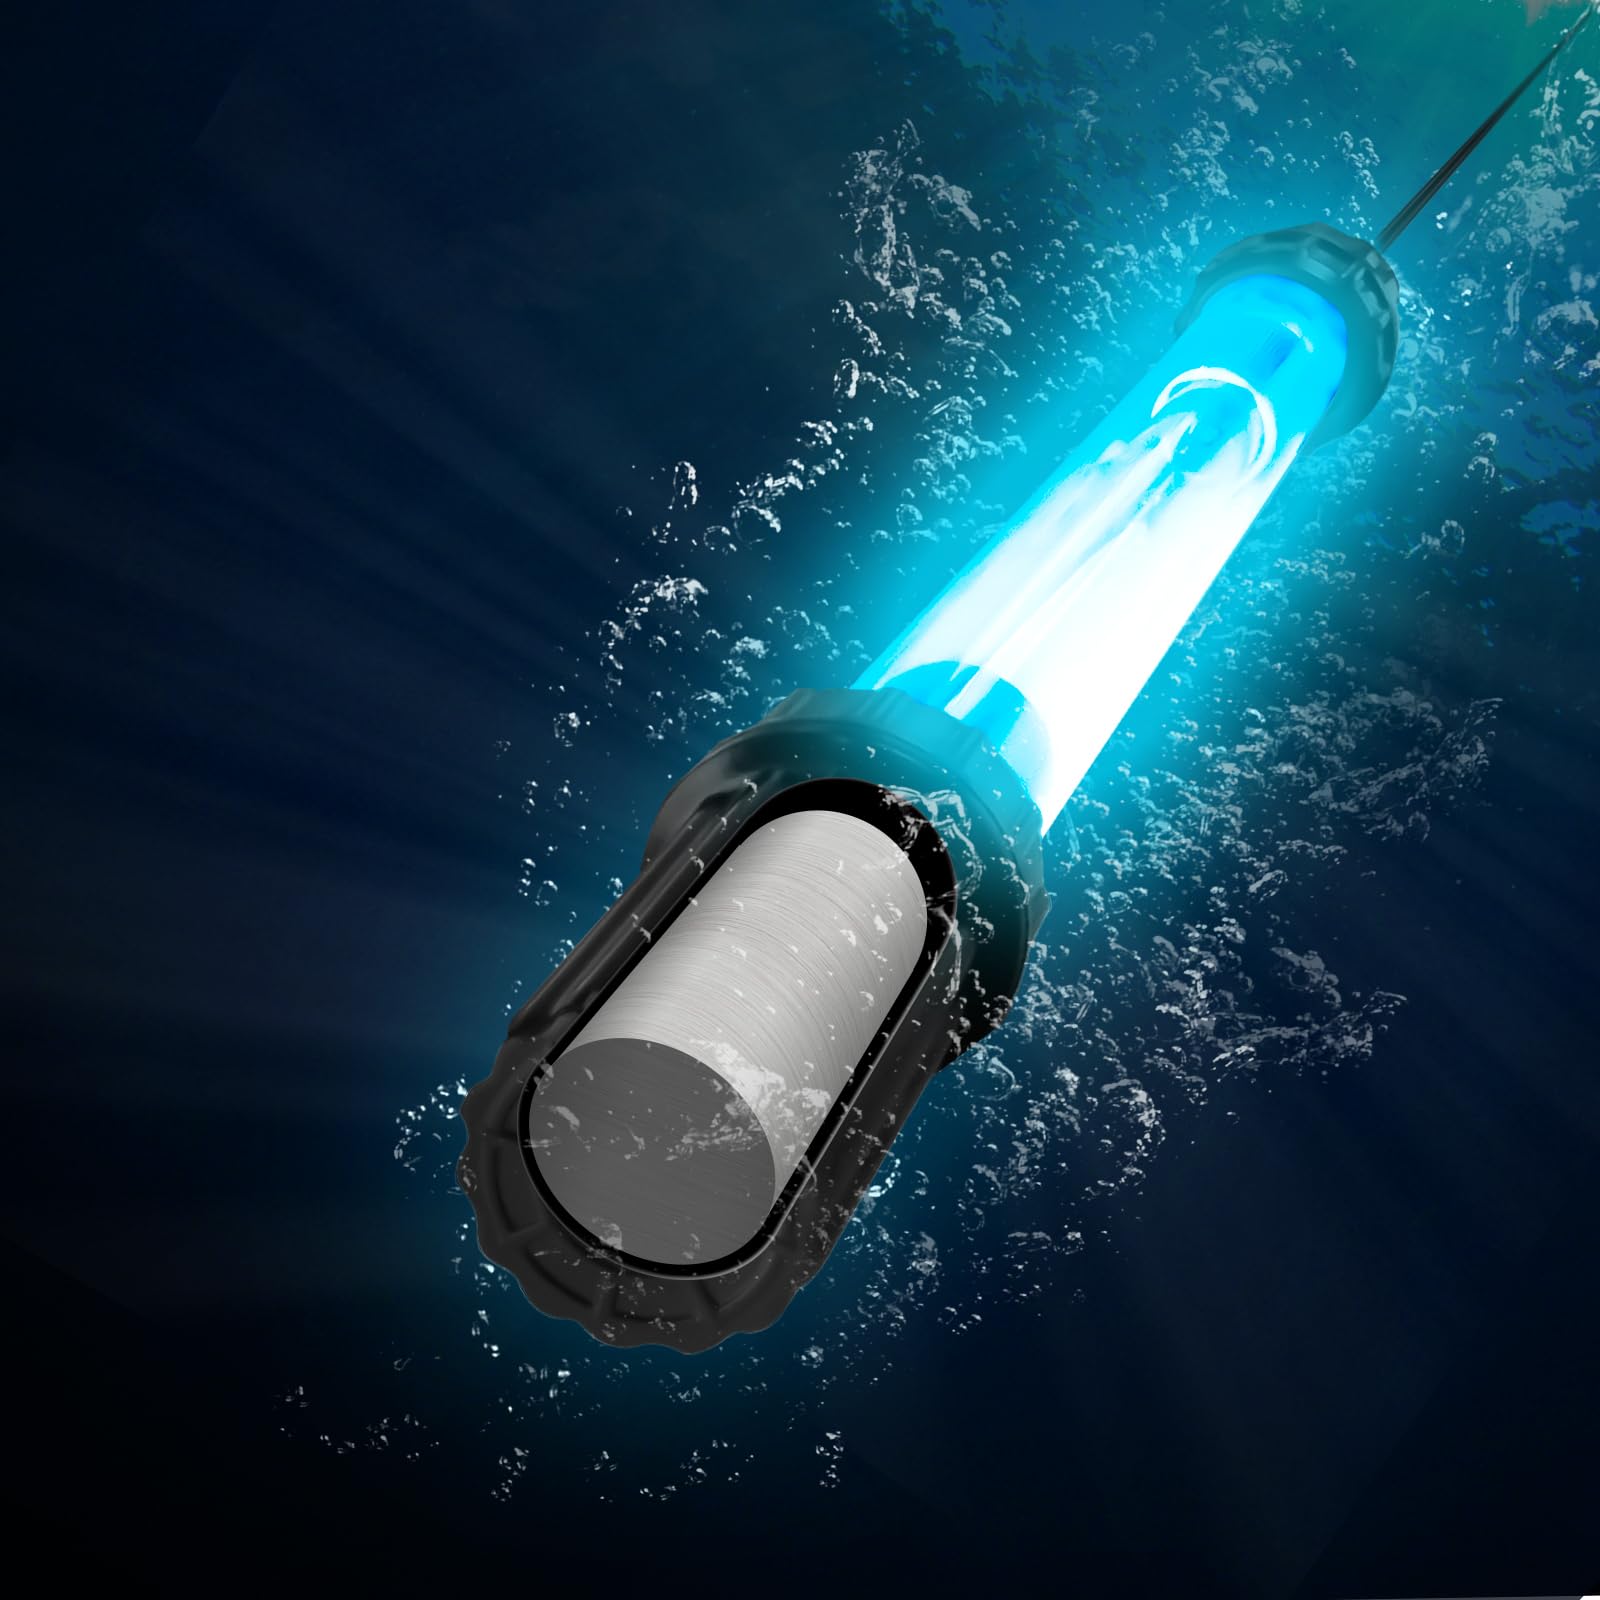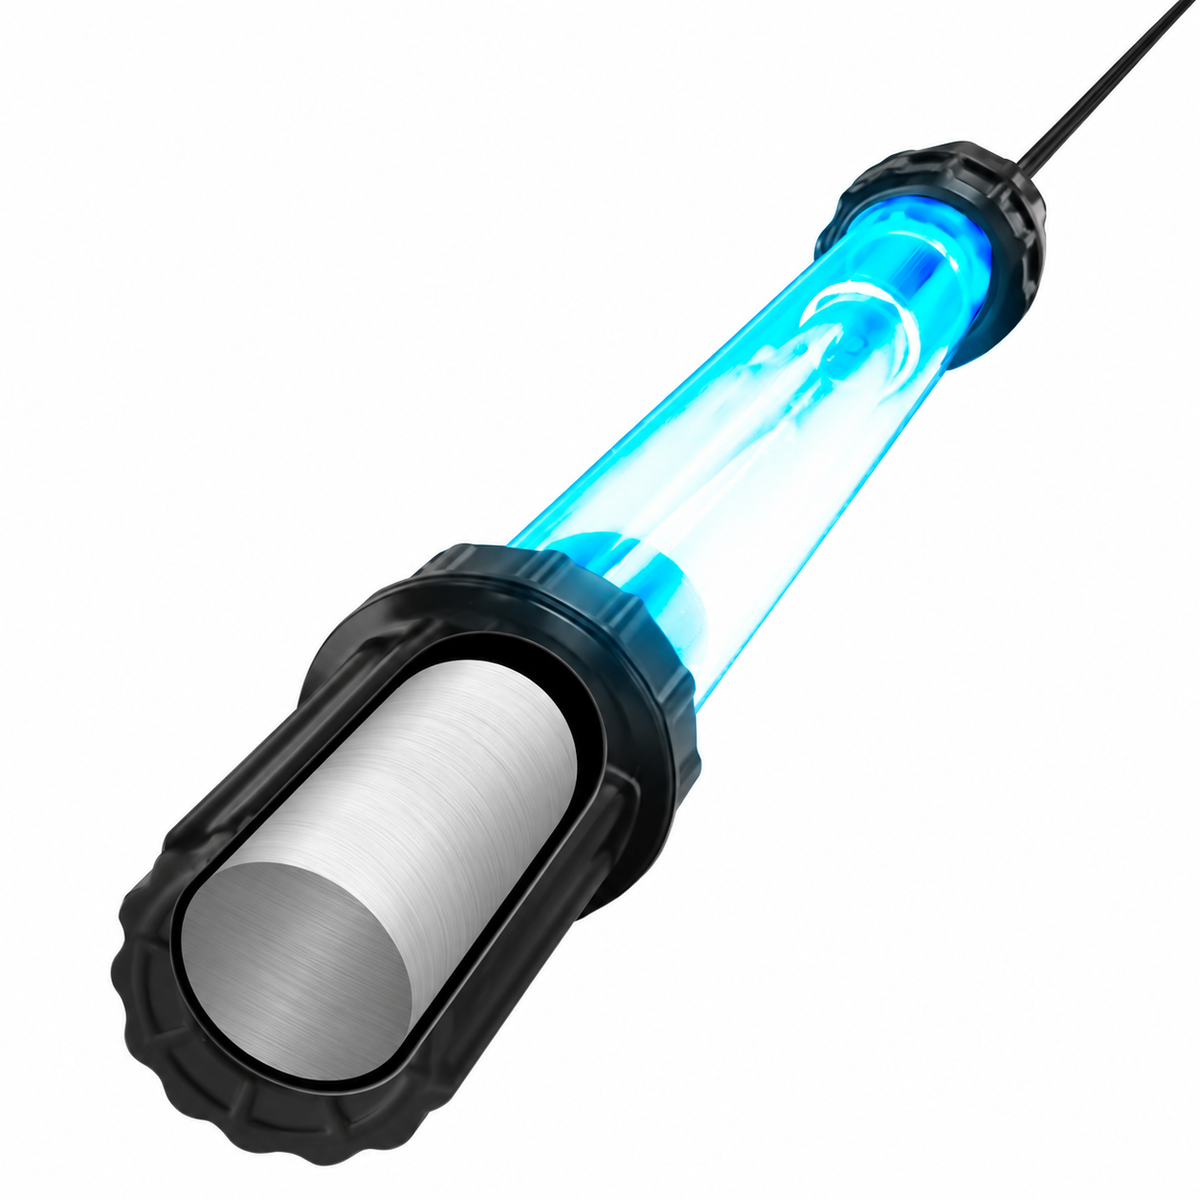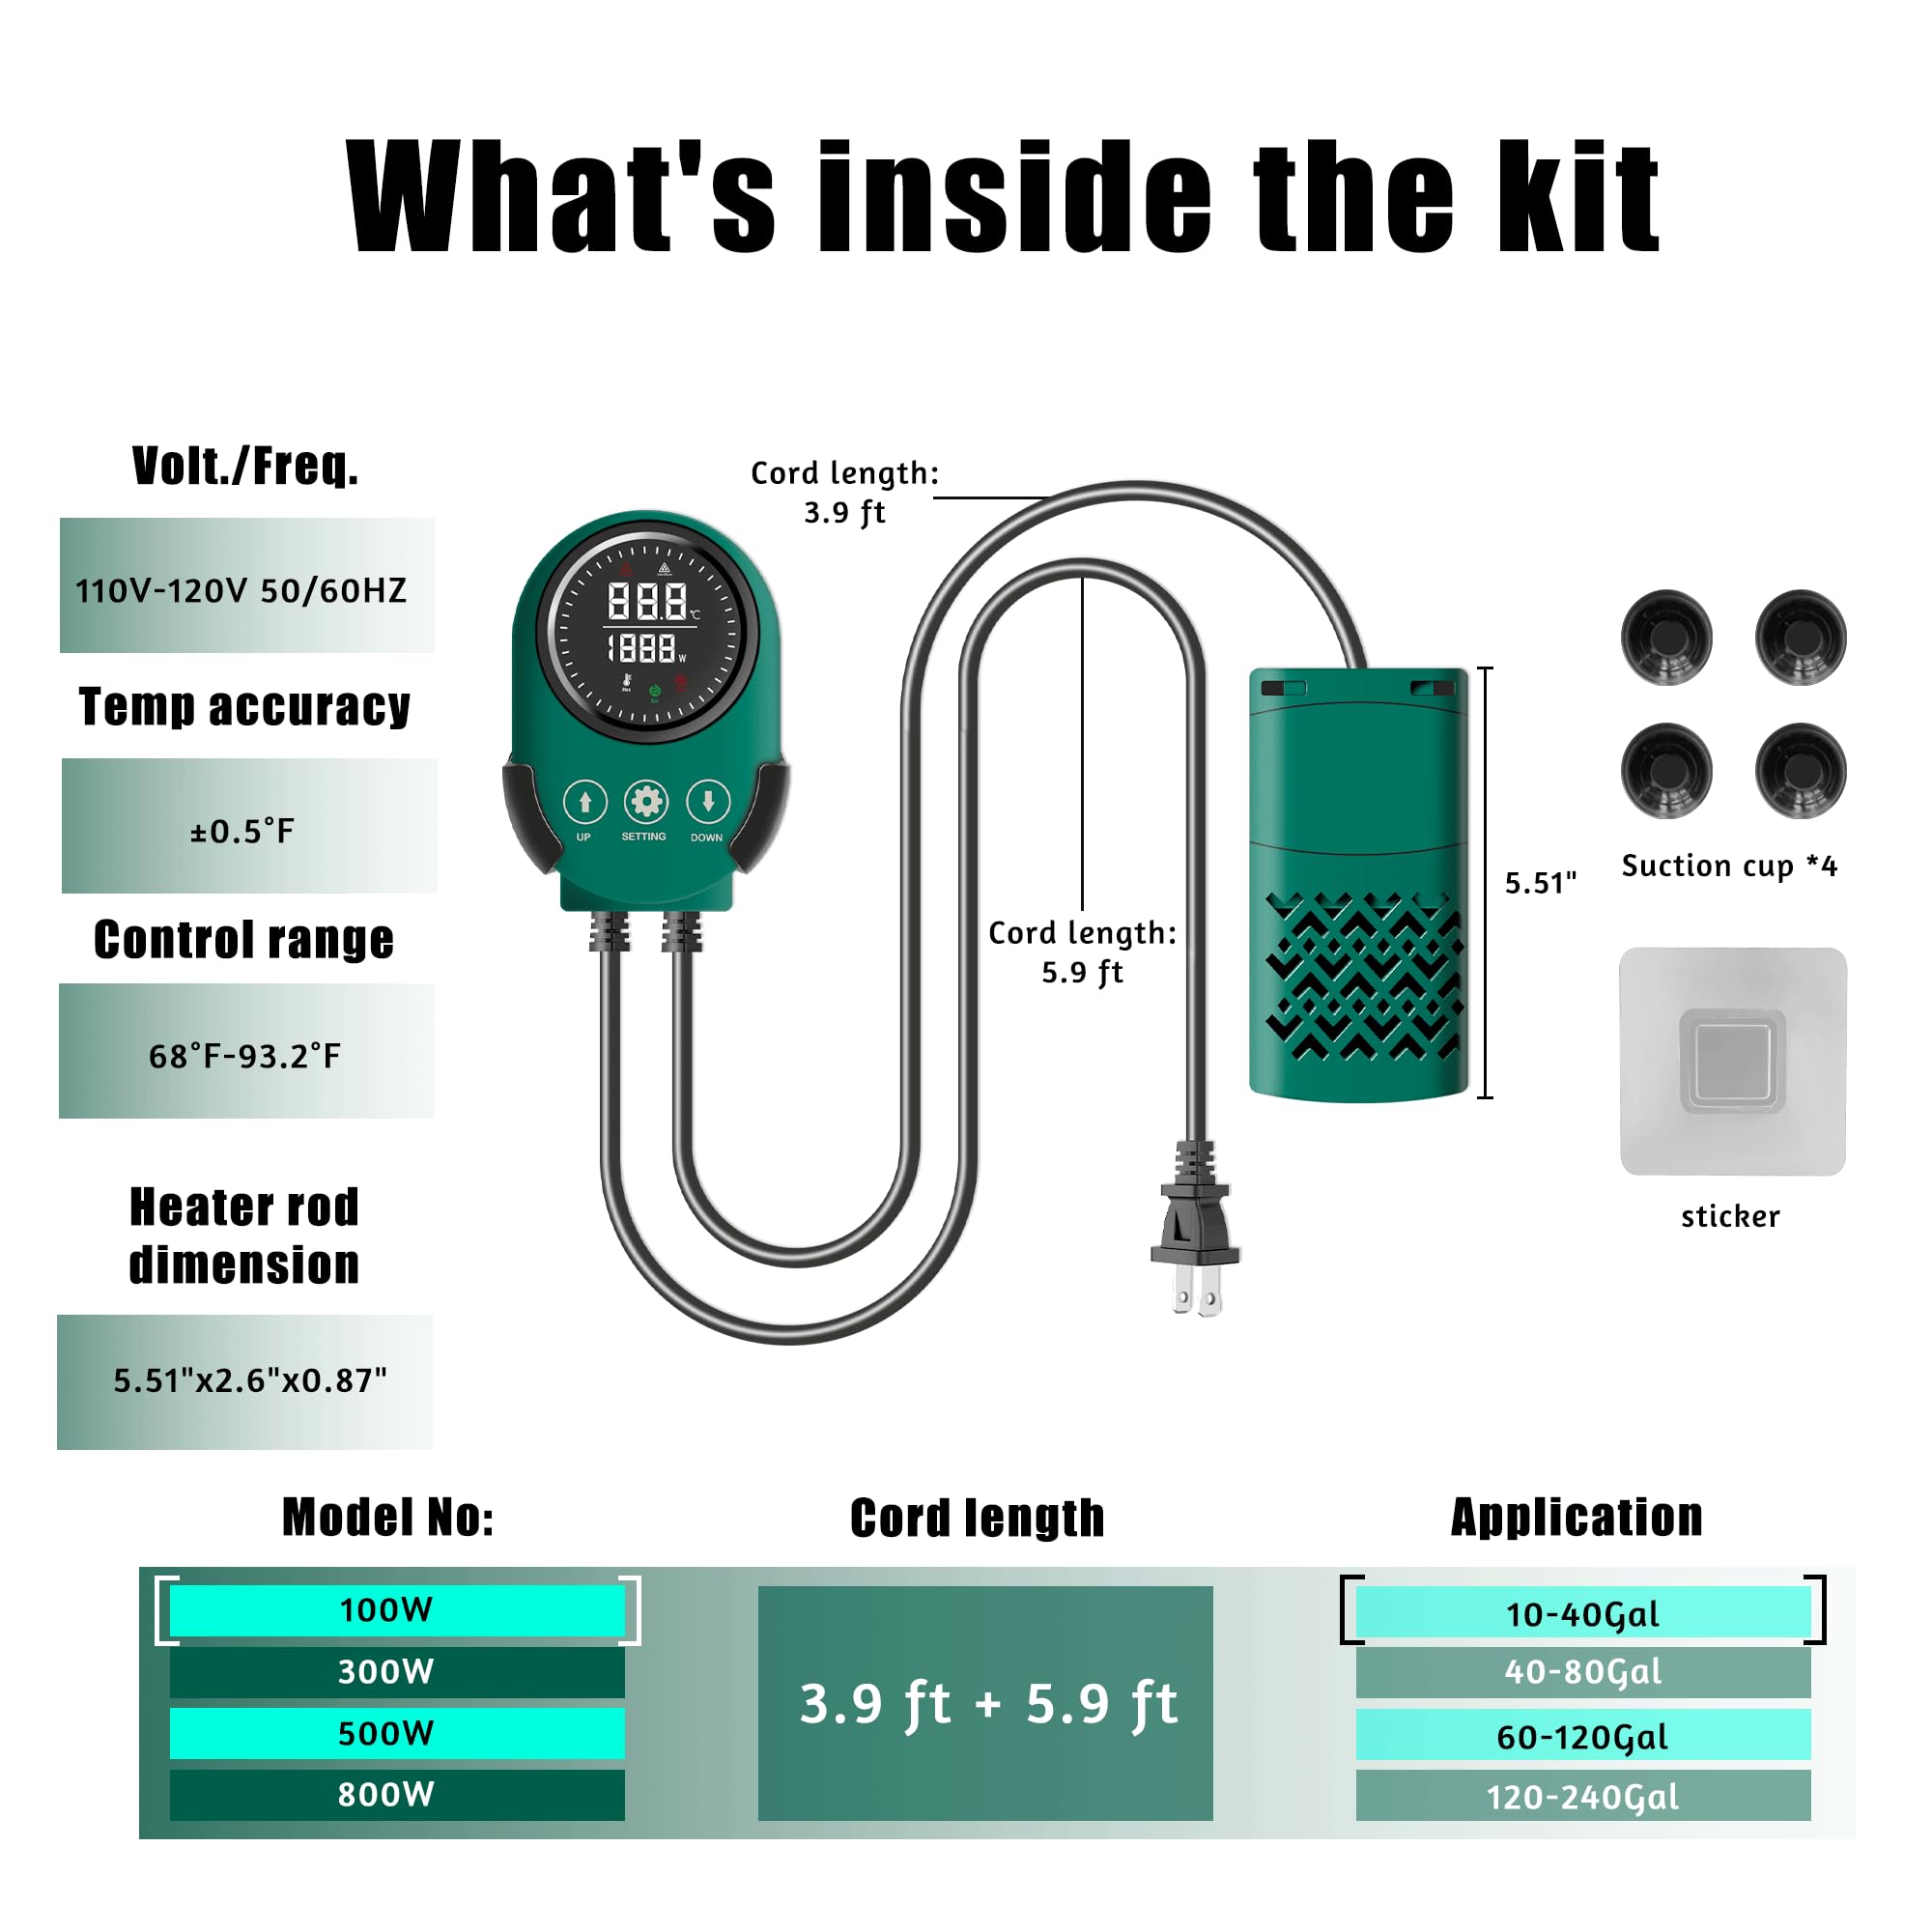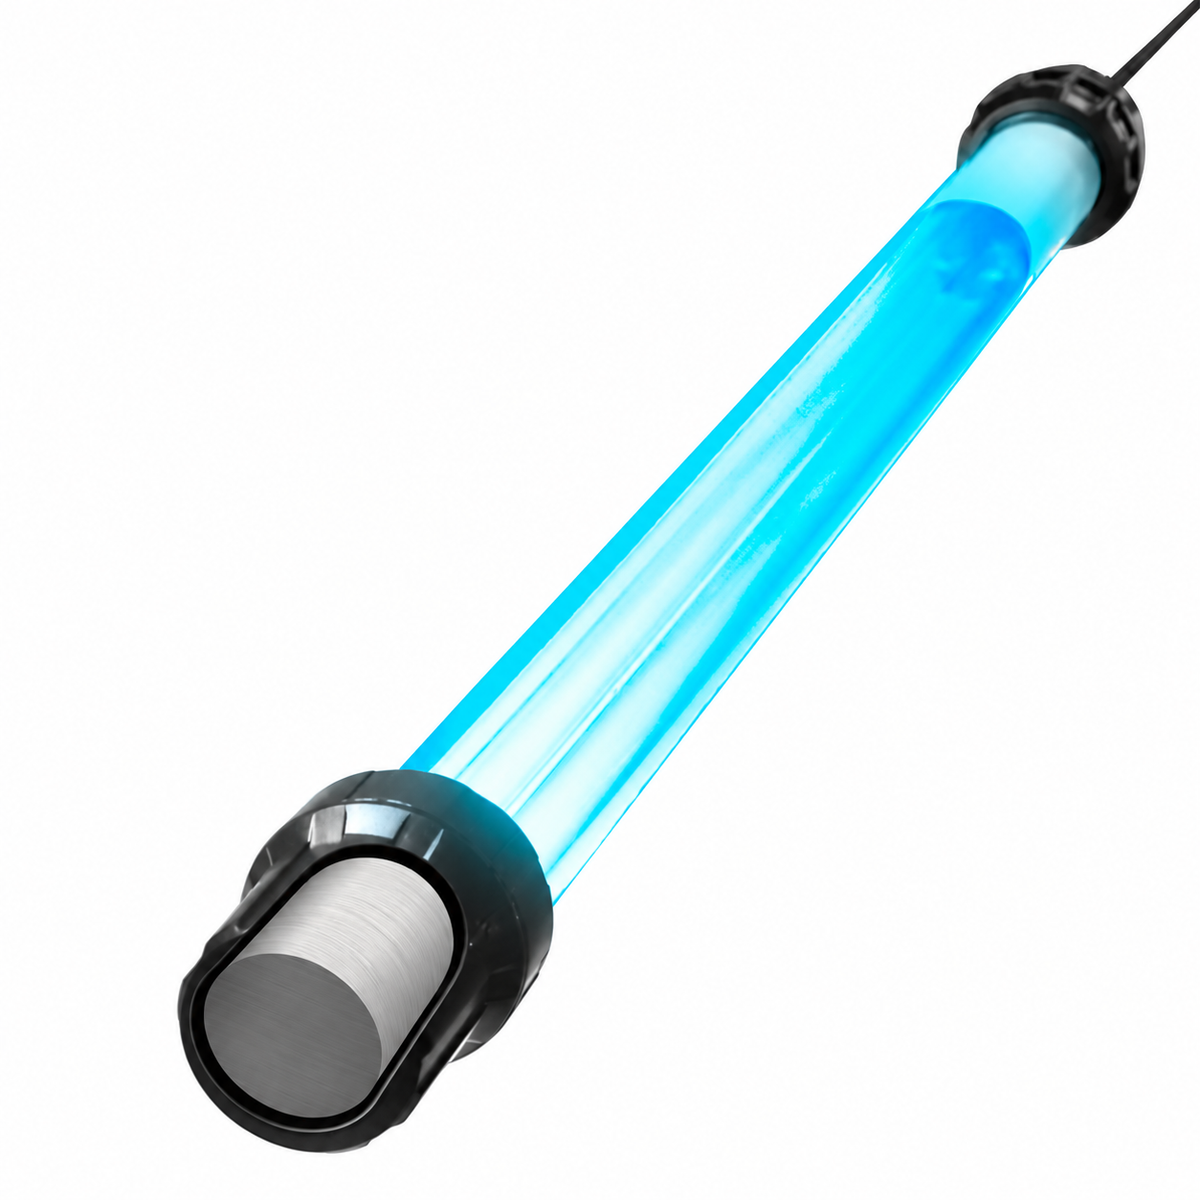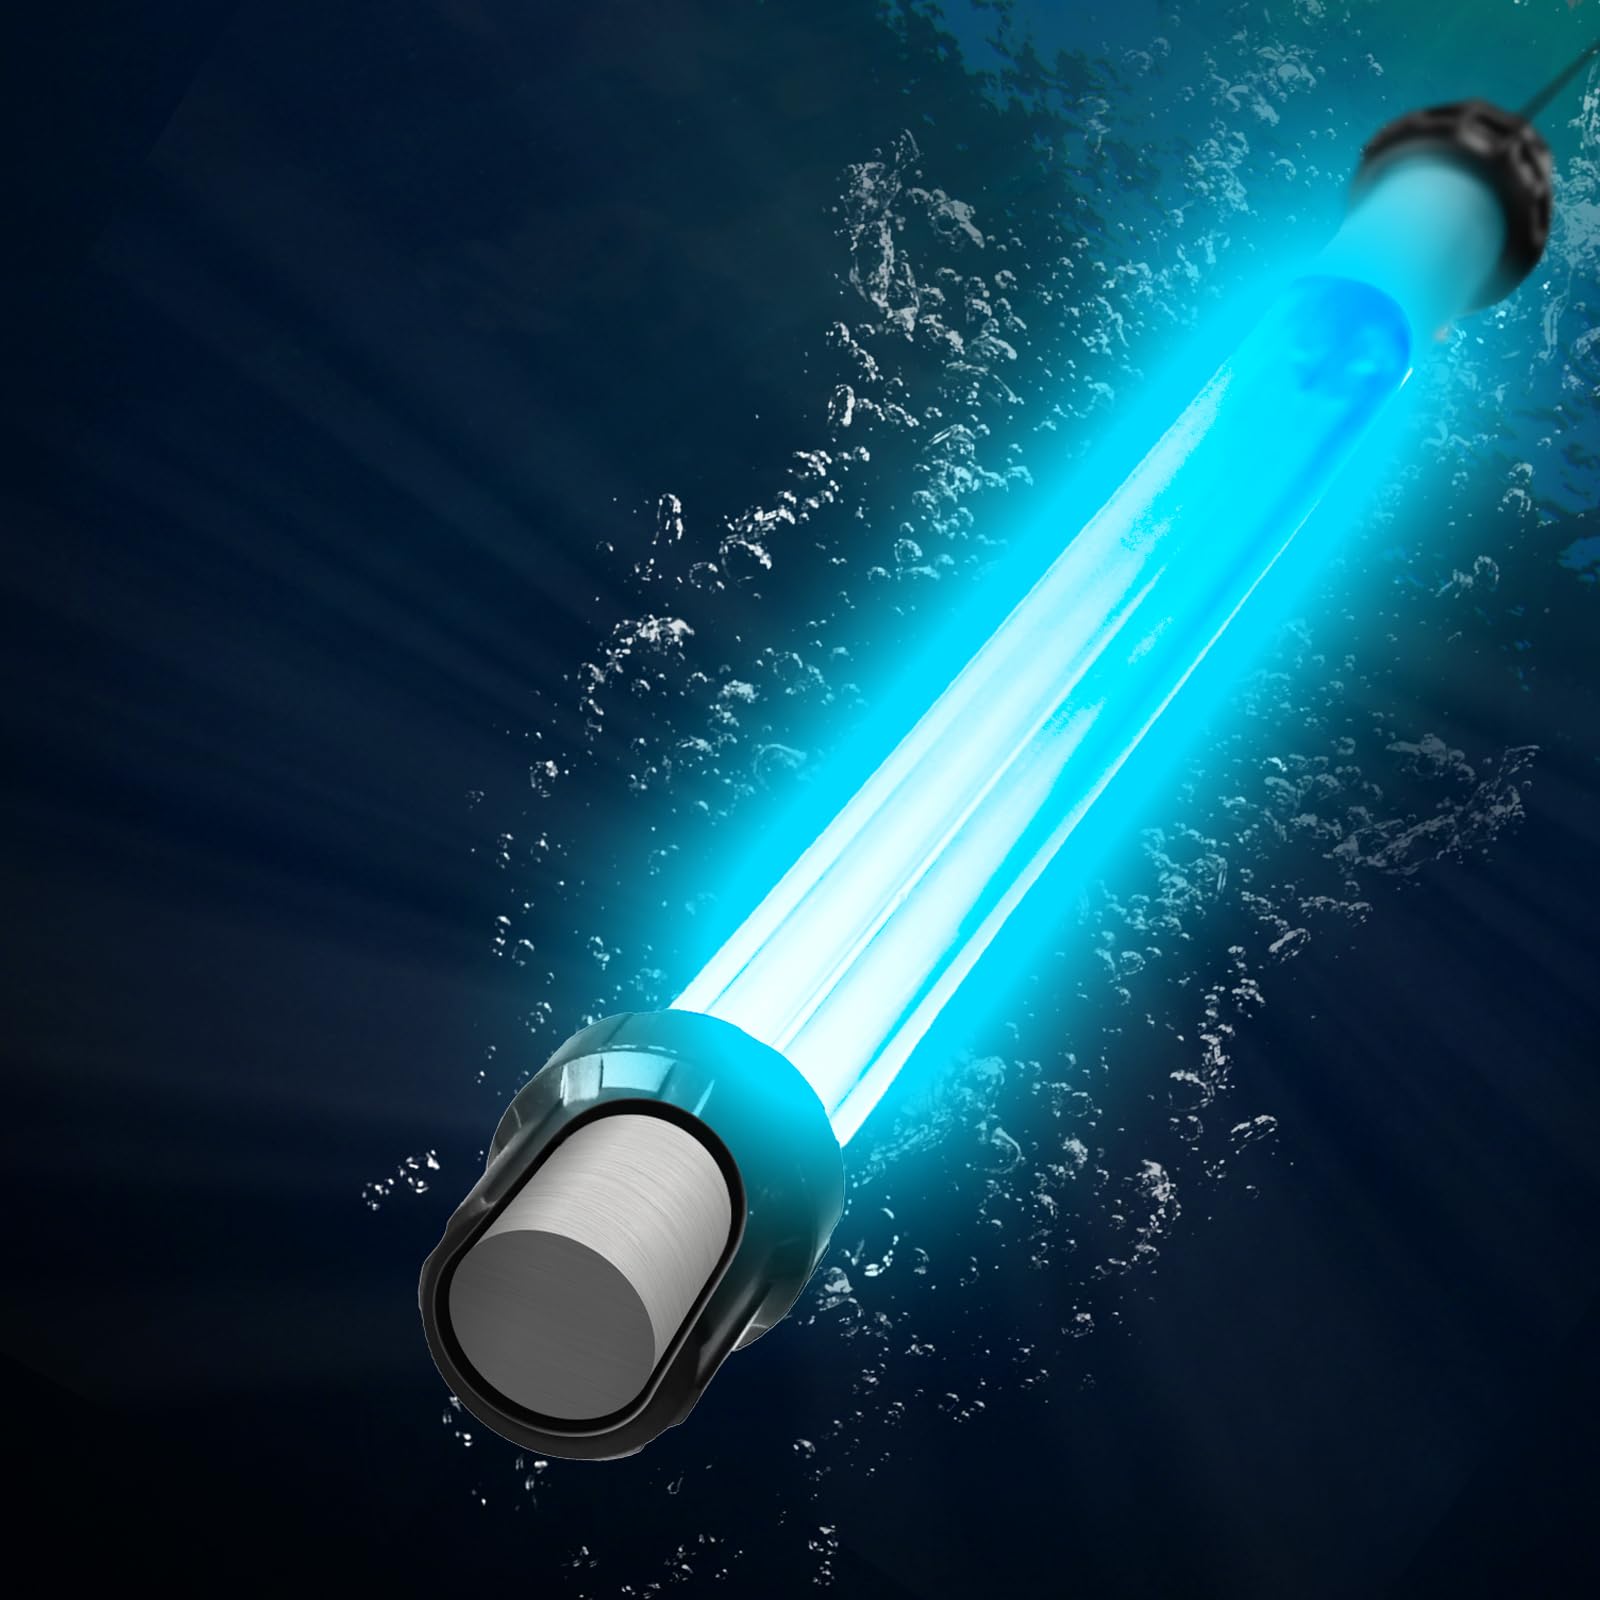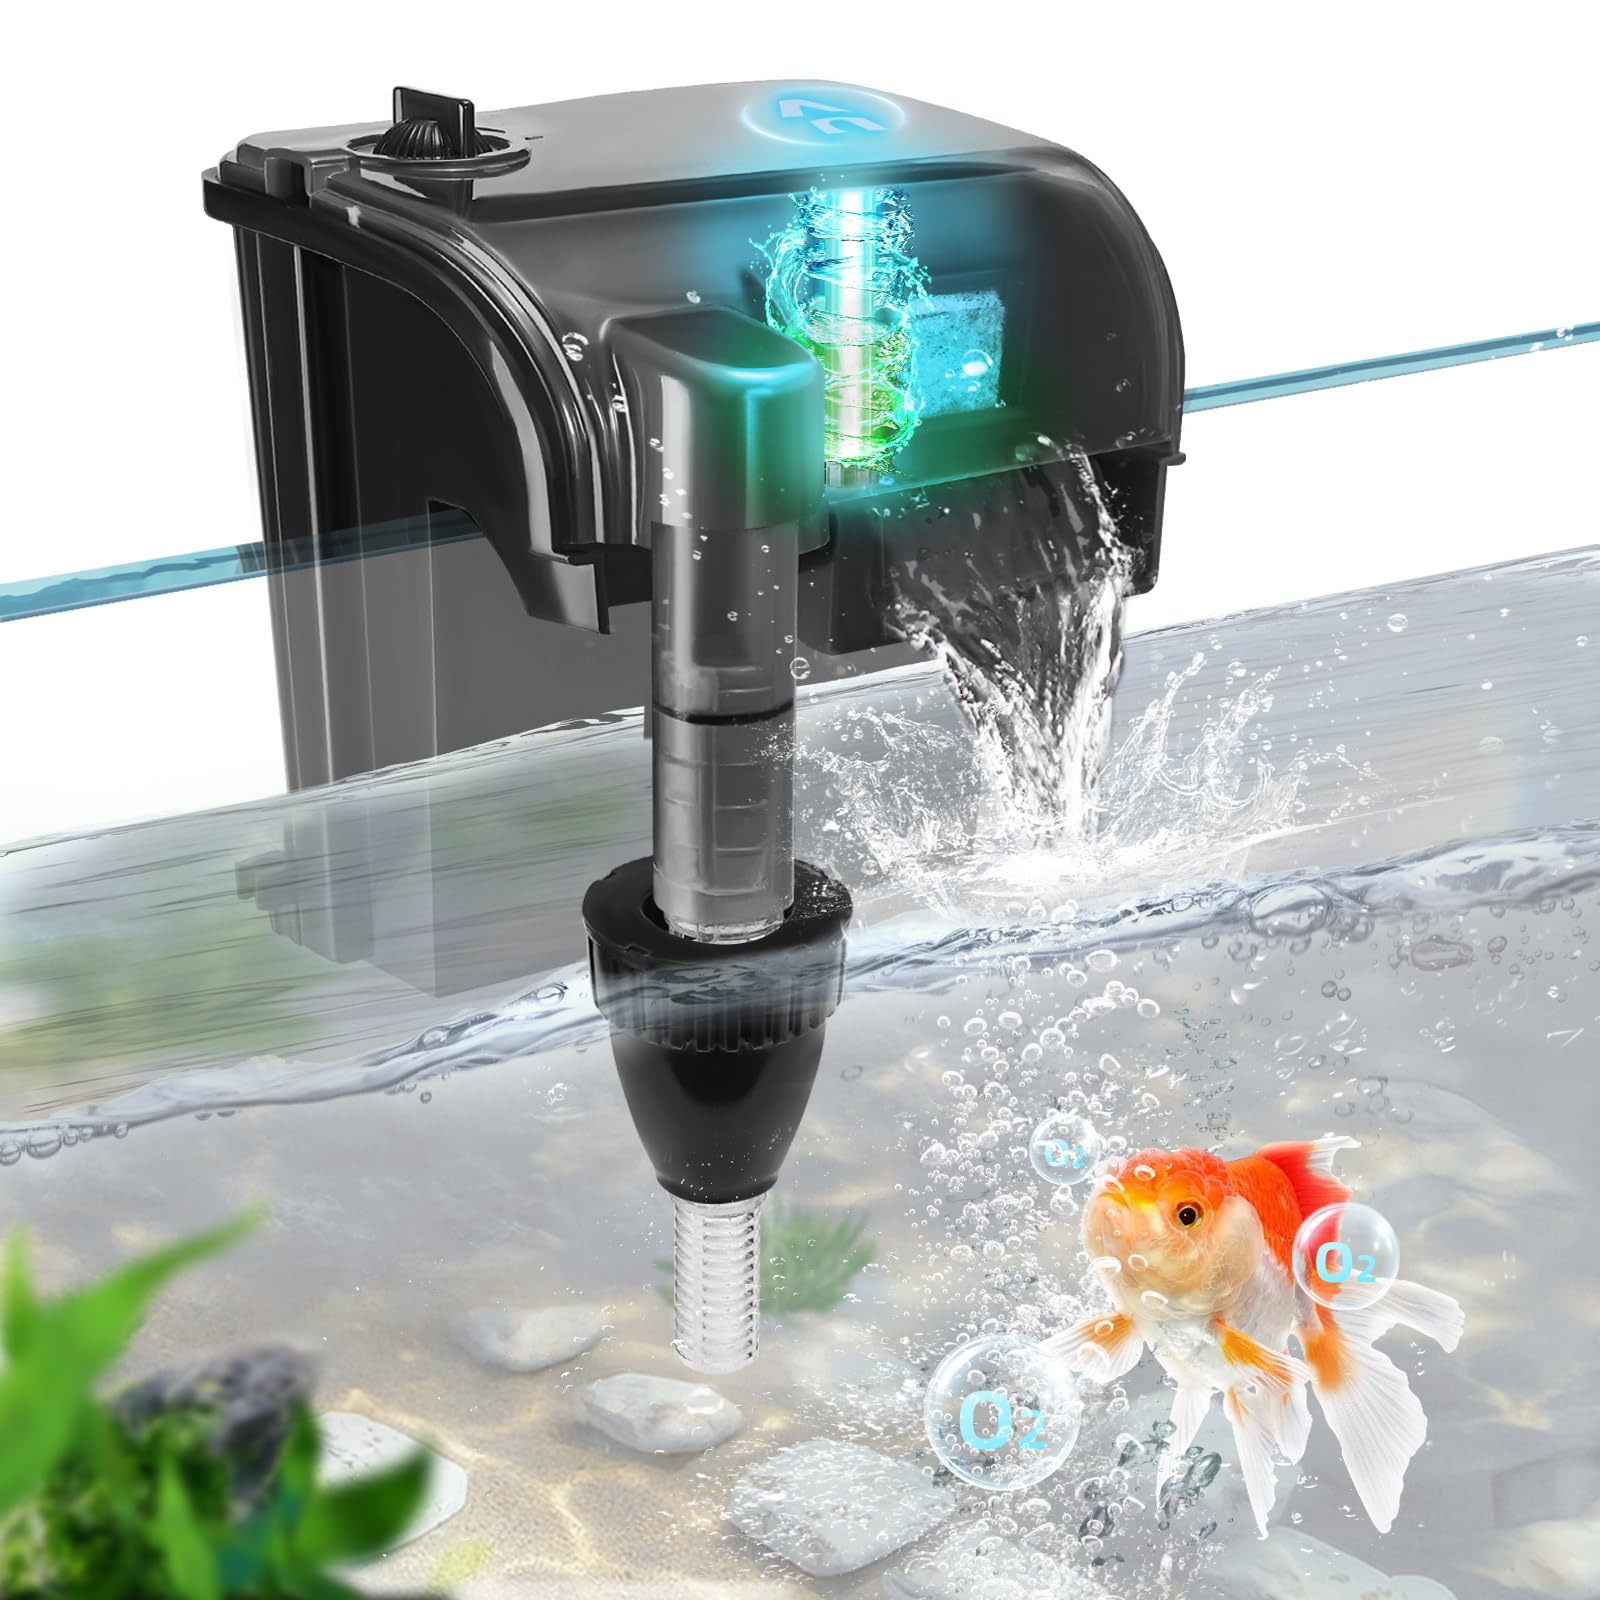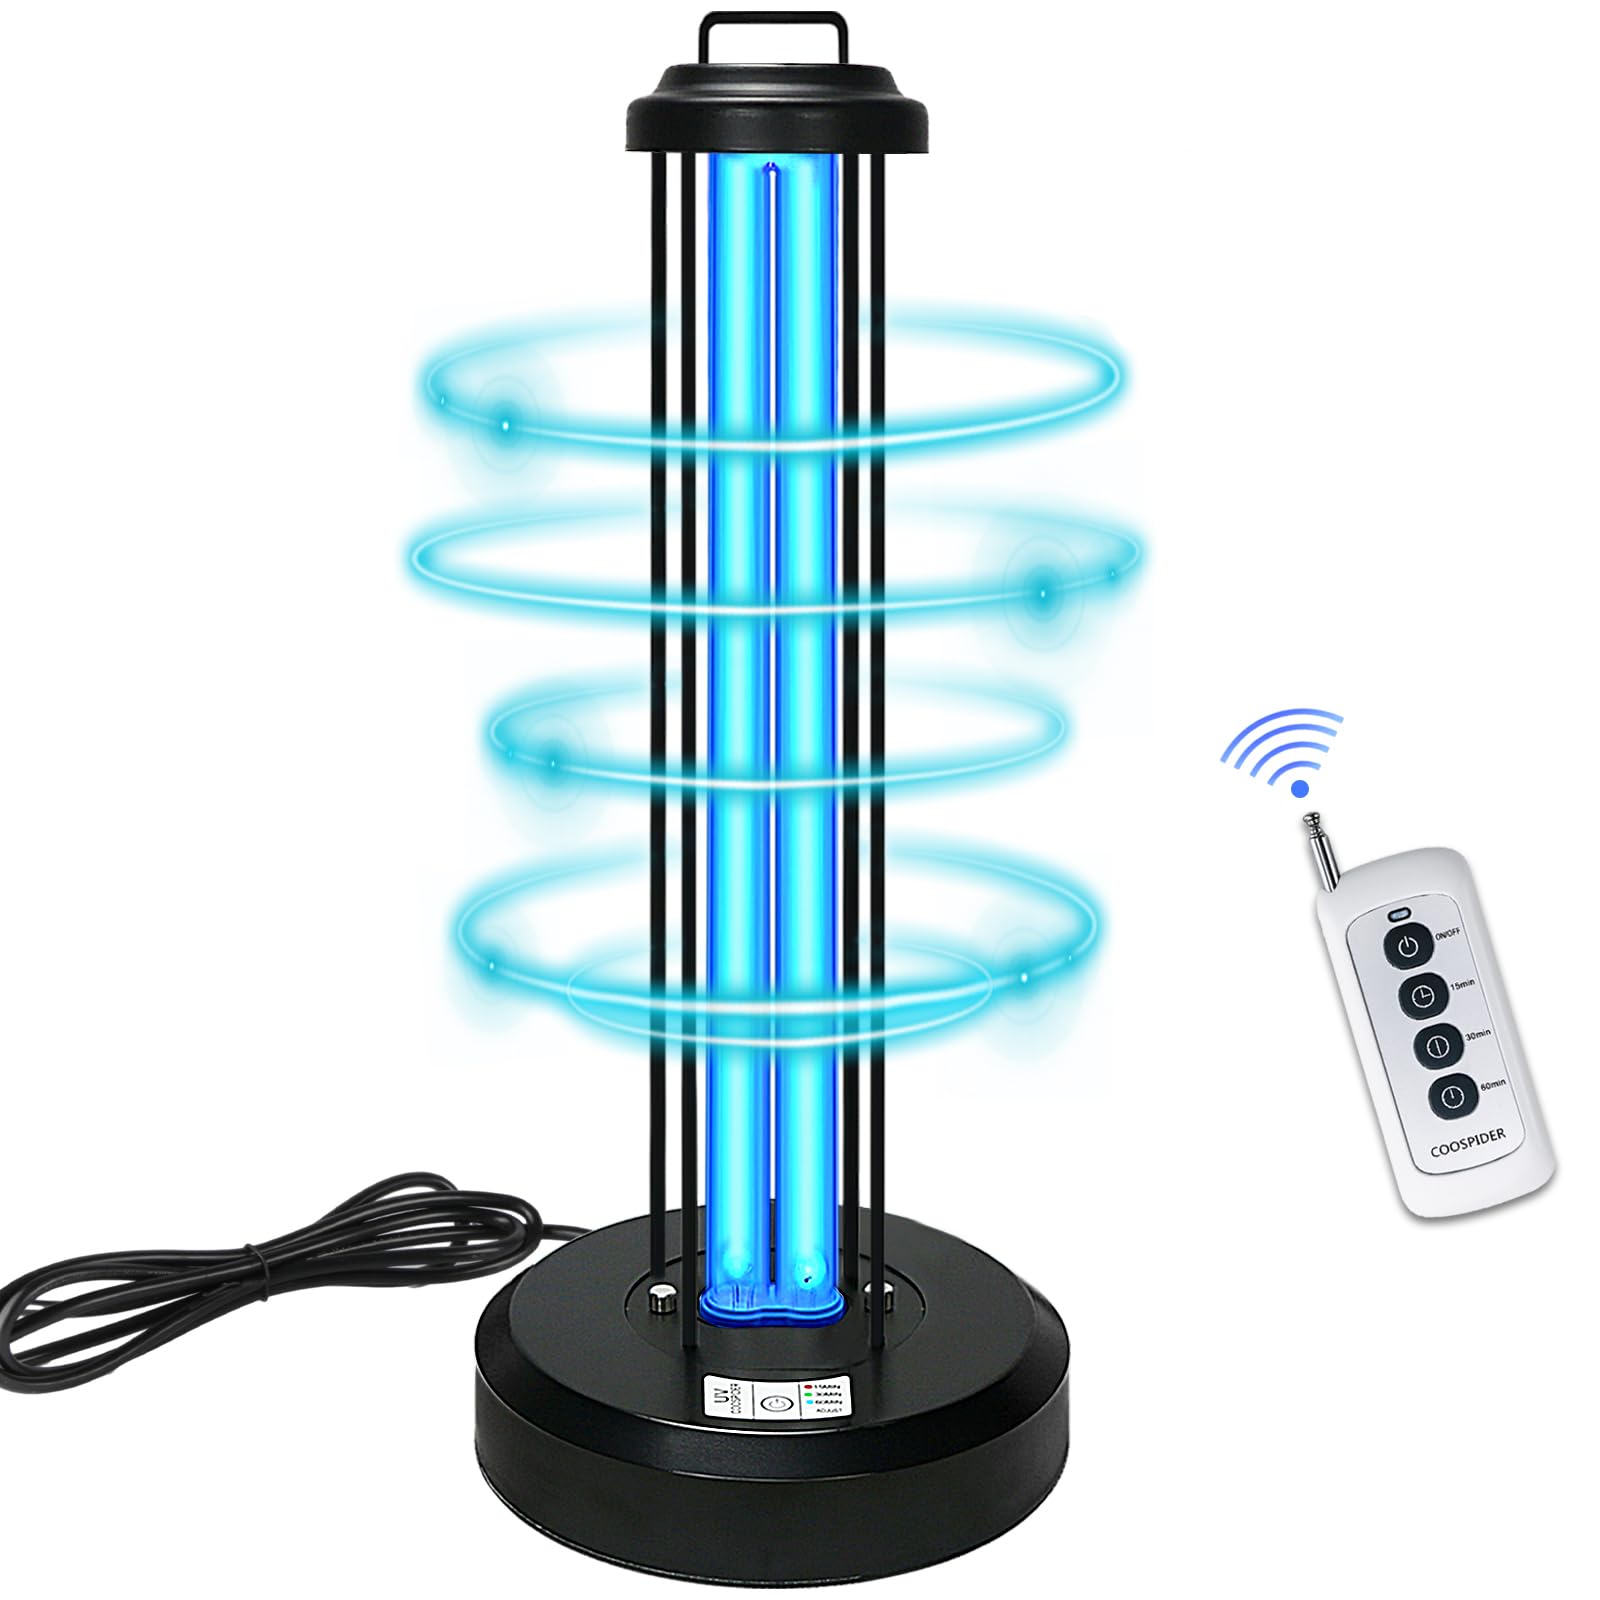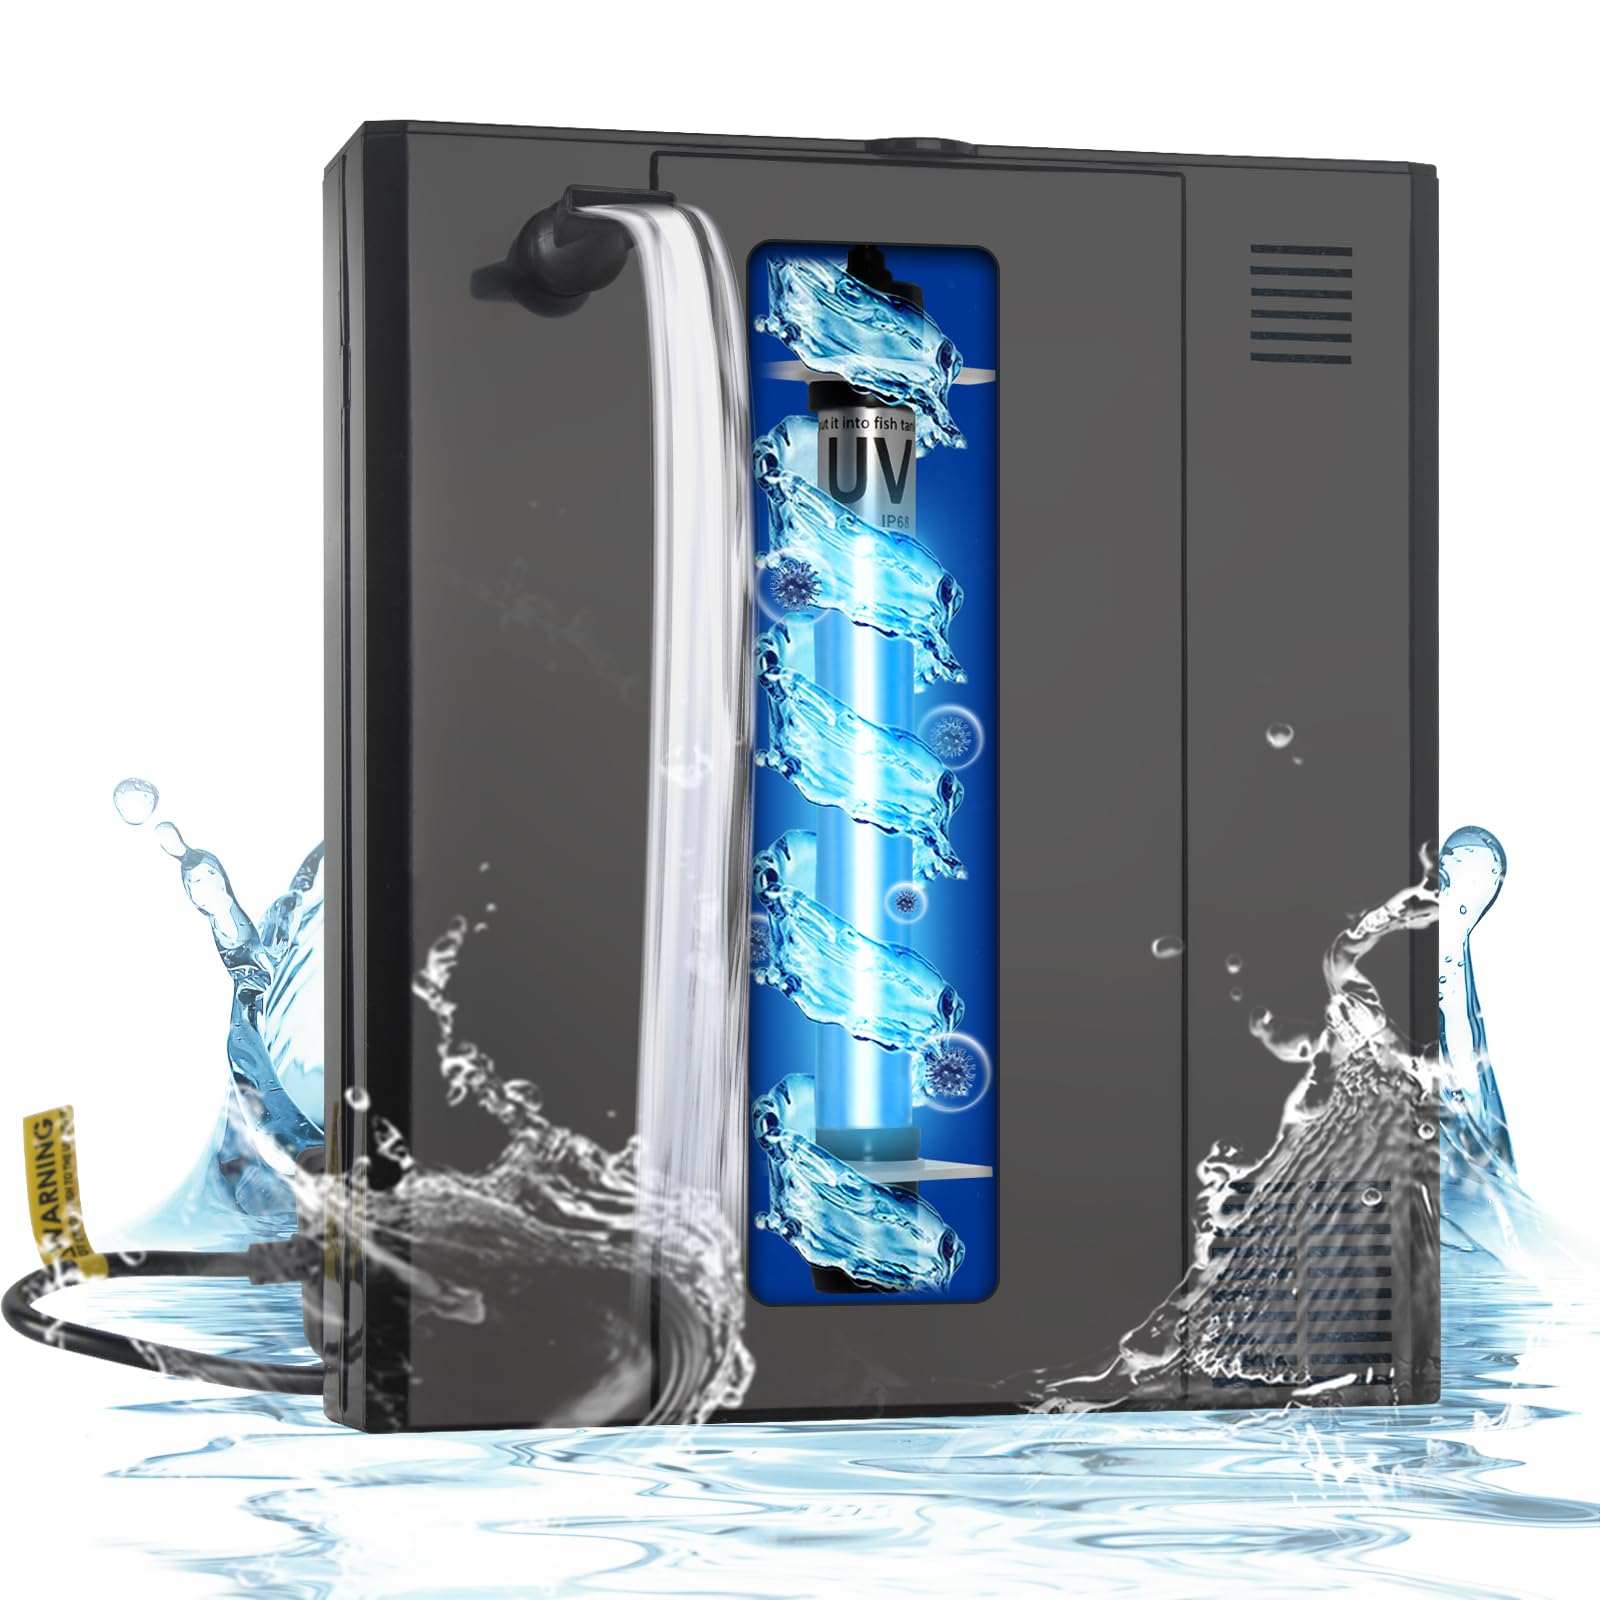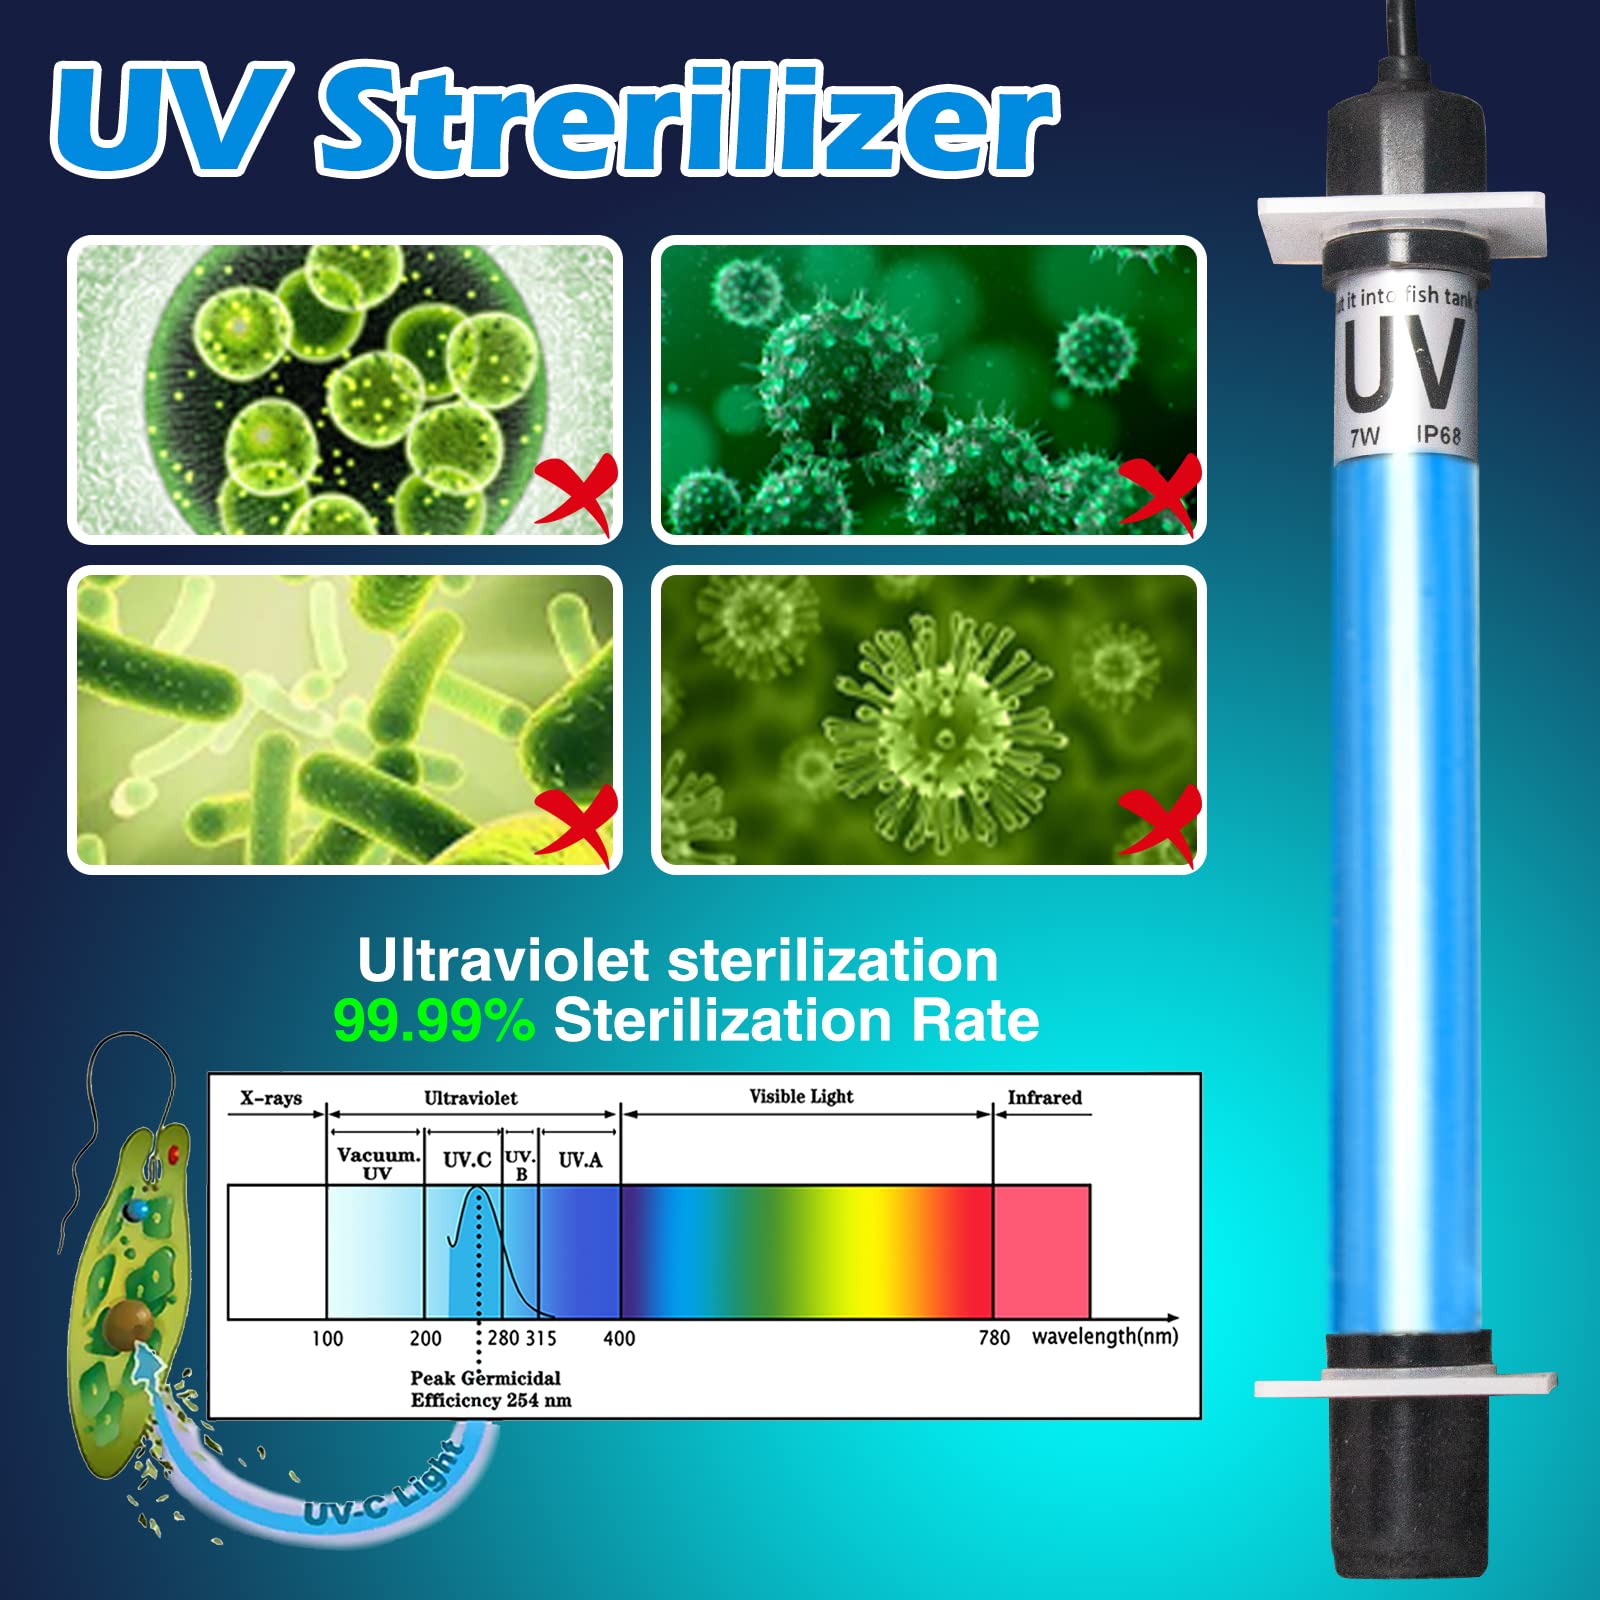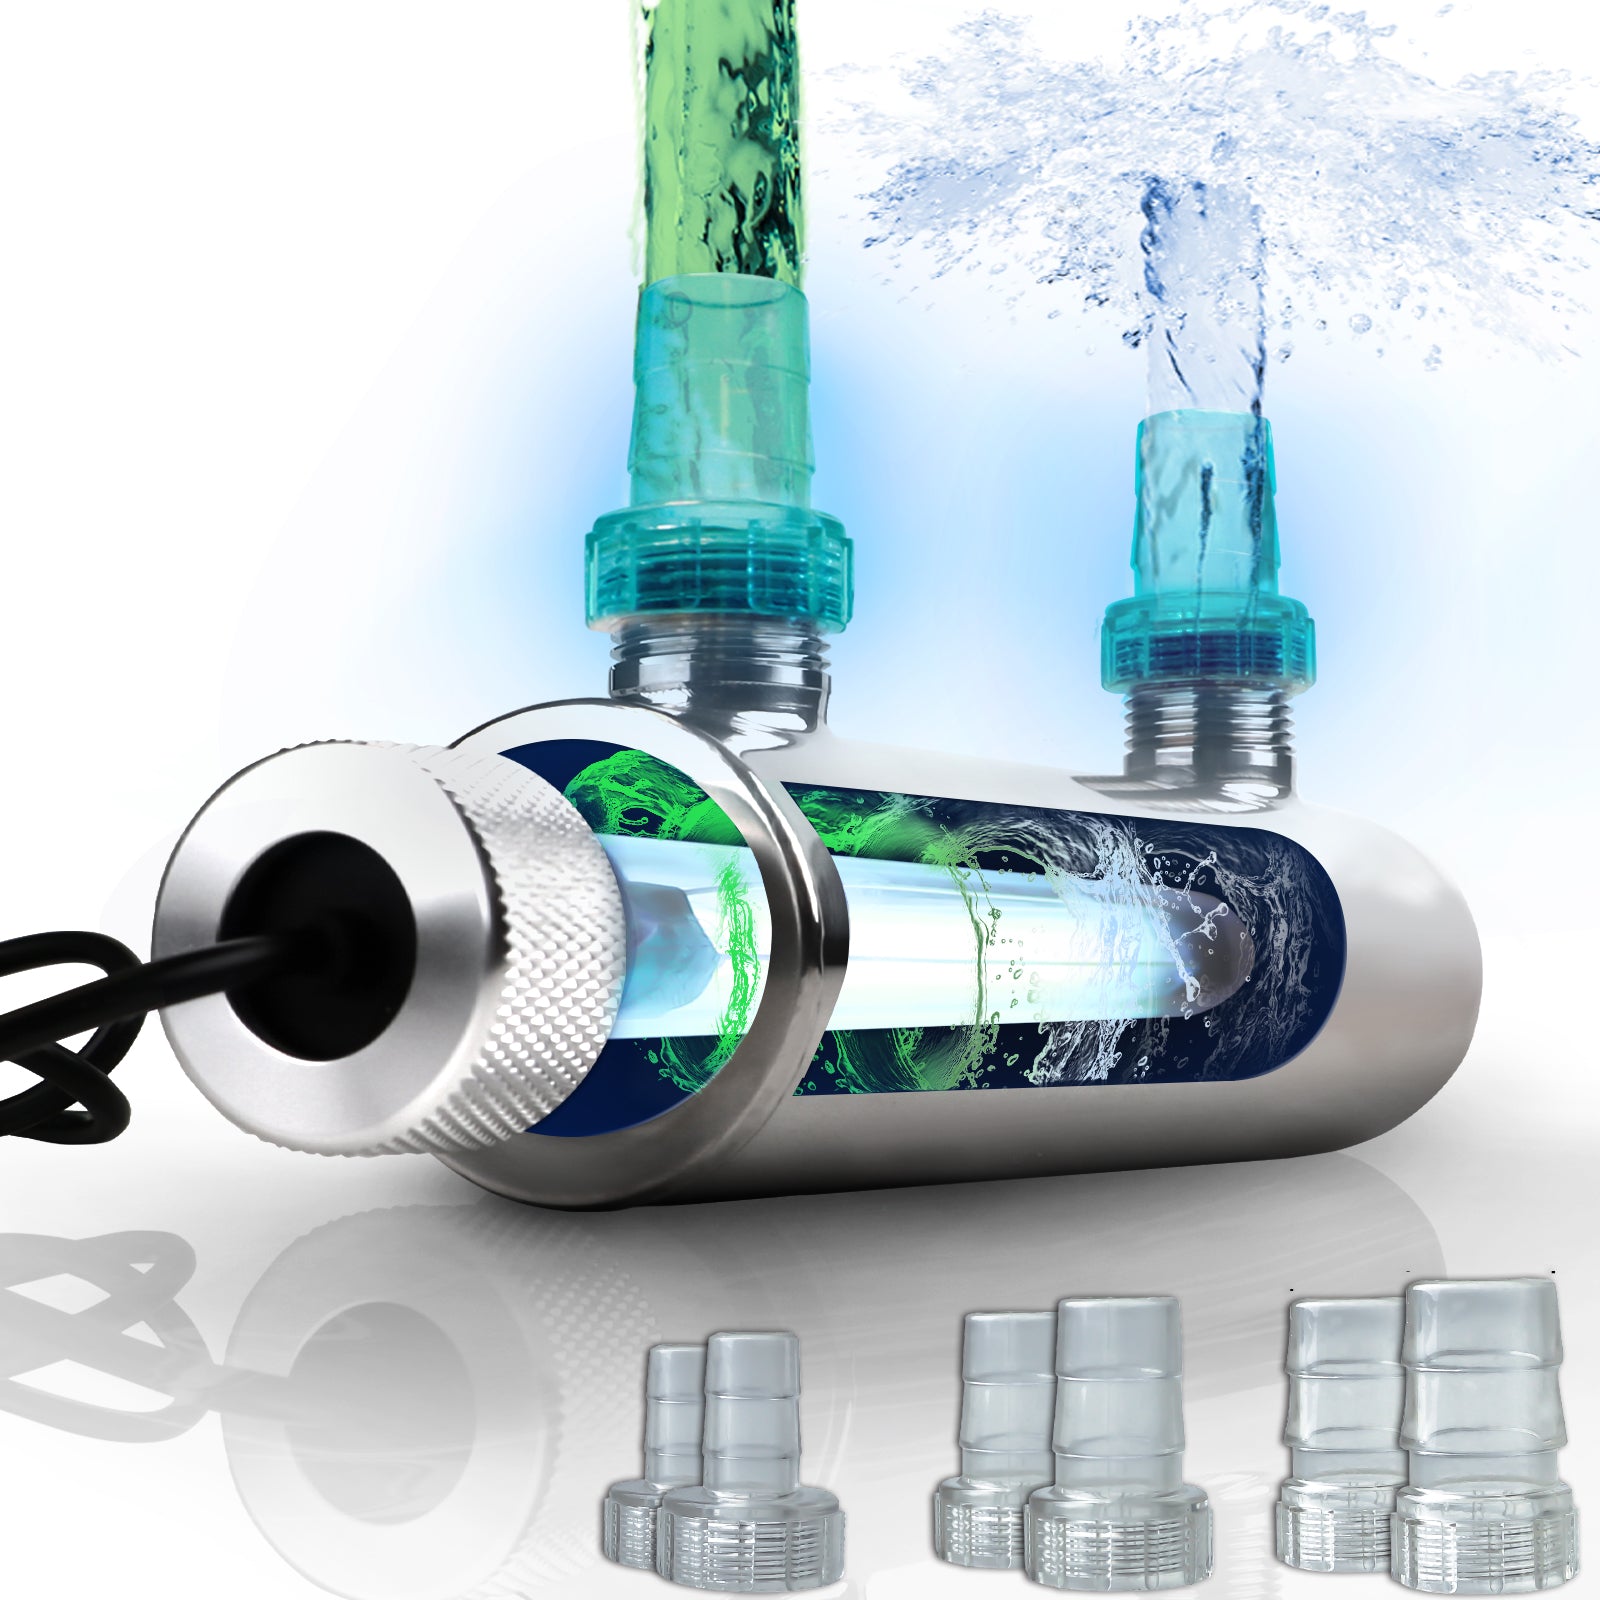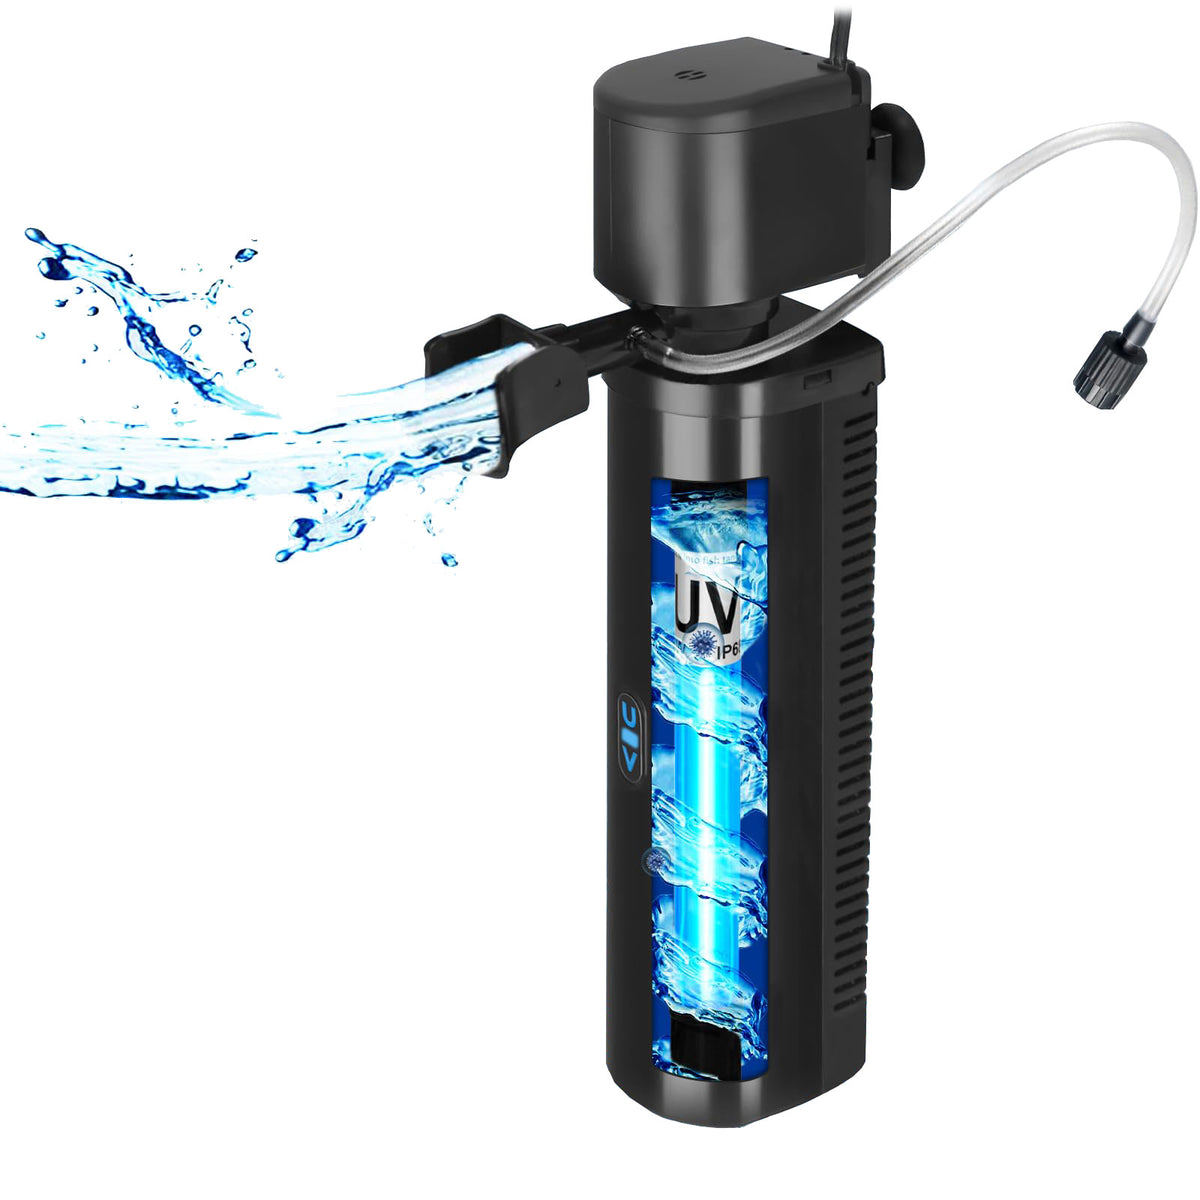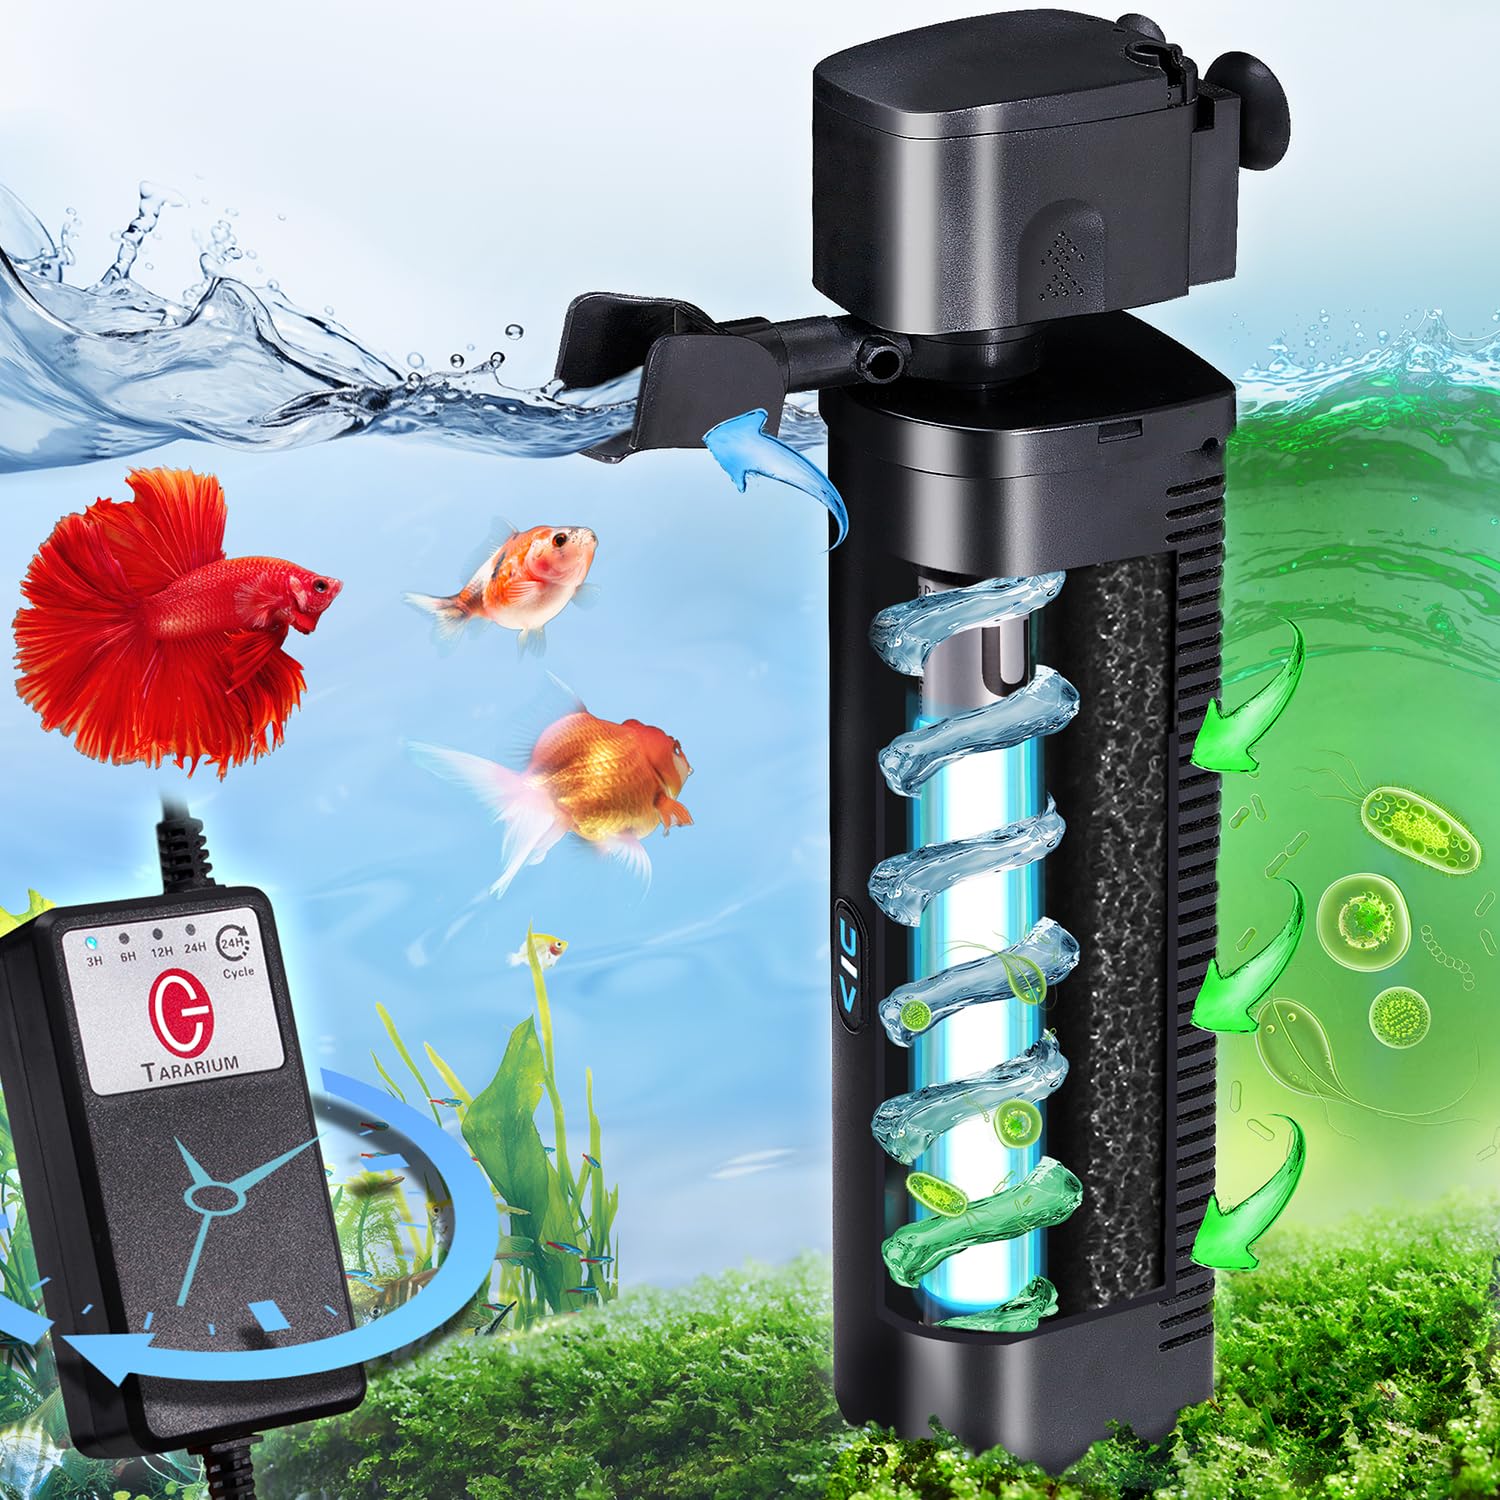

An aquarium UV sterilizer is a valuable piece of equipment for maintaining clear water and supporting a healthier aquatic environment. Whether you own a freshwater fish tank, saltwater aquarium, reef tank, or large aquatic system, ultraviolet sterilization can help control free-floating algae and reduce certain microorganisms circulating through the water.
However, even the best aquarium UV sterilizer cannot maintain its original performance forever without proper maintenance.
One of the most important components requiring periodic replacement is the UV sterilizer bulb.
Many aquarium owners assume that a UV bulb only needs replacement when it stops producing visible light. Unfortunately, this is a common misconception. A UV sterilizer lamp can continue glowing long after its germicidal ultraviolet output has declined below the level needed for effective treatment.
As UV output decreases, the sterilizer may become less effective at controlling suspended algae and certain waterborne microorganisms. This can happen gradually, making it difficult to notice without tracking lamp operating hours or using appropriate monitoring equipment.
So, how often should you replace an aquarium UV sterilizer bulb? What warning signs indicate that replacement is necessary? And how can you safely install a new UV lamp without damaging your equipment?
This comprehensive guide answers these questions and explains everything aquarium owners need to know about UV sterilizer bulb lifespan, replacement schedules, maintenance procedures, troubleshooting, and choosing compatible replacement lamps.
Whether you're maintaining a small home aquarium or managing a larger aquatic installation, understanding when and how to replace your UV sterilizer bulb can help you maintain consistent performance, avoid unnecessary equipment problems, and protect your investment.
1. What Is an Aquarium UV Sterilizer Bulb?
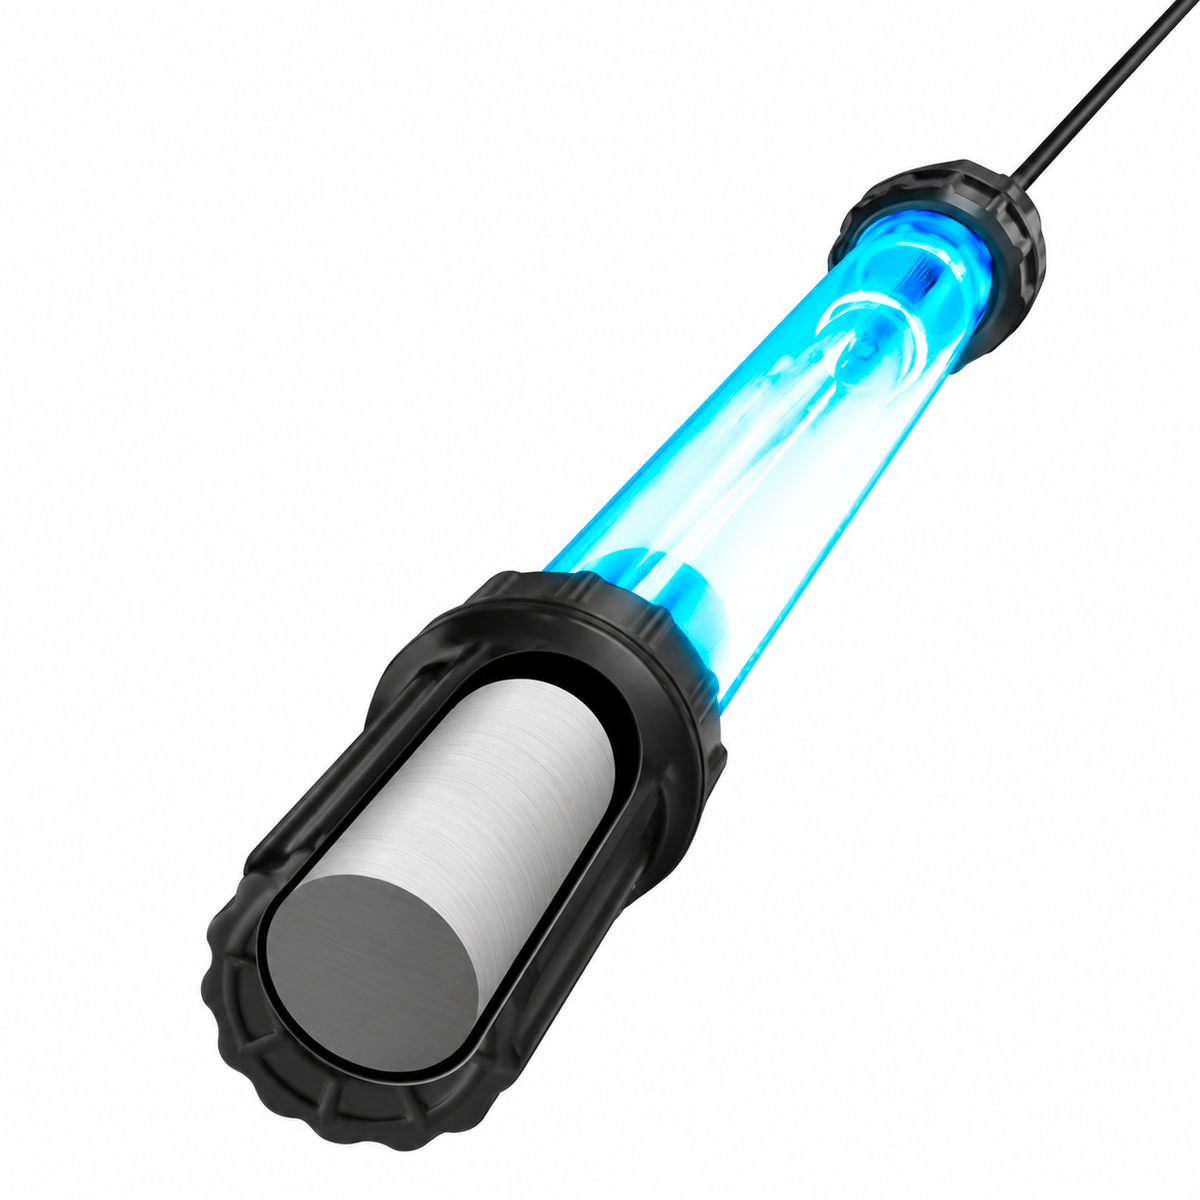
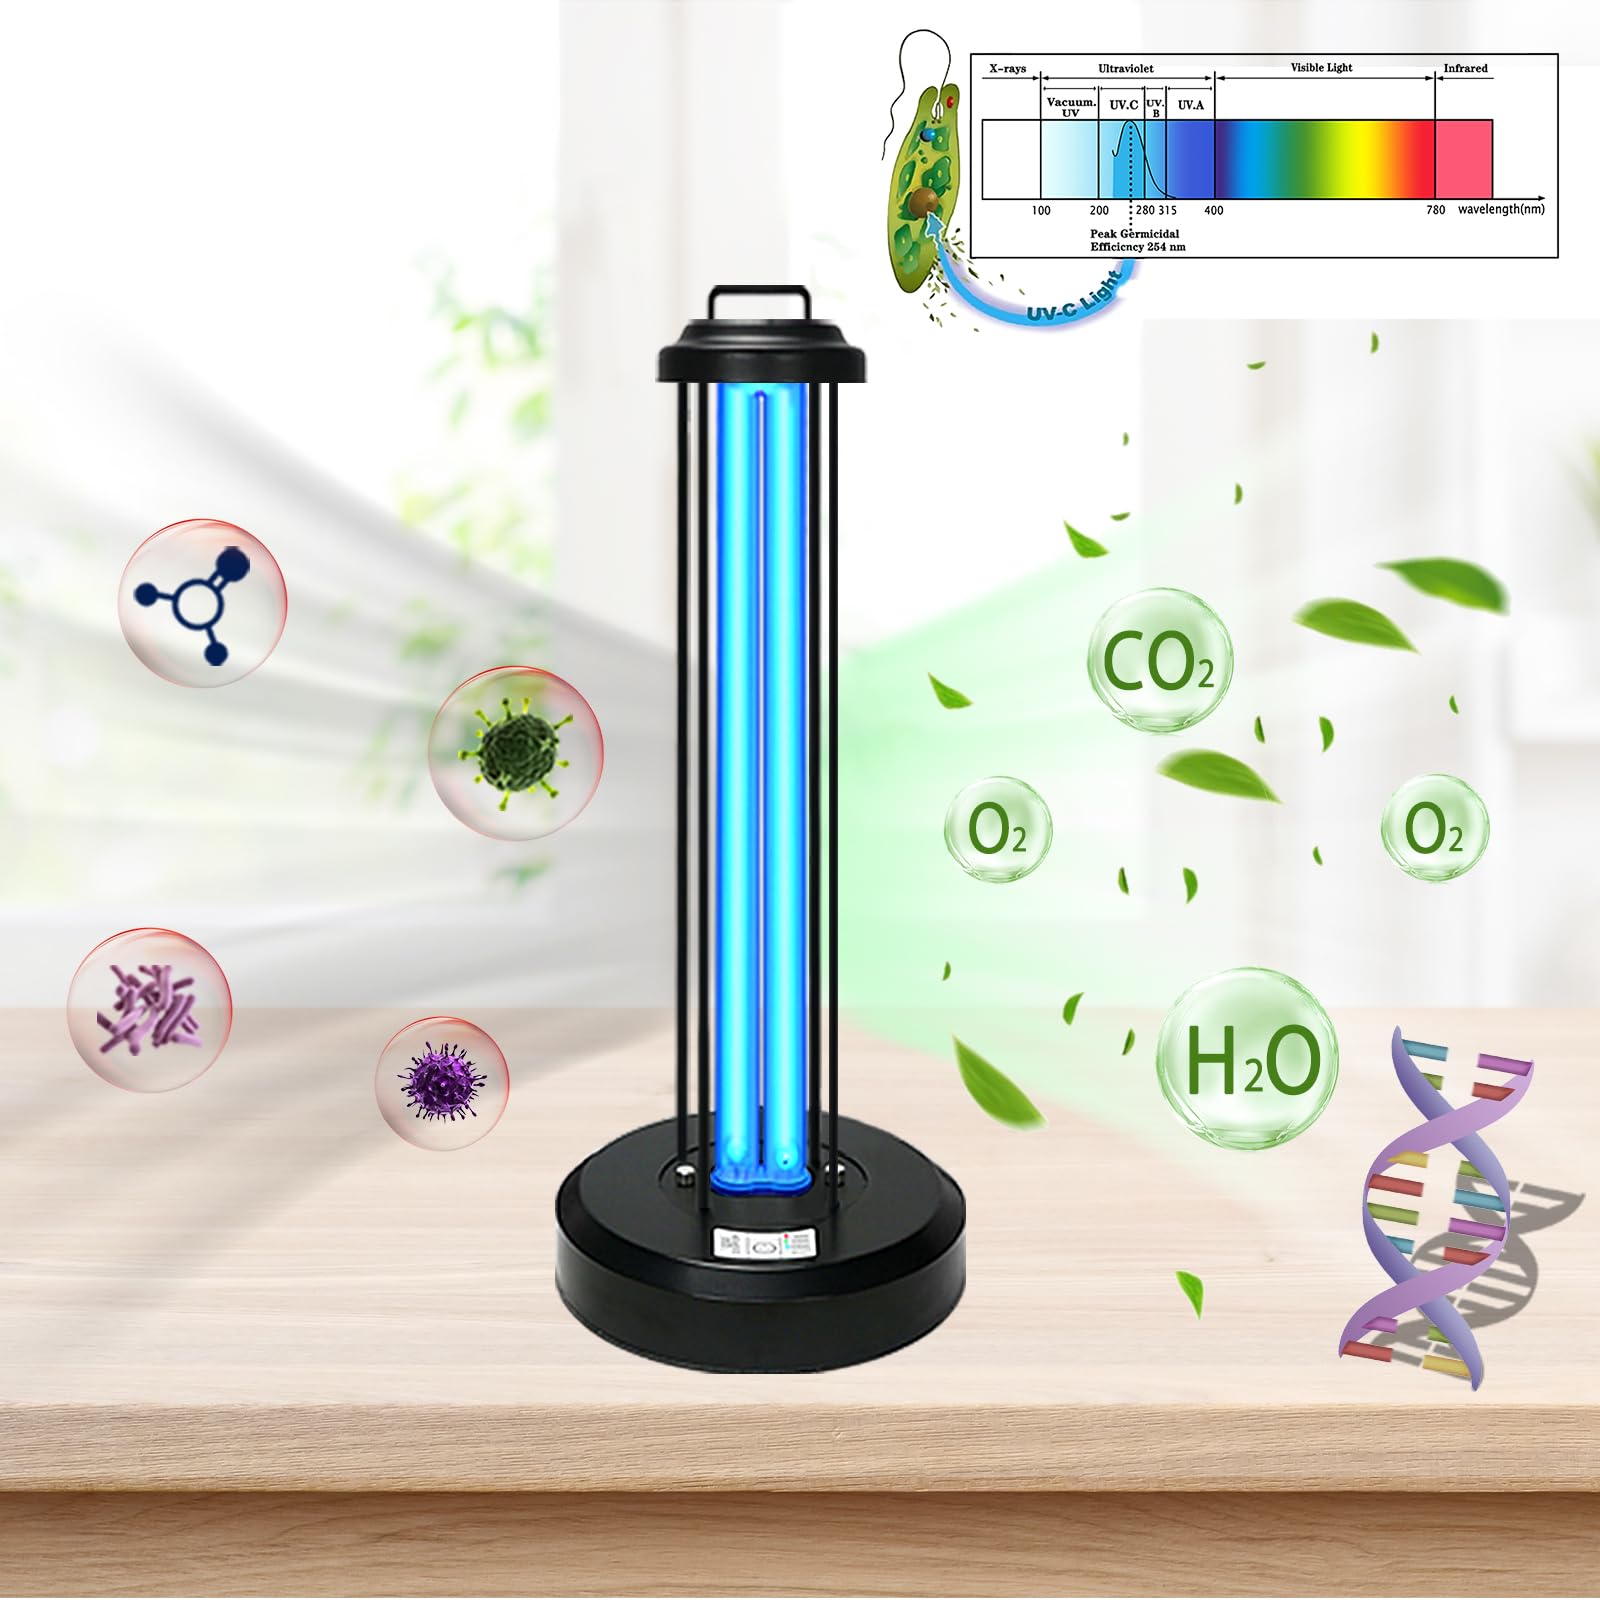
An aquarium UV sterilizer bulb is a specialized lamp designed to produce ultraviolet radiation, typically within the UV-C portion of the ultraviolet spectrum.
UV-C radiation can damage the genetic material of susceptible microorganisms, reducing their ability to reproduce or remain viable.
In an aquarium UV sterilizer, water flows through a treatment chamber where it is exposed to ultraviolet radiation.
Depending on the equipment design, delivered UV dose, water conditions, and microorganism involved, the process may help reduce:
-
Free-floating green water algae
-
Certain waterborne bacteria
-
Some susceptible waterborne protozoa
-
Other microorganisms passing through the UV chamber
However, UV sterilization does not replace mechanical filtration, biological filtration, water changes, quarantine procedures, or appropriate treatment for fish diseases.
How Does a UV Sterilizer Bulb Work?
Many aquarium UV sterilizers use low-pressure mercury UV-C lamps that produce germicidal radiation near 254 nanometers.
The lamp is often installed inside a protective quartz sleeve, which allows UV radiation to pass through while preventing aquarium water from contacting the electrical lamp.
As water moves through the sterilizer chamber, suspended microorganisms receive UV exposure.
Treatment effectiveness depends on several factors, including:
-
UV lamp intensity
-
Exposure time
-
Water flow rate
-
Water clarity
-
Quartz sleeve cleanliness
-
Chamber design
-
Microorganism sensitivity
The UV bulb is therefore one of several components that determine overall sterilizer performance.
Why UV Lamp Quality Matters
A properly matched UV lamp helps the equipment deliver the output intended by its manufacturer.
Poor-quality or incompatible replacement lamps may produce different UV output, electrical characteristics, or heat levels.
For dependable operation, replacement bulbs should meet the specifications of the original sterilizer.
2. How Long Does an Aquarium UV Sterilizer Bulb Last?
One of the most frequently asked questions about aquarium UV sterilizers is how long their bulbs remain effective.
The answer depends on lamp technology, manufacturer specifications, operating conditions, and intended treatment performance.
For many conventional aquarium UV-C lamps, the recommended replacement interval is approximately 8,000 to 9,000 operating hours.
When operated continuously, this corresponds to roughly 11 to 12 months.
However, some manufacturers specify shorter intervals for demanding applications, while other lamp designs have longer rated service lives.
For example, certain aquarium sterilizers recommend replacement after 8,000 operating hours, while some systems require shorter service intervals when maintaining more demanding microbial control objectives.
The correct replacement interval is always the one specified for your particular lamp and sterilizer.
UV Bulb Lifespan Comparison
| UV Lamp or Operating Condition | General Replacement Guidance |
|---|---|
| Conventional UV-C aquarium lamp | Often around 8,000–9,000 operating hours |
| Continuous 24-hour operation | Often approximately 11–12 months for traditional lamps |
| Higher-demand treatment applications | May require earlier replacement |
| Specialized long-life UV lamps | Follow the manufacturer's specific rating |
| UV-C LED systems | Follow the manufacturer’s output and replacement specifications |
| Lamp with an intensity-monitoring system | Follow validated intensity limits and service instructions |
These are general guidelines, not universal specifications.
Why Operating Hours Matter More Than Calendar Time
Two aquarium owners may install identical UV sterilizer lamps on the same day but operate them differently.
One may run the sterilizer continuously, while the other may use it for limited periods.
The lamps will accumulate operating hours at different rates.
For instance:
| Daily Operating Time | Time to Reach 8,000 Hours |
|---|---|
| 24 hours | Approximately 333 days |
| 18 hours | Approximately 444 days |
| 12 hours | Approximately 667 days |
| 8 hours | Approximately 1,000 days |
These calculations illustrate accumulated operating time only.
They do not guarantee that a lamp will remain suitable for use for the entire calculated period.
Frequent switching, storage conditions, equipment design, and manufacturer requirements may affect service life.
3. Why Do Aquarium UV Sterilizer Bulbs Lose Effectiveness?
Understanding UV lamp aging explains why bulbs sometimes require replacement before they burn out.
Gradual Decline in Germicidal Output
Traditional UV-C lamps undergo changes during operation.
Over time, their ability to produce germicidal ultraviolet radiation gradually decreases.
A lamp may still emit visible light while its UV-C output falls below the level required for the intended treatment.
This means the visible appearance of the lamp is not a reliable measure of sterilization performance.
Changes Within the Lamp
Normal lamp aging can involve changes in internal electrodes, mercury behavior, and the materials used to produce ultraviolet radiation.
These changes affect performance over time.
Electrical Operating Conditions
Voltage irregularities, incompatible ballasts, and other electrical problems may interfere with normal lamp operation.
Excessive Switching
Certain UV lamp designs are sensitive to repeated startup cycles.
Frequent switching may contribute to electrode wear and affect service life.
Follow the manufacturer's recommendations for continuous or intermittent operation.
Operating Temperature
UV lamps are designed to perform within specified temperature ranges.
Improper cooling or inadequate water circulation may contribute to abnormal operating conditions.
Manufacturing and Compatibility Differences
Not all UV lamps with the same nominal wattage have identical performance characteristics.
A replacement bulb must match the sterilizer's electrical and physical requirements.
4. Seven Warning Signs That Your Aquarium UV Bulb May Need Replacement
A reliable maintenance schedule should be supported by awareness of potential performance problems.
The following signs may indicate that your aquarium UV sterilizer bulb requires inspection or replacement.
Sign 1: The UV Lamp Has Reached Its Rated Operating Life
This is the most dependable routine replacement indicator for UV sterilizers without calibrated intensity monitoring.
If the manufacturer specifies replacement after 8,000 hours, plan to replace the lamp when that interval is reached.
Do not wait for complete lamp failure.
Some units include an hour counter or replacement reminder.
Others require manual tracking.
Record the installation date and estimated accumulated operating hours whenever you install a new bulb.
Sign 2: Aquarium Water Becomes Green Again
A UV sterilizer is often used to help control free-floating algae that cause green aquarium water.
If green water returns after a period of successful operation, reduced UV performance is one possible explanation.
However, green water can also result from:
-
Excessive lighting
-
Nutrient imbalances
-
Increased algae reproduction
-
Inadequate circulation
-
Incorrect sterilizer sizing
-
Excessive water flow
-
A dirty quartz sleeve
Before replacing the bulb, evaluate the complete aquarium system.
If the lamp has reached its recommended operating life, replacement is appropriate even if other factors also require attention.
Sign 3: The UV Sterilizer Produces a Lamp-Life Warning
Some modern aquarium UV sterilizers include digital displays, warning lights, or lamp-life timers.
These systems may provide reminders when the lamp approaches its recommended replacement interval.
Common alerts include:
-
Lamp replacement required
-
Lamp hours exceeded
-
UV intensity low
-
Lamp fault
-
System warning
The exact meaning depends on the manufacturer's control system.
A low-intensity warning does not necessarily mean the bulb alone has failed.
Quartz sleeve contamination, water conditions, sensor problems, or electrical faults may also contribute.
Follow the recommended diagnostic procedure.
Sign 4: The UV Lamp Stops Operating
If the UV bulb fails to start, it may have reached the end of its service life.
However, lamp failure isn't the only possible cause.
Other potential problems include:
-
Disconnected power
-
Damaged electrical connections
-
A faulty ballast
-
A blown fuse
-
Moisture intrusion
-
A defective connector
-
An activated safety interlock
Always disconnect power before inspecting accessible components.
Never bypass safety protections to determine whether the lamp is operating.
Sign 5: The Lamp Operates Intermittently
Unexpected flickering, repeated shutdowns, or irregular operation may indicate an electrical or lamp problem.
Possible causes include an aging lamp, incompatible replacement components, ballast failure, or electrical connection issues.
Stop using the sterilizer if abnormal electrical behavior occurs.
Consult the equipment manual or a qualified technician.
Sign 6: The Sterilizer No Longer Performs as Expected
If the aquarium UV sterilizer previously helped maintain clear water but no longer delivers similar results, investigate the system.
Check:
-
Lamp age
-
Quartz sleeve condition
-
Water flow
-
Pump performance
-
Mechanical filtration
-
Water quality
-
UV intensity readings, if available
Avoid assuming that every decline in performance is caused by the lamp.
Sign 7: The UV Lamp Is Physically Damaged
A lamp showing cracks, broken connectors, damaged pins, or other visible physical defects should not be used.
Damaged UV lamps may create electrical, glass, or chemical hazards.
Replace them using approved procedures.
If a mercury-containing lamp breaks, follow appropriate hazardous-material cleanup guidance and the manufacturer's instructions.
5. Why a Glowing UV Bulb May Still Need Replacement
One of the biggest misconceptions about aquarium UV sterilizer maintenance is that visible light indicates effective germicidal performance.
It does not.
Visible Light and UV-C Radiation Are Different
The human eye cannot see UV-C radiation.
Some UV lamps emit visible blue or violet light in addition to ultraviolet radiation.
That visible glow does not reveal how much effective UV-C the lamp is producing.
The Problem With Aging Lamps
An older lamp may continue producing visible light while its germicidal output has declined.
This can create a false sense of security.
Aquarium owners may assume their sterilizer is functioning properly because the lamp appears illuminated.
However, the actual treatment performance may no longer meet the equipment's intended operating conditions.
Never Look Directly at an Exposed UV-C Lamp
UV-C radiation can injure eyes and skin.
Never remove protective covers or operate an exposed germicidal lamp to inspect its glow.
Use approved indicators, monitoring systems, and maintenance records instead.
The Most Reliable Replacement Approach
For systems without validated UV intensity monitoring, track operating hours and replace the lamp according to manufacturer instructions.
For monitored systems, follow the specified lamp-life requirements and UV intensity limits.
6. Should You Replace Your UV Sterilizer Bulb Every Year?
Annual replacement is a common recommendation for conventional aquarium UV-C lamps operating continuously.
However, it is not a universal rule.
When Annual Replacement Makes Sense
An annual schedule may be appropriate when:
-
The sterilizer operates continuously
-
The lamp is rated for approximately 8,000–9,000 hours
-
The manufacturer recommends yearly replacement
-
The system lacks validated intensity monitoring
When Earlier Replacement May Be Required
Some applications require higher UV performance or stricter maintenance intervals.
A manufacturer may specify earlier replacement for particular treatment objectives.
Physical damage, electrical failure, or a validated low-intensity alarm may also justify earlier replacement.
When a Different Schedule May Apply
Some specialized lamps or UV-C LED systems have different service-life ratings.
Intermittently operated equipment may accumulate operating hours more slowly, although calendar-age and switching limitations may still apply.
The instruction manual remains the authoritative source.
7. How to Calculate Your Aquarium UV Bulb Replacement Date
Tracking UV lamp service life helps avoid unexpected performance declines.
Step 1: Find the Rated Lamp Life
Check your equipment manual or replacement lamp documentation.
For this example, assume the manufacturer specifies 8,000 operating hours.
Step 2: Determine Daily Operating Time
Record how many hours the sterilizer runs each day.
Step 3: Calculate Estimated Operating Life
Use the following formula:
Estimated Operating Days = Rated Lamp Hours ÷ Daily Operating Hours
For a lamp rated at 8,000 hours and operating 24 hours daily:
8,000 ÷ 24 = approximately 333 days.
For the same lamp operating 12 hours daily:
8,000 ÷ 12 = approximately 667 days.
Step 4: Consider Manufacturer Restrictions
These calculations do not account for switching-related wear, storage limitations, or other manufacturer-specific service requirements.
Step 5: Set a Reminder
Record the expected replacement date and review accumulated operating hours regularly.
A simple calendar reminder or maintenance log can prevent missed service intervals.
8. Essential Safety Precautions Before Replacing a UV Sterilizer Bulb
Replacing an aquarium UV lamp involves electrical equipment, fragile glass, and potentially hazardous ultraviolet radiation.
Safety must come first.
Disconnect Electrical Power
Always unplug the UV sterilizer before opening it.
Never rely solely on a switch if the manufacturer requires complete electrical isolation.
Allow the Lamp to Cool
UV lamps may become hot during operation.
Allow sufficient cooling time according to the manufacturer’s instructions.
Stop Water Circulation When Required
Some sterilizers require water flow to be isolated before the lamp assembly can be accessed.
Follow the specific shutdown procedure.
Relieve Water Pressure
Pressurized systems must be depressurized before opening water-containing components.
Keep Electrical Connections Dry
Ensure that electrical connectors, ballast components, and power supplies remain protected from water.
Wear Appropriate Protective Equipment
Use clean gloves when handling lamps and quartz sleeves.
For procedures involving fragile glass, suitable eye protection may also be appropriate.
Never Operate an Exposed UV Lamp
UV-C radiation can cause serious eye and skin injuries.
Do not bypass safety interlocks or remove protective covers while the lamp is energized.
Handle Mercury-Containing Lamps Carefully
Many traditional UV-C lamps contain small amounts of mercury.
Avoid breaking them.
Follow local requirements for recycling and hazardous-waste disposal.
9. Step-by-Step Guide: How to Replace an Aquarium UV Sterilizer Bulb
The exact lamp replacement procedure varies by manufacturer.
The following guide describes general principles commonly applicable to serviceable aquarium UV sterilizers.
Always follow your specific model's instructions.
Step 1: Turn Off the UV Sterilizer
Disconnect the equipment from electrical power.
If necessary, turn off the associated water pump.
Confirm that the system cannot restart unexpectedly.
Step 2: Allow the Equipment to Cool
Wait for the lamp and housing to reach a safe handling temperature.
The cooling period varies by model.
Do not rush this step.
Step 3: Prepare the Work Area
Choose a clean, dry, stable area.
Keep replacement parts, gloves, and the instruction manual nearby.
If the sterilizer must be removed from the aquarium plumbing, place a suitable container underneath to catch residual water.
Step 4: Access the Lamp Assembly
Follow the manufacturer’s procedure for removing the protective lamp cover, retaining cap, or connector.
Some designs allow lamp replacement without draining the entire chamber.
Others require additional disassembly.
Never force components.
Step 5: Disconnect the Lamp Connector
Carefully release the connector according to the product design.
Do not pull on electrical wires.
Hold the connector housing or designated removal points.
Step 6: Remove the Old UV Bulb
Withdraw the lamp slowly and carefully.
Avoid bending it or allowing it to strike the quartz sleeve.
Many lamps are long and fragile.
Keep the lamp aligned during removal.
Step 7: Inspect the Old Lamp
Check for visible damage, discoloration, damaged pins, or other abnormalities.
Do not attempt to repair a damaged lamp.
Place the old lamp somewhere safe until it can be recycled or disposed of appropriately.
Step 8: Inspect the Quartz Sleeve
If the manufacturer recommends quartz sleeve inspection during lamp replacement, check its condition.
Look for:
-
Mineral deposits
-
Biofilm
-
Cloudiness
-
Scratches
-
Cracks
-
Chips
-
Damaged sealing surfaces
A dirty sleeve may reduce UV transmission.
A cracked sleeve may create a serious water intrusion risk.
Step 9: Clean the Quartz Sleeve if Necessary
Use only the cleaning method approved for your sterilizer.
Some manufacturers permit specific mild acidic cleaning solutions to remove mineral scale.
Others prescribe different procedures.
Avoid abrasive cleaning tools.
Rinse thoroughly as directed before reassembly.
Step 10: Inspect O-Rings and Seals
If the replacement procedure involves removing seals, inspect them carefully.
Replace components showing cracks, flattening, hardening, or other damage.
Use compatible replacement parts.
Step 11: Install the New UV Bulb
Carefully unpack the replacement lamp.
Verify its part number and specifications before installation.
Avoid touching the glass with bare fingers if the manufacturer advises against it.
Insert the lamp gently, maintaining proper alignment.
Do not force it into the quartz sleeve or connector.
Step 12: Reconnect Electrical Components
Attach the lamp connector exactly as instructed.
Make sure the connection is secure.
Avoid overtightening threaded plastic components.
Step 13: Reassemble the Sterilizer
Replace protective covers, seals, retaining caps, and other components.
Confirm that all required safety features are correctly installed.
Step 14: Restore Water Circulation
If water flow was interrupted, restart the pump according to the manufacturer's startup sequence.
Confirm that the UV chamber is properly filled and that water is circulating at the recommended rate.
Check for leaks before energizing the UV lamp.
Step 15: Restore Power
Reconnect electrical power only after the sterilizer is properly assembled and safe to operate.
Check approved operating indicators.
Step 16: Reset the Lamp-Life Timer
If your sterilizer has a lamp replacement counter, reset it according to the manual.
Do not reset the timer without installing a replacement lamp unless the manufacturer specifically directs you to do so.
Step 17: Record the Replacement
Write down:
-
Installation date
-
Replacement lamp model
-
Rated operating hours
-
Estimated next replacement date
-
Quartz sleeve condition
-
Any replaced seals
-
Maintenance observations
Keeping accurate records makes future maintenance easier.
10. How to Choose the Correct Replacement UV Sterilizer Bulb
Using a compatible lamp is essential for equipment safety and proper operation.
Not every UV bulb with similar dimensions or wattage is interchangeable.
Match the Manufacturer and Model
Start with the sterilizer's exact model number.
Find the replacement lamp part number in the instruction manual or official replacement-parts list.
Check Lamp Wattage
Replacement lamps must meet the electrical requirements of the sterilizer.
Do not increase wattage simply to obtain stronger ultraviolet treatment.
Verify Physical Dimensions
Compare the lamp length, diameter, and connector design.
A lamp that is slightly too long or too short may not fit correctly.
Confirm Connector Compatibility
UV lamps use different electrical connector configurations.
Make sure the replacement matches the original system.
Verify Lamp Technology
Traditional low-pressure UV lamps, specialized high-output lamps, and UV-C LEDs have different operating characteristics.
They should not be treated as interchangeable.
Consider Manufacturer-Approved Components
Original equipment manufacturer replacement lamps or explicitly approved alternatives can help reduce compatibility concerns.
Avoid Unknown Specifications
Be cautious when replacement listings fail to provide clear model compatibility, electrical ratings, or manufacturer information.
11. Can You Replace a UV Bulb With a Higher-Wattage Lamp?
Some aquarium owners assume that installing a higher-wattage UV bulb will automatically improve sterilization.
This approach can be unsafe.
Potential Electrical Problems
A higher-wattage lamp may require a different ballast or power supply.
Using an incompatible combination can result in abnormal operation or equipment damage.
Heat Management Concerns
Higher-power lamps may produce different amounts of heat.
The existing sterilizer chamber may not be designed for those conditions.
Physical Compatibility
Lamp dimensions and connectors may differ.
UV Treatment Design
Sterilizer performance depends on the entire system, not simply lamp wattage.
Water flow, chamber geometry, UV transmission, and exposure time all influence treatment.
Better Alternatives
If your existing UV sterilizer is undersized, choose a properly specified replacement system rather than attempting an unauthorized lamp upgrade.
12. The Relationship Between UV Bulb Replacement and Quartz Sleeve Cleaning
A new UV bulb cannot deliver its intended performance if the quartz sleeve prevents sufficient radiation from reaching the water.
What Is a Quartz Sleeve?
A quartz sleeve is a transparent protective tube used in many UV sterilizer designs.
It separates the lamp from the surrounding water while transmitting germicidal ultraviolet radiation.
Why Quartz Sleeves Become Dirty
Aquarium water may contain minerals, organic particles, suspended debris, and microorganisms.
These materials can accumulate on the sleeve.
How Deposits Affect UV Performance
Mineral scale and biofilm can absorb or scatter UV radiation.
As deposits build up, less ultraviolet energy may reach the water.
When to Clean the Quartz Sleeve
Inspect and clean it according to manufacturer instructions.
Some systems recommend cleaning during each lamp replacement.
Others require additional inspections depending on water conditions.
When to Replace the Quartz Sleeve
Replace the sleeve if it is cracked, chipped, severely scratched, or permanently damaged.
A sleeve that cannot be cleaned to an acceptable condition may also require replacement.
Quartz sleeve replacement schedules vary by equipment.
13. How Water Flow Affects UV Sterilizer Bulb Performance
Even a new UV lamp may not deliver effective treatment if water flow is incorrect.
Why Exposure Time Matters
Microorganisms require a sufficient UV dose for effective inactivation.
The delivered dose depends partly on how long the water remains in the treatment chamber.
Excessively Fast Water Flow
If water moves too quickly, exposure time may be insufficient for the intended treatment objective.
Insufficient Water Flow
Very low flow may reduce the volume of water treated.
Some sterilizers also require a minimum flow rate for proper thermal management.
Maintaining Proper Flow
Check the manufacturer's recommended operating range.
Inspect pumps, prefilters, tubing, valves, and plumbing restrictions.
Measure actual flow where practical.
Do not assume that a stronger pump always improves UV performance.
Match the Flow to the Treatment Goal
Water clarification and more demanding microbial reduction objectives may require different operating conditions.
Follow the manufacturer's specific performance guidance.
14. Replacing UV Bulbs in Freshwater Aquariums
Freshwater aquarium owners frequently use UV sterilizers to help control suspended algae.
Monitor Green Water Conditions
If water clarity declines, check the lamp's operating age along with aquarium nutrient levels and lighting.
Maintain Mechanical Filtration
Effective prefiltration can reduce debris accumulation inside the sterilizer.
Protect Biological Filtration
Do not unnecessarily disturb established biological filter media during lamp replacement.
Beneficial bacteria attached to aquarium surfaces play an important role in the nitrogen cycle.
Maintain Water Quality
UV treatment cannot remove ammonia, nitrite, nitrate, or accumulated waste.
Continue regular water testing and appropriate aquarium maintenance.
15. UV Bulb Replacement for Saltwater and Reef Aquariums
Saltwater systems may use UV sterilizers as part of a broader aquarium management strategy.
Consider Saltwater Operating Conditions
Marine environments can contribute to deposits and external salt accumulation around equipment.
Inspect accessible connections and maintain clean, dry electrical areas.
Maintain Flow Consistency
Reef aquarium filtration systems may include multiple pumps and plumbing branches.
Changes in the system can affect flow through the UV chamber.
Understand Disease-Control Limitations
UV sterilization may reduce certain susceptible microorganisms circulating through water.
However, it cannot eliminate every parasite or pathogen.
It is not a replacement for quarantine, diagnosis, or appropriate fish disease treatment.
Replace Lamps According to Specifications
Do not assume that saltwater aquariums automatically require a completely different replacement interval.
Follow the sterilizer manufacturer's lamp-life and application guidance.
16. What Happens if You Never Replace Your Aquarium UV Bulb?
Ignoring UV lamp replacement can lead to reduced treatment effectiveness.
Gradual UV Output Decline
The lamp may continue operating while delivering less germicidal radiation.
Reduced Control of Suspended Algae
In systems relying on UV for green water management, reduced output may contribute to less effective algae control.
Reduced Microbial Treatment Performance
Lower UV dose may reduce the intended treatment effect on susceptible microorganisms.
Unexpected Lamp Failure
An aging lamp may eventually stop operating entirely.
Maintenance Confusion
Without accurate lamp records, it may become difficult to determine whether reduced performance is related to lamp age or another equipment problem.
Potential Additional Costs
Delayed maintenance may contribute to troubleshooting expenses or additional equipment service.
Replacing lamps on schedule helps maintain predictable operation.
17. Common Mistakes When Replacing Aquarium UV Sterilizer Bulbs
Avoid these frequent maintenance errors.
Mistake 1: Waiting Until the Lamp Burns Out
Visible illumination is not a reliable indicator of effective UV-C output.
Mistake 2: Using an Incompatible Replacement Lamp
Incorrect electrical or physical specifications can cause equipment problems.
Mistake 3: Ignoring the Quartz Sleeve
A contaminated sleeve can reduce the effectiveness of a new lamp.
Mistake 4: Touching the Lamp Glass Improperly
Follow the manufacturer's handling instructions and use clean gloves when appropriate.
Mistake 5: Forcing the Lamp Into Position
UV lamps and quartz sleeves are fragile.
Incorrect alignment can cause breakage.
Mistake 6: Forgetting O-Ring Inspection
Damaged seals can cause leaks.
Mistake 7: Restarting Without Checking Water Flow
Certain sterilizers require proper water circulation to prevent overheating.
Mistake 8: Forgetting to Reset the Lamp Timer
An incorrect timer reading can make future maintenance confusing.
Mistake 9: Disposing of Mercury Lamps in Ordinary Trash
Many traditional UV lamps contain mercury and require appropriate recycling or disposal.
Mistake 10: Looking Directly at the UV Lamp
Never expose your eyes or skin to an energized UV-C lamp.
18. How to Extend the Useful Life of Your Aquarium UV System
Although UV lamps eventually require replacement, proper equipment maintenance can support dependable operation throughout the recommended service interval.
Maintain Appropriate Water Flow
Follow the specified flow range.
Keep the Quartz Sleeve Clean
Regular inspection helps preserve UV transmission.
Use Compatible Electrical Components
Avoid unapproved ballasts, adapters, and replacement lamps.
Protect the Equipment From Moisture
Keep electrical connections dry and appropriately protected.
Follow Switching Recommendations
Avoid unnecessary on-and-off cycling when the manufacturer advises continuous operation.
Maintain Effective Prefiltration
Reduce debris entering the UV chamber.
Inspect the System Regularly
Look for leaks, damaged cables, abnormal sounds, and operational warnings.
Track Operating Hours
A reliable maintenance record makes lamp replacement scheduling easier.
19. Aquarium UV Sterilizer Maintenance Checklist
A simple schedule can help prevent missed lamp replacements.
Daily Maintenance
-
Confirm normal operation using approved indicators.
-
Check for visible leaks.
-
Observe water circulation.
-
Monitor aquarium clarity.
-
Check for warning indicators.
Weekly Maintenance
-
Inspect accessible tubing.
-
Check external fittings.
-
Monitor pump performance.
-
Observe prefilter condition.
Monthly Maintenance
-
Review accumulated lamp operating hours.
-
Inspect accessible electrical components.
-
Check filtration and circulation performance.
-
Update maintenance records.
-
Inspect the quartz sleeve if scheduled.
Annual or Manufacturer-Scheduled Maintenance
-
Replace the lamp when its rated service interval is reached.
-
Inspect and clean the quartz sleeve.
-
Examine seals and O-rings.
-
Inspect the housing.
-
Review pump and plumbing condition.
-
Reset the lamp-life counter after replacement.
-
Record the new installation date.
20. UV Sterilizer Bulb Replacement Cost: What Should You Expect?
Replacement cost depends on the sterilizer brand, lamp design, wattage, and replacement-part availability.
Factors Affecting Replacement Costs
Lamp Size: Larger or higher-output lamps may cost more.
Lamp Technology: Different lamp technologies have different manufacturing requirements.
Manufacturer Compatibility: Specialized lamps may have fewer available replacement options.
Additional Parts: Quartz sleeves and seals may also require servicing or replacement.
Professional Labor: Large or specialized systems may benefit from technician servicing.
Total Ownership Cost Matters
When comparing aquarium UV sterilizers, consider more than the initial purchase price.
A practical ownership-cost estimate includes:
-
Equipment purchase
-
Replacement lamps
-
Quartz sleeve maintenance
-
Seals and other consumables
-
Electricity
-
Pump operation
-
Potential servicing
Avoid Choosing Solely by Lamp Price
A low-cost replacement bulb isn't necessarily economical if its performance or compatibility is uncertain.
Choose appropriately specified components and consider long-term reliability.
21. Should You Keep a Spare Aquarium UV Bulb?
Keeping a compatible replacement lamp available can be useful, particularly for aquariums that rely heavily on continuous UV treatment.
Benefits of Having a Spare
A spare lamp may help reduce downtime after unexpected failure.
It can also make scheduled maintenance easier.
Proper Storage
Store replacement lamps:
-
In their protective packaging
-
In a dry environment
-
Away from accidental impacts
-
Away from excessive temperatures
-
Where children and pets cannot access them
Verify Compatibility Before Purchasing
Confirm the exact replacement part number.
Avoid purchasing an unknown lamp simply because it appears physically similar.
Avoid Excessive Inventory
For ordinary home aquarium systems, a reasonable spare-parts plan is usually sufficient.
Follow any manufacturer shelf-life or storage recommendations.
22. How to Dispose of Old Aquarium UV Sterilizer Bulbs Safely
Many traditional UV-C lamps contain mercury.
They should be handled and disposed of according to local requirements.
Do Not Break the Lamp
Keep old lamps intact whenever possible.
Use Protective Packaging
Place the used lamp in appropriate protective packaging to reduce the chance of breakage.
Find an Approved Recycling Program
Contact local recycling services, household hazardous-waste programs, or the equipment manufacturer for disposal guidance.
Follow Local Regulations
Disposal rules vary by location.
Do not assume that regular household trash disposal is permitted.
What if a UV Bulb Breaks?
Keep people and pets away from the area.
Do not handle broken glass with bare hands.
For mercury-containing lamps, follow official mercury lamp cleanup guidance.
Avoid using a regular vacuum cleaner to collect mercury-containing debris unless applicable official guidance specifically directs otherwise.
23. UV Sterilizer Troubleshooting: Is the Bulb Really the Problem?
Not every sterilizer performance issue requires a new UV bulb.
Before buying replacement parts, perform a systematic evaluation.
| Symptom | Possible Cause | Recommended Action |
|---|---|---|
| Lamp-life warning | Rated operating interval reached | Replace lamp as directed |
| Lamp not starting | Lamp, ballast, connector, or power fault | Follow safe troubleshooting instructions |
| Green aquarium water | Algae growth, inadequate UV dose, or poor circulation | Evaluate lamp age, flow, water quality, and sleeve |
| Reduced water flow | Clogged filter, tubing, or pump | Clean and inspect circulation equipment |
| Low UV intensity alarm | Aging lamp, dirty sleeve, or other system issue | Follow manufacturer's diagnostic procedure |
| Visible water leak | Damaged seal or housing | Disconnect power and repair before restarting |
| Abnormal flickering | Lamp or electrical fault | Stop operation and inspect safely |
| Overheating | Incorrect flow or equipment fault | Disconnect power and follow manufacturer guidance |
Avoid Unnecessary Parts Replacement
A new lamp may not solve problems caused by incorrect water flow or quartz sleeve contamination.
Correct diagnosis can reduce unnecessary spending.
24. How UV Bulb Replacement Supports Aquarium Water Clarity
Clear aquarium water is a common goal for both beginner and experienced aquarists.
A functioning UV sterilizer can help control suspended algae under suitable conditions.
Understanding Green Water
Green water often results from microscopic algae suspended in the aquarium water.
These organisms may reproduce rapidly when light and nutrient conditions support their growth.
How UV Treatment Helps
As suspended algae pass through the sterilizer chamber, sufficient UV exposure may reduce their ability to reproduce.
Why Lamp Replacement Matters
If UV output declines, the sterilizer may deliver less radiation to the passing water.
This can reduce treatment effectiveness.
Why UV Treatment Alone Is Not Enough
Water clarity also depends on filtration, aquarium stocking, feeding practices, lighting, and nutrient management.
A successful aquarium maintenance strategy addresses these factors together.
25. UV Sterilizer Bulb Replacement for Different Aquarium Sizes
Aquarium size influences sterilizer selection and operating requirements.
However, tank volume alone does not determine lamp replacement frequency.
Small Aquariums
Compact UV sterilizers may be integrated into filters or installed as separate units.
Follow the manufacturer's service instructions, especially if the lamp assembly is difficult to access.
Medium-Sized Aquariums
External inline sterilizers are common in many home aquarium systems.
Maintain appropriate flow and ensure sufficient access for lamp replacement.
Large Aquariums
Larger aquariums may require higher-capacity UV treatment systems.
More complex installations may include multiple lamps, controllers, and monitoring equipment.
Commercial Aquatic Systems
Commercial installations may require documented servicing, calibrated monitoring, and more formal maintenance procedures.
Regardless of aquarium size, replace each lamp according to its rated life and system requirements.
26. Is It Better to Replace the UV Lamp or the Entire Sterilizer?
Sometimes aquarium owners must decide whether to purchase a replacement bulb or upgrade the complete system.
Replace the Bulb When:
-
The housing is in good condition.
-
The ballast operates normally.
-
A compatible replacement lamp is available.
-
The quartz sleeve is intact.
-
The system meets your aquarium's treatment requirements.
Consider Replacing the Sterilizer When:
-
The housing is damaged.
-
Replacement parts are unavailable.
-
The ballast has failed and repair is impractical.
-
The equipment no longer meets your aquarium's needs.
-
The unit has recurring safety problems.
-
Repairs approach the cost of a suitable replacement system.
Evaluate the Full System
A properly functioning older sterilizer may only need a compatible new lamp.
A damaged or undersized system may justify replacing the complete unit.
27. Frequently Asked Questions About Aquarium UV Bulb Replacement
How often should I replace my aquarium UV sterilizer bulb?
Many conventional aquarium UV-C lamps require replacement after approximately 8,000–9,000 operating hours, often around one year of continuous operation.
Always follow the manufacturer's specific replacement interval.
Can a UV sterilizer bulb still work after one year?
A lamp may continue illuminating after one year, but its germicidal UV output may no longer meet the intended performance requirements.
Use operating hours and manufacturer guidance rather than visible light to determine replacement.
How can I tell if my UV sterilizer bulb is bad?
Possible indicators include reaching its rated service life, a lamp-life warning, failure to start, irregular operation, physical damage, or a validated low-intensity alarm.
Water clarity changes can justify an inspection but are not conclusive proof of bulb failure.
Does a UV bulb lose strength over time?
Yes. Traditional UV-C lamps generally experience declining germicidal output as they age.
Can I use any UV-C bulb in my aquarium sterilizer?
No. Replacement lamps must match the sterilizer's electrical, physical, and performance specifications.
Can I replace the UV bulb myself?
Many home aquarium UV sterilizers are designed for user-serviceable lamp replacement.
Follow the equipment instructions and all safety precautions.
Seek professional help when electrical faults, damaged components, or complex installations are involved.
Should I clean the quartz sleeve when changing the bulb?
Many manufacturers recommend inspecting and cleaning the quartz sleeve during lamp replacement.
Follow your model's maintenance procedure.
Does a new UV bulb make aquarium water clear immediately?
Not necessarily.
Water clarity changes depend on the cause of cloudiness, sterilizer performance, flow, and aquarium conditions.
A UV sterilizer cannot remove every type of suspended material.
What happens if the UV bulb burns out?
The sterilizer will no longer deliver its intended UV treatment while the lamp is not operating.
Mechanical and biological filtration may continue functioning independently.
Can I run my UV sterilizer continuously?
Many aquarium UV sterilizers are designed for continuous operation with proper water flow.
Follow the manufacturer's recommendations.
Will turning the UV sterilizer off at night extend bulb life?
Reducing operating hours may slow the accumulation of lamp runtime, but frequent switching can affect certain lamp designs.
Follow the manufacturer's guidance rather than assuming daily switching is beneficial.
Do UV-C LED sterilizers need replacement bulbs?
UV-C LED systems use different light-source technology and may not have traditional replaceable tubes.
Their lifespan and service procedures depend on the manufacturer.
Can an old UV lamp harm my fish?
An aging lamp typically becomes less effective at the intended UV treatment.
However, broken lamps, electrical faults, and leaking equipment can introduce additional hazards.
Maintain the sterilizer according to its instructions.
Why is my aquarium still green after replacing the UV bulb?
Possible causes include inadequate UV dose, incorrect flow, dirty quartz sleeves, insufficient circulation, or continuing algae growth caused by lighting and nutrients.
Check the complete system.
Do saltwater UV bulbs need more frequent replacement?
Not necessarily.
Replacement frequency depends on lamp specifications, operating hours, and application requirements rather than saltwater use alone.
Should I replace the quartz sleeve every time I replace the bulb?
Not always.
Many systems allow a quartz sleeve to be cleaned and reused if it remains undamaged.
Some manufacturers specify scheduled sleeve replacement.
Follow your equipment instructions.
How do I know which UV bulb fits my sterilizer?
Check the model number and official replacement-part specifications.
Verify wattage, dimensions, connector type, and lamp technology.
Is a more powerful UV bulb always better?
No.
The entire sterilizer must be designed for the lamp.
Using a higher-wattage replacement without manufacturer approval can create safety and compatibility problems.
What is the difference between UV bulb life and visible lamp life?
Visible lamp life describes how long a lamp continues emitting visible light.
Useful germicidal lamp life refers to the interval over which UV output meets the manufacturer's intended performance requirements.
These are not necessarily the same.
Can I throw an old UV sterilizer bulb in the trash?
Many traditional UV lamps contain mercury and require specific disposal methods.
Follow local recycling and hazardous-waste requirements.
28. Final Aquarium UV Sterilizer Bulb Replacement Checklist
Use this checklist to keep your aquarium UV sterilizer operating safely and consistently.
Before Replacement
-
Check the manufacturer's lamp-life specifications.
-
Confirm accumulated operating hours.
-
Verify the replacement lamp part number.
-
Prepare a clean, dry work area.
-
Disconnect electrical power.
-
Allow the lamp to cool.
-
Isolate water flow when required.
-
Review safety instructions.
During Replacement
-
Remove protective components carefully.
-
Disconnect the lamp connector properly.
-
Withdraw the old lamp without bending it.
-
Inspect the quartz sleeve.
-
Clean the sleeve if required.
-
Examine seals and O-rings.
-
Install the correct replacement lamp.
-
Reconnect components securely.
-
Reassemble all safety covers.
After Replacement
-
Restore appropriate water circulation.
-
Check for leaks.
-
Confirm safe assembly.
-
Restore electrical power.
-
Check operating indicators.
-
Reset the lamp-life timer.
-
Record the installation date.
-
Calculate the next service interval.
-
Recycle the old lamp appropriately.
Conclusion: Replace Your Aquarium UV Sterilizer Bulb Before Performance Declines
An aquarium UV sterilizer can play an important role in maintaining water clarity and reducing certain suspended microorganisms, but its effectiveness depends on proper operation and maintenance.
Among the most important maintenance tasks is replacing the UV sterilizer bulb at the appropriate time.
Unlike ordinary lighting, a UV-C lamp may continue producing visible light even after its germicidal output has declined.
For many conventional aquarium UV sterilizers, replacement is recommended after approximately 8,000–9,000 operating hours. However, the exact interval depends on the lamp, manufacturer, and application.
The most reliable approach is to track operating hours, follow the manufacturer's service recommendations, and investigate warning indicators promptly.
If aquarium water becomes green again, the sterilizer displays a lamp-life warning, or the lamp operates abnormally, evaluate the system rather than assuming the bulb is the only possible problem.
Proper quartz sleeve cleaning, correct water flow, compatible replacement components, and safe electrical practices are equally important.
When replacing a UV bulb, always disconnect power, allow the equipment to cool, handle fragile components carefully, and follow the manufacturer's instructions.
Remember that ultraviolet sterilization is only one part of effective aquarium management. Healthy aquatic environments also depend on appropriate filtration, stable water quality, responsible feeding, regular maintenance, and proper livestock care.
By replacing your UV sterilizer bulb on schedule and maintaining the complete system, you can support dependable UV performance, reduce avoidable equipment problems, and enjoy clearer aquarium water over the long term.
Understanding the warning signs and following a consistent replacement schedule is the best way to ensure your aquarium UV sterilizer continues performing as intended—without waiting for the lamp to fail completely.