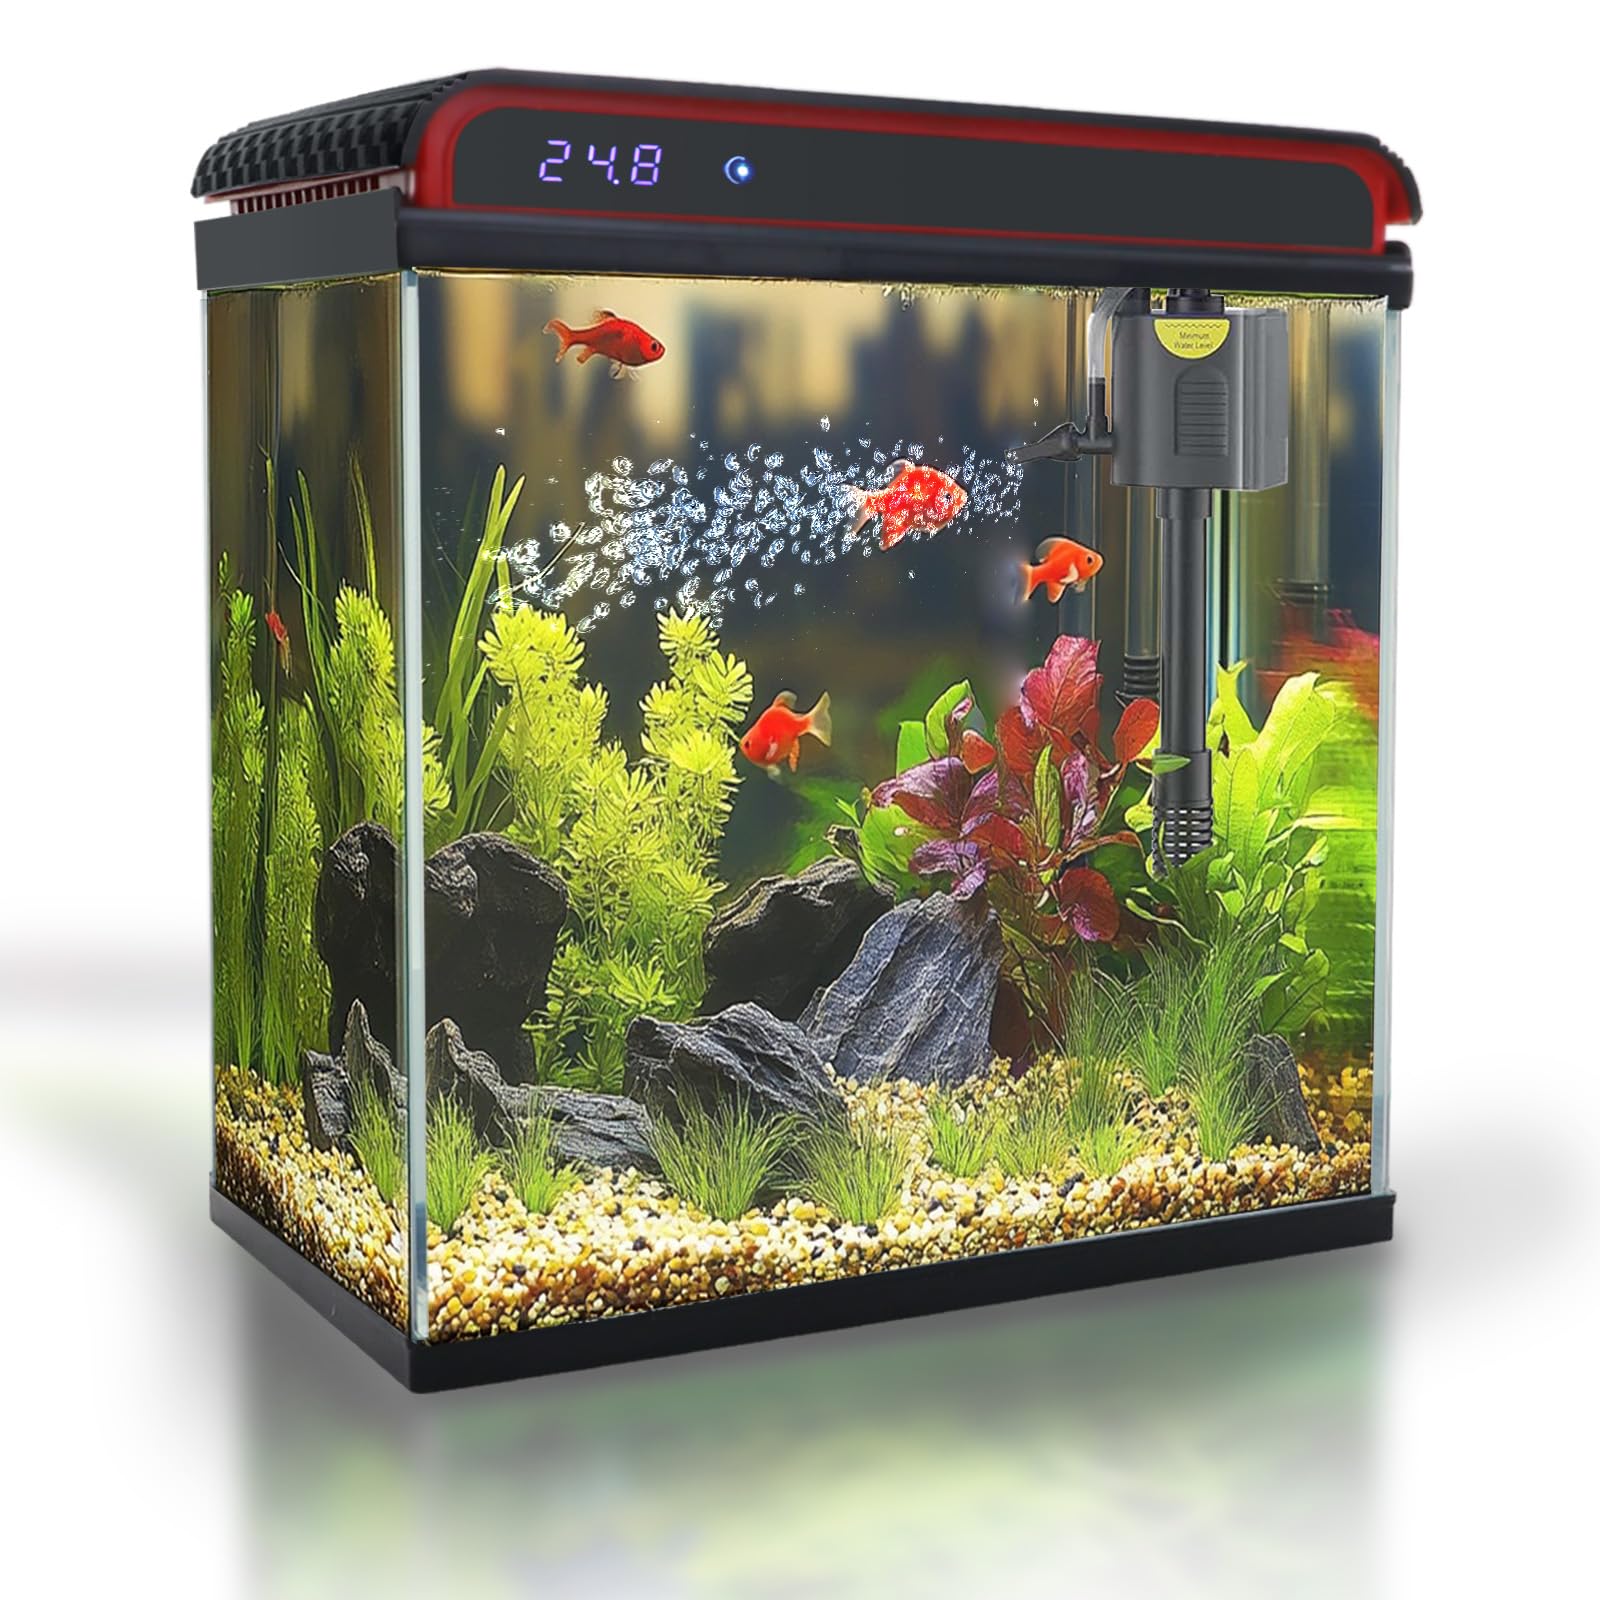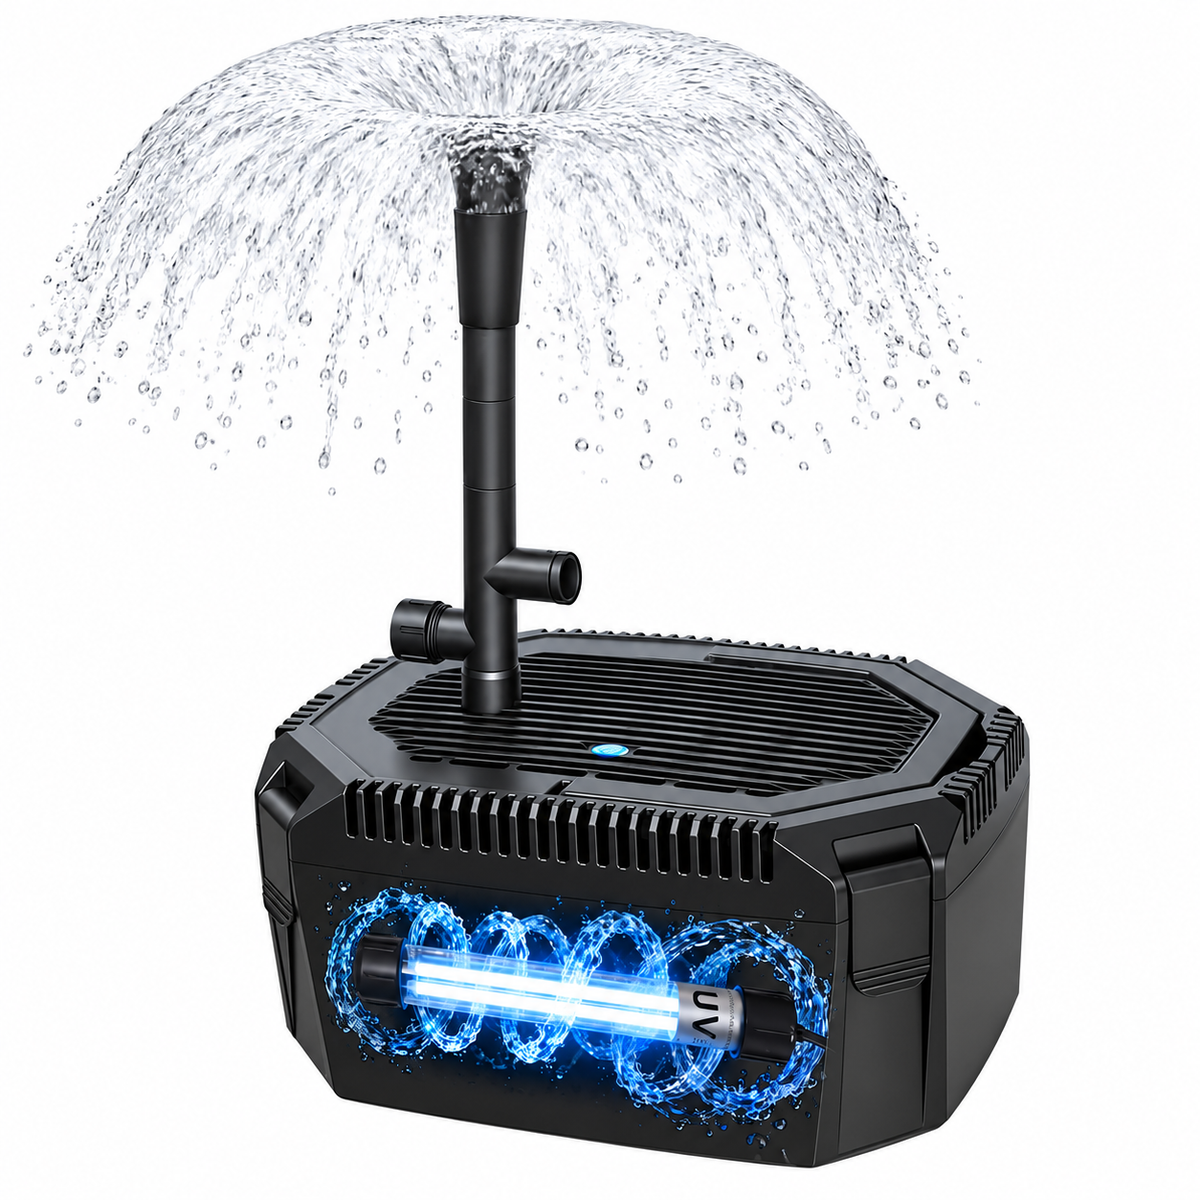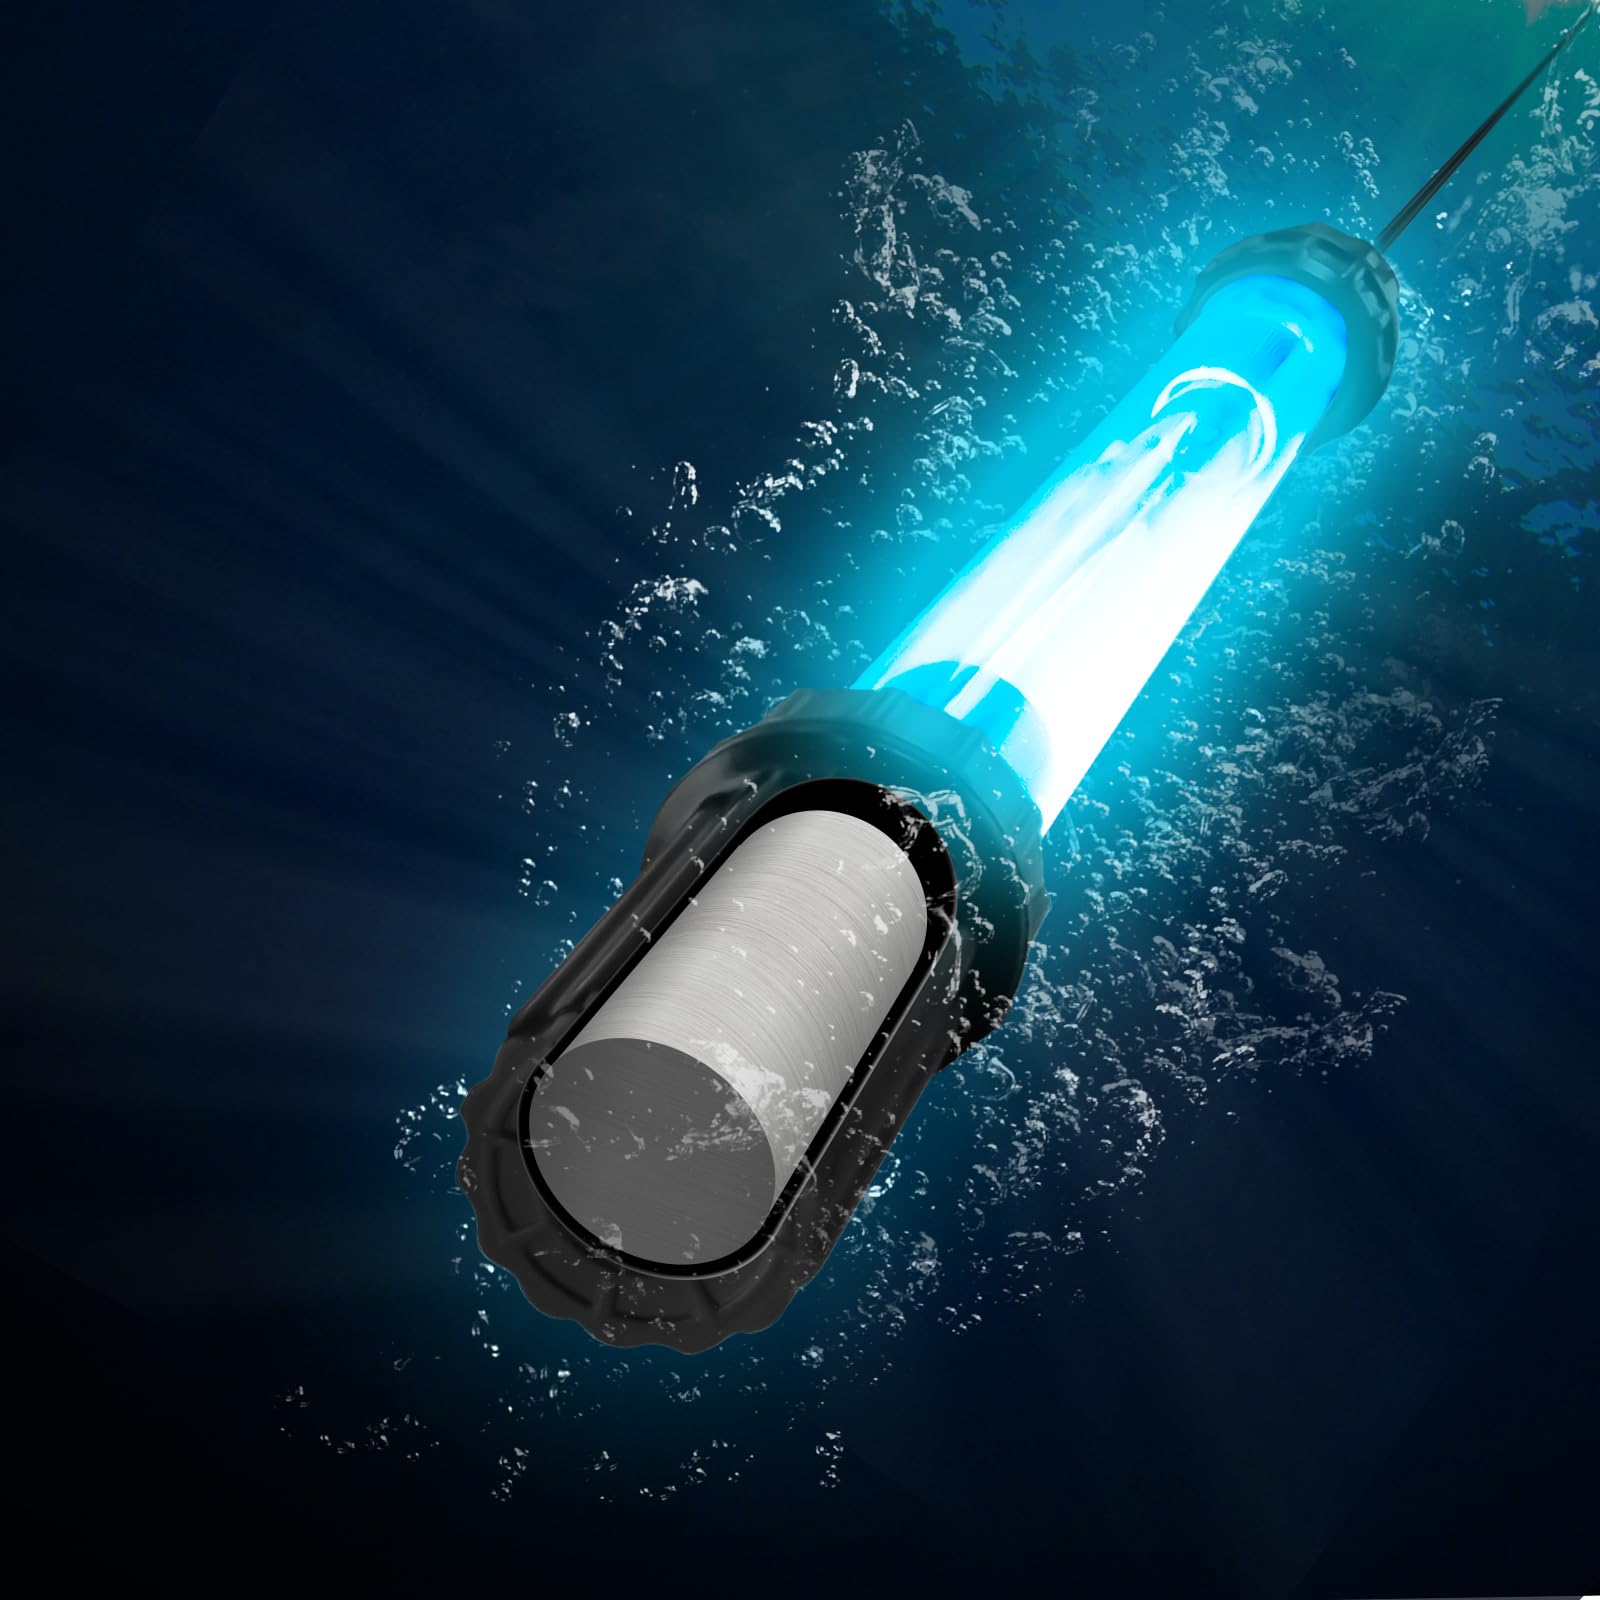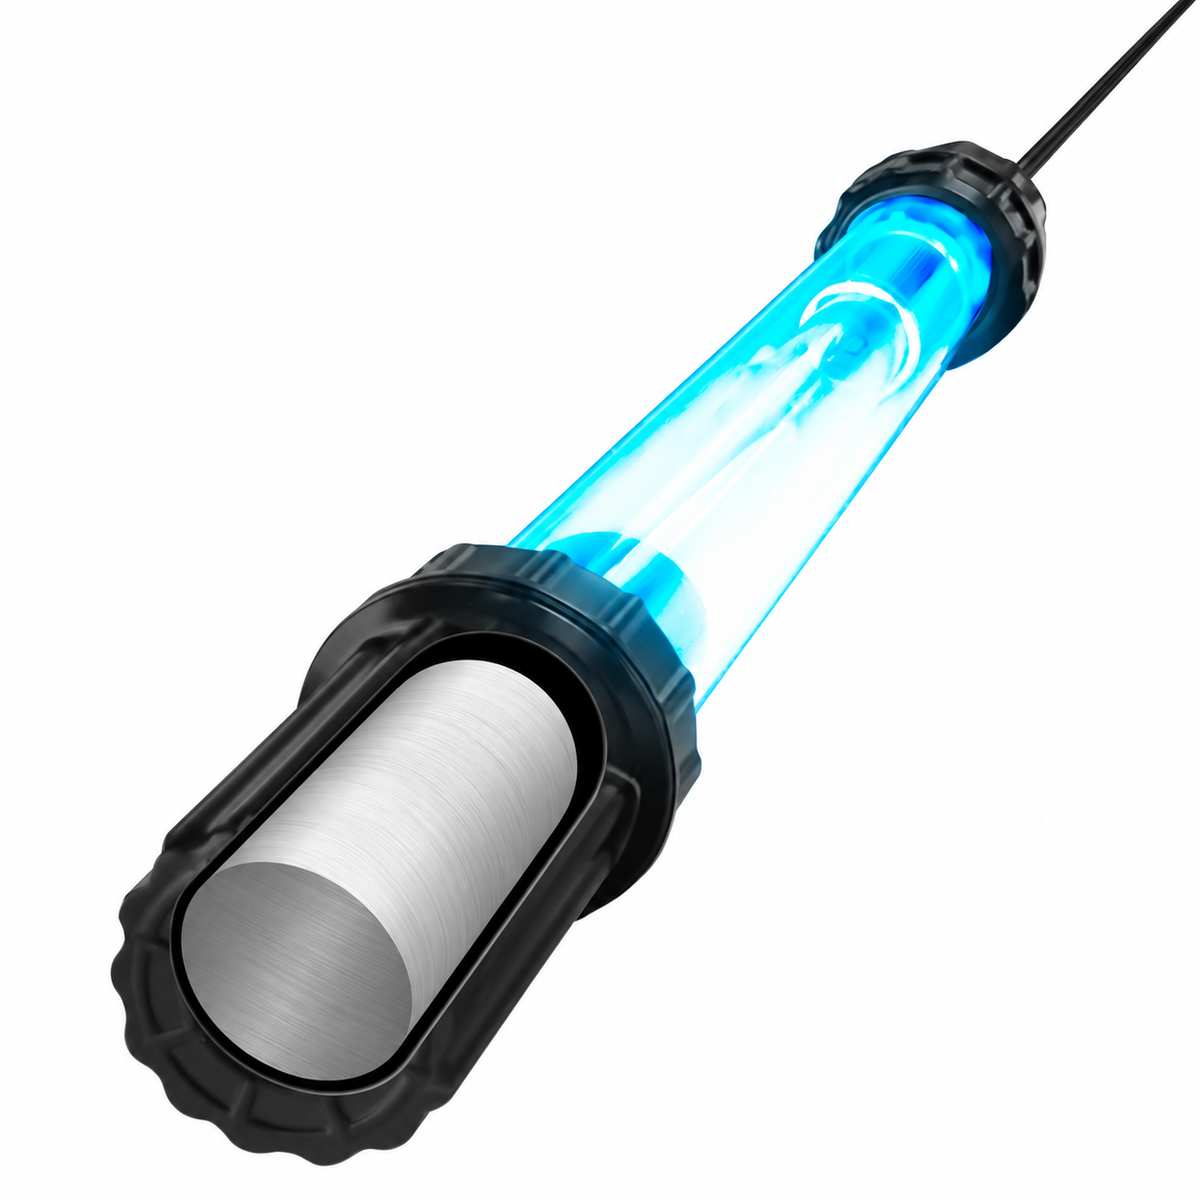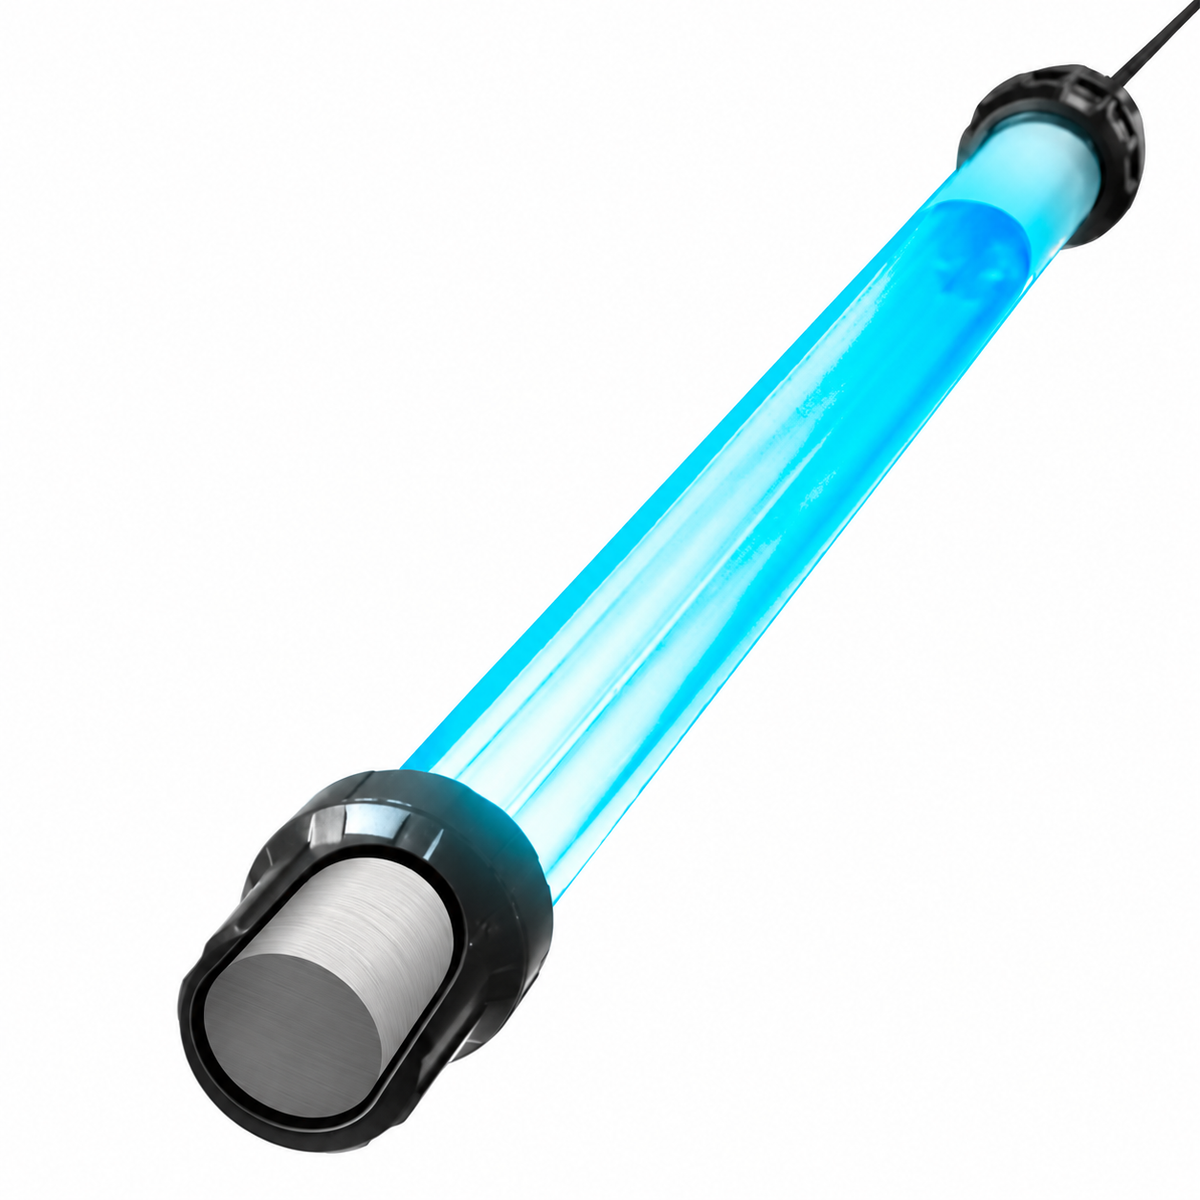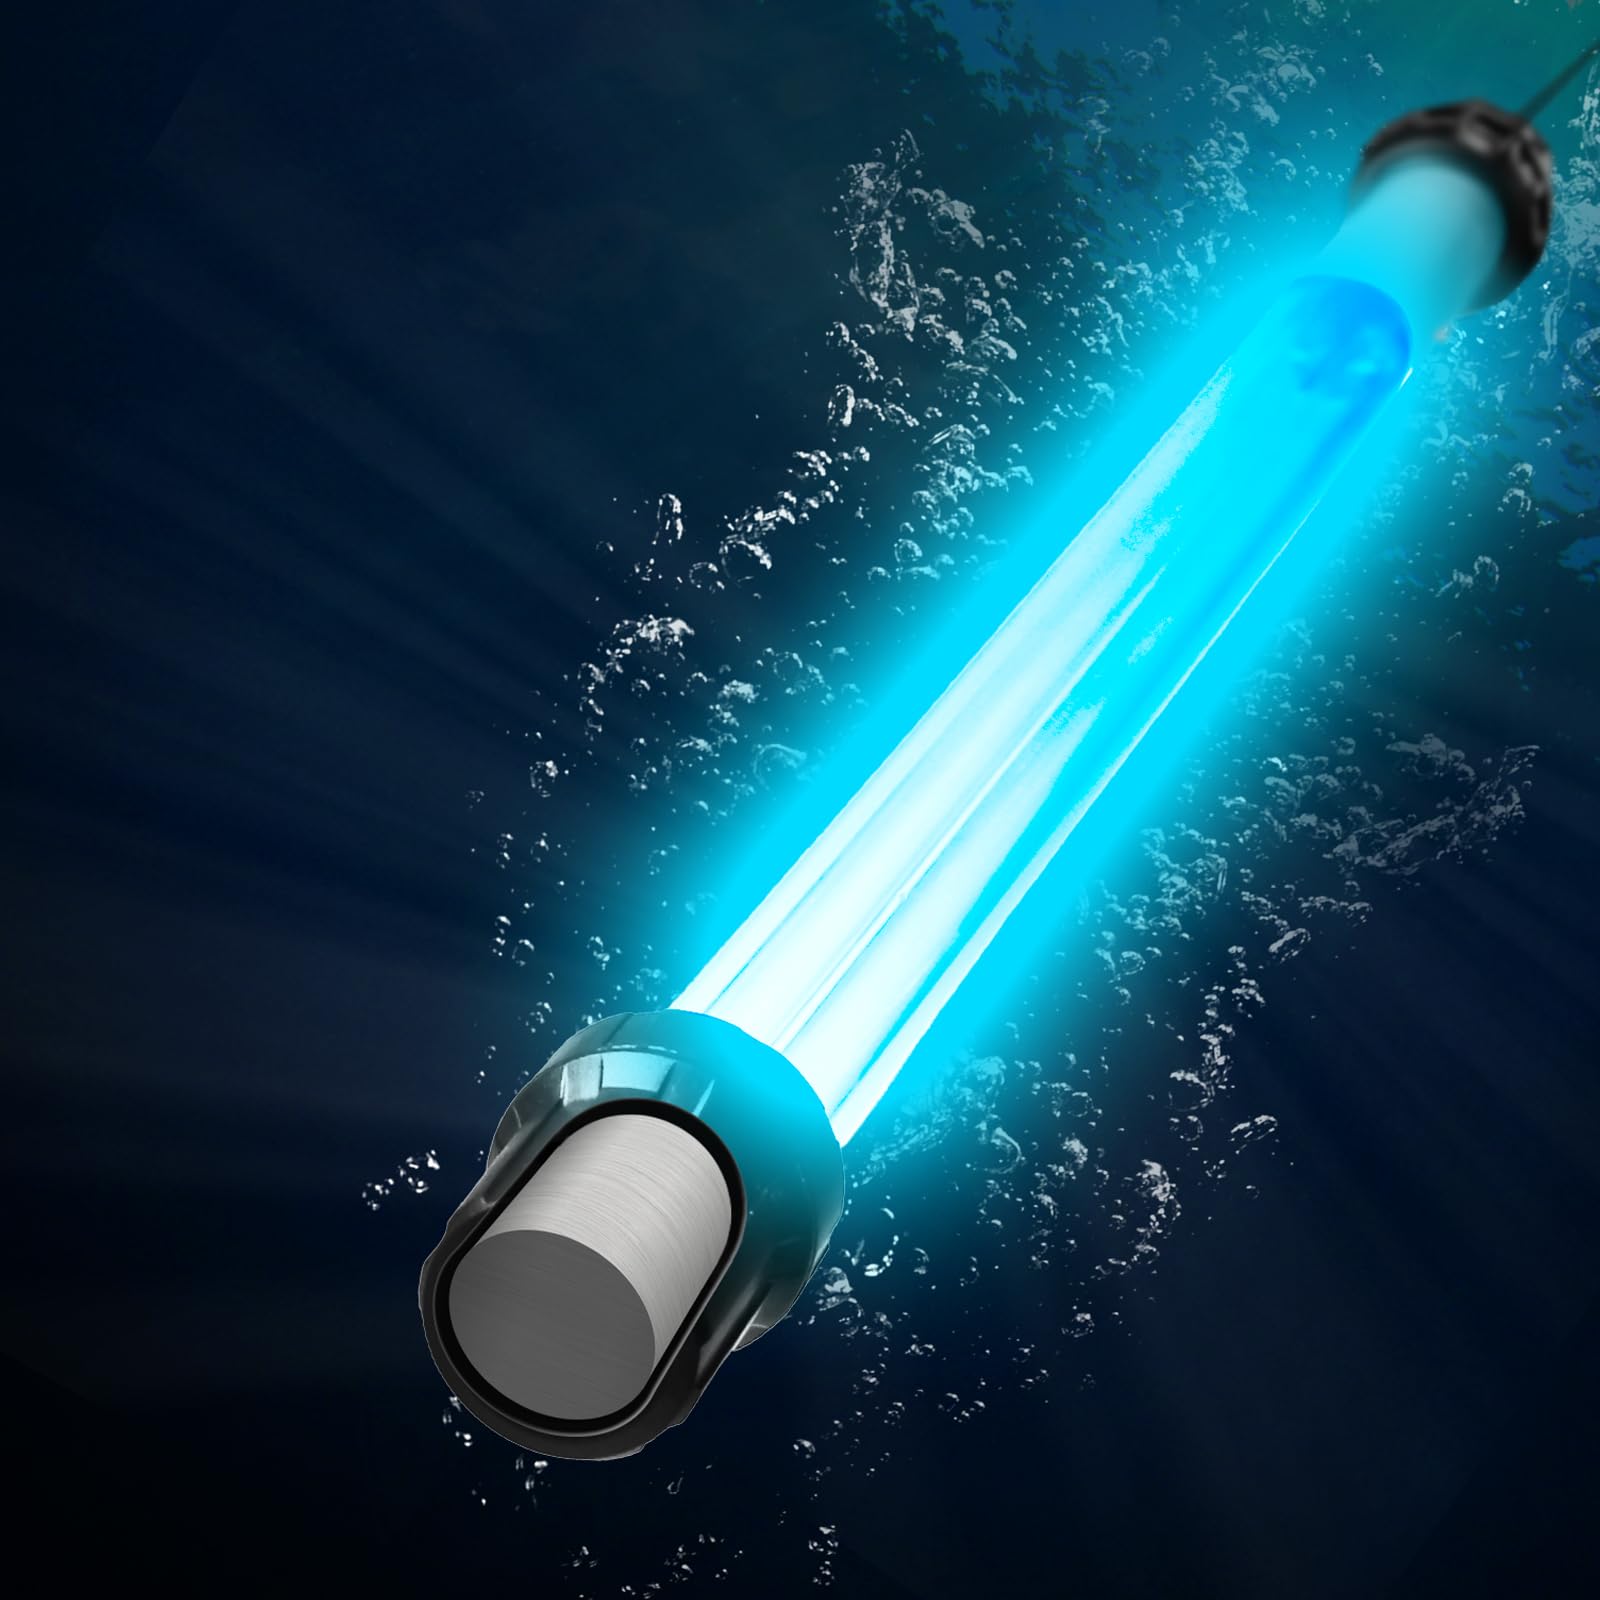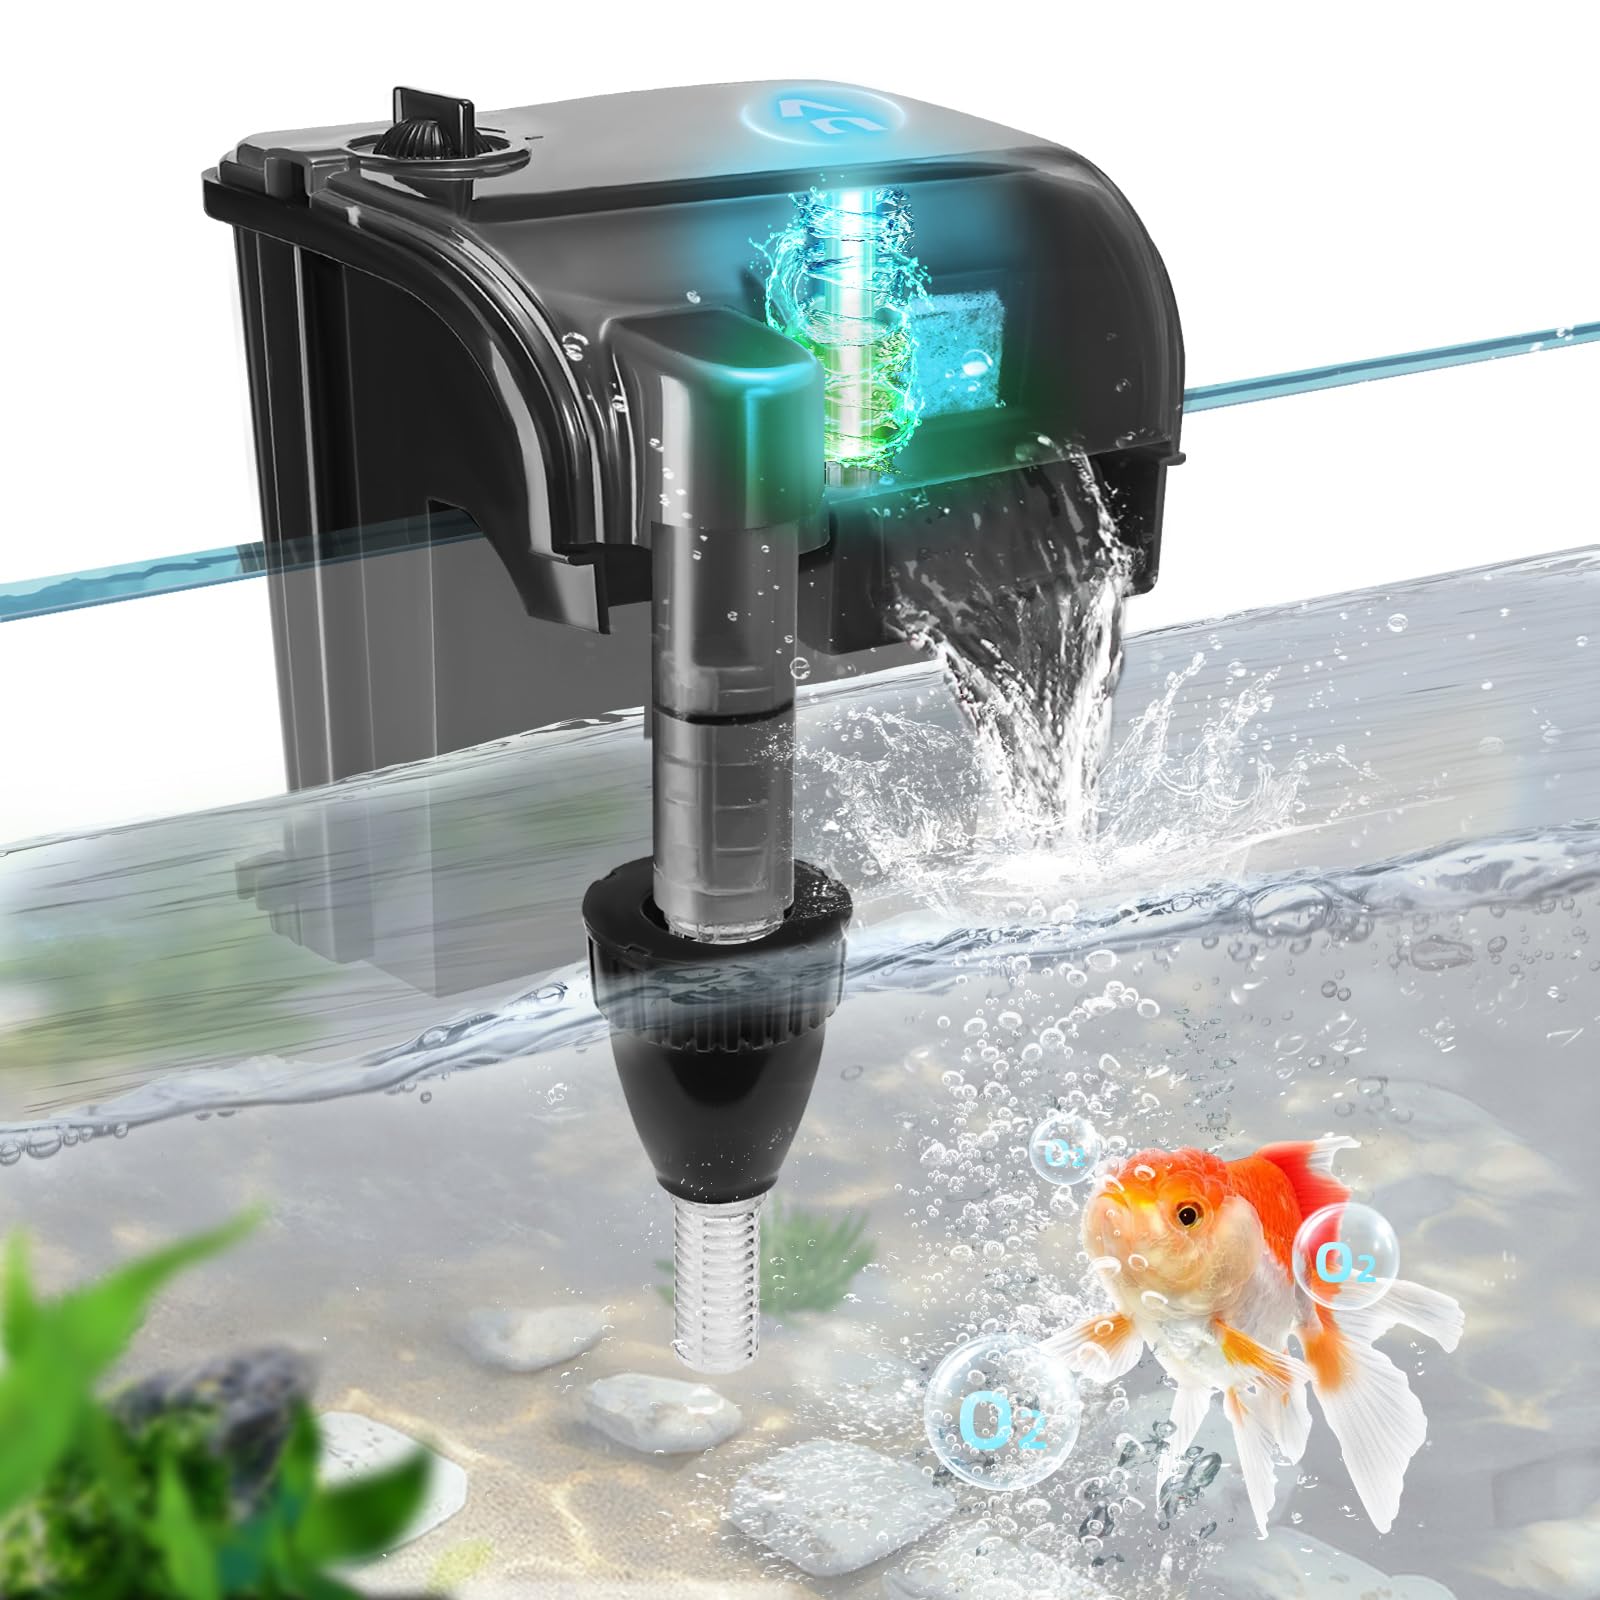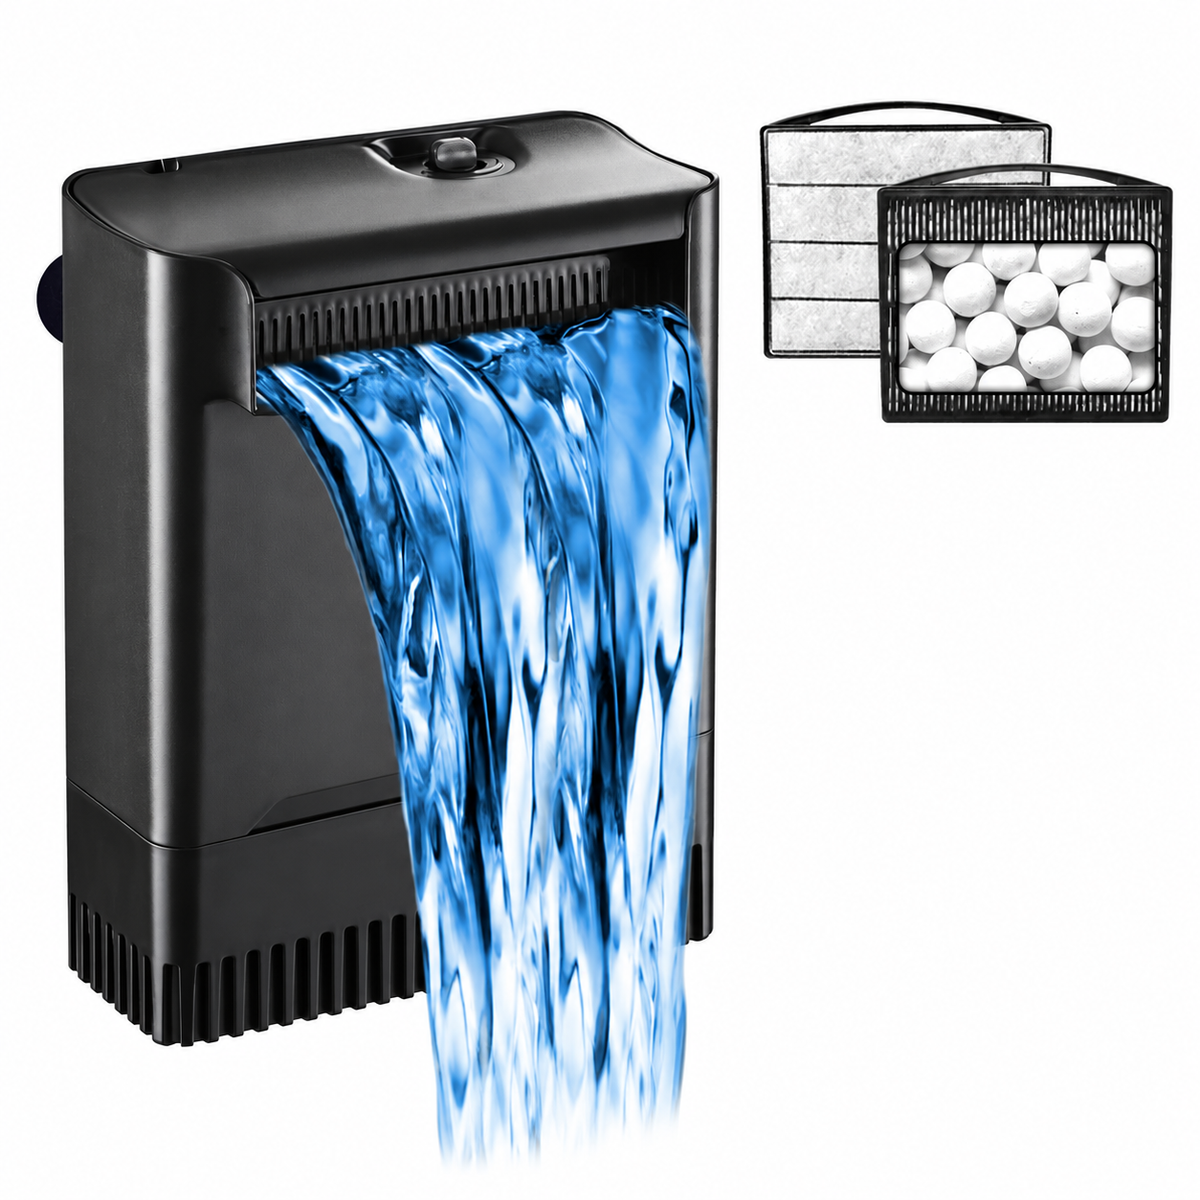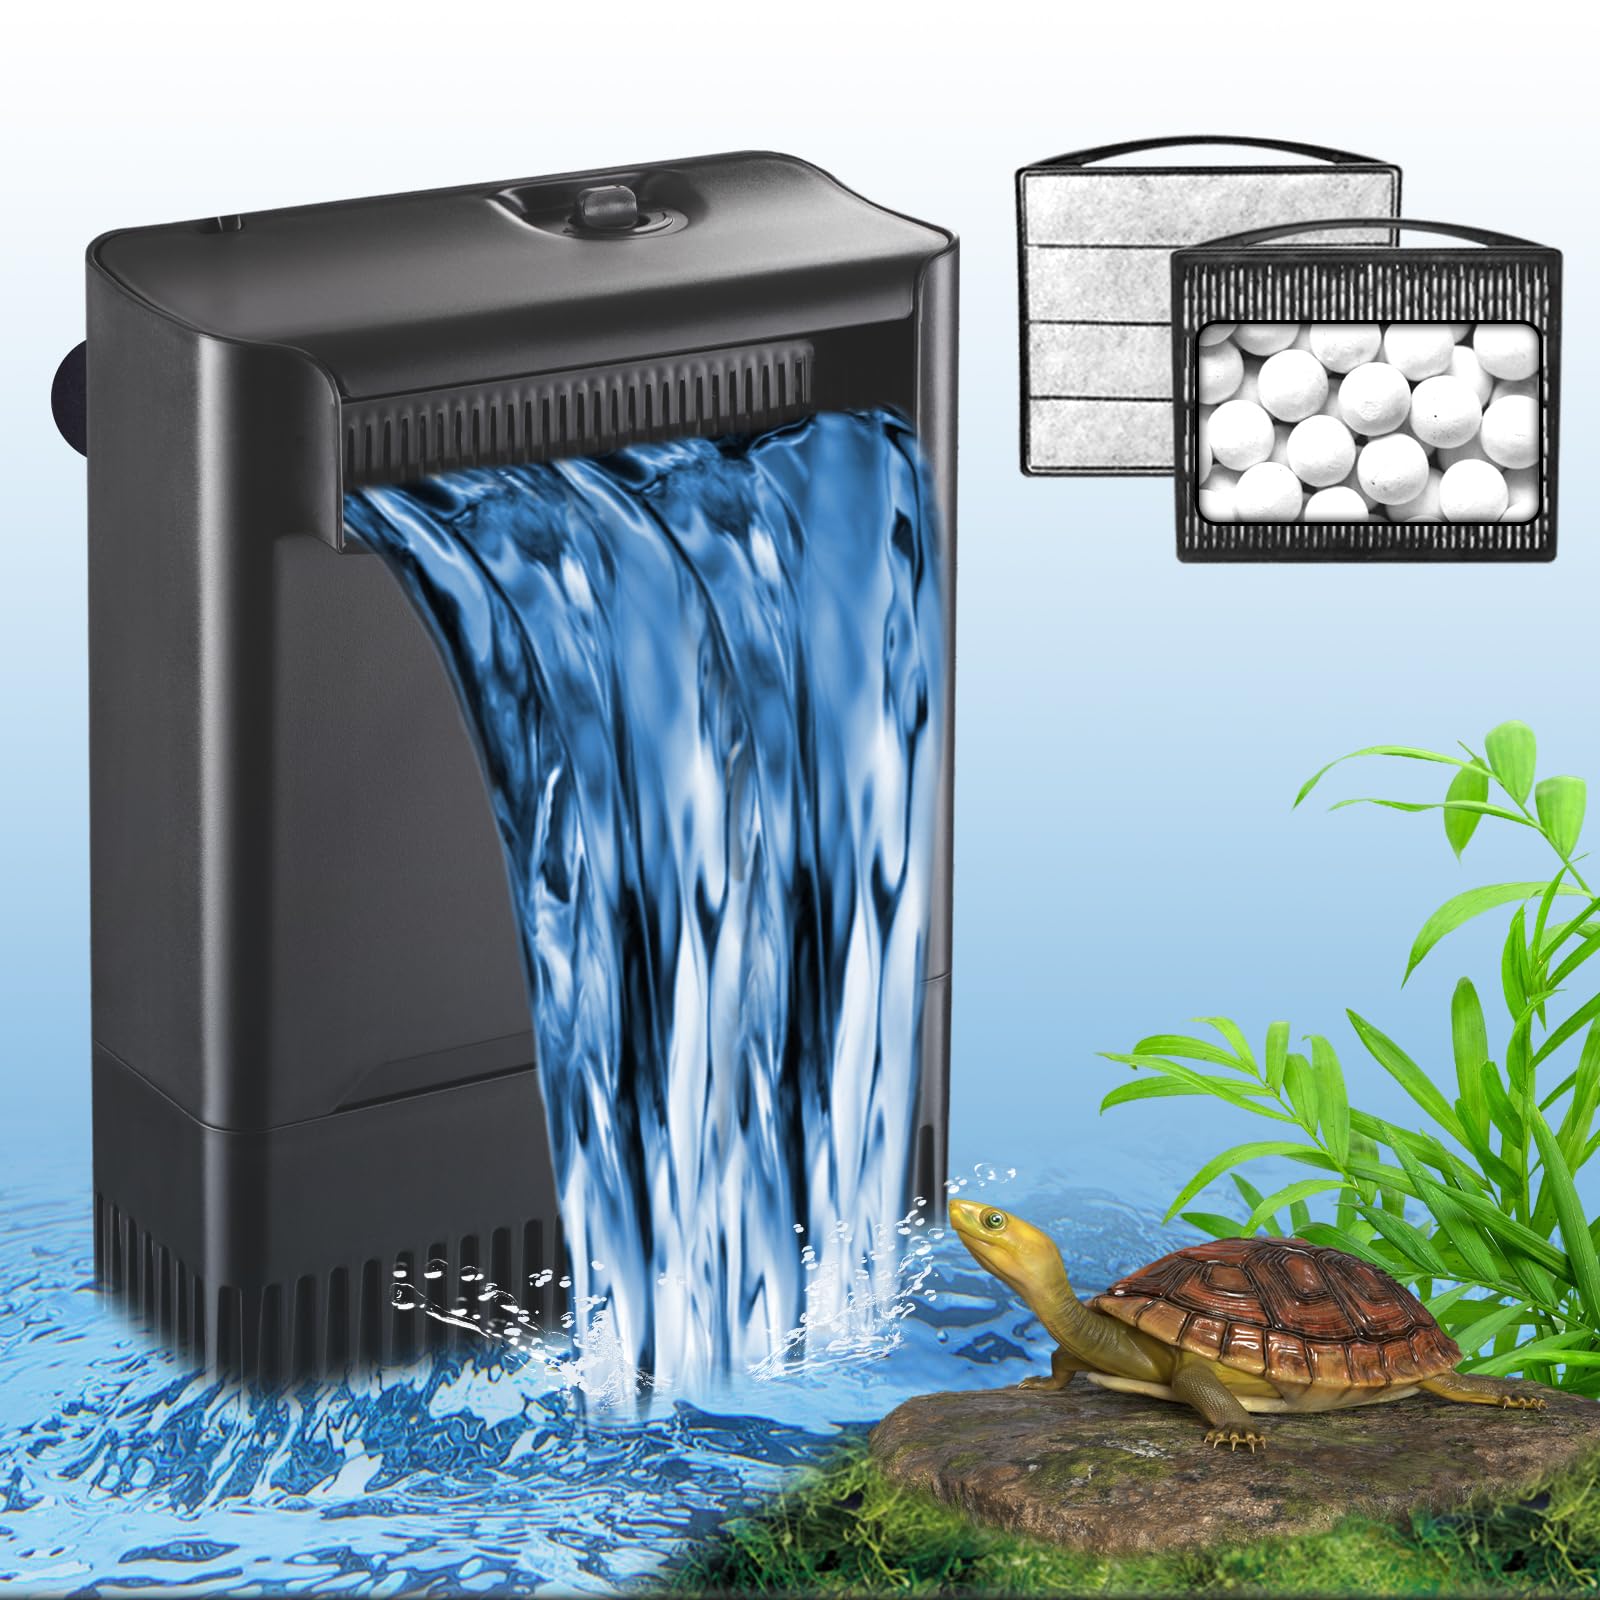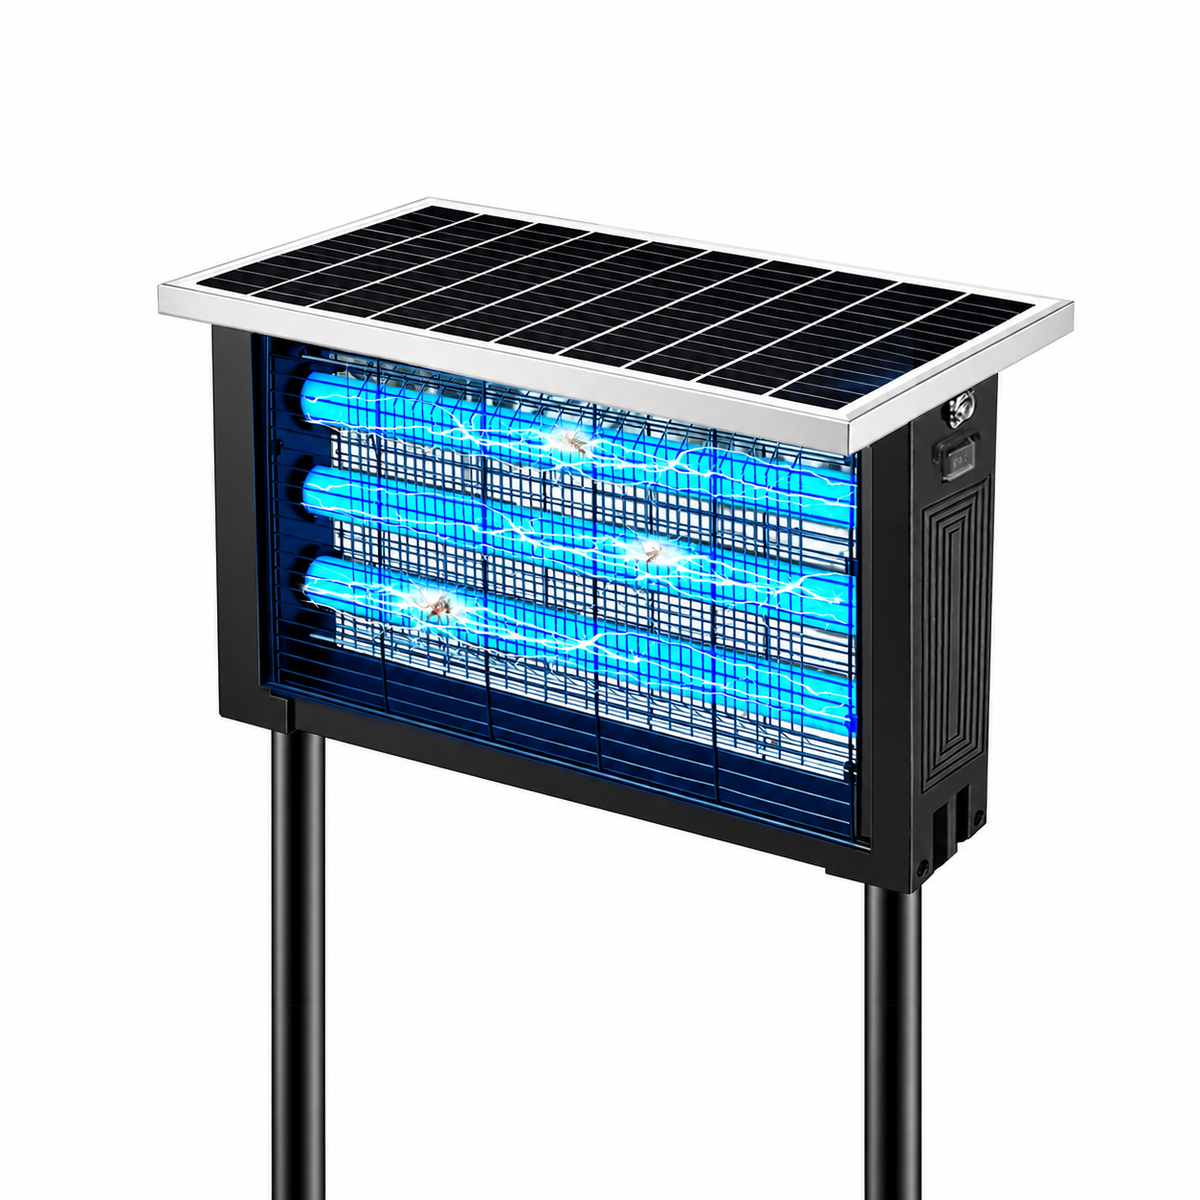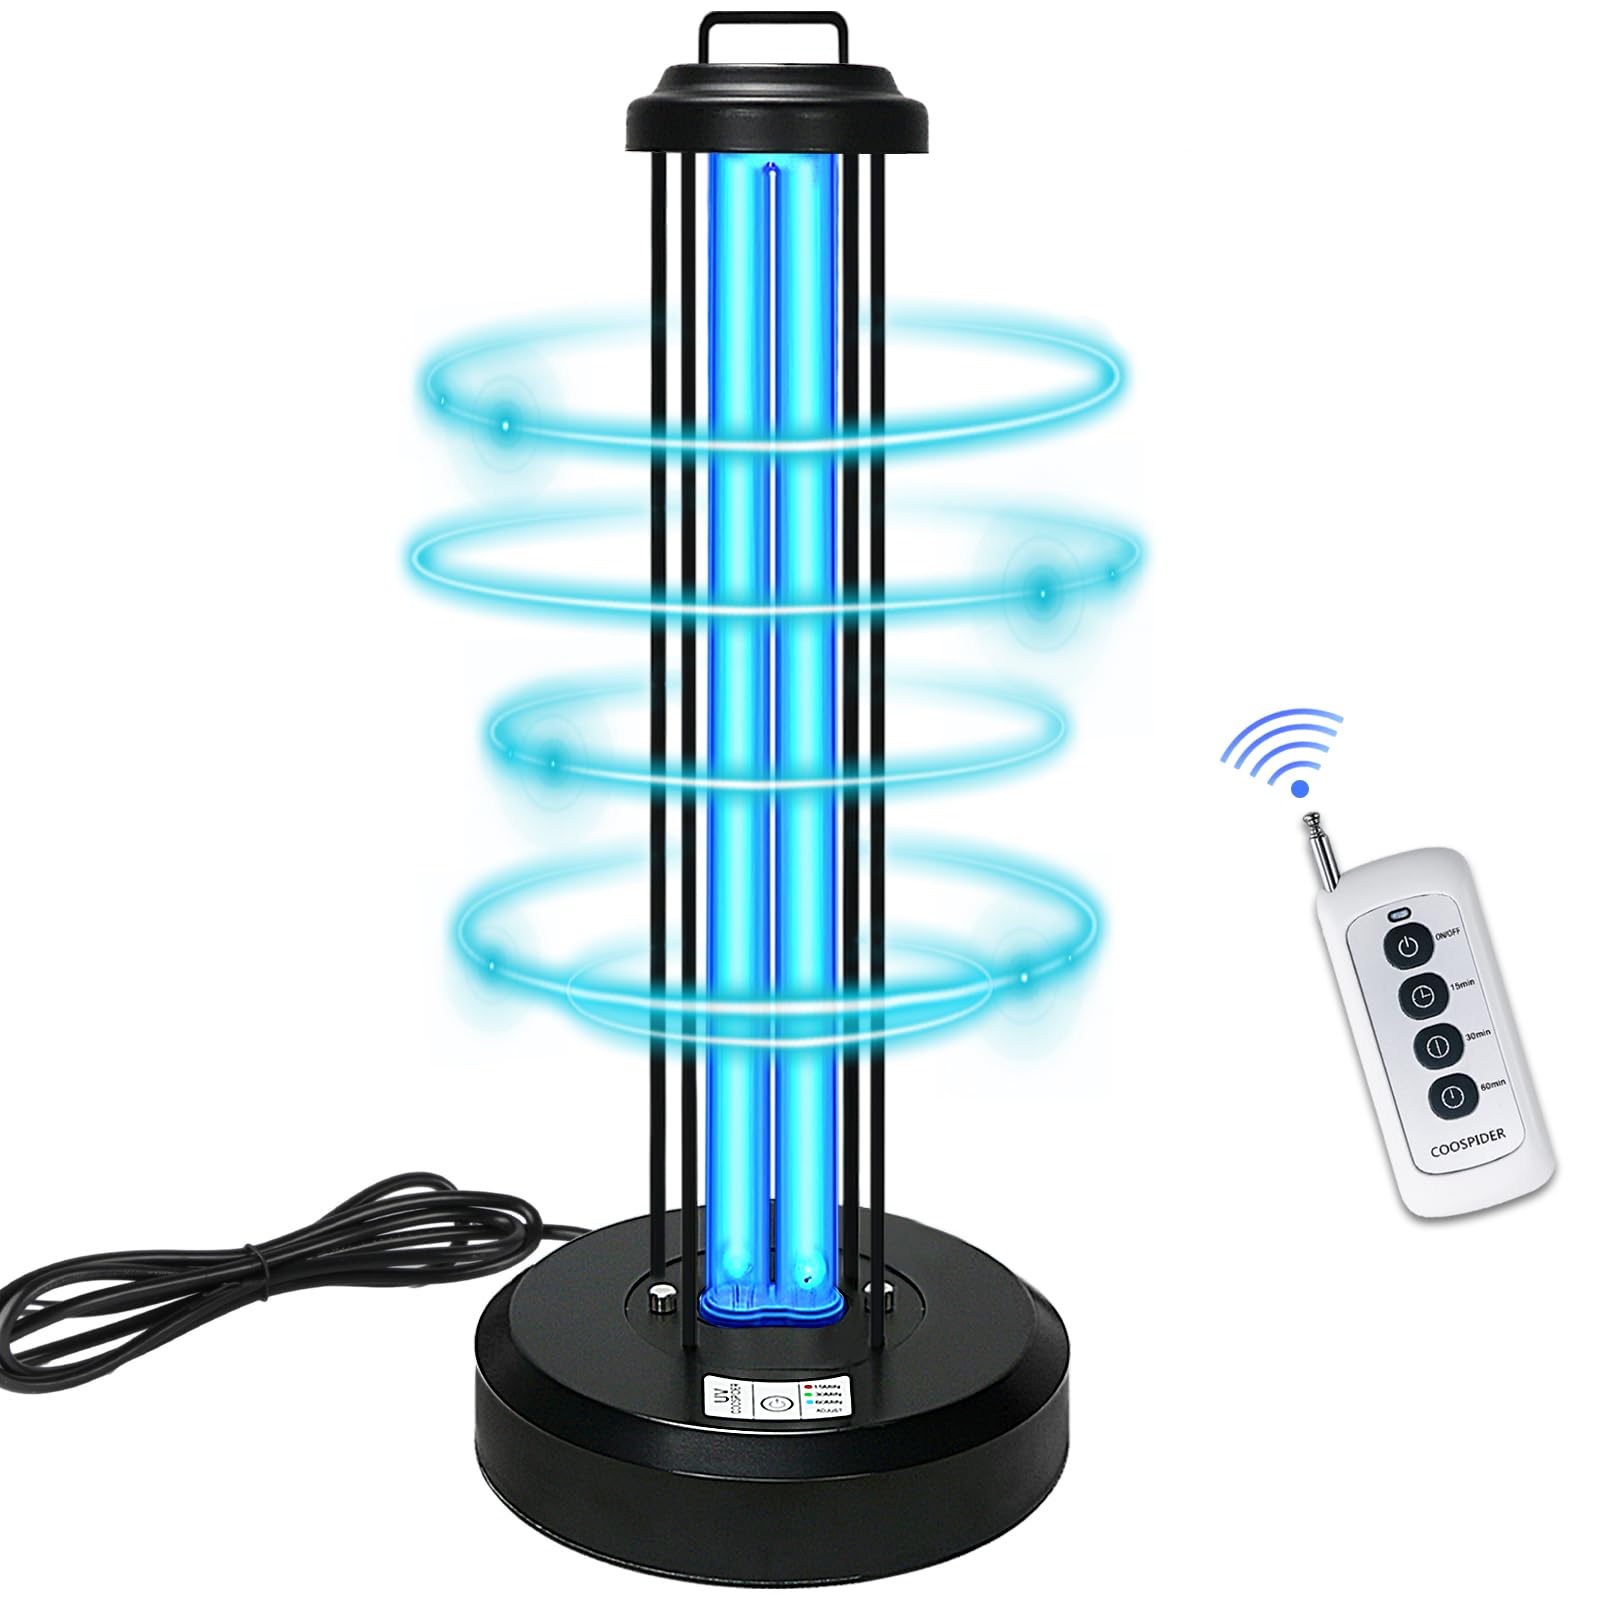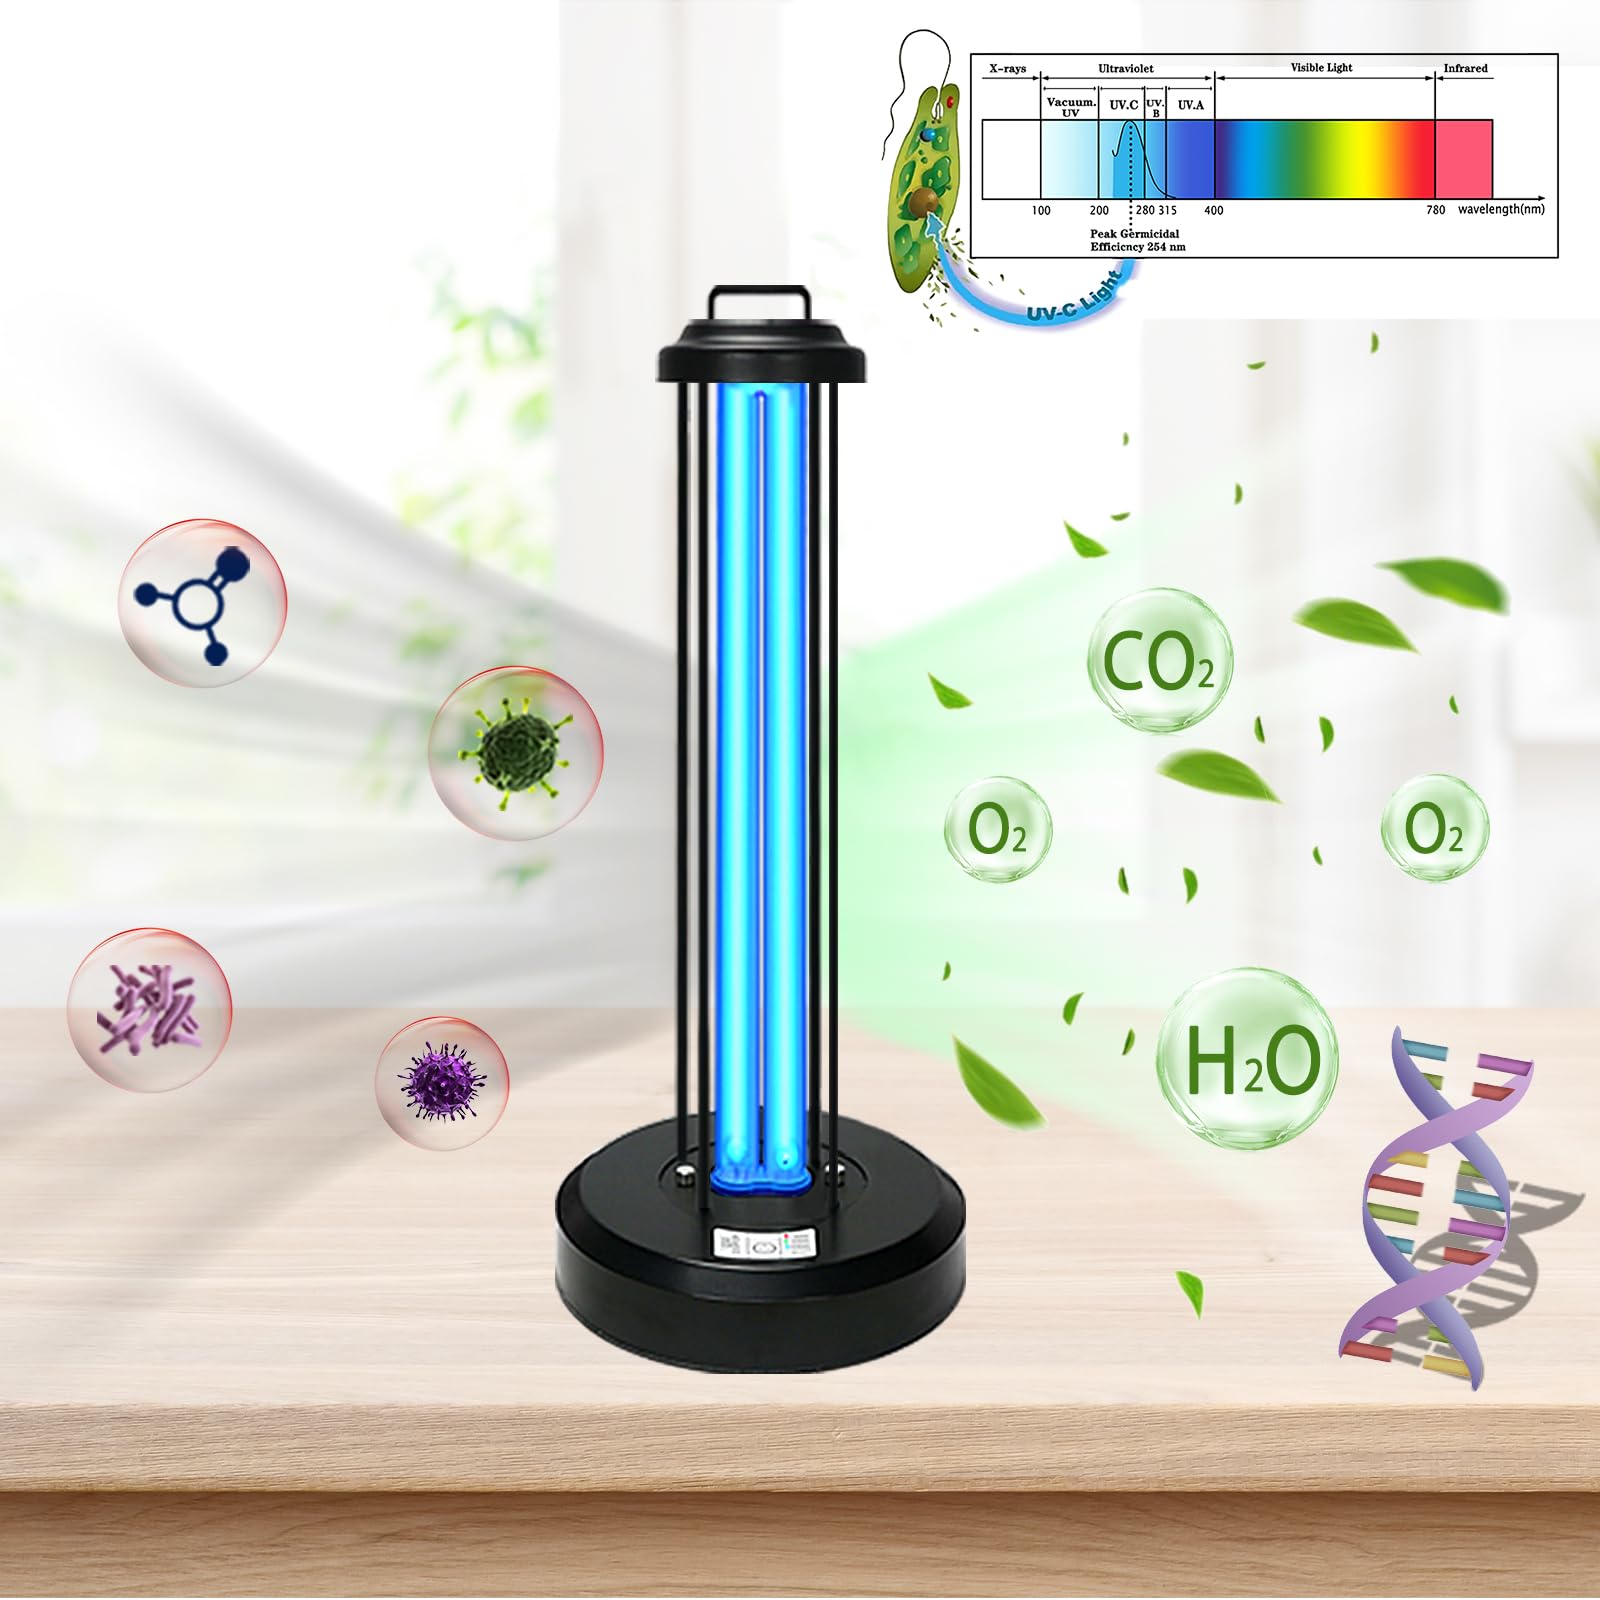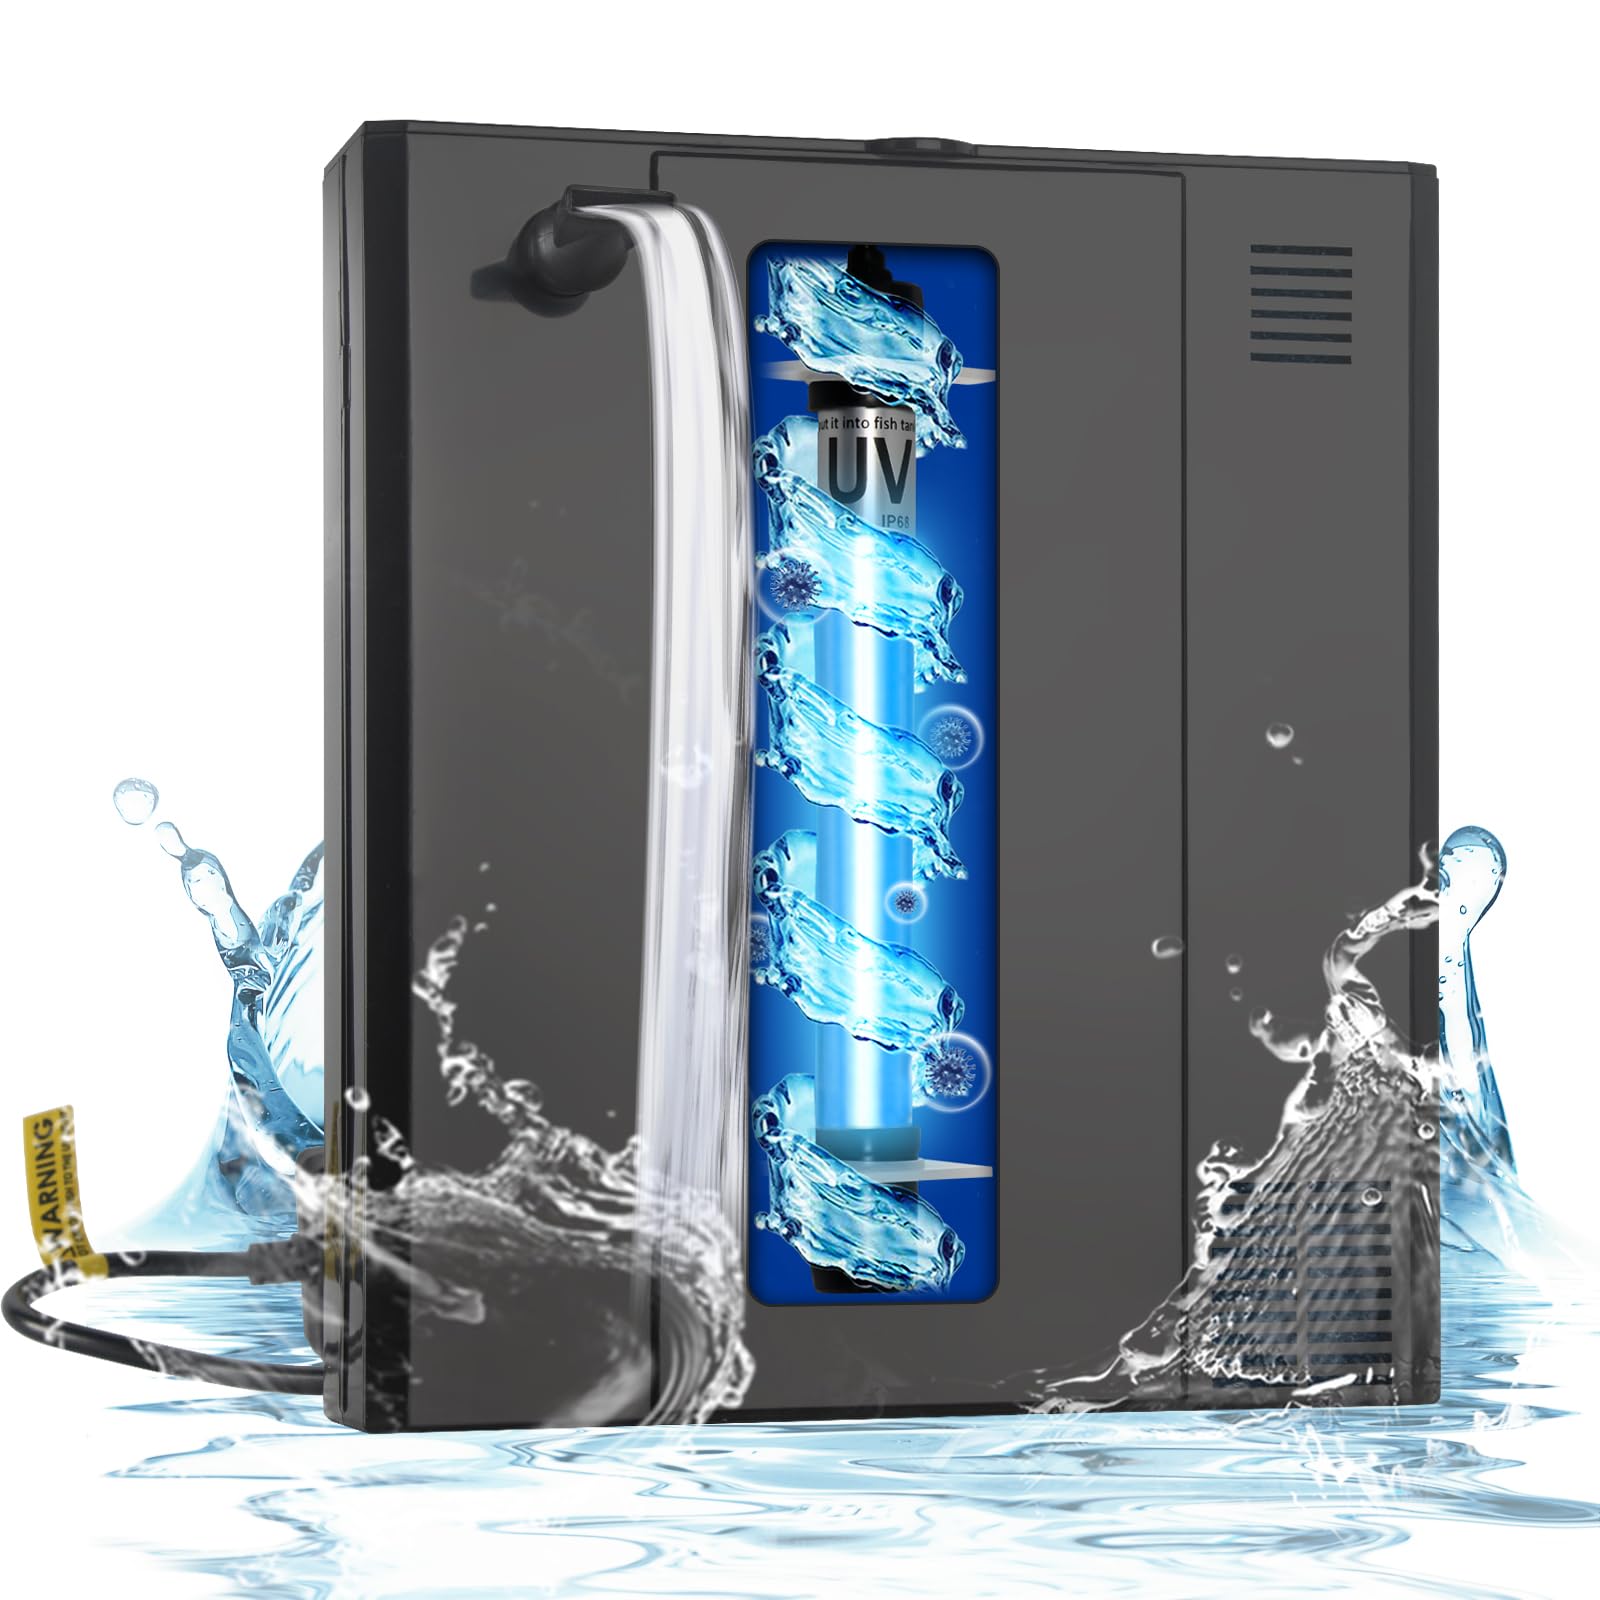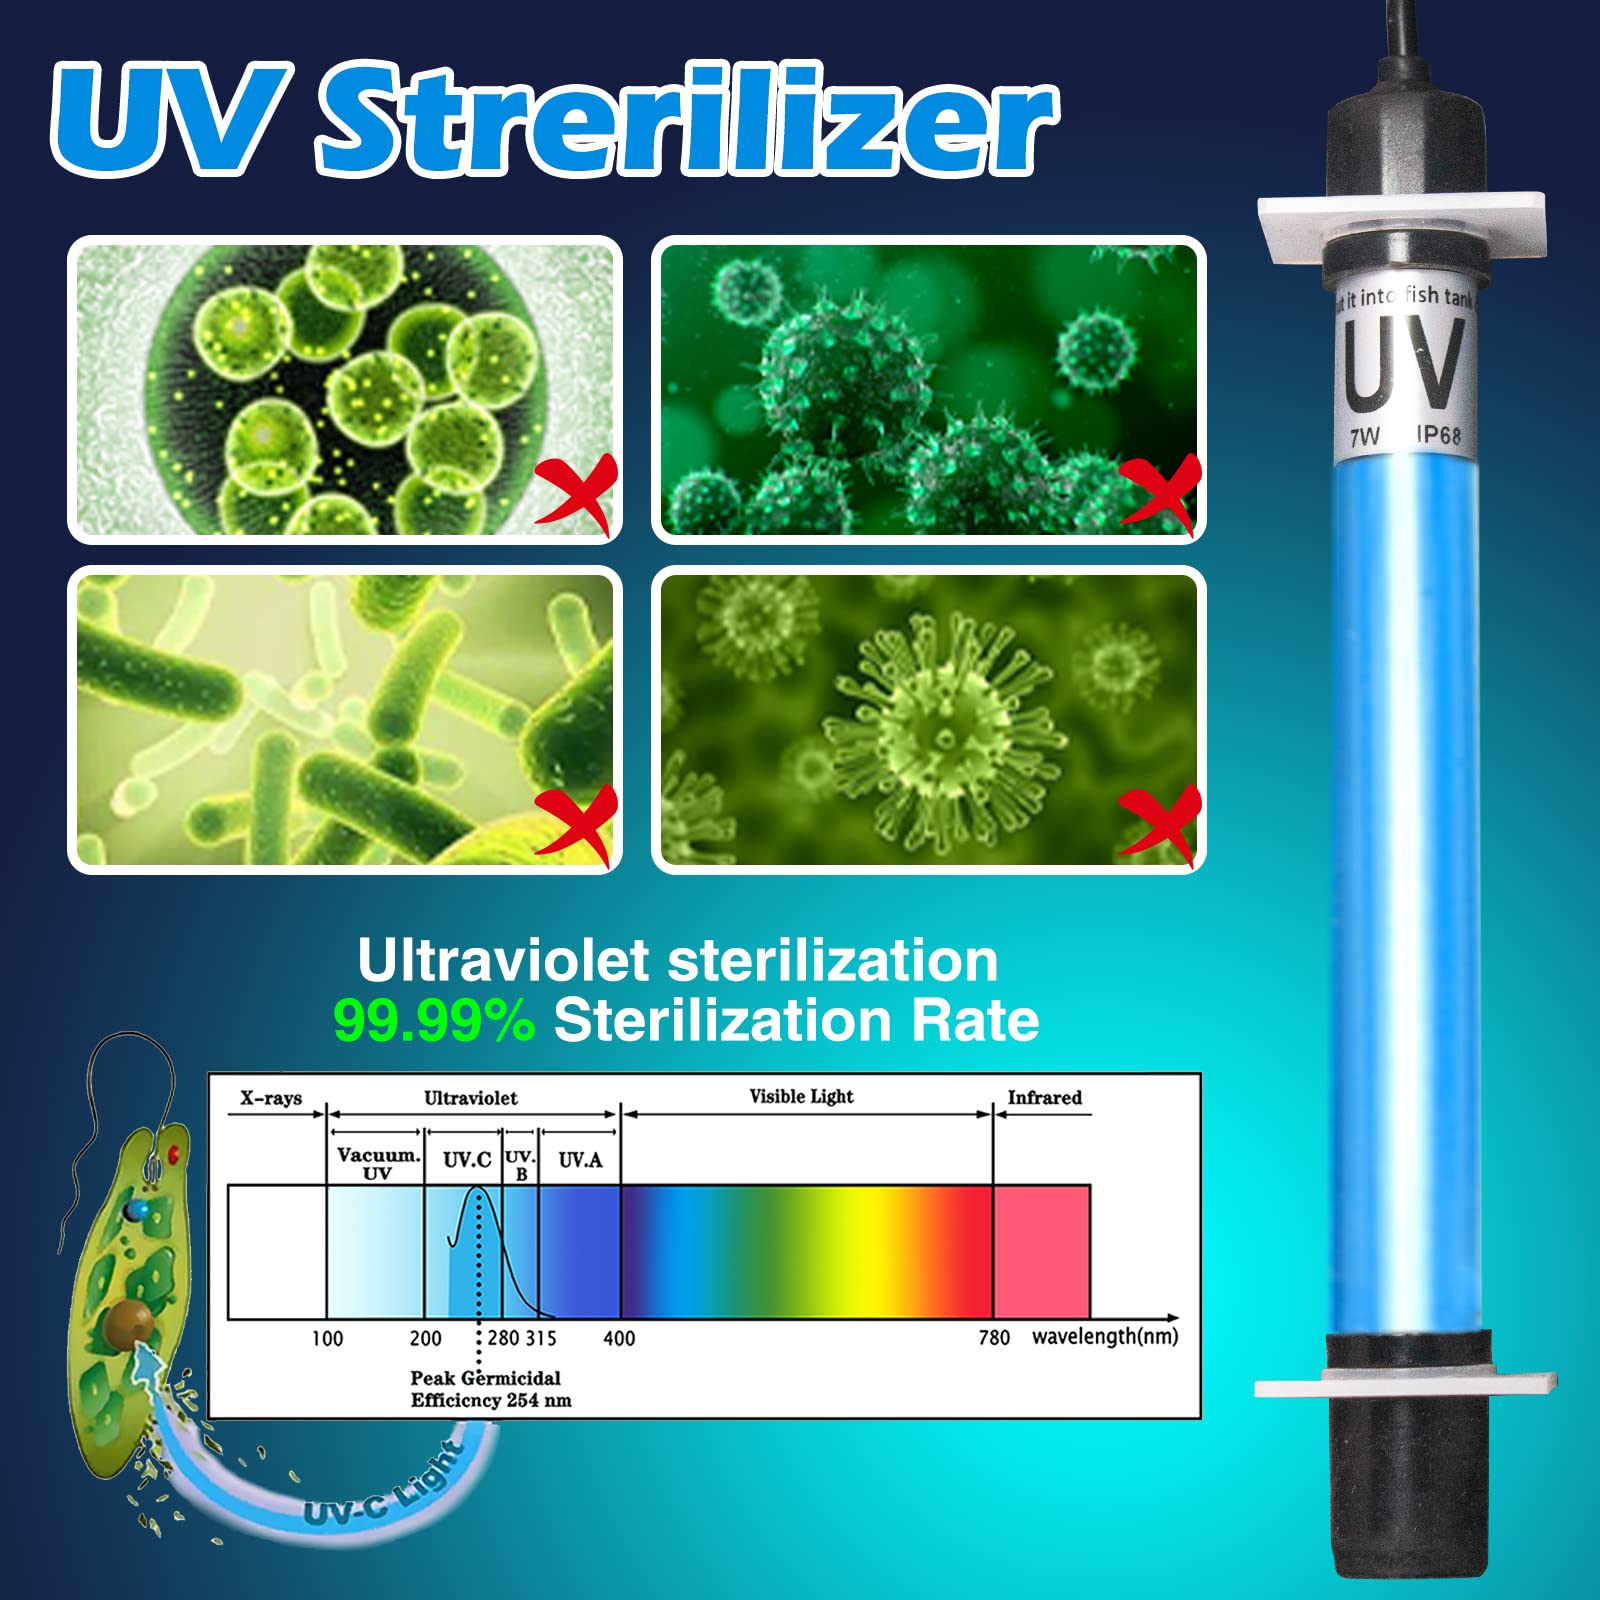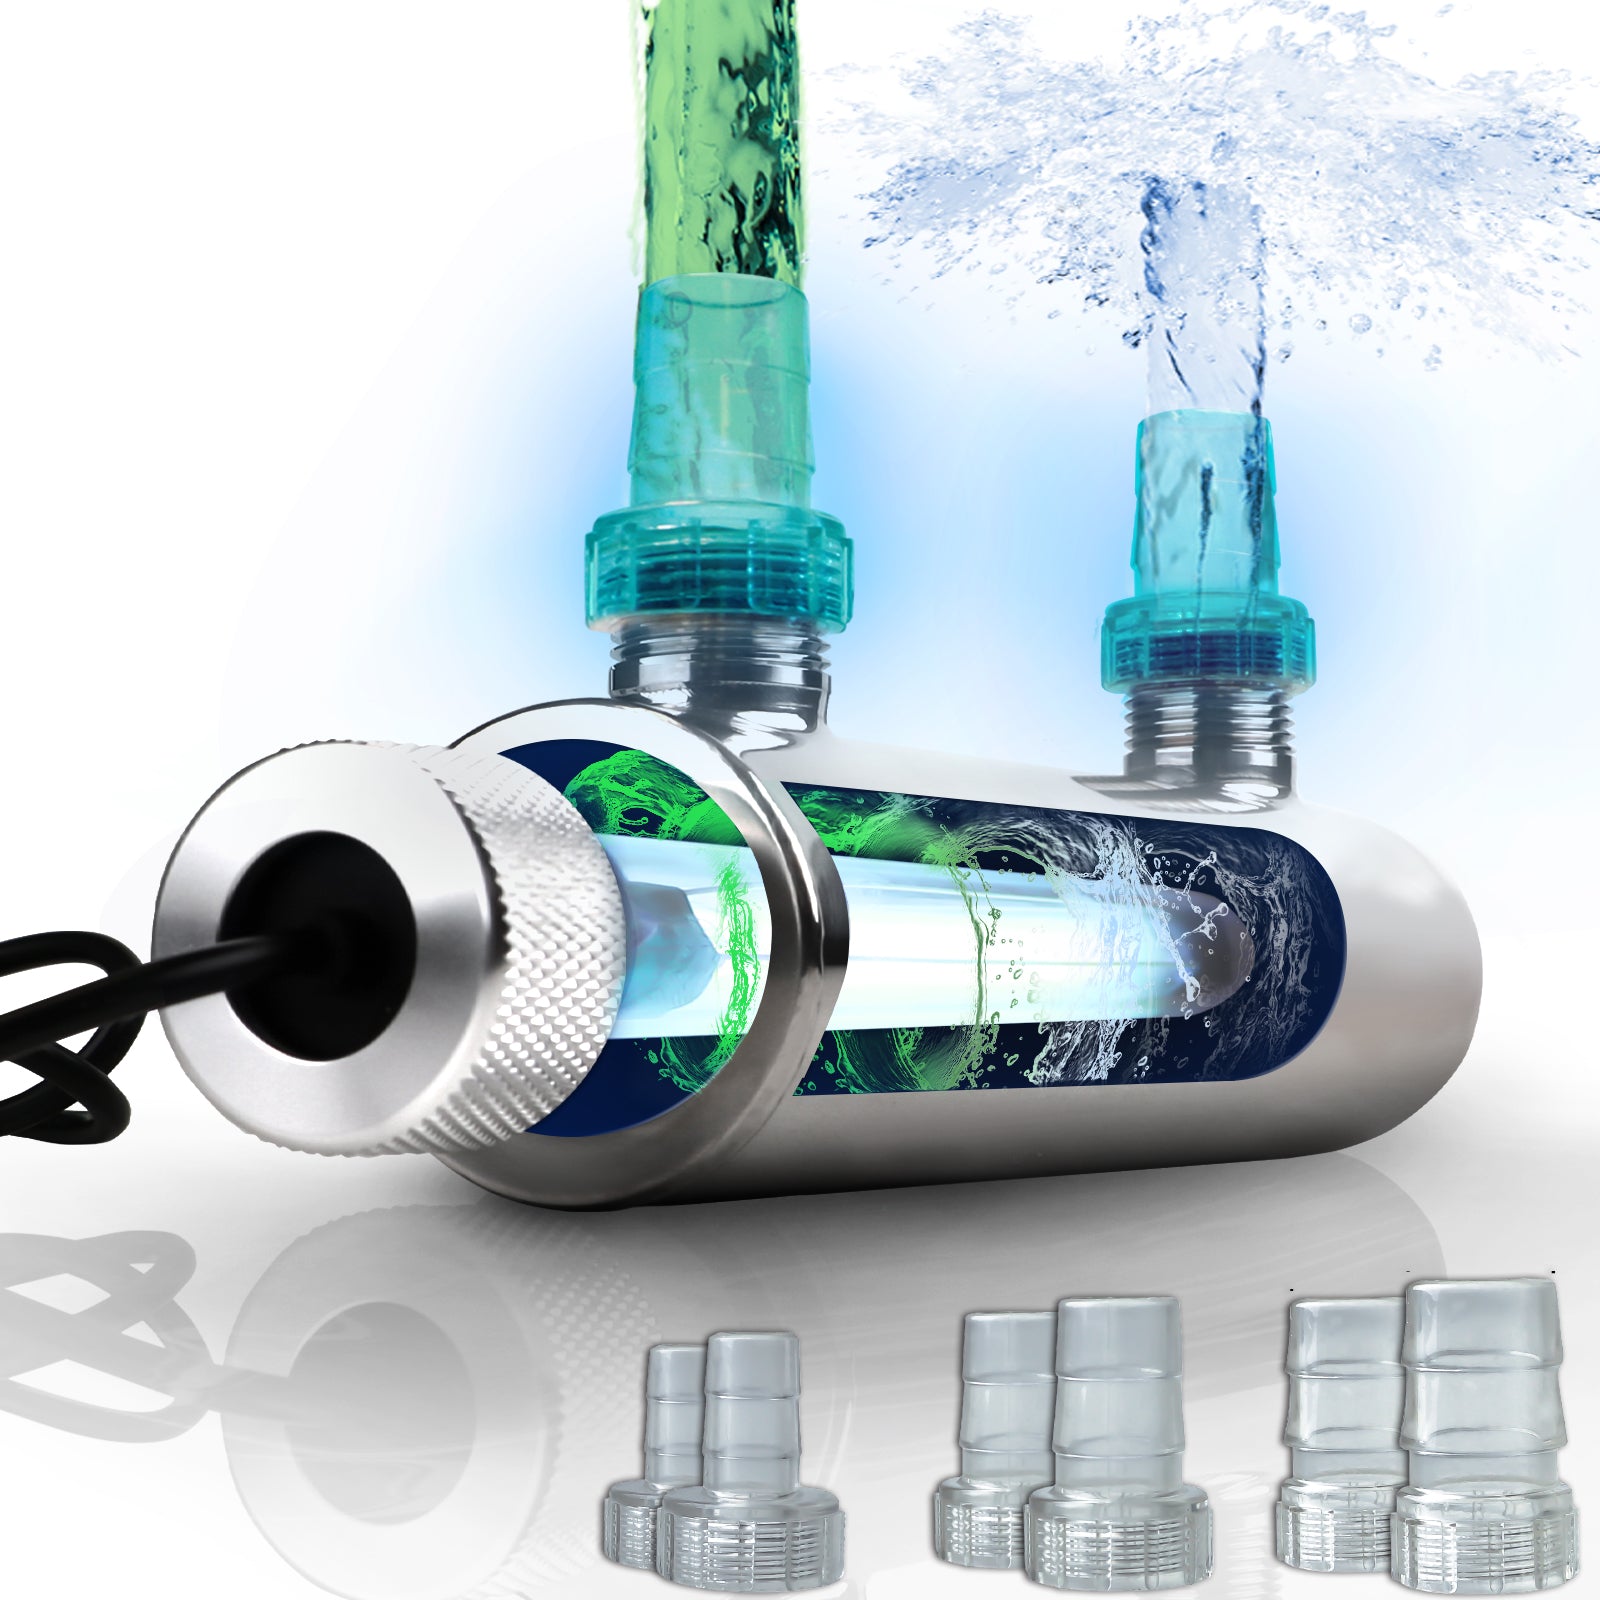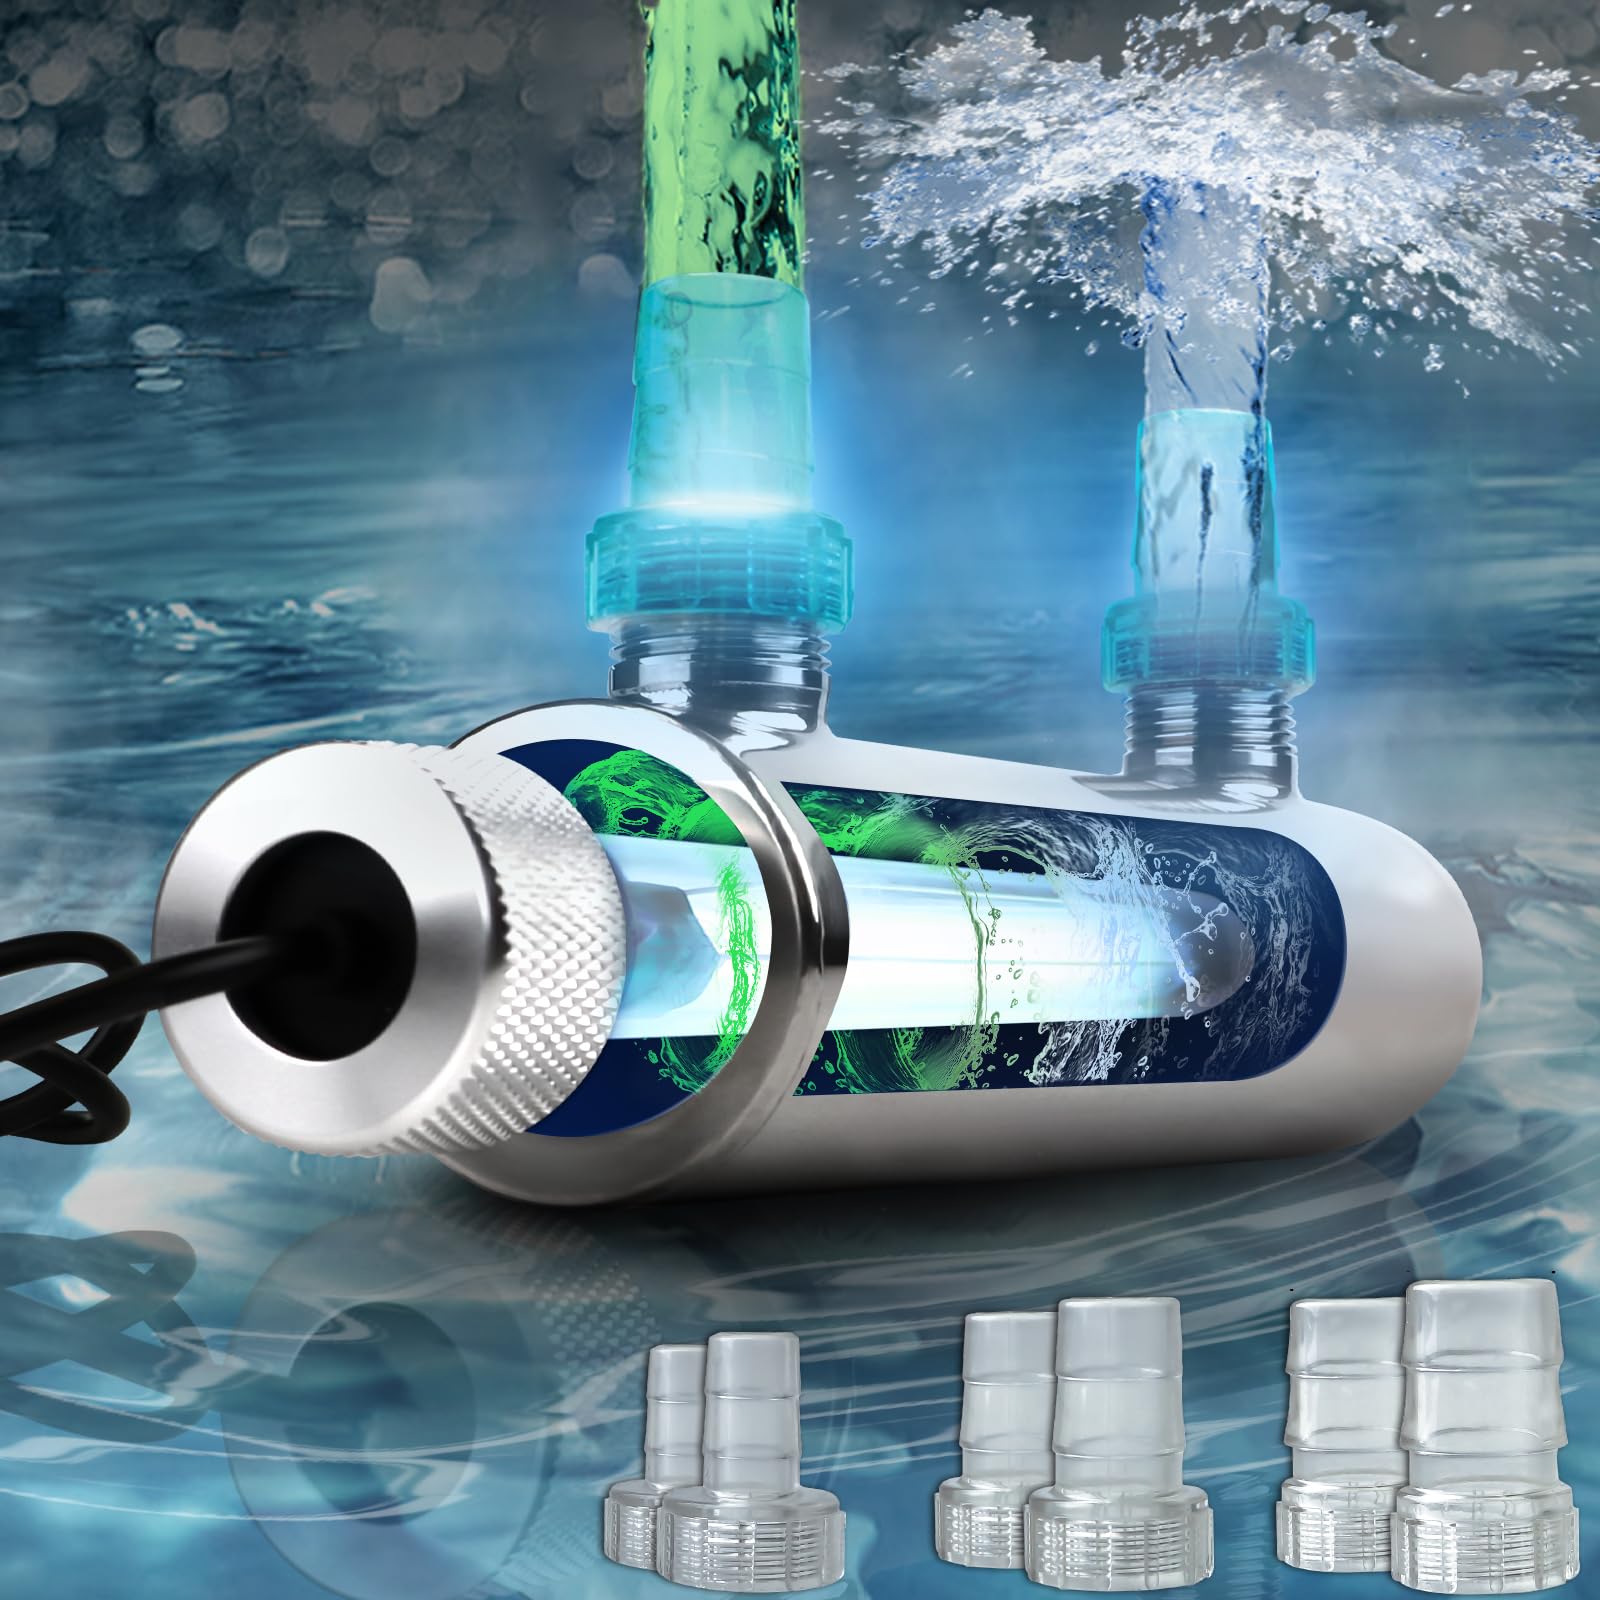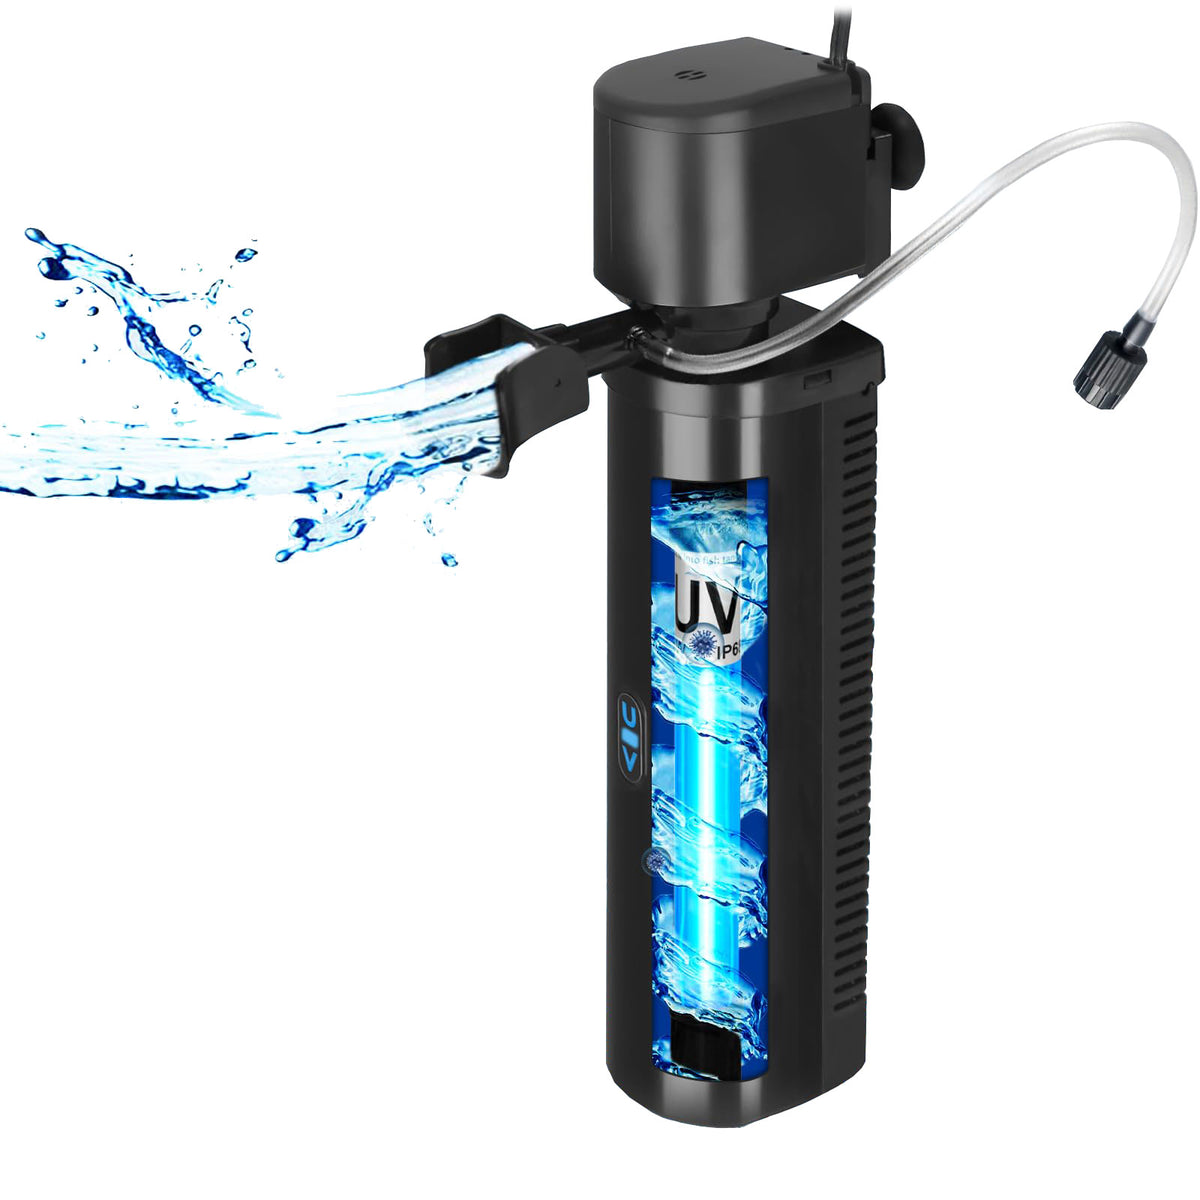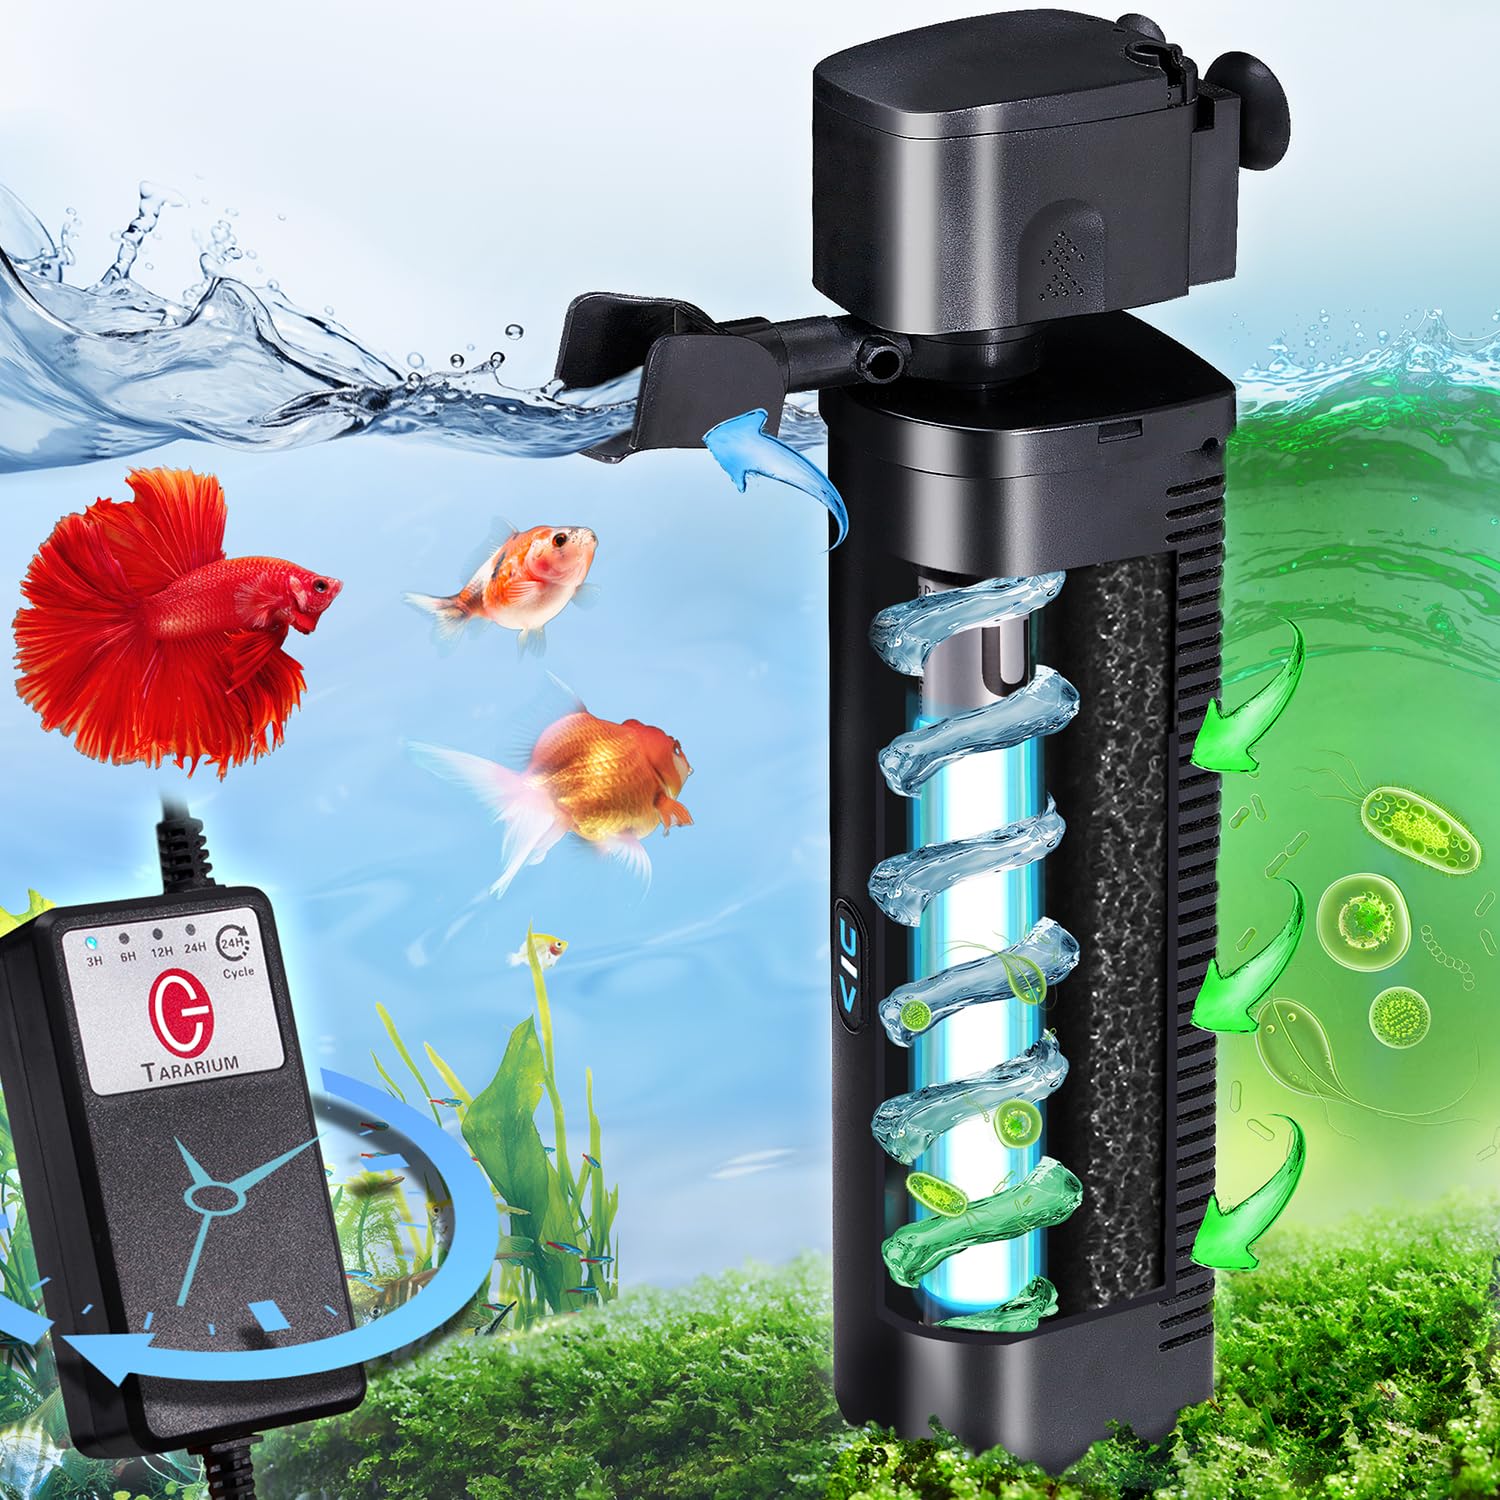
An aquarium UV filter is designed to operate quietly while helping maintain cleaner, clearer water. By exposing water to ultraviolet-C (UV-C) light inside a sealed chamber, the unit helps control certain free-floating microorganisms and algae as water passes through it. When everything is working correctly, most UV sterilizers produce little more than a faint hum from the pump or water movement.
However, what happens when your aquarium UV filter suddenly starts making unusual noises?
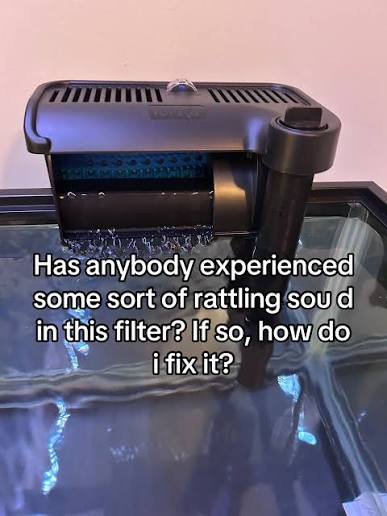
A buzzing sound, loud vibration, rattling, clicking, grinding, or intermittent humming can indicate anything from a minor installation issue to a failing pump or damaged internal component. Although some operating sounds are normal, a sudden change in noise level should not be ignored. Continued operation under abnormal conditions may lead to reduced water circulation, equipment damage, leaks, or an interruption in UV treatment.
The good news is that many UV filter noise problems can be identified and corrected without replacing the entire unit. The key is to understand where the sound originates, determine whether it is mechanical or water-related, and follow a safe troubleshooting process.
This guide explains the most common reasons an aquarium UV filter makes strange noises, how to identify the source, and what you can do to restore quiet, reliable operation.
1. Understanding How an Aquarium UV Filter Works
Before troubleshooting unusual sounds, it helps to understand the basic components of an aquarium UV filtration system.
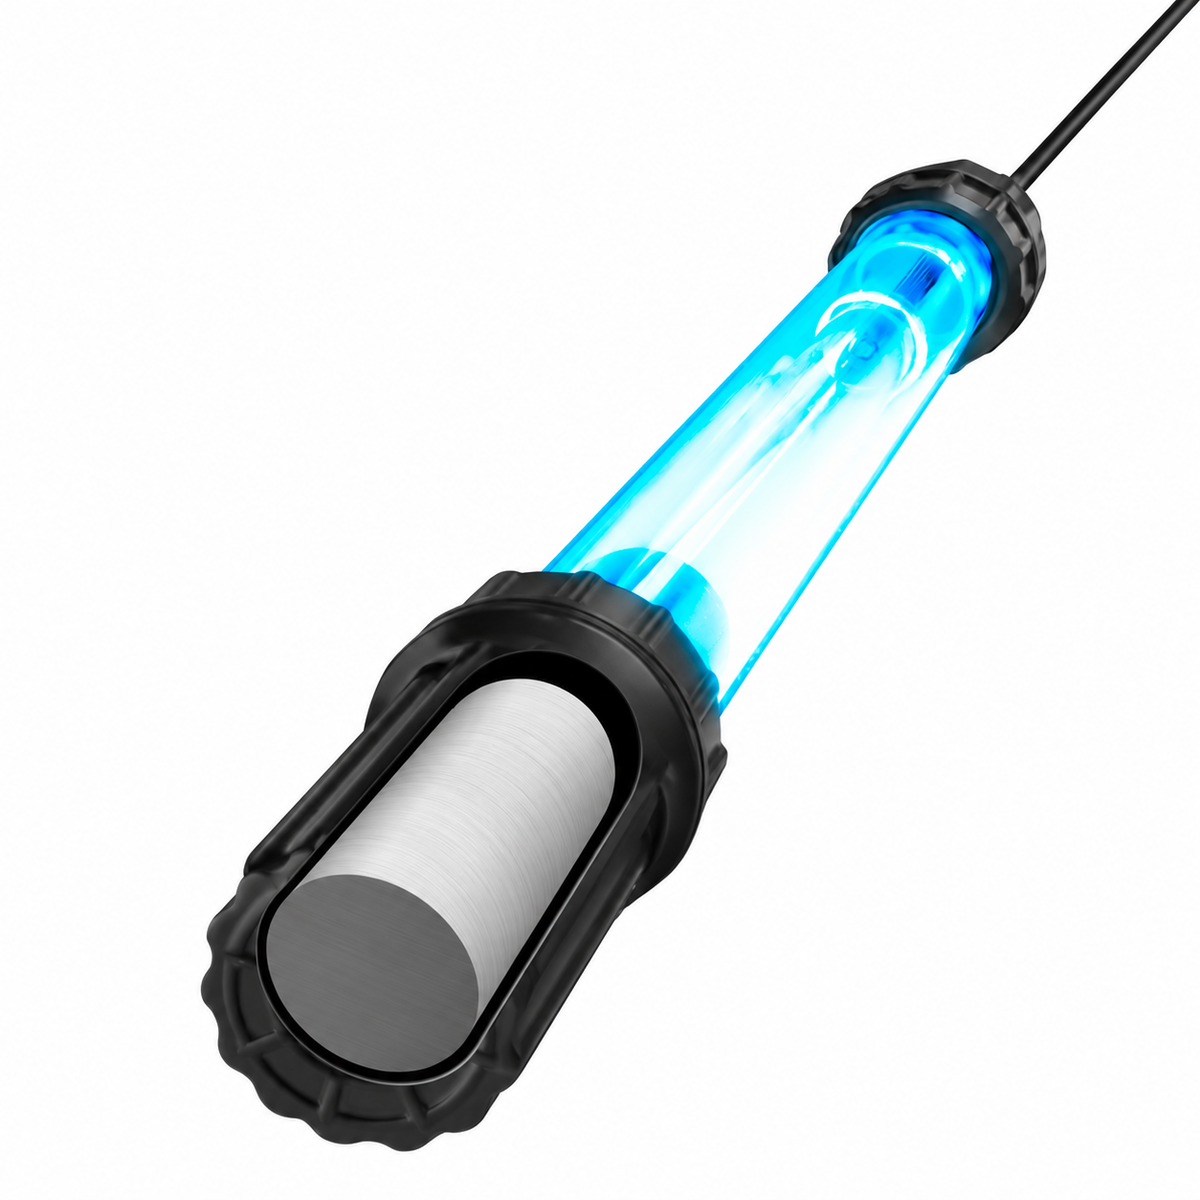
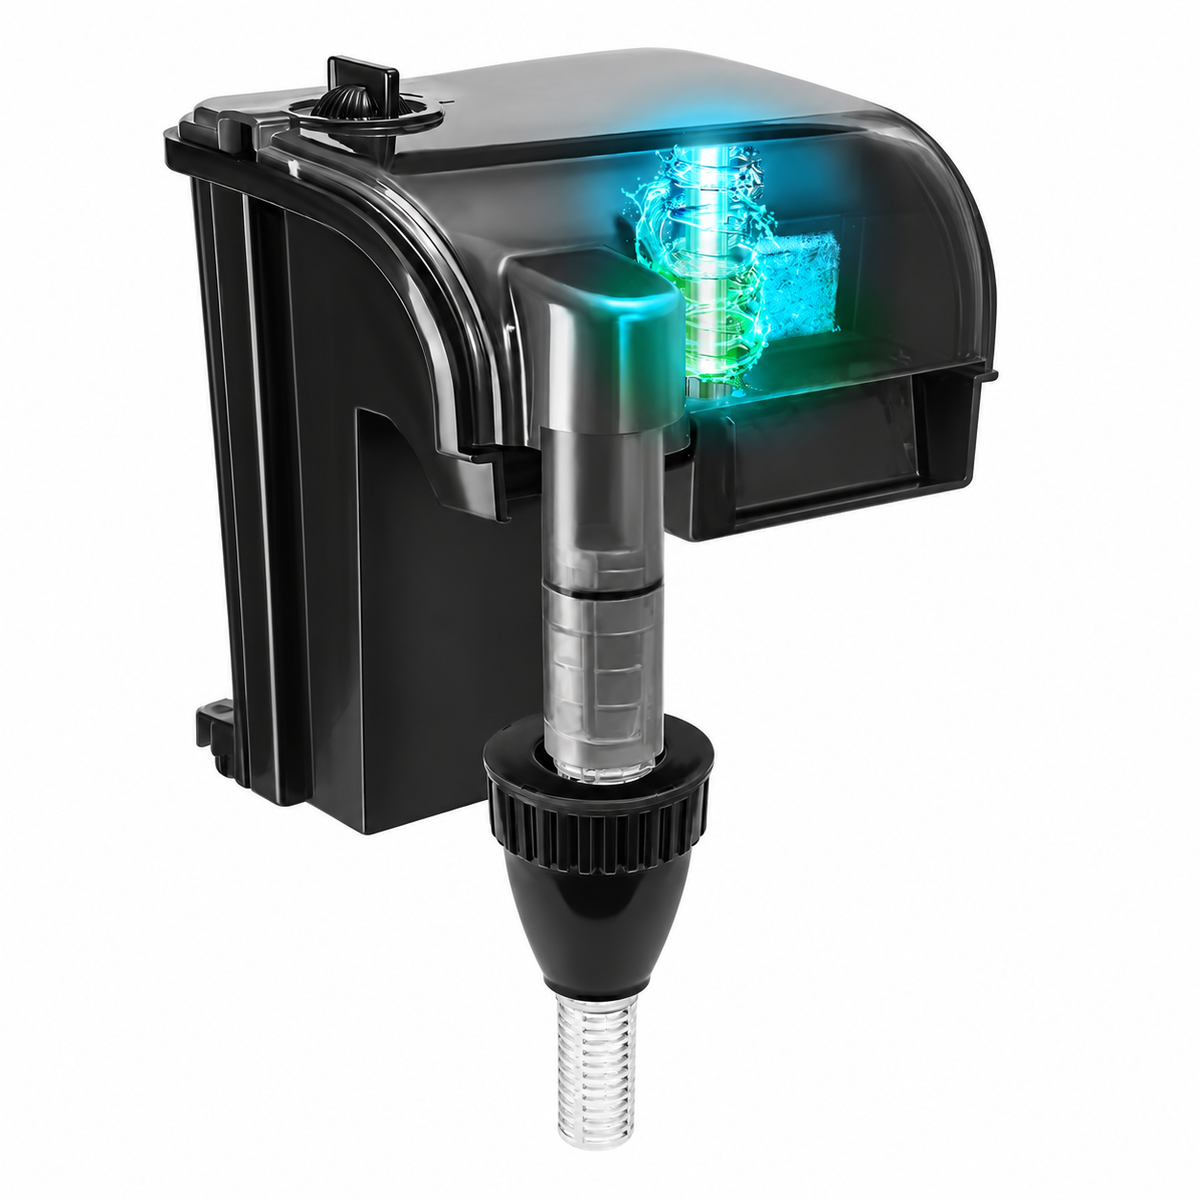
Most aquarium UV sterilizers use a sealed chamber containing a UV-C lamp protected by a quartz sleeve. Water flows through the chamber, passes around the sleeve, and exits through an outlet. The UV-C light acts on microorganisms in the water as they travel through the unit.
Depending on the model, the system may include:
-
A UV-C lamp that produces ultraviolet light.
-
A quartz sleeve that protects the lamp from direct contact with water.
-
A sealed housing that contains the water flow.
-
An inlet and outlet connection.
-
A water pump or connection to an external filtration system.
-
Flexible tubing or rigid plumbing.
-
Seals, O-rings, and fittings that prevent leaks.
-
Electrical connections and a power supply.
-
A mounting bracket or base that supports the unit.
Not every UV sterilizer has its own pump. Some are installed inline with a canister filter, sump, pond pump, or separate circulation pump. This distinction matters because the noise may come from the UV unit itself, the pump supplying it, or the surrounding plumbing.
A properly installed UV sterilizer should generally operate without loud or irregular mechanical sounds. A slight hum, gentle water movement, or faint vibration may be normal, depending on the design. Persistent rattling, grinding, sharp clicking, or sudden increases in volume deserve investigation.
2. Identify the Type of Noise Before Troubleshooting
Different sounds often point to different problems. Instead of immediately disassembling the unit, first listen carefully and describe what you hear.
2.1 Loud Buzzing
A loud buzzing sound may come from an electrical component, a vibrating pump, a loose mounting bracket, or a lamp-related component.
Possible causes include:
-
A loose UV housing.
-
A vibrating ballast or power supply.
-
A pump operating under excessive resistance.
-
A worn pump motor.
-
A component touching the aquarium stand or cabinet.
-
An electrical connection or lamp assembly that is not functioning correctly.
A faint electrical hum may be normal for some equipment. However, a new, loud, or irregular buzzing sound should not be dismissed.
If the buzzing is accompanied by a burning smell, unusual heat, visible electrical damage, or repeated power interruptions, switch off the equipment safely and stop using it until the cause has been identified.
2.2 Rattling or Vibrating
Rattling is one of the most common noise complaints associated with aquarium filtration equipment.
It often occurs when a component is loose or when vibration travels through the mounting surface.
Potential causes include:
-
Loose mounting screws.
-
An unsecured UV sterilizer.
-
Poorly supported tubing.
-
A pump vibrating against the cabinet.
-
Loose internal components.
-
A housing that touches glass, wood, or another piece of equipment.
A simple test is to determine whether the sound changes when the surrounding plumbing or mounting support is stabilized. Do not press hard on a running electrical unit or open the housing while it is powered.
2.3 Clicking or Ticking
Occasional clicking can result from a switching electrical component, a relay, or a pump-related issue.
Repeated clicking may indicate:
-
A damaged pump impeller.
-
Debris interfering with a rotating component.
-
A loose internal part.
-
An electrical supply problem.
-
A component repeatedly attempting to start.
Some electronic ballasts and power supplies may produce a faint switching sound. However, persistent clicking, especially when accompanied by flickering operation or interrupted water flow, requires further inspection.
2.4 Grinding or Scraping
Grinding is generally more concerning than a mild hum or occasional vibration.
It may indicate that a rotating pump component is damaged, obstructed, or running without adequate lubrication or water supply.
Common causes include:
-
Sand or gravel inside the pump.
-
Debris trapped around the impeller.
-
A worn impeller shaft.
-
Damaged impeller blades.
-
Worn pump bearings.
-
A pump running dry or partially starved of water.
If the grinding comes from the pump, turn it off before inspecting the impeller. Continuing to run a grinding pump can make the damage worse.
2.5 Gurgling or Sucking Sounds
Gurgling, bubbling, or a sucking noise usually points to a water-flow problem rather than an electrical fault.
Possible causes include:
-
Air trapped inside the UV chamber.
-
An air leak on the suction side of the pump.
-
A partially blocked inlet.
-
Incorrect pump positioning.
-
Low water levels in the sump.
-
A loose tubing connection.
-
Excessive turbulence inside the plumbing.
These sounds may also occur after cleaning, refilling, or restarting the filtration system.
2.6 Intermittent Humming
If the UV filter hums for a few seconds, stops, and then starts again, the pump or electrical supply may be unstable.
Possible explanations include:
-
A pump struggling to start.
-
A clogged impeller.
-
An overloaded power supply.
-
An incompatible power adapter.
-
A loose electrical connection.
-
A thermal protection feature shutting down the motor.
Intermittent operation should be investigated promptly, particularly if water circulation is inconsistent.
3. Check Whether the Noise Is Coming From the UV Filter or the Pump
One of the biggest troubleshooting mistakes is assuming that the UV sterilizer itself is responsible for every unusual sound.
In many aquarium setups, the UV unit is connected to a separate pump or the main filtration system. The actual noise may originate several feet away.
Start by identifying every component in the water-flow path:
-
The water intake or sump.
-
The circulation pump.
-
The inlet tubing.
-
The UV sterilizer housing.
-
The outlet tubing.
-
The return pipe or aquarium outlet.
Listen near each component without touching exposed electrical parts.
If the pump is clearly louder than the UV housing, focus on the pump. If the noise appears to come from the UV chamber, inspect its mounting, water flow, and connections.
You can also temporarily switch off the UV system while leaving the rest of the aquarium filtration operating, provided the plumbing design allows this safely.
If the noise stops when the UV system is isolated, the issue may be related to the UV unit or its dedicated pump. If the noise continues, another filtration component may be responsible.
Never disconnect plumbing or remove a component from a pressurized system while it is running.
4. Common Cause No. 1: Air Trapped Inside the UV Chamber
Air trapped inside a UV sterilizer is a frequent cause of bubbling, gurgling, and irregular water-flow noise.
This commonly happens after:
-
Installing a new UV sterilizer.
-
Cleaning the filtration system.
-
Replacing tubing.
-
Changing a pump.
-
Performing a large water change.
-
Restarting equipment after maintenance.
When air enters the chamber, it can interfere with normal water movement. Bubbles may move through narrow passages, creating irregular sounds.
How to Fix It
First, check the manufacturer's instructions for the correct priming procedure.
For a typical external UV sterilizer:
-
Switch off the UV unit and the supplying pump.
-
Check that the inlet and outlet connections are secure.
-
Confirm that the pump is correctly positioned and supplied with water.
-
Follow the manufacturer's instructions for filling or priming the chamber.
-
If the model includes a designated air-release point, use it only as instructed.
-
Restart the water flow and allow trapped air to escape.
-
Confirm that the chamber is completely filled and that the water flow is stable.
-
Restore UV operation according to the manufacturer's startup instructions.
Do not loosen random fittings to release air. Some systems can leak or spray water if opened while pressurized.
How to Prevent Air From Returning
-
Keep the pump intake properly submerged.
-
Maintain an adequate sump water level.
-
Inspect suction-side connections for air leaks.
-
Avoid creating unnecessary high points in flexible tubing.
-
Check that tubing is not kinked or partially collapsed.
-
Prime the system correctly after maintenance.
If air repeatedly enters the system, the problem may be a suction-side leak or an improperly positioned pump rather than the UV chamber itself.
5. Common Cause No. 2: A Dirty or Blocked Pump Impeller
The impeller is a rotating component that moves water through many aquarium pumps.
Over time, debris can accumulate around the impeller and its housing. Common contaminants include:
-
Algae.
-
Fish waste.
-
Fine sand.
-
Small gravel particles.
-
Plant fragments.
-
Sludge.
-
Calcium deposits.
-
Other mineral buildup.
When debris restricts impeller movement, the pump may produce grinding, rattling, or buzzing sounds.
How to Inspect the Impeller
Before inspection, disconnect the pump from its power source.
Then:
-
Close the appropriate valves if the system has them.
-
Remove the pump according to its manufacturer's instructions.
-
Open the impeller cover.
-
Carefully remove the impeller assembly.
-
Inspect the impeller blades and shaft.
-
Look for debris, cracks, wear, or discoloration.
-
Clean the impeller chamber with aquarium-safe cleaning tools.
-
Rinse removable parts with clean water.
-
Reassemble the pump carefully.
-
Reinstall and prime the system before restoring operation.
Avoid using household detergents, oils, or chemical lubricants unless the manufacturer specifically approves them for aquarium equipment.
If the impeller is cracked, warped, or visibly worn, cleaning alone will not solve the problem. Replace it with the correct compatible part.
Why Regular Impeller Cleaning Matters
A clean impeller helps maintain stable water circulation and reduces unnecessary mechanical stress.
For heavily stocked aquariums or systems with substantial debris, more frequent inspections may be necessary. The appropriate maintenance interval depends on the pump, aquarium conditions, and manufacturer's recommendations.
6. Common Cause No. 3: Loose Mounting or Poor Installation
A UV sterilizer can generate vibration even when its internal components are functioning correctly.
If the unit is loosely mounted, vibration may be transferred to nearby surfaces and amplified by the aquarium stand or cabinet.
This can create a surprisingly loud rattling sound.
Signs of Installation-Related Noise
Look for:
-
A housing that moves when the pump starts.
-
Tubing that vibrates against a wall or cabinet.
-
A mounting bracket with loose screws.
-
A UV unit resting directly on a hard surface.
-
Contact between the sterilizer and the aquarium stand.
-
A pump that is not sitting flat.
How to Fix It
Start by turning off the relevant equipment and checking the installation.
-
Tighten loose mounting hardware without overtightening it.
-
Make sure the unit is supported evenly.
-
Keep tubing from touching vibrating surfaces.
-
Use manufacturer-approved mounting brackets.
-
Add a suitable vibration-isolation pad beneath the pump if permitted.
-
Ensure the unit is installed in the orientation specified by the manufacturer.
Never place soft material where it could block ventilation, interfere with electrical safety, or compromise the stability of the equipment.
A small adjustment to the mounting position can sometimes eliminate a persistent rattling noise.
7. Common Cause No. 4: Incorrect Water Flow Rate
The flow rate through a UV sterilizer affects both its performance and its operating noise.
If water moves too quickly, it may create excessive turbulence. If flow is too low, the pump may struggle or the chamber may not operate as intended.
The correct flow rate depends on the UV sterilizer's design, lamp output, intended application, and the manufacturer's performance specifications.
Symptoms of Incorrect Flow
Excessive flow may cause:
-
Strong water turbulence.
-
Increased vibration.
-
Unusual splashing or rushing sounds.
-
Excessive pressure in the plumbing.
Insufficient flow may cause:
-
Gurgling.
-
Intermittent water movement.
-
Pump strain.
-
Unstable circulation.
-
Repeated air accumulation.
How to Correct the Flow Rate
Check the recommended flow range in the product manual.
Then inspect:
-
The pump's rated output.
-
The number and type of bends in the plumbing.
-
The tubing diameter.
-
Any partially closed valves.
-
Blocked inlet screens.
-
Dirty mechanical filter media.
-
The height difference between the pump and the UV unit.
Do not assume that a pump's advertised maximum flow rate will be its actual flow rate after installation. Tubing length, fittings, elevation, and restrictions can all reduce output.
If the system includes a flow-control valve, adjust it gradually and remain within the manufacturer's recommended operating range.
Never use an excessive reduction in flow as a substitute for cleaning a blocked pump or correcting a plumbing problem.
8. Common Cause No. 5: Worn or Damaged Pump Components
Like other mechanical equipment, aquarium pumps experience wear.
After extended use, internal components may become noisy or lose efficiency.
Common failure points include:
-
Impeller blades.
-
Impeller shafts.
-
Rubber bushings.
-
Bearings.
-
Motor mounts.
-
Seals.
-
Internal support components.
A worn impeller may produce a repetitive clicking sound. Damaged bearings may create a persistent grinding noise. A loose motor mount may cause vibration.
How to Identify Wear
Inspect the pump for:
-
Visible cracks.
-
Unusual movement in the impeller.
-
Excessive play around the shaft.
-
Worn rubber supports.
-
Damaged seals.
-
Signs of overheating.
-
A noticeable decline in water output.
Compare the condition of removable components with the manufacturer's replacement guidance.
If a replacement impeller or service kit is available, replacing the worn component may restore quiet operation without requiring a new pump.
However, if the motor housing is damaged, the pump repeatedly overheats, or electrical components are failing, replacement may be safer than continued repair.
9. Common Cause No. 6: Loose Tubing and Plumbing Connections
Flexible tubing is convenient for aquarium filtration systems, but poorly supported plumbing can become a source of vibration and noise.
A pump may cause tubing to shake, knock against the cabinet, or vibrate against another pipe.
Loose connections can also introduce air into the system, creating gurgling or sucking sounds.
What to Inspect
Check the entire water-flow path for:
-
Loose hose clamps.
-
Cracked tubing.
-
Kinked hoses.
-
Poorly fitted adapters.
-
Unsupported pipe sections.
-
Tubing touching cabinet walls.
-
Leaking connections.
-
Incorrectly sized fittings.
How to Reduce Plumbing Noise
Secure tubing with suitable clips or supports.
Leave enough flexibility to prevent unnecessary strain on the UV housing and pump connections. Avoid forcing rigid plumbing into an unnatural position.
If a hose is too long and forms several unnecessary loops, reorganize it carefully while maintaining the correct flow path.
Replace tubing that has become brittle, swollen, cracked, or permanently deformed.
Never use excessive force when tightening plastic fittings. Overtightening can damage threads and create leaks.
10. Common Cause No. 7: Electrical Ballast or Power Supply Problems
Not all unusual sounds come from moving water.
Some aquarium UV sterilizers use electronic ballasts or separate power supplies to operate the UV-C lamp. These electrical components may produce a faint hum, but loud buzzing, clicking, or intermittent operation can indicate a fault.
Potential problems include:
-
A failing ballast.
-
An incompatible replacement power supply.
-
A damaged cable.
-
Loose electrical connections.
-
Moisture entering an electrical compartment.
-
Overheating.
-
An unstable power source.
Safe Troubleshooting Steps
Electrical components require particular caution around aquariums.
-
Switch off the equipment at the power source.
-
Keep your hands dry.
-
Inspect the external cable and plug for visible damage.
-
Check for moisture around electrical connections.
-
Look for discoloration or signs of overheating.
-
Confirm that the power supply matches the manufacturer's specifications.
-
Contact the manufacturer or a qualified repair professional if internal electrical components appear damaged.
Do not open a ballast or power supply unless you are qualified to work on electrical equipment and the manufacturer permits servicing.
Never operate damaged electrical equipment near water.
If the unit produces a burning smell, sparks, repeated electrical trips, or excessive heat, stop using it immediately.
11. Common Cause No. 8: A Dirty Quartz Sleeve or Internal Buildup
A quartz sleeve separates the UV-C lamp from the aquarium water while allowing ultraviolet light to pass through.
Over time, mineral deposits, biofilm, and other contaminants may accumulate on the sleeve.
Although a dirty quartz sleeve does not always create noise directly, it can contribute to poor overall system performance. Internal deposits may also restrict water flow in some designs.
How to Inspect the Quartz Sleeve
Always follow the manufacturer's cleaning procedure.
A general process may include:
-
Disconnect the power.
-
Shut off the water supply.
-
Isolate and drain the UV chamber as instructed.
-
Allow the lamp and sleeve to cool.
-
Remove the lamp assembly carefully.
-
Inspect the quartz sleeve for deposits or damage.
-
Clean it using the recommended method.
-
Replace the sleeve if it is cracked or damaged.
-
Reassemble the unit and check all seals.
-
Restore water flow and verify that there are no leaks before restarting the lamp.
Do not touch a quartz sleeve with tools that may scratch it.
Never operate the UV-C lamp outside its protective housing. Direct UV-C exposure can injure eyes and skin.
12. Common Cause No. 9: The UV Filter Is Running Dry
A pump that runs without sufficient water can make loud buzzing, rattling, or grinding noises.
Running dry can also cause overheating and permanent damage.
This problem may occur when:
-
The aquarium water level is too low.
-
The sump chamber becomes depleted.
-
The pump intake is exposed.
-
The system has not been properly primed.
-
A blocked inlet prevents adequate water supply.
-
A water leak reduces the available water level.
How to Prevent Dry Running
Check the water level in the pump chamber and confirm that the intake remains submerged.
If the UV sterilizer is installed externally, make sure the pump is correctly primed and receives a stable water supply.
Consider using a suitable automatic top-off system if evaporation regularly causes the sump level to fall.
Some pumps include dry-run protection, but this feature should never be treated as a replacement for proper installation and monitoring.
If a pump has been running dry and now makes a grinding sound, inspect it before restarting.
13. Common Cause No. 10: Excessive Heat and Poor Ventilation
A UV sterilizer and its electrical components need to operate within their specified temperature range.
Poor ventilation can contribute to overheating, particularly when the unit is installed inside a small aquarium cabinet.
Potential warning signs include:
-
A hot power supply.
-
Unusual electrical buzzing.
-
Intermittent shutdowns.
-
Discoloration around electrical components.
-
A burning odor.
Some warmth during normal operation may be expected, depending on the design. However, excessive heat or a sudden temperature change should be investigated.
How to Improve Ventilation
-
Follow the manufacturer's clearance requirements.
-
Avoid covering ventilation openings.
-
Keep the power supply away from heat-producing equipment.
-
Prevent water splashes from reaching electrical components.
-
Maintain suitable airflow inside the cabinet.
-
Do not place the UV unit against insulating materials.
If overheating continues after improving ventilation, discontinue use and contact the manufacturer.
14. Step-by-Step Troubleshooting: A Practical Diagnostic Process
When an aquarium UV filter starts making strange noises, a systematic approach is more effective than replacing parts at random.
The following process helps narrow down the cause.
Step 1: Observe the Noise
Identify the type of sound.
Is it:
-
A low hum?
-
A loud buzz?
-
A repetitive rattle?
-
A grinding noise?
-
A bubbling or gurgling sound?
-
A clicking noise?
-
An intermittent vibration?
Write down when it occurs. Does it happen immediately after startup, continuously during operation, or only when the pump changes speed?
The timing can provide useful clues.
Step 2: Check Water Flow
Look at the outlet and confirm that water is moving steadily.
Compare the flow with its normal operating condition.
A sudden reduction in flow may indicate:
-
A blocked intake.
-
A clogged impeller.
-
A kinked hose.
-
A dirty filter.
-
Air trapped inside the chamber.
-
A failing pump.
Do not increase pump speed simply to compensate for a restriction.
Step 3: Inspect the Installation
Check the UV sterilizer's mounting and surrounding plumbing.
Look for loose supports, vibrating hoses, and contact with cabinet surfaces.
Correct any obvious installation problems before moving on to internal inspection.
Step 4: Check for Air Leaks
Inspect the suction-side plumbing and pump connections.
Look for small bubbles entering the system and listen for sucking sounds.
A connection may allow air to enter even when no obvious water leak is visible.
Step 5: Inspect the Pump
Switch off the equipment and disconnect it from power.
Inspect the impeller, impeller chamber, and accessible mechanical components.
Remove debris and replace damaged parts as necessary.
Step 6: Inspect the UV Housing
Once the system is isolated and depressurized, check the housing, connections, seals, and quartz sleeve.
Look for cracks, deposits, damaged O-rings, and signs of water intrusion.
Do not dismantle sealed electrical sections unless the manufacturer specifically permits it.
Step 7: Check Electrical Components
With the unit disconnected, inspect accessible external electrical components for damage.
If there are signs of overheating, moisture intrusion, or electrical failure, do not restart the system.
Step 8: Restart and Monitor
After correcting the suspected issue, reassemble the system according to the manufacturer's instructions.
Restore water flow first and check for leaks.
Once the chamber is correctly filled and operating normally, restore UV power as directed.
Listen for changes in noise and verify that water circulation remains stable.
If the abnormal sound returns, stop and reassess rather than repeatedly restarting the equipment.
15. How to Reduce Vibration From an Aquarium UV Filter
Vibration can travel through aquarium equipment and become amplified by the stand, cabinet, or plumbing.
Even a relatively quiet pump may sound much louder when mounted against a hollow wooden surface.
Several practical adjustments can help.
Use Vibration-Isolation Pads
A suitable rubber or manufacturer-approved isolation pad can reduce vibration transferred from the pump to the mounting surface.
Make sure the pad is stable, water-resistant, and compatible with the equipment.
It should not interfere with ventilation or cause the pump to become unstable.
Secure the Tubing
Use appropriate hose supports to prevent tubing from striking cabinet walls or other equipment.
Do not clamp flexible hoses so tightly that they become distorted.
Separate Equipment
If possible, avoid allowing the pump, UV housing, and other equipment to touch one another.
Physical contact can transfer vibration between components.
Avoid Resonant Cabinet Surfaces
Hollow panels and thin shelves may amplify low-frequency vibration.
A stable mounting surface can help reduce the noise.
However, do not modify the aquarium stand in a way that compromises its structural strength or load-bearing capacity.
16. Does a Noisy UV Filter Still Work Properly?
A UV sterilizer can sometimes continue operating while making unusual noises, but that does not mean it is functioning correctly.
Noise alone cannot determine whether UV treatment is effective.
Several factors affect UV performance:
-
Lamp output.
-
Lamp age.
-
Water clarity.
-
Flow rate.
-
UV exposure time.
-
Quartz sleeve cleanliness.
-
Correct installation.
-
The type of organism being targeted.
For example, a UV-C lamp may still illuminate even when its useful UV output has declined. Visible light is not a reliable indicator of UV-C effectiveness.
Likewise, a noisy pump may still move water, but unstable flow can affect the sterilizer's operating conditions.
If the unit is making abnormal sounds, investigate the mechanical or electrical issue rather than assuming that water clarity proves everything is working.
17. When Should You Replace the UV Filter Instead of Repairing It?
Not every noisy UV sterilizer needs to be replaced.
In many cases, cleaning an impeller, replacing an O-ring, securing a mounting bracket, or correcting an air leak is enough.
However, replacement may be the more sensible option when:
-
The housing is cracked.
-
The electrical compartment has suffered water damage.
-
The pump motor has failed.
-
Replacement parts are no longer available.
-
The unit repeatedly overheats.
-
Internal corrosion is extensive.
-
The device repeatedly develops leaks.
-
Repair costs approach the price of a suitable replacement.
A damaged UV housing should not be repaired with improvised adhesives or sealants unless the manufacturer explicitly approves the repair method.
Because the unit combines water and electricity, structural and electrical reliability should take priority over short-term cost savings.
18. Preventing Future UV Filter Noise Problems
Regular maintenance is the best way to reduce the likelihood of unusual operating noise.
A simple preventive routine can help keep the equipment quiet and reliable.
Weekly Checks
-
Listen for changes in operating noise.
-
Confirm that water flow is stable.
-
Check the aquarium or sump water level.
-
Look for visible leaks.
-
Make sure tubing is not vibrating against nearby surfaces.
-
Check that the pump intake is unobstructed.
Monthly Checks
-
Inspect accessible hoses and fittings.
-
Check mounting hardware.
-
Clean the pump intake if necessary.
-
Inspect the pump for debris.
-
Look for signs of mineral deposits.
-
Confirm that electrical cables remain dry and undamaged.
Periodic Maintenance
Follow the manufacturer's recommended schedule for:
-
Impeller cleaning.
-
Quartz sleeve cleaning.
-
O-ring inspection.
-
Lamp replacement.
-
Pump servicing.
-
Electrical component inspection.
UV-C lamp replacement intervals vary by model and lamp type. Replace lamps according to the manufacturer's stated service life, even if the lamp still appears to be producing visible light.
Avoid cleaning the system more aggressively or more frequently than necessary. Improper handling can damage seals, quartz sleeves, and other sensitive parts.
19. Special Considerations for Freshwater and Saltwater Aquariums
Although the basic causes of UV filter noise are similar in freshwater and saltwater systems, the operating environment can influence maintenance requirements.
Freshwater Aquariums
Freshwater systems may accumulate:
-
Fish waste.
-
Uneaten food.
-
Plant debris.
-
Algae.
-
Mineral deposits.
In planted aquariums, fine plant fragments can occasionally enter the filtration system and contribute to pump obstruction.
Regular mechanical filtration maintenance helps prevent debris from reaching the UV unit.
Saltwater Aquariums
Saltwater environments require additional attention to corrosion and salt creep.
Salt deposits can accumulate around connections and electrical equipment, particularly where splashing or evaporation occurs.
Check for:
-
Salt buildup around fittings.
-
Corrosion on exposed metal parts.
-
Deteriorating seals.
-
Moisture around electrical connections.
-
Salt deposits near the pump or power supply.
Clean external salt deposits using a method approved by the equipment manufacturer, while keeping electrical components disconnected and dry.
Never allow saltwater to enter electrical housings.
20. Choosing a Quiet Aquarium UV Filter
If your existing UV sterilizer is consistently noisy and replacement becomes necessary, noise level should be one of several purchasing considerations.
A quiet unit should also provide appropriate UV performance, reliable construction, and compatibility with your aquarium.
Consider the following factors.
Pump Quality
If the UV sterilizer includes an integrated pump, examine its design, serviceability, and operating characteristics.
A well-designed pump with accessible replacement parts may be easier to maintain over time.
Housing Design
Look for a sturdy housing that can be securely mounted.
Poorly supported plastic components may be more prone to vibration and resonance.
Flow-Rate Compatibility
Choose a model with a flow range appropriate for your aquarium and intended application.
Do not select a UV sterilizer based only on aquarium volume. The required flow rate and UV dose are also important.
Replacement Parts
Check whether the manufacturer supplies replacement lamps, quartz sleeves, O-rings, and other service components.
A unit with readily available replacement parts can be more economical over its useful life.
Installation Flexibility
A design that allows secure mounting and convenient plumbing connections may help prevent vibration-related noise.
Manufacturer Support
Clear maintenance instructions, technical documentation, and responsive support are valuable when troubleshooting equipment problems.
A quiet UV sterilizer should not be judged by sound level alone. It should also operate safely and deliver the intended water-treatment performance.
21. Common Mistakes to Avoid When Troubleshooting a Noisy UV Filter
Even a straightforward repair can become more complicated when basic safety and maintenance procedures are ignored.
Avoid these common mistakes.
Ignoring a Sudden Change in Noise
A pump that gradually becomes louder may be showing early signs of wear or obstruction.
Waiting until it fails completely can increase repair costs and interrupt filtration.
Running the Pump Without Water
A pump should never be allowed to operate dry unless its manufacturer specifically designs it for that condition.
Dry running can cause overheating and mechanical damage.
Opening the UV Housing While It Is Powered
Always disconnect power before maintenance.
Never expose yourself to direct UV-C radiation. The lamp must remain inside its protective housing during operation.
Using Household Cleaning Chemicals
Detergents, solvents, oils, and unsuitable chemicals may damage seals or introduce harmful residues into aquarium water.
Use only cleaning methods approved by the equipment manufacturer.
Overtightening Connections
Excessive force can damage plastic fittings, threads, and seals.
Tighten connections according to the manufacturer's instructions.
Replacing Parts Without Identifying the Cause
A new impeller will not fix a suction-side air leak. A new UV lamp will not fix a loose pump mount.
Identify the actual source of the noise before purchasing replacement components.
Ignoring Electrical Warning Signs
Burning smells, sparks, repeated electrical trips, and damaged cables require immediate attention.
Do not continue operating questionable electrical equipment near aquarium water.
22. Frequently Asked Questions About Noisy Aquarium UV Filters
Why is my aquarium UV sterilizer suddenly making a loud buzzing noise?
A sudden buzzing noise may be caused by a loose mounting bracket, pump vibration, a damaged impeller, or an electrical component problem.
Start by identifying whether the sound comes from the pump, UV housing, or power supply. If there is excessive heat, a burning smell, or visible electrical damage, disconnect the equipment and stop using it.
Is it normal for an aquarium UV filter to make noise?
A faint hum or gentle water-flow sound may be normal, depending on the model.
However, loud grinding, repetitive clicking, rattling, or sudden changes in noise are not generally considered normal operating conditions.
Why does my UV filter make a gurgling sound?
Gurgling often indicates trapped air, an air leak, an insufficient water supply, or unstable flow.
Check the pump intake, water level, tubing connections, and chamber priming procedure.
Can a dirty impeller make a UV filter noisy?
Yes. Debris trapped around the impeller can interfere with rotation and create grinding, buzzing, or rattling sounds.
Turn off the pump, remove the impeller according to the manufacturer's instructions, and clean the assembly.
Why does my UV filter vibrate against the aquarium cabinet?
The pump or UV housing may be transferring vibration to the cabinet.
Check the mounting hardware, tubing supports, and contact points. A suitable vibration-isolation pad may help reduce noise.
Can I continue using a noisy UV sterilizer?
It depends on the source and severity of the noise.
A minor mounting vibration may be relatively easy to correct. Grinding, repeated clicking, unstable water flow, overheating, or electrical warning signs require more immediate attention.
If you cannot identify the problem safely, stop using the unit and seek technical support.
Does a noisy UV filter affect water quality?
It can indirectly affect water quality if the noise is caused by poor circulation, a failing pump, or interrupted UV operation.
A UV sterilizer is only one part of aquarium filtration. It does not replace biological filtration, mechanical filtration, or regular water changes.
How often should I clean my aquarium UV sterilizer?
The correct schedule depends on the model, water conditions, and manufacturer's recommendations.
The pump and impeller may need more frequent attention than the UV chamber itself. Quartz sleeve cleaning and lamp replacement should follow the manufacturer's specified intervals.
Why does my UV sterilizer make noise only when it starts?
Startup noise may be caused by trapped air, a pump struggling to prime, a loose component, or a mechanical part that is beginning to wear.
If the noise disappears quickly and the manufacturer describes it as normal, it may not indicate a problem. If it is new, loud, or accompanied by unstable flow, investigate further.
Can I reduce UV filter noise by lowering the pump speed?
Possibly, if the current flow rate exceeds the manufacturer's recommended range and the pump supports safe adjustment.
However, lowering the speed too much may reduce UV treatment effectiveness or cause other operating problems. Always stay within the recommended flow range.
23. A Simple Maintenance Checklist for Quiet UV Filter Operation
Use this checklist whenever your UV sterilizer becomes noisy or during routine maintenance.
Before inspection:
-
Turn off the relevant equipment.
-
Disconnect electrical power.
-
Keep electrical components dry.
-
Close valves and depressurize the system where necessary.
-
Allow hot components to cool.
During inspection:
-
Check the pump intake.
-
Inspect the impeller.
-
Look for trapped air.
-
Examine tubing and fittings.
-
Check mounting hardware.
-
Inspect accessible seals and O-rings.
-
Look for cracks or damage.
-
Check the quartz sleeve according to the manual.
-
Inspect external electrical cables.
After maintenance:
-
Reassemble the unit correctly.
-
Restore water flow before restarting the UV lamp, following the manufacturer's instructions.
-
Confirm that the chamber is filled.
-
Check all connections for leaks.
-
Verify stable water circulation.
-
Listen for abnormal sounds.
-
Monitor the system during its initial operating period.
Keeping a maintenance record can also help you identify recurring problems. If the same noise returns after cleaning or replacing a component, the underlying cause may not have been fully resolved.
Conclusion: A Quiet UV Filter Starts With Proper Installation and Regular Maintenance
An aquarium UV filter making strange noises does not automatically mean that the entire unit has failed. In many cases, the cause is relatively simple: trapped air, a dirty impeller, loose mounting hardware, vibrating tubing, or an incorrect water flow rate.
However, grinding, persistent clicking, excessive buzzing, overheating, and electrical warning signs should never be ignored.
The most effective troubleshooting approach is to identify the sound, locate its source, inspect the water-flow path, and check mechanical and electrical components safely. Correcting the actual cause is more reliable than replacing parts without a clear diagnosis.
Regular impeller cleaning, proper priming, secure plumbing, quartz sleeve maintenance, and timely replacement of worn components can help prevent many noise-related problems.
Most importantly, remember that a UV sterilizer must operate under the conditions specified by its manufacturer. Stable water flow, a clean quartz sleeve, a functioning UV-C lamp, and safe electrical installation all contribute to dependable performance.
With the right maintenance routine and a careful troubleshooting process, you can keep your aquarium UV filtration system running more quietly while supporting a healthier and more stable aquatic environment.