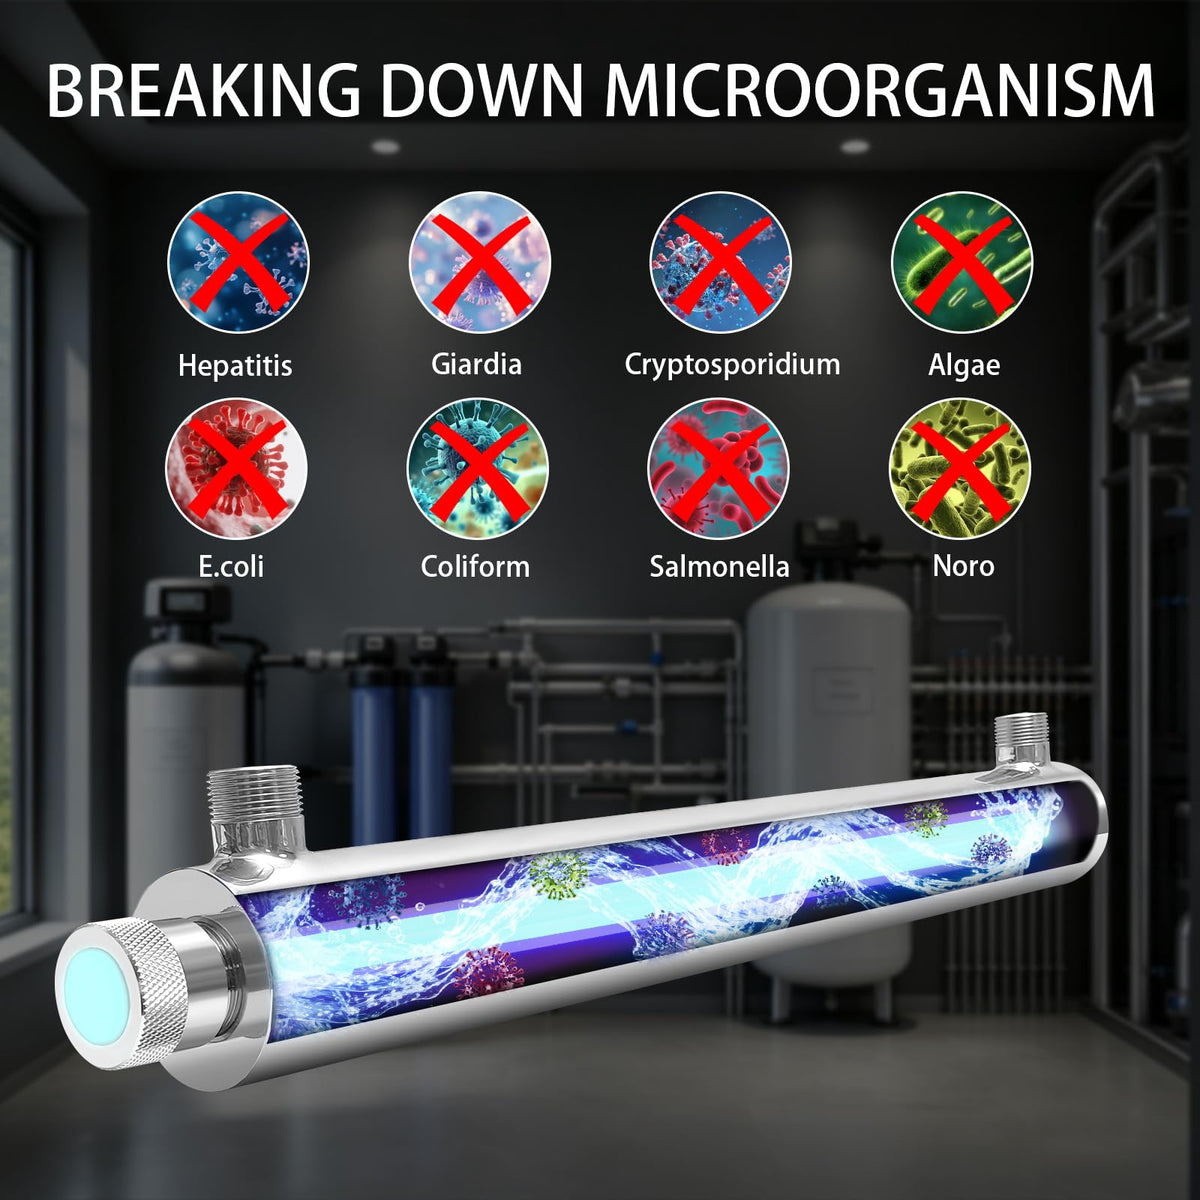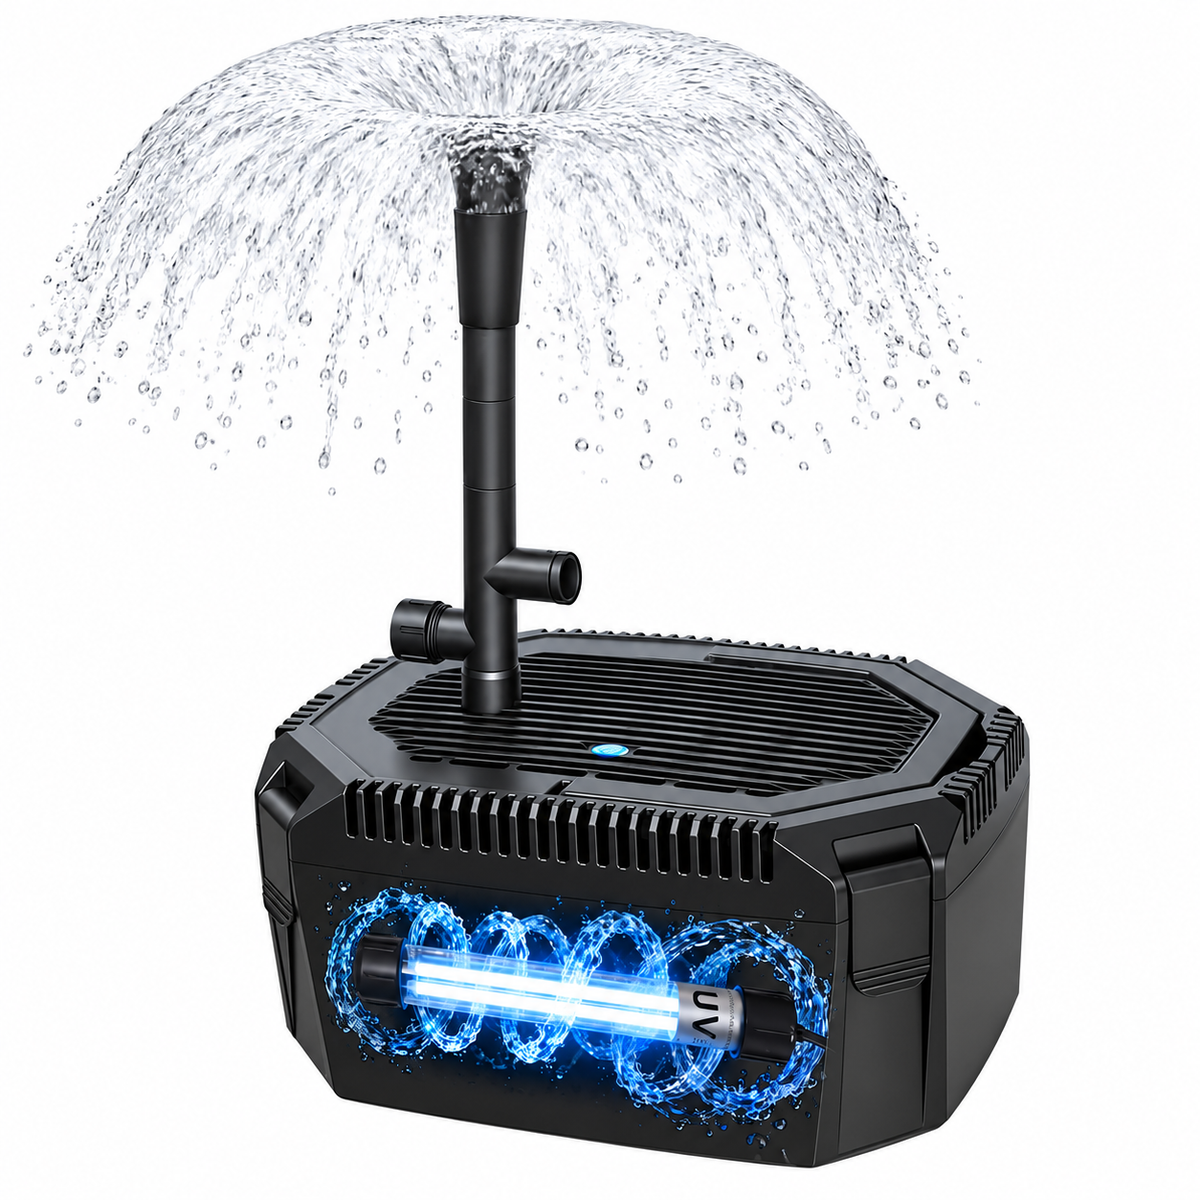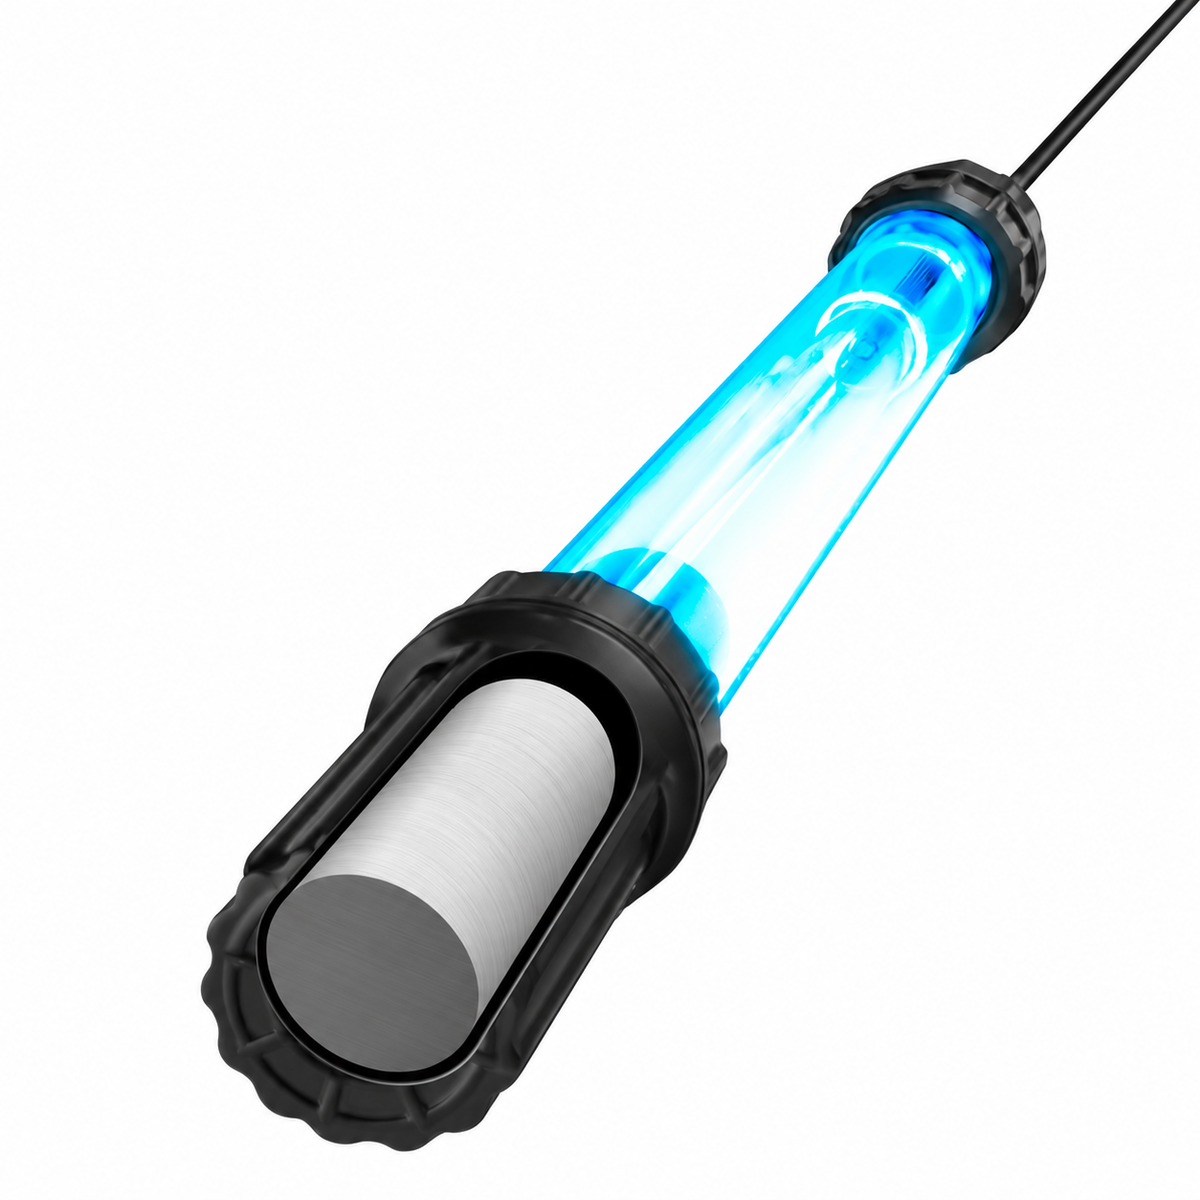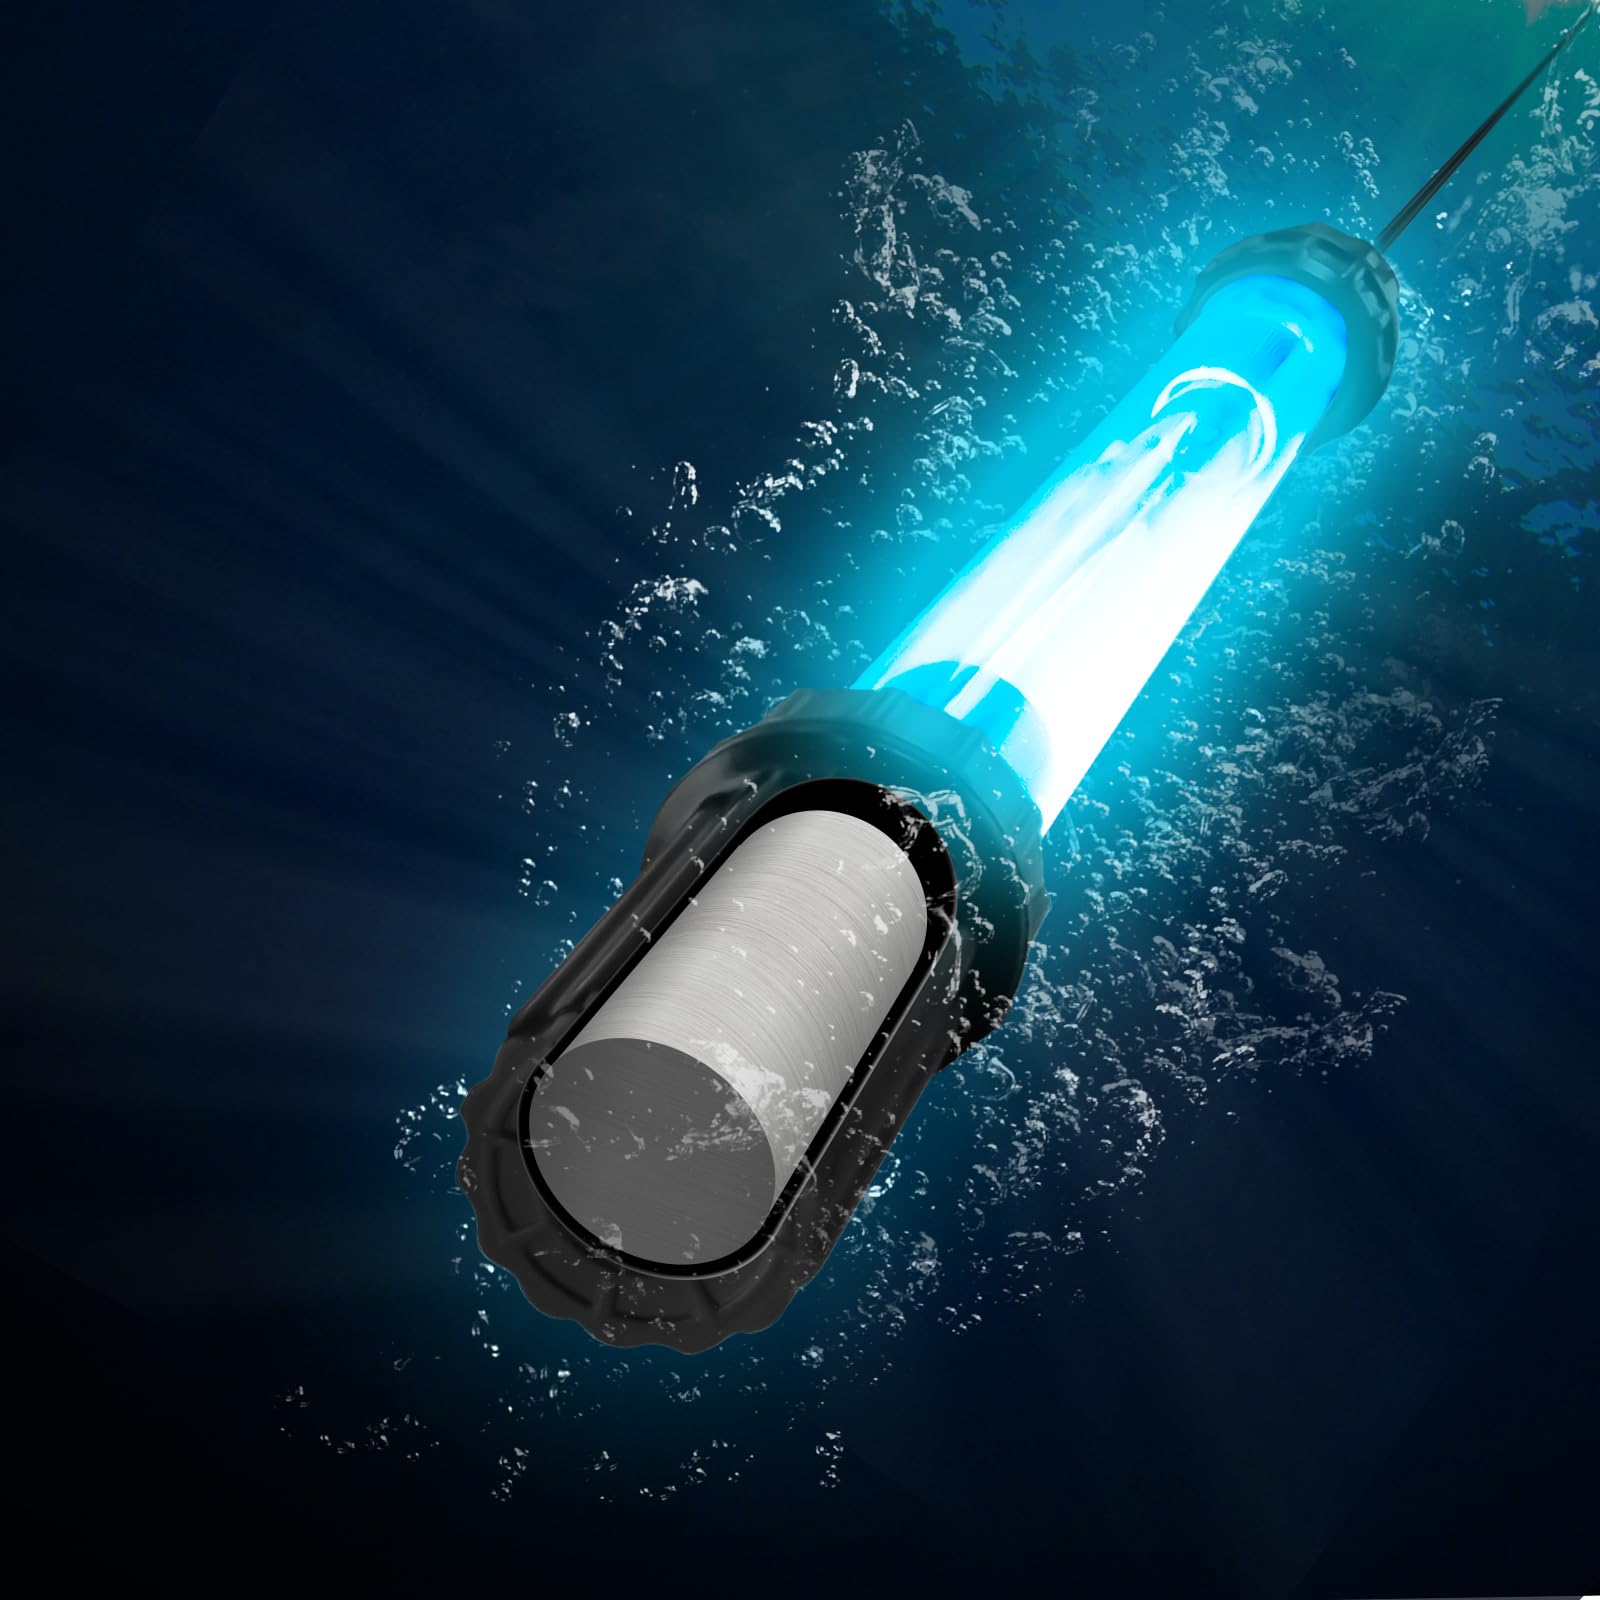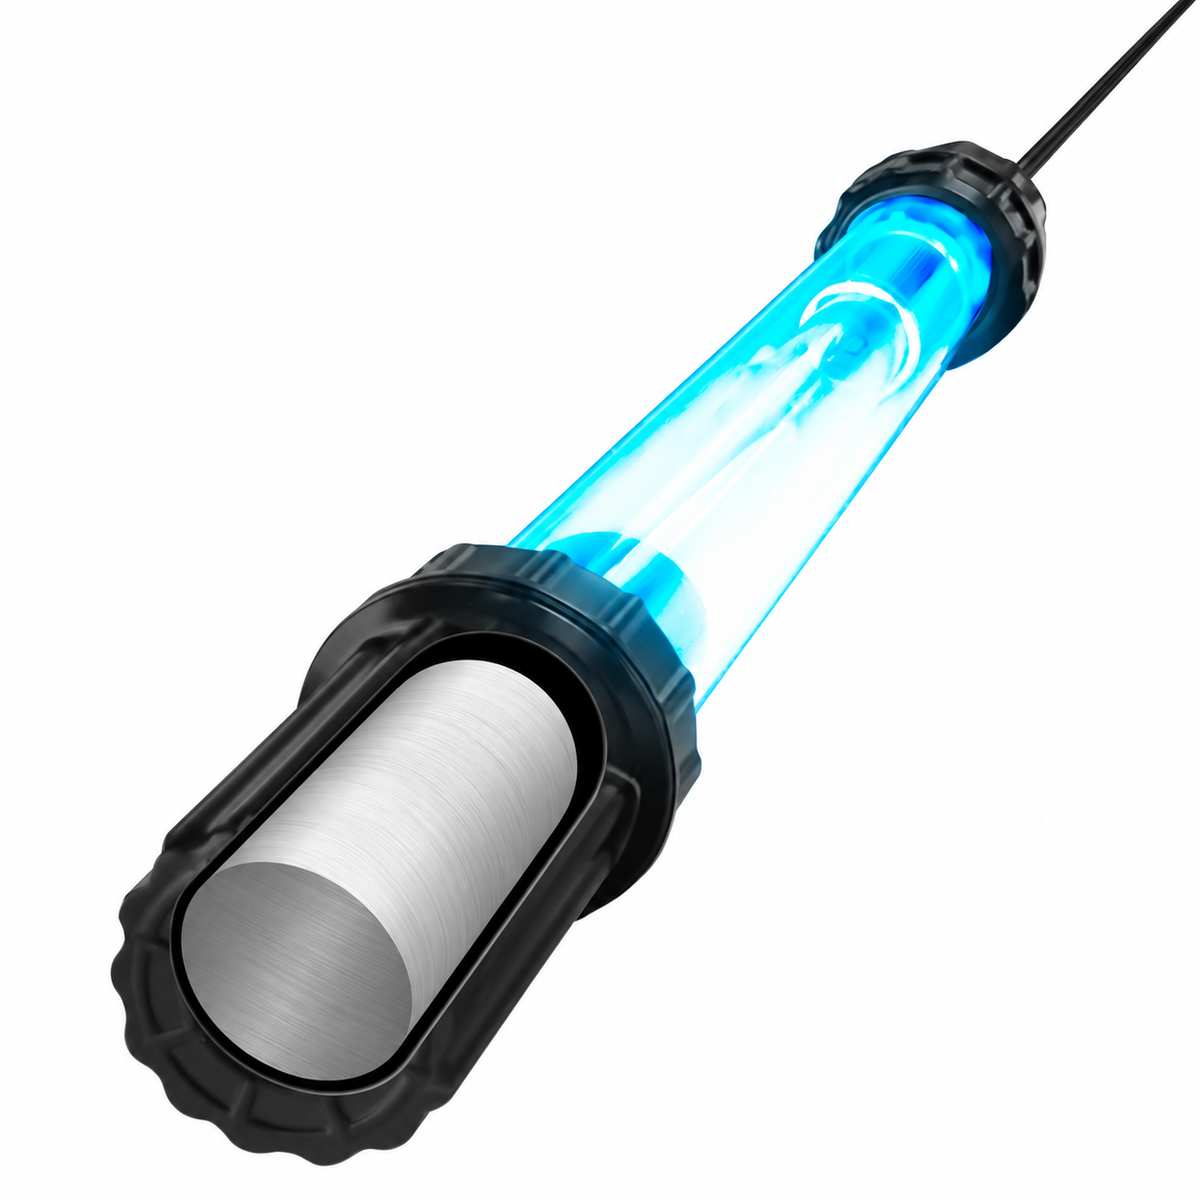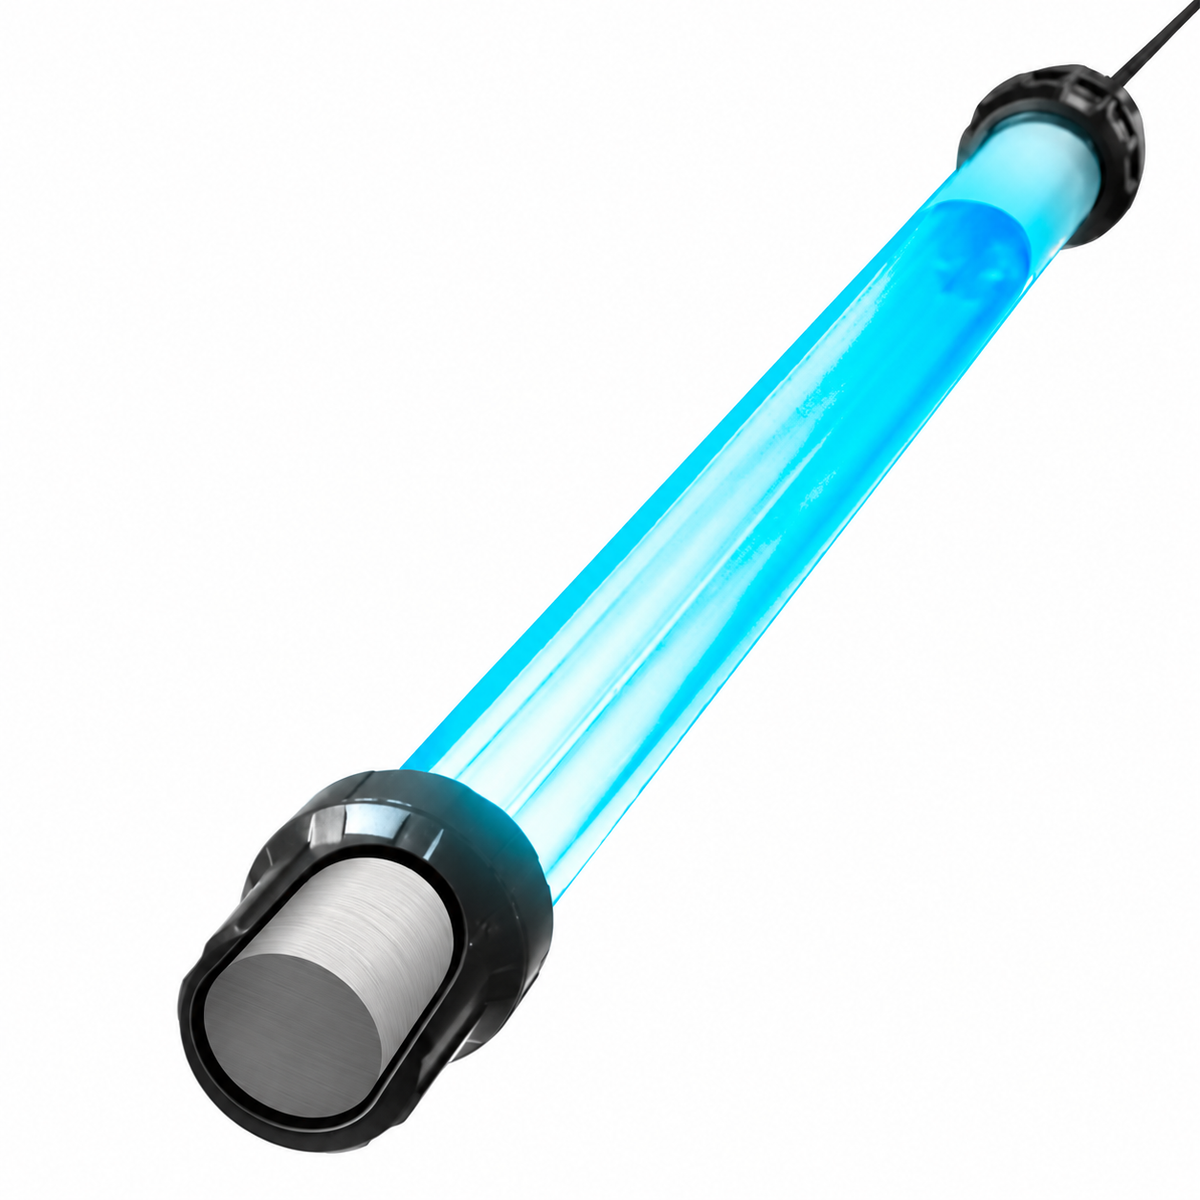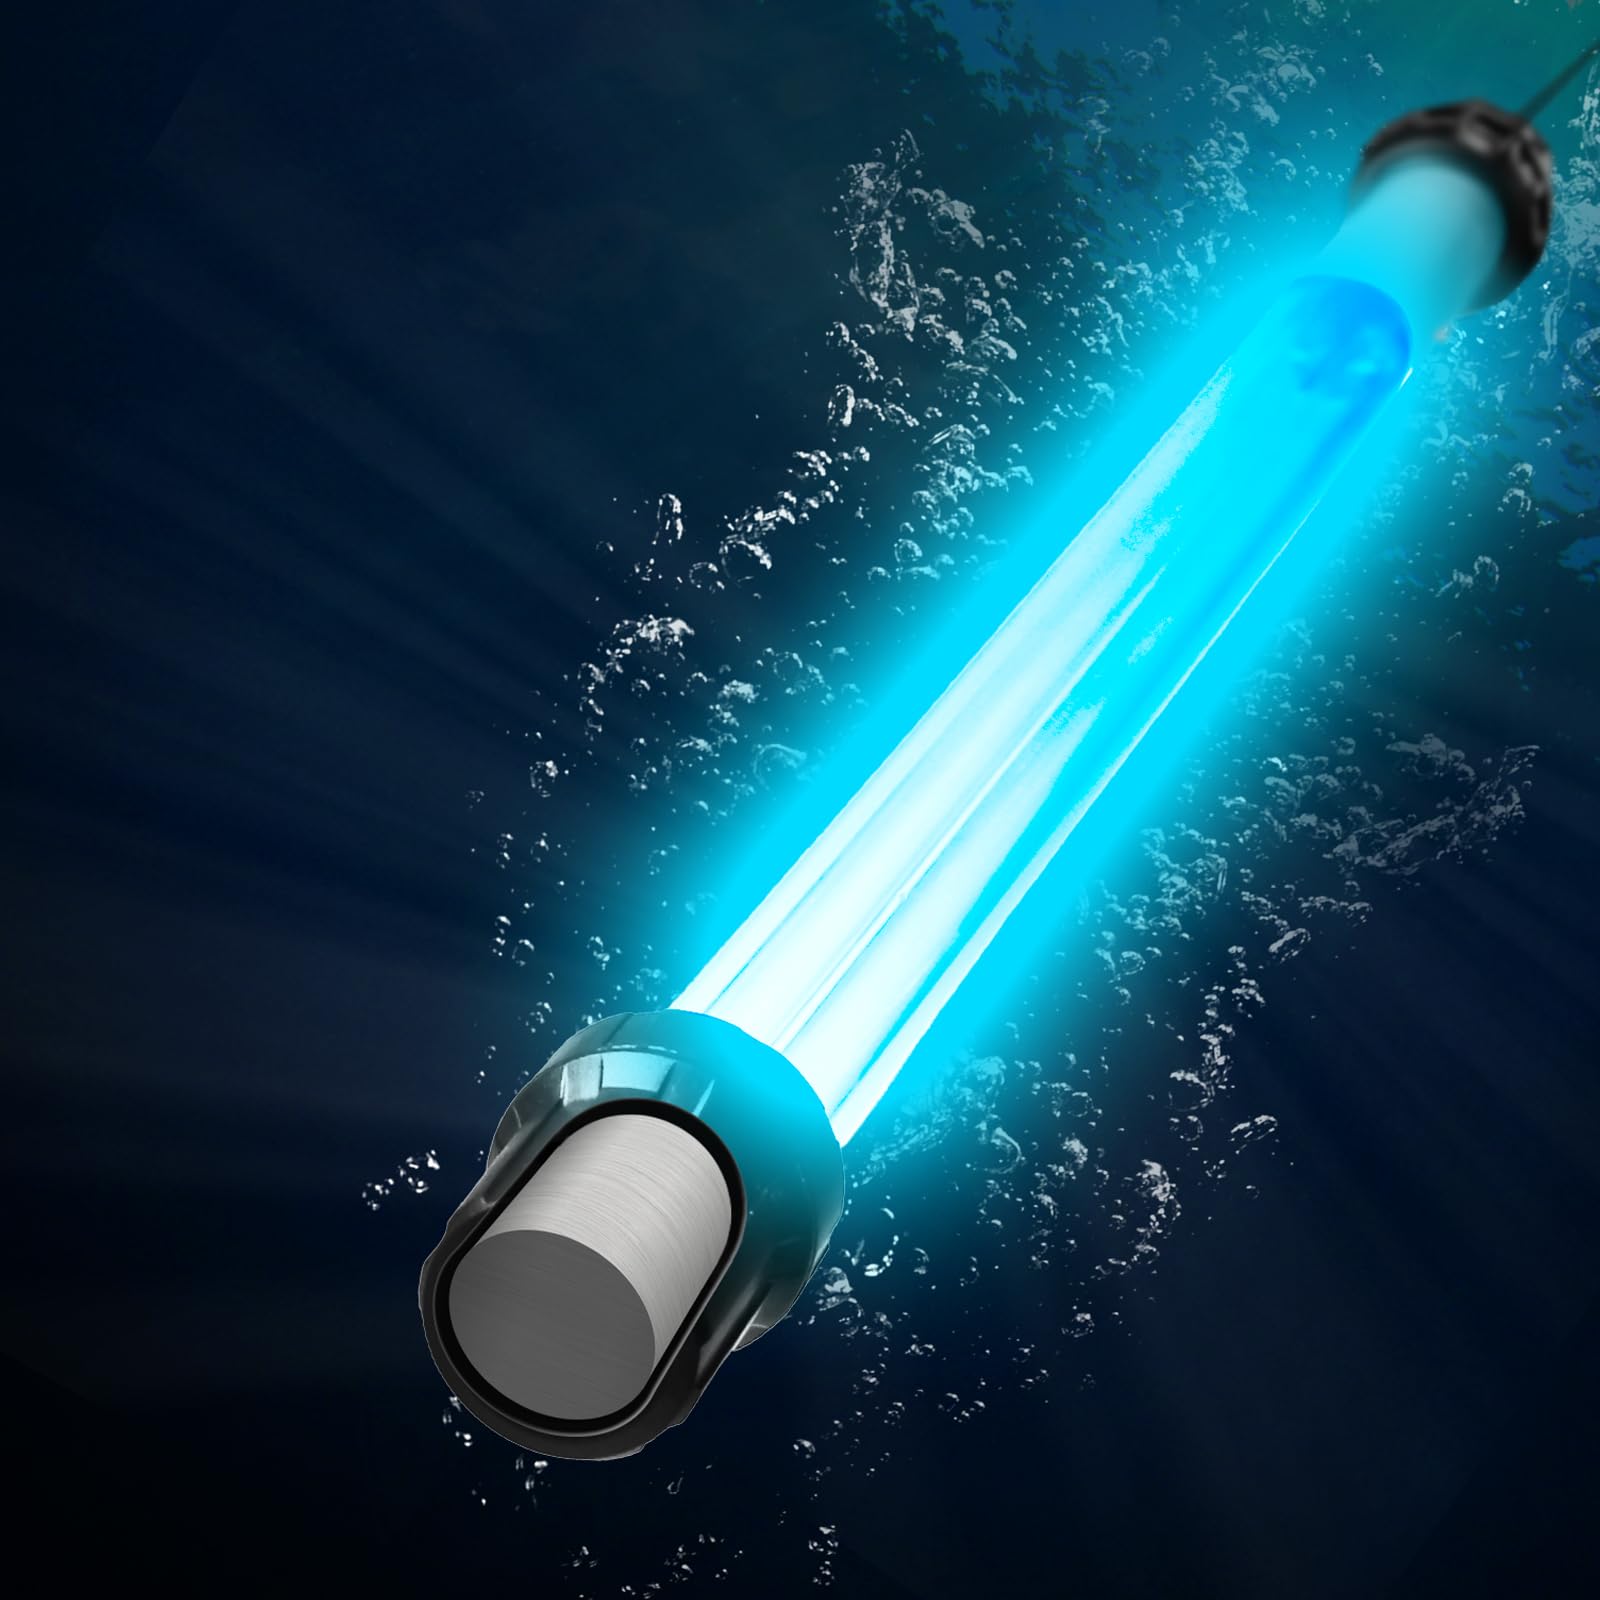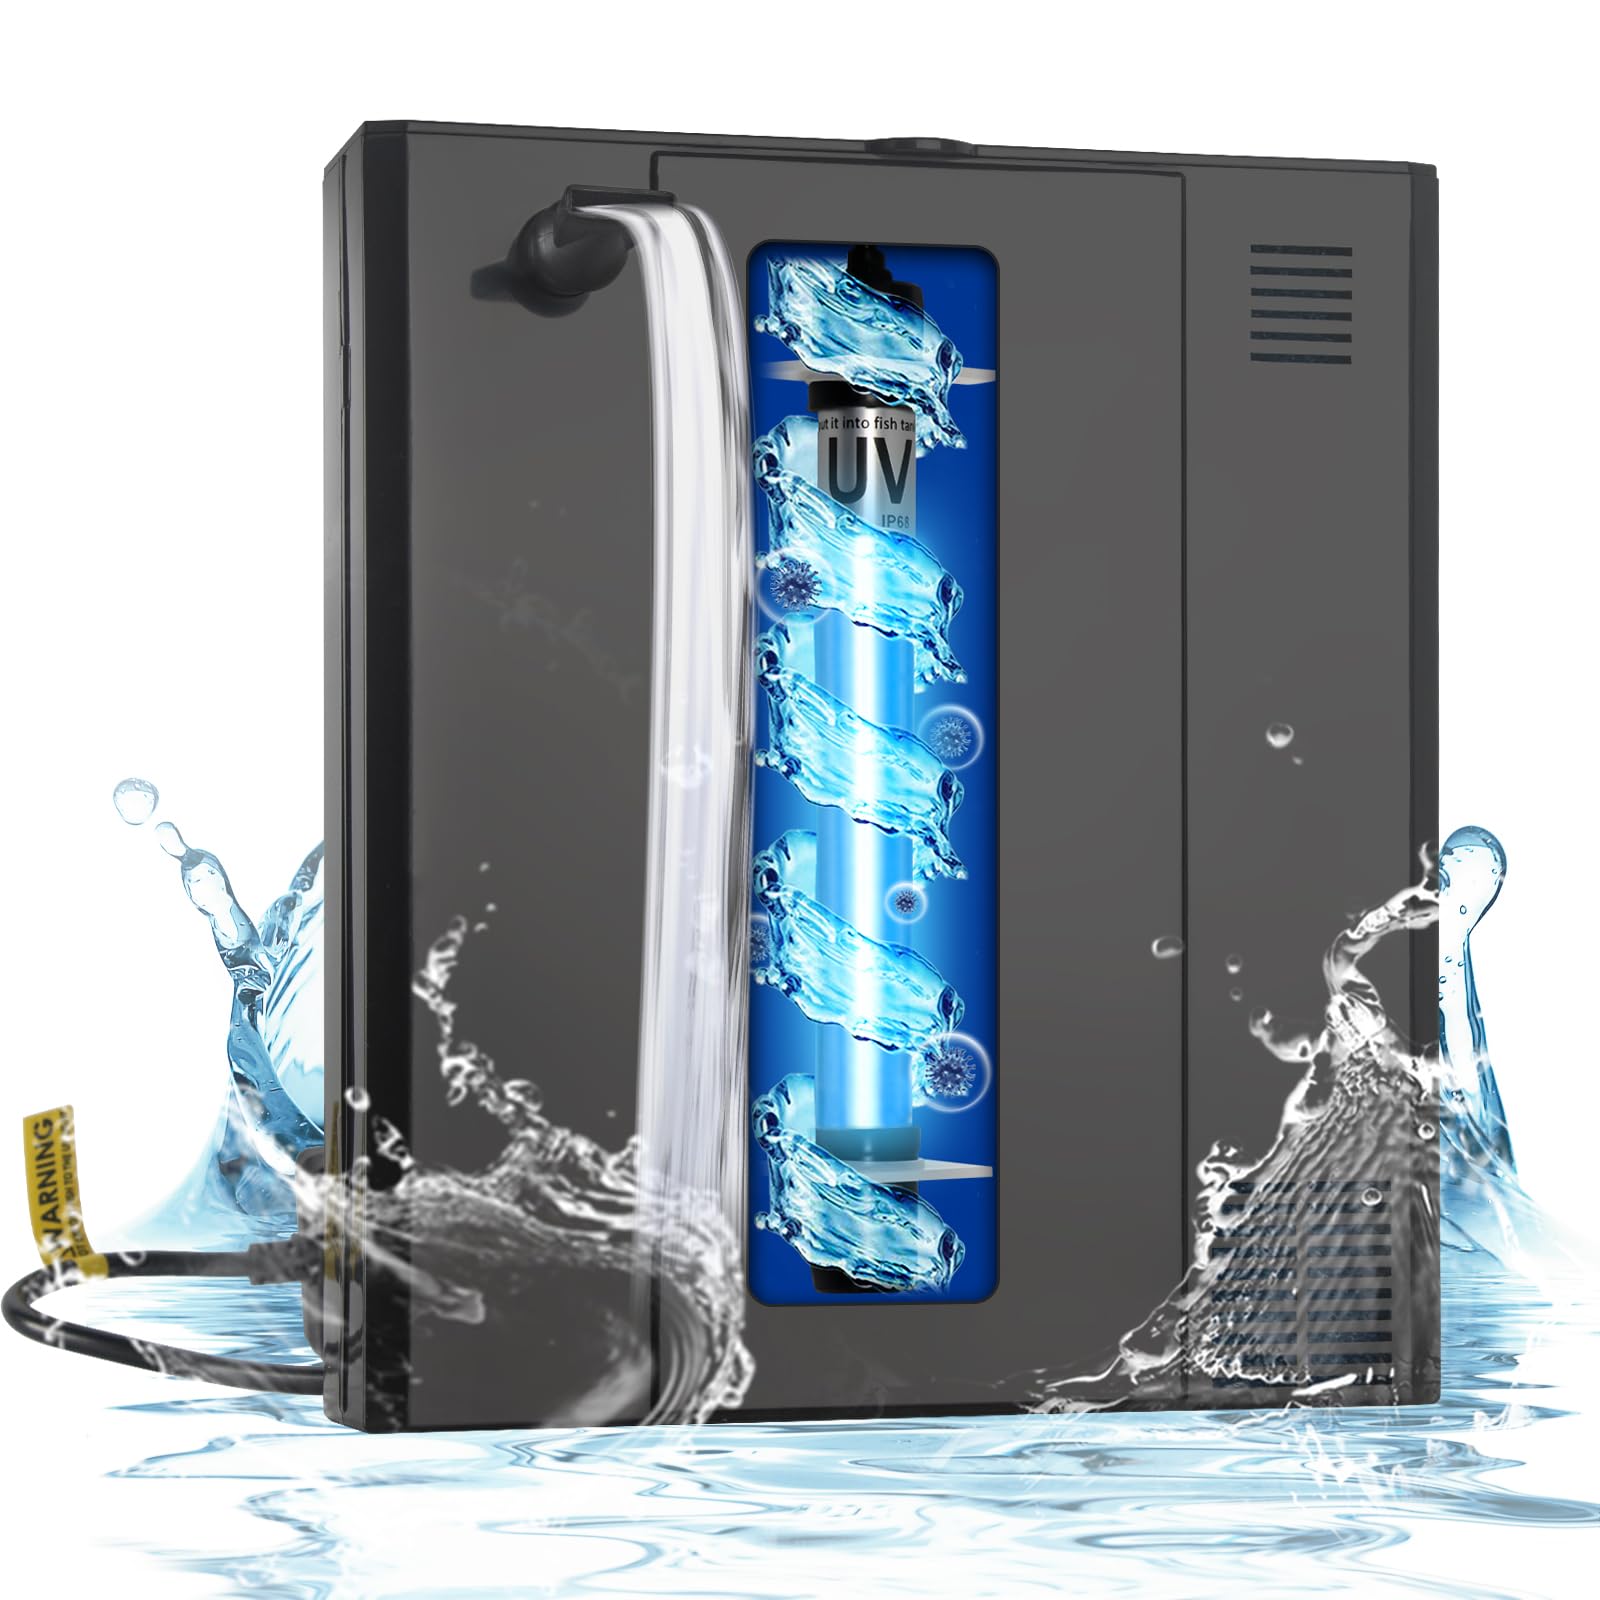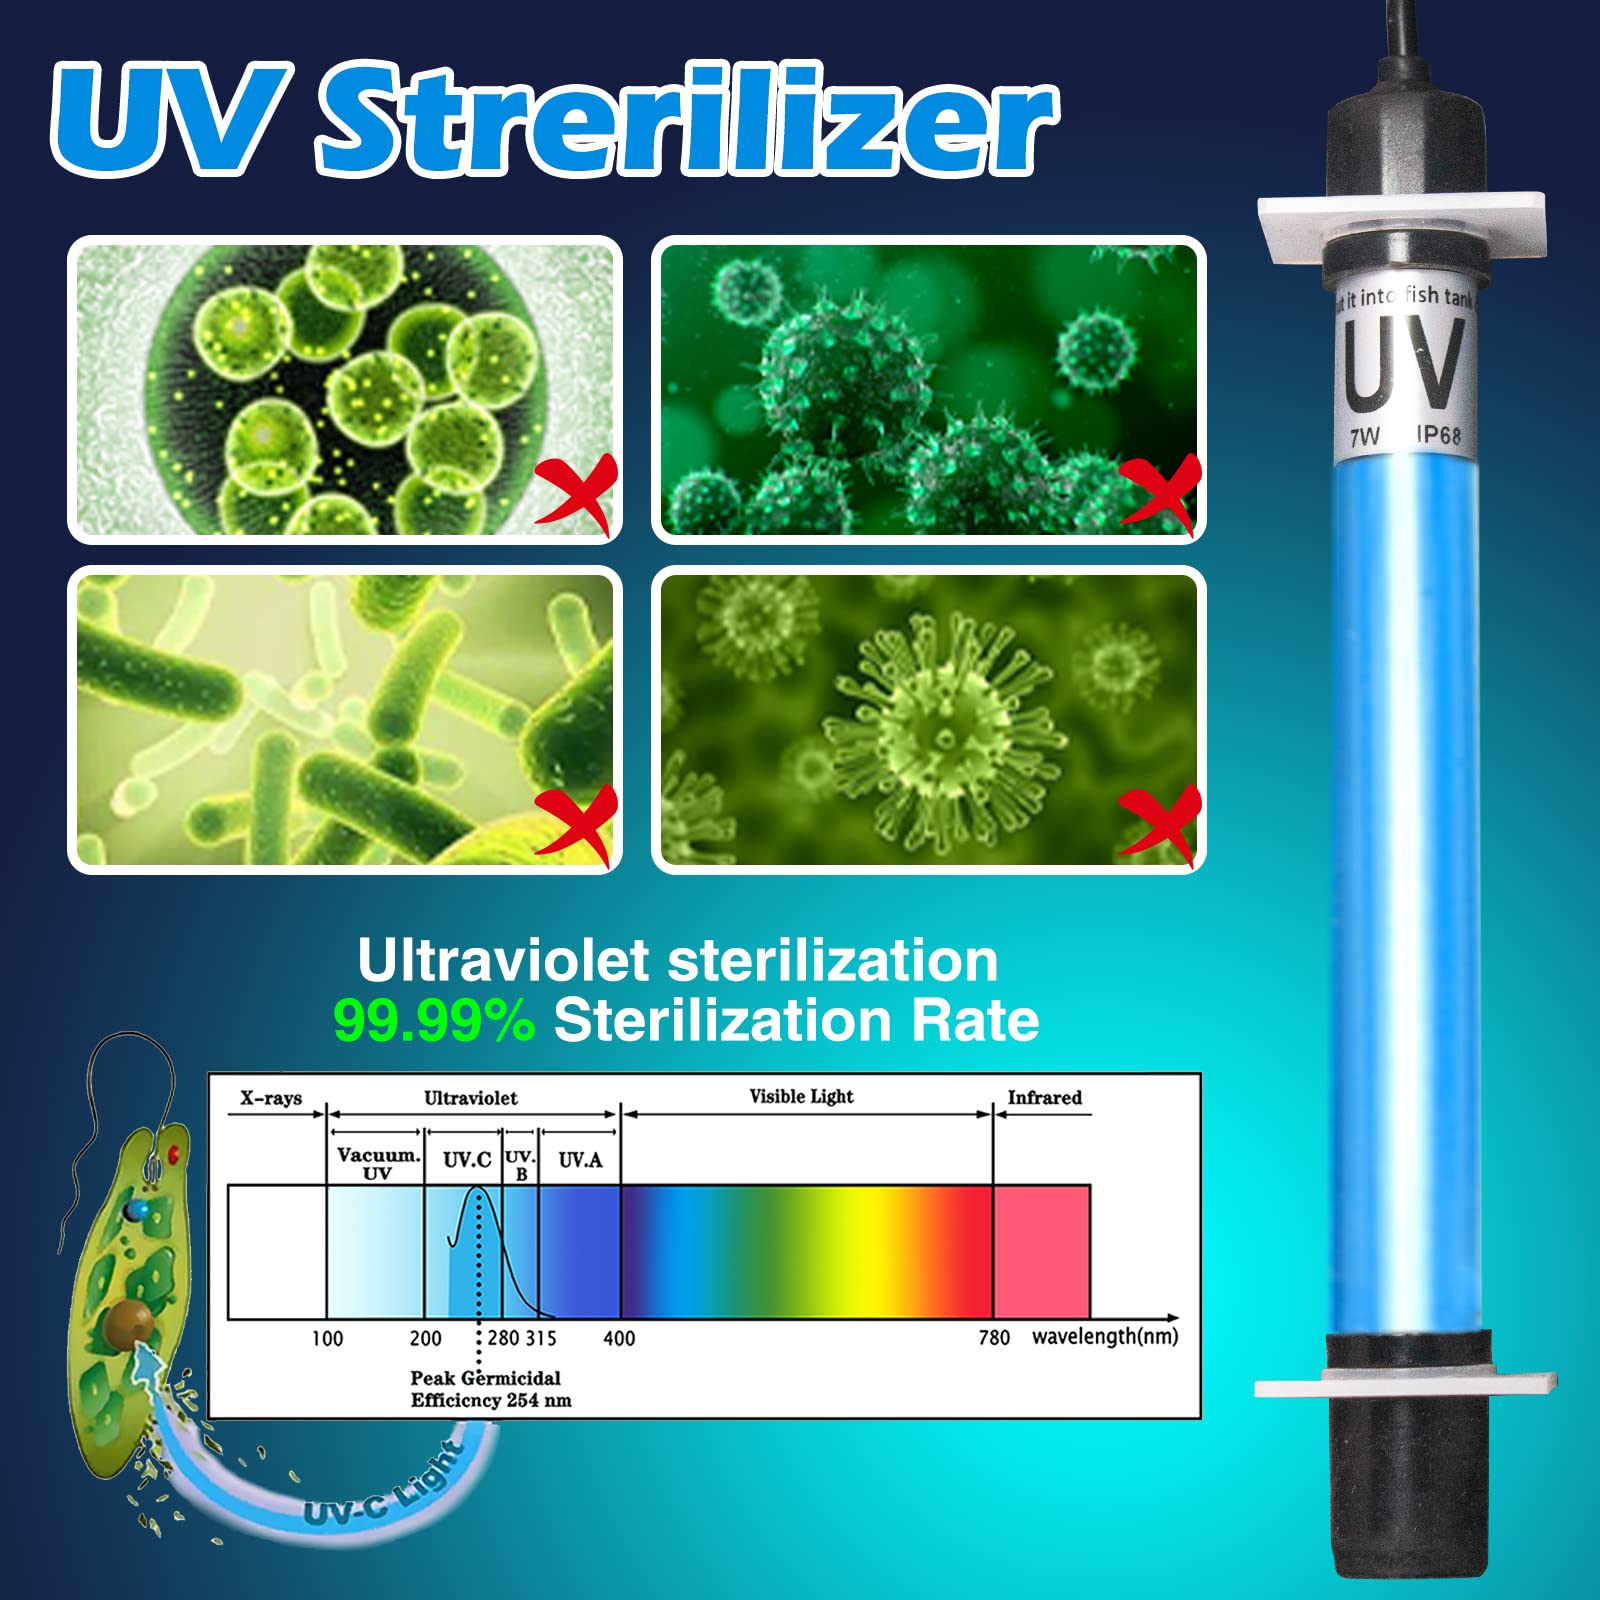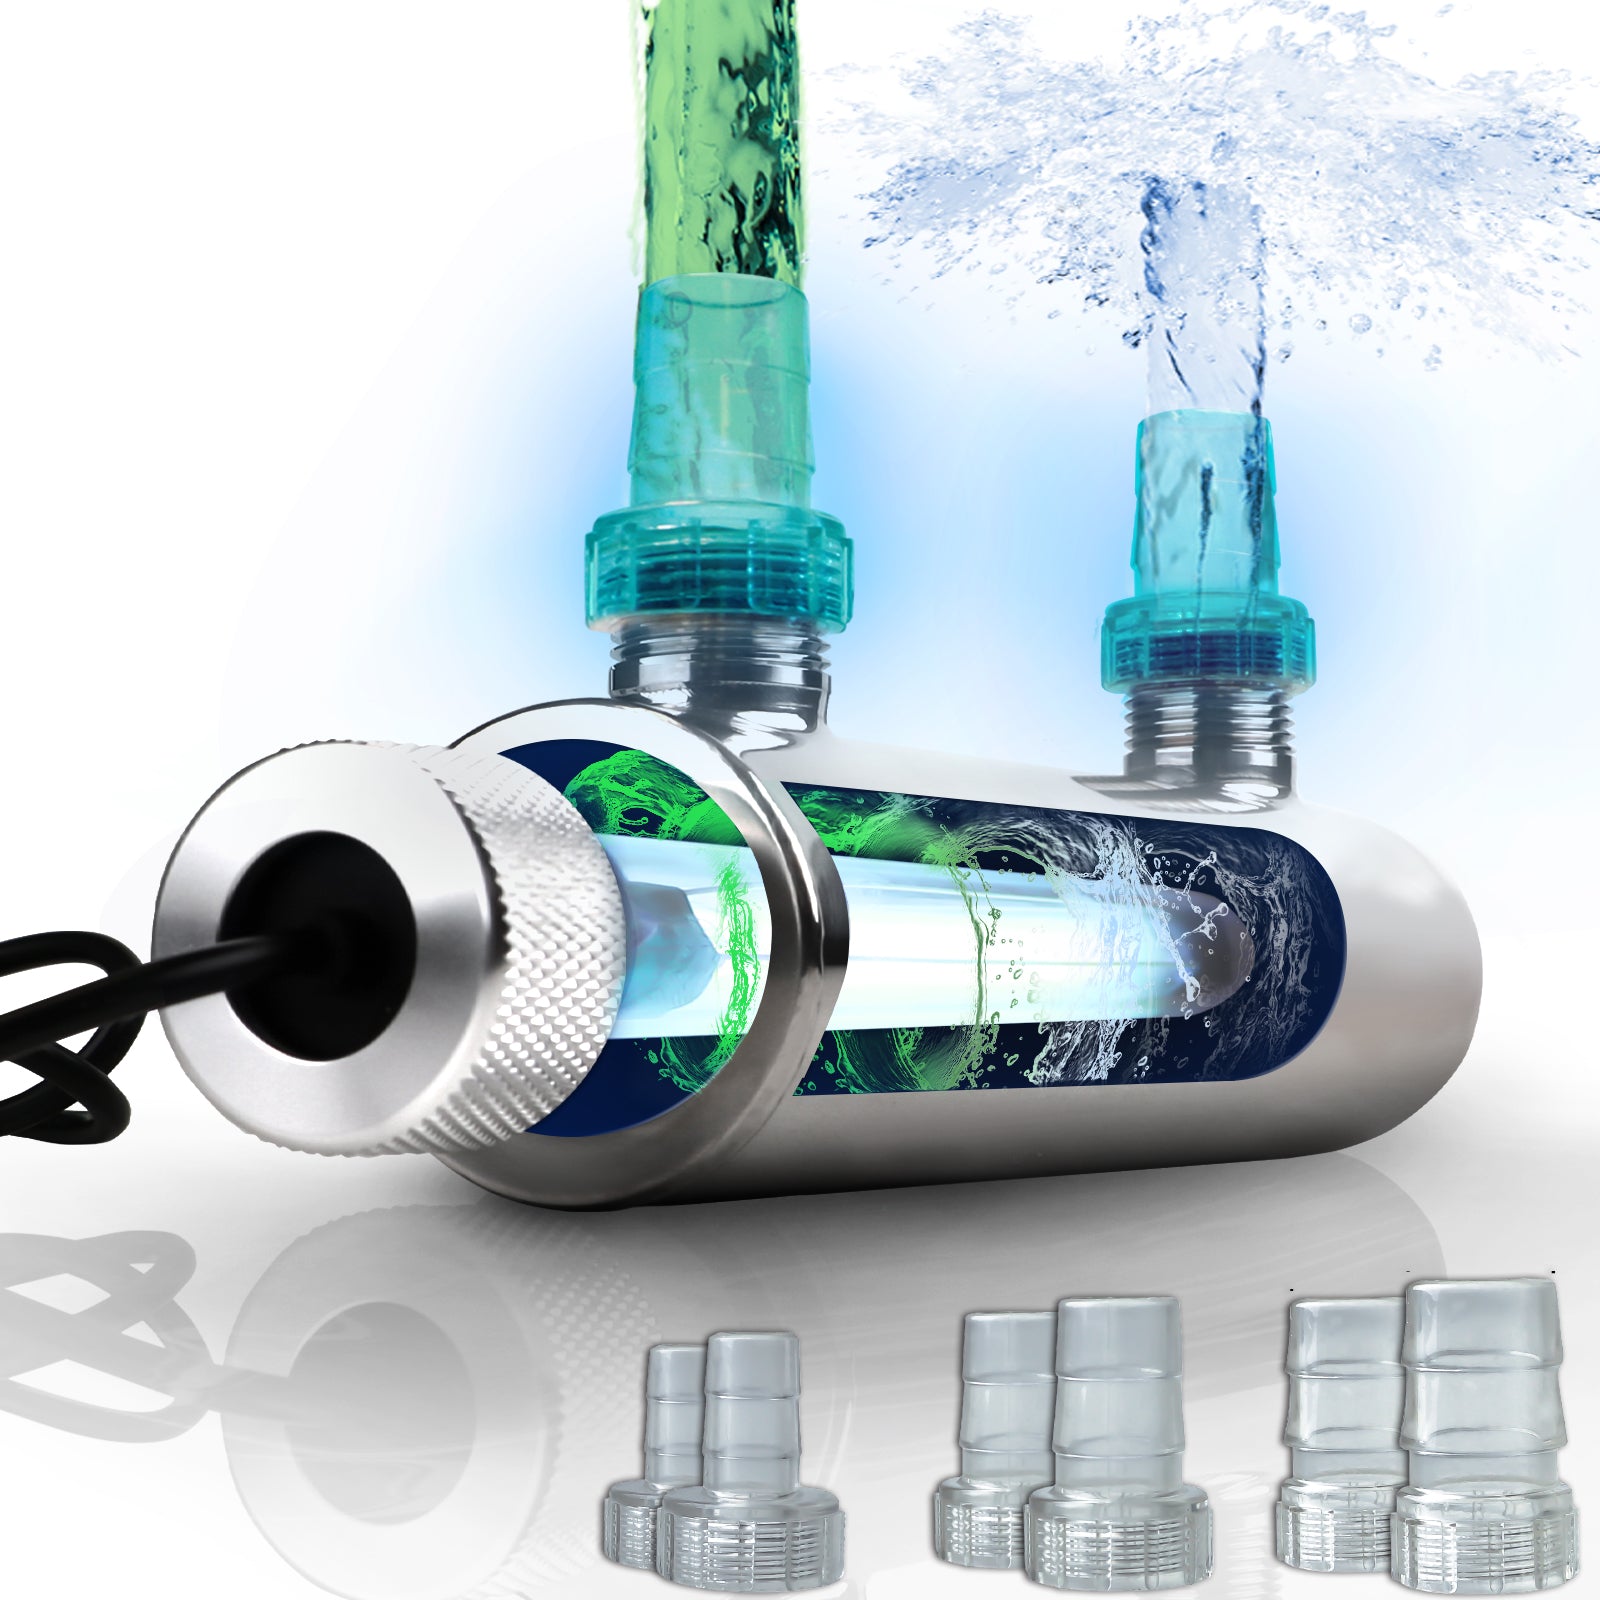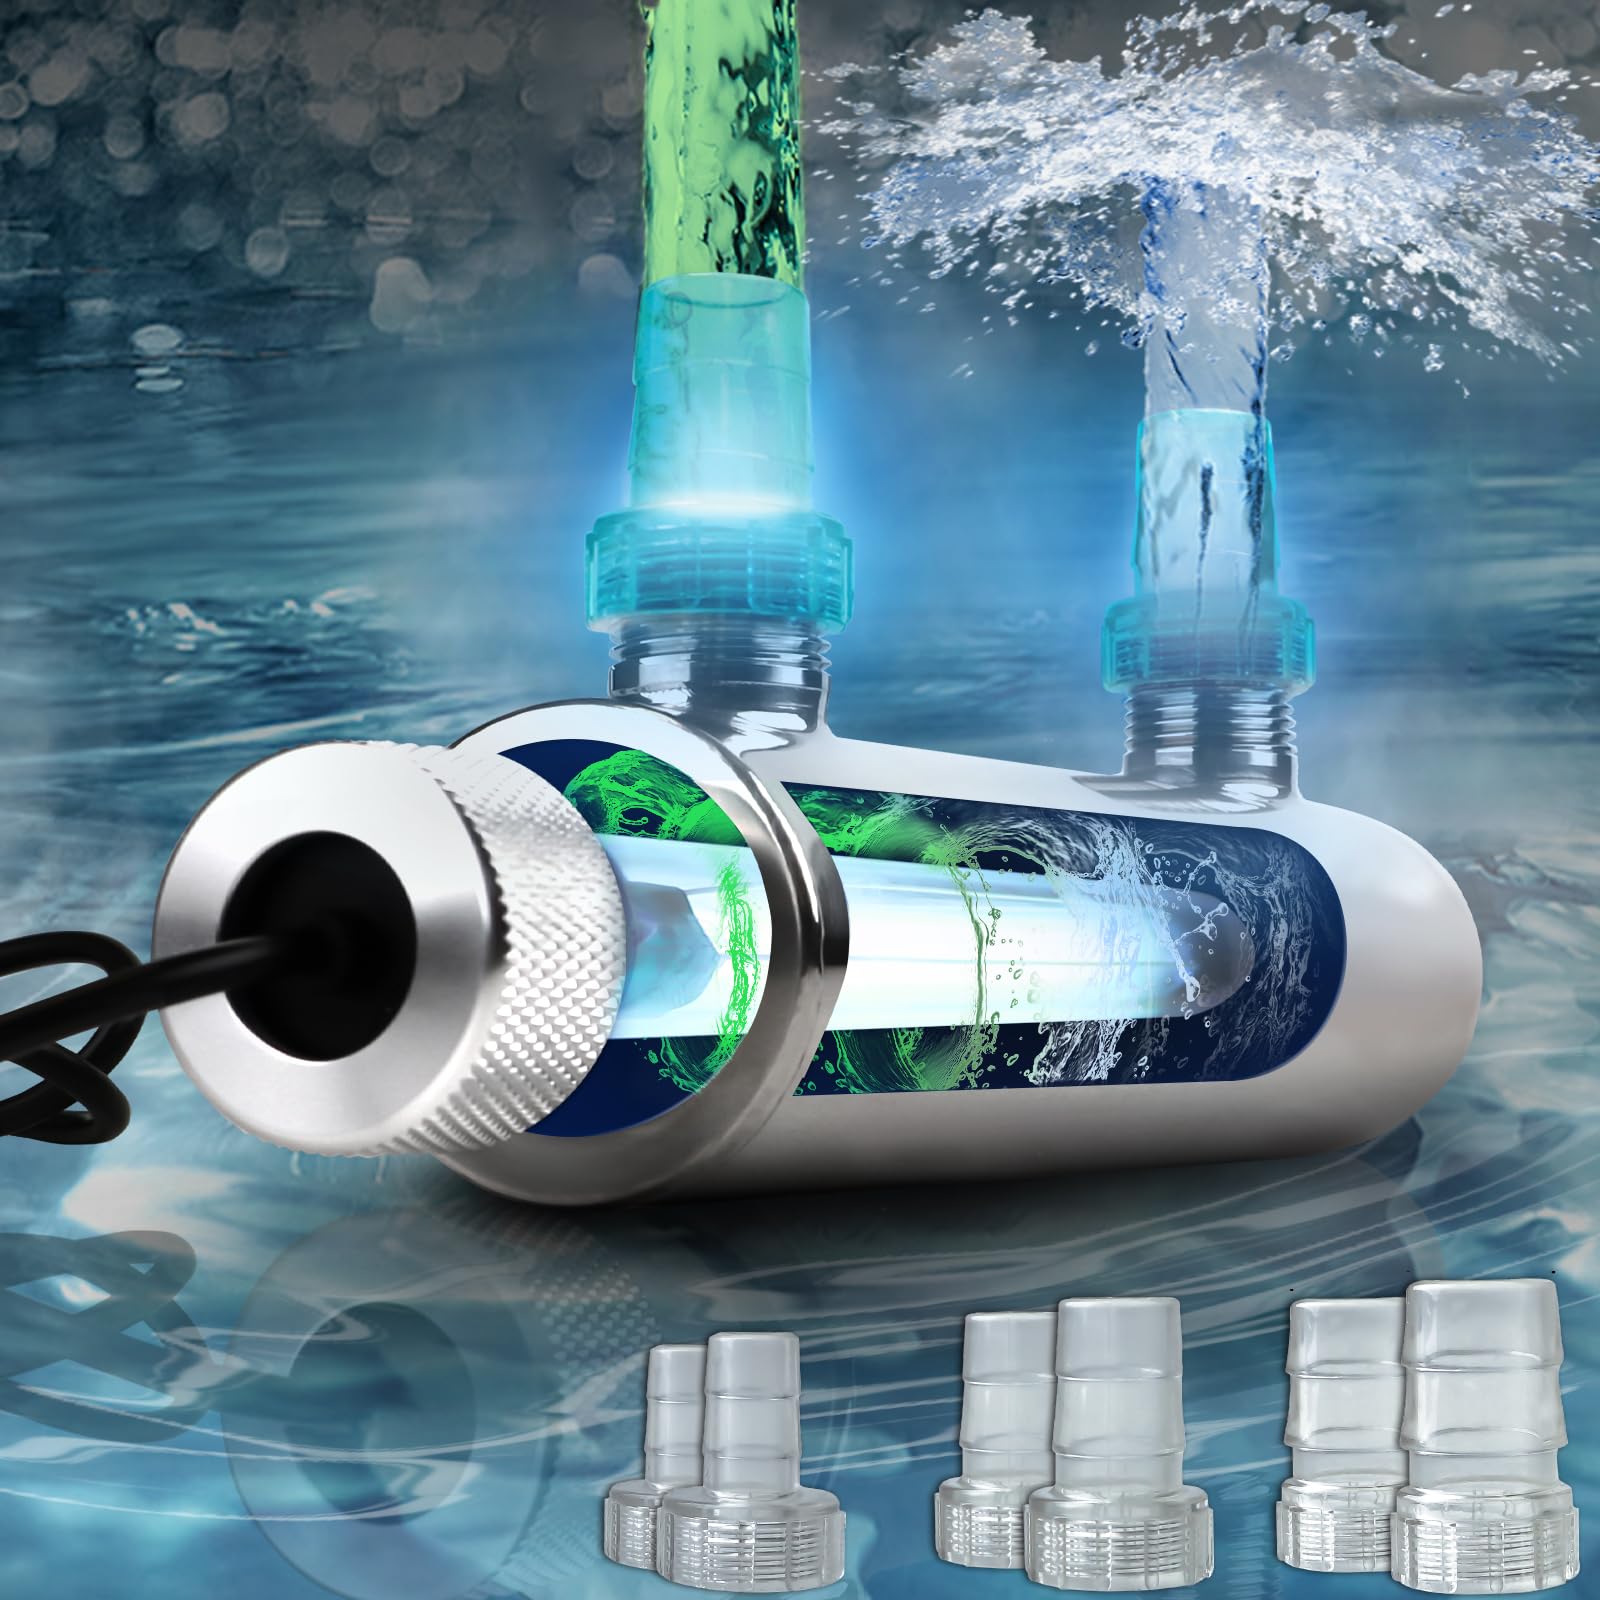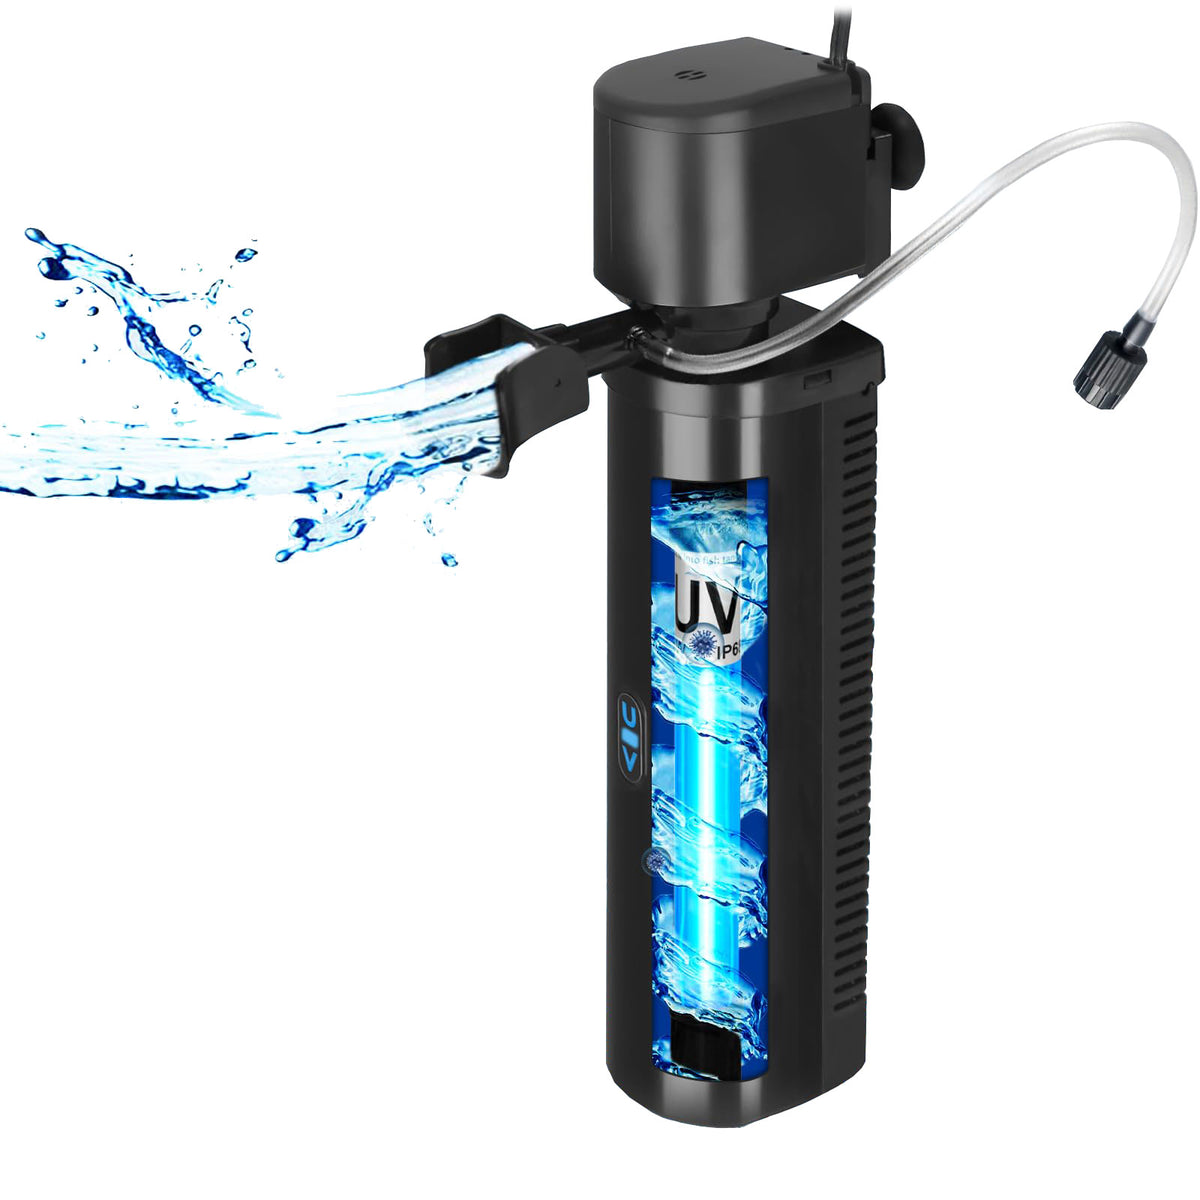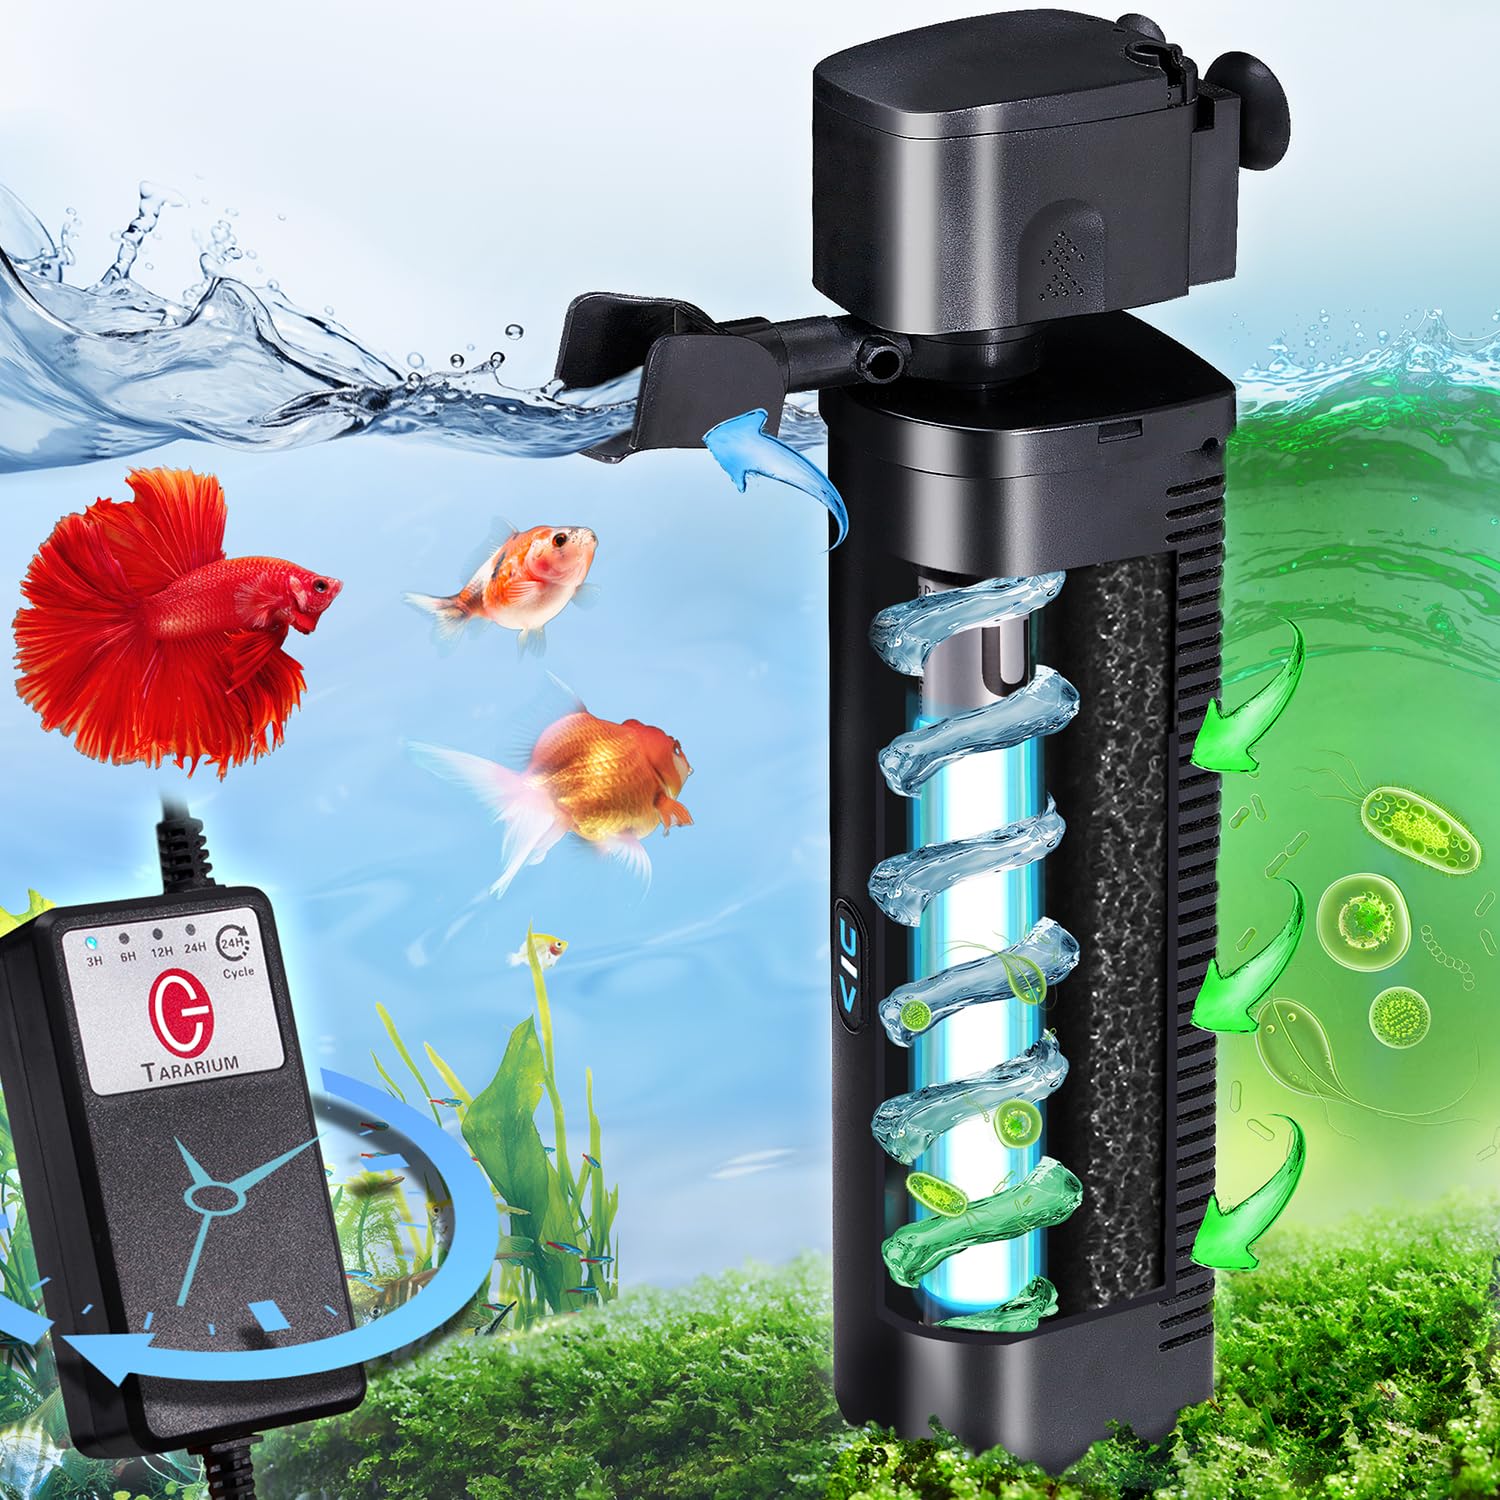
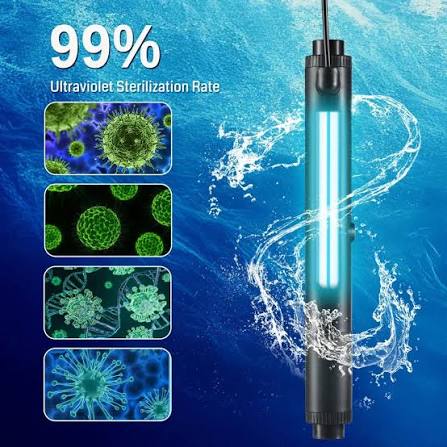
An aquarium UV sterilizer can be a valuable part of a well-maintained fish tank. By exposing circulating water to ultraviolet-C (UV-C) light, it helps control certain free-floating microorganisms and algae as water passes through the sterilization chamber. It can be particularly useful for managing green water, reducing some suspended microorganisms, and supporting a consistent aquarium maintenance routine.
However, like any piece of aquarium equipment, a UV sterilizer does not last forever. Its lamp gradually loses germicidal output, its quartz sleeve can become dirty or damaged, seals can deteriorate, and electrical components may eventually fail. Even when a unit appears to be running normally, its actual UV performance may be lower than expected.
This creates an important question for aquarium owners: Should you replace a single component, repair the existing system, upgrade to a more powerful model, or invest in a completely new UV sterilizer?
The answer depends on the condition of the equipment, the age of its components, the size and type of aquarium, the problems you are trying to solve, and the total cost of restoring reliable performance.
Replacing an entire unit when it only needs a new lamp can waste money. On the other hand, repeatedly repairing an outdated sterilizer may cost more than purchasing a modern, correctly sized model.
This guide explains how aquarium UV sterilizers age, which warning signs deserve attention, how to evaluate common failures, and when repairing, upgrading, or replacing your equipment makes the most sense.
1. How Long Does an Aquarium UV Sterilizer Last?
There is no single lifespan that applies to every aquarium UV sterilizer.
A UV sterilizer consists of several components, and each has a different maintenance schedule. The UV-C lamp is usually a scheduled replacement item, while the quartz sleeve, seals, ballast, housing, and electrical connections may last considerably longer if properly maintained.
Understanding these differences is the first step toward making a cost-effective replacement decision.
UV-C Lamp Lifespan
The lamp is the component that produces the germicidal ultraviolet radiation used by the sterilizer.
Over time, the lamp's UV-C output gradually declines. Eventually, it may produce too little germicidal energy to deliver the performance expected from the unit.
One important detail is that a UV lamp can continue to glow visibly even after its useful germicidal output has declined.
This means that seeing a blue or violet glow does not prove that the lamp is still delivering an effective UV-C dose.
Replacement intervals vary by lamp technology and manufacturer. Some aquarium and pond systems recommend replacement after approximately 8,000 operating hours, while other systems specify around 14 months of continuous operation. Certain commercial applications use shorter intervals.
These differences are important. A generic replacement schedule should never override the instructions for your specific model.
For a continuously operating aquarium UV sterilizer, a practical approach is to record its installation date and operating hours, then follow the manufacturer's specified replacement interval.
Quartz Sleeve Lifespan
The quartz sleeve is a transparent protective tube that separates the UV lamp from the surrounding water.
It allows ultraviolet radiation to pass through while protecting the lamp from direct water contact.
Unlike the lamp, the quartz sleeve does not normally need to be replaced at every scheduled lamp change. However, it requires regular inspection and cleaning.
Mineral deposits, biofilm, dirt, and other residue can accumulate on its surface. These deposits reduce the amount of UV-C radiation reaching the water.
A sleeve that appears slightly cloudy can significantly affect the effectiveness of the sterilizer.
A clean, undamaged quartz sleeve may remain usable for years, but replacement becomes necessary when it develops cracks, chips, persistent discoloration, or other damage that compromises its function.
Ballast and Electrical Component Lifespan
The ballast regulates the electrical power supplied to the UV lamp.
If the ballast fails, the lamp may not start, may flicker, or may behave inconsistently.
Some models use replaceable ballasts, while others have integrated electrical assemblies that are difficult or uneconomical to repair.
The lifespan of these components depends on operating conditions, electrical stability, heat, moisture exposure, and the quality of the equipment.
Electrical components should not be considered maintenance-free simply because they are enclosed in a housing.
Housing, Seals, and Connections
The chamber, end caps, O-rings, gaskets, cable connections, and fittings all contribute to safe operation.
Over time, rubber seals can harden, flatten, or crack. Plastic housings can deteriorate, particularly when exposed to inappropriate chemicals, excessive heat, physical stress, or unsuitable operating pressure.
A minor seal failure may be inexpensive to repair. A cracked chamber or damaged electrical enclosure may make replacing the entire unit a safer and more economical option.
2. Seven Warning Signs That Your UV Sterilizer Needs Attention
A UV sterilizer does not always stop working suddenly.
In many cases, performance declines gradually. Recognizing early warning signs can help prevent unnecessary equipment failure and reduce the risk of water leaks or electrical problems.
Sign One: The Aquarium Water Is Becoming Green Again
Green water is one of the most recognizable problems that aquarium UV clarifiers are commonly used to address.
It is often associated with suspended single-celled algae that multiply in the water column.
When properly sized and installed, a UV sterilizer can expose these free-floating algae cells to UV-C radiation as they pass through its chamber.
If the water gradually becomes green again after previously becoming clear, the sterilizer may not be delivering its expected performance.
Possible causes include:
-
An aging UV lamp.
-
A dirty or mineral-covered quartz sleeve.
-
Reduced water circulation.
-
An undersized sterilizer.
-
An incorrect flow rate.
-
A failing ballast.
-
Poor installation or water bypass around the chamber.
However, green water does not automatically mean that the sterilizer is broken.
Excessive light, nutrient accumulation, overfeeding, inadequate filtration, and other aquarium management problems can encourage algae growth.
Before replacing the equipment, inspect the lamp, sleeve, water flow, and overall aquarium conditions.
If the unit is operating correctly but the algae problem continues, the issue may be that the sterilizer is too small for the aquarium or that the water is passing through it too quickly.
Sign Two: The UV Lamp No Longer Illuminates
A lamp that does not turn on is an obvious warning sign.
Possible causes include:
-
A lamp that has reached the end of its useful life.
-
A loose electrical connection.
-
A damaged lamp socket.
-
A failed ballast.
-
An internal fuse problem.
-
A damaged power cable.
-
An electrical supply issue.
Do not immediately assume that the entire sterilizer needs replacing.
First, consult the manufacturer's troubleshooting instructions. Some models have simple lamp replacement procedures, while others require a technician to diagnose the electrical system.
Never remove the lamp and look directly at it while it is operating.
UV-C radiation can damage the eyes and skin. Any inspection or maintenance should be performed with the unit disconnected from power and handled according to the manufacturer's safety instructions.
If a new, compatible lamp does not work, the ballast or electrical assembly may be responsible.
Sign Three: The Lamp Is Glowing, but Its Performance Has Declined
This is one of the most misleading situations.
Many aquarium owners assume that a lamp is still working effectively as long as it produces visible light.
Unfortunately, visible illumination and germicidal UV-C output are not the same thing.
As a lamp ages, its germicidal output can decline even while it continues to glow.
This is why lamp replacement should be based on operating hours and the manufacturer's maintenance recommendations rather than visual appearance.
For example, a lamp that has operated continuously for many months may appear normal but no longer deliver the UV-C intensity expected from a new lamp.
If you do not know when the lamp was last replaced, checking its history should be one of your first maintenance steps.
Sign Four: Water Is Leaking Around the Quartz Sleeve or End Cap
Water leakage around the quartz sleeve is a serious warning sign.
It may indicate:
-
A worn O-ring.
-
An improperly positioned gasket.
-
A loose compression fitting.
-
A cracked quartz sleeve.
-
Damage to the chamber.
-
An incorrectly installed end cap.
Some leaks can be corrected by replacing seals or reinstalling components according to the manufacturer's instructions.
A cracked quartz sleeve, however, must be replaced before the system is returned to service.
Do not simply tighten the fittings harder in an attempt to stop a leak. Excessive tightening can damage the sleeve, seals, or housing.
Most importantly, never operate electrical equipment with evidence of water entering its electrical compartment or connections.
Disconnect the equipment from the power supply and isolate the water before investigating the problem.
If the housing itself is cracked, a complete unit replacement may be safer than attempting an improvised repair.
Sign Five: The Sterilizer Makes Unusual Sounds or Develops Excessive Heat
A properly functioning UV sterilizer should generally operate without unusual mechanical noise.
New buzzing, crackling, intermittent vibration, or other unexpected sounds may indicate an electrical or mechanical issue.
Excessive heat around the ballast or housing can also be a warning sign.
Some UV systems naturally generate heat during operation, so a warm surface does not automatically indicate a fault. What matters is whether the temperature is outside the manufacturer's operating expectations or has changed noticeably.
Possible causes include:
-
A failing ballast.
-
A damaged electrical connection.
-
Inadequate ventilation.
-
An incorrect lamp.
-
A malfunctioning power supply.
-
An unsuitable operating environment.
If you notice burning smells, smoke, melted plastic, damaged insulation, or repeated electrical trips, disconnect the unit immediately.
Do not continue operating an electrical device that shows signs of overheating or electrical damage.
Sign Six: The Quartz Sleeve Is Cloudy, Scratched, or Cracked
The condition of the quartz sleeve directly affects the amount of ultraviolet radiation reaching the water.
A sleeve covered with mineral deposits may need cleaning.
A sleeve with a visible crack, deep scratch, chip, or damaged sealing surface needs closer evaluation and may require replacement.
Do not assume that every cloudy sleeve is permanently damaged.
In many cases, mineral buildup can be removed with a cleaning method approved by the manufacturer.
However, persistent cloudiness, surface deterioration, or structural damage should not be ignored.
Sign Seven: The Sterilizer Has Become Difficult to Maintain
Sometimes the problem is not one obvious failure.
Instead, the entire unit becomes increasingly inconvenient to operate.
You may find that:
-
Replacement lamps are difficult to obtain.
-
Compatible seals are no longer available.
-
The housing is becoming brittle.
-
Connections frequently leak.
-
The ballast fails repeatedly.
-
Maintenance requires increasingly complicated disassembly.
-
The unit is no longer supported by the manufacturer.
When several of these issues occur together, replacing the sterilizer may be more sensible than continuing to repair it.
3. When Should You Repair an Aquarium UV Sterilizer?
Repair is usually the best option when the main housing and core components remain in good condition and the problem is limited to a replaceable part.
The key is to distinguish normal maintenance from structural or electrical failure.
Replace the UV-C Lamp When It Reaches Its Recommended Operating Life
A scheduled lamp replacement is normal maintenance, not necessarily a sign that the entire sterilizer is failing.
If the unit is otherwise in good condition, replacing the lamp is usually the most economical solution.
Before purchasing a replacement, confirm:
-
The exact model number.
-
Required lamp wattage.
-
Lamp length.
-
Base or connector type.
-
Electrical specifications.
-
Compatible lamp technology.
-
Manufacturer-approved replacement part.
Two lamps may look almost identical but have different electrical characteristics or UV-C output.
Do not select a replacement based solely on physical appearance or wattage.
An ordinary fluorescent lamp, decorative UV lamp, or blacklight is not an appropriate substitute for a germicidal UV-C lamp.
Always use a replacement specified for your particular sterilizer.
Clean the Quartz Sleeve When Deposits Reduce UV Transmission
A dirty quartz sleeve is one of the most common reasons a UV sterilizer underperforms.
Before purchasing a new sleeve, inspect whether the problem can be resolved through cleaning.
The exact cleaning method depends on the equipment and the type of deposit.
For general dirt and biofilm, use the cleaning approach recommended by the manufacturer.
For mineral deposits, an approved descaling solution may be necessary.
After cleaning, rinse the sleeve thoroughly and inspect it for damage.
Do not use abrasive tools that can scratch the surface.
A clean and undamaged sleeve can often restore performance without requiring a replacement component.
Replace Worn O-Rings and Gaskets
O-rings and gaskets are relatively small components, but they play an important role in preventing water from reaching electrical parts.
Rubber can gradually lose elasticity.
A seal may become flattened, stiff, swollen, cracked, or poorly seated.
If water leaks around a connection and the housing remains intact, replacing the affected seal may solve the problem.
Use the correct seal material and dimensions for the specific model.
A generic O-ring that appears to fit may not provide the same sealing performance under operating conditions.
Where the manufacturer specifies replacement during servicing, follow that recommendation rather than reusing an old seal indefinitely.
Replace a Damaged Lamp Holder or Connector
A lamp holder can become worn or damaged through heat, moisture, repeated installation, or incorrect handling.
If the manufacturer supplies a compatible replacement connector, repair may be practical.
However, electrical repairs should be performed only by someone with the appropriate knowledge and qualifications.
Never use improvised wiring, unsuitable connectors, or exposed electrical joints to keep an aquarium UV sterilizer operating.
A low-cost repair is not worthwhile if it creates a risk of electric shock, water damage, or fire.
Repair the Ballast Only When It Is Economically and Technically Sensible
A ballast failure does not always require replacing the entire UV sterilizer.
Some models have replaceable ballast assemblies.
If the manufacturer supplies a compatible replacement and the rest of the unit is in excellent condition, replacing the ballast may extend the equipment's useful life.
However, a ballast is an electrical component, not a simple mechanical accessory.
If the unit is still under warranty, contact the manufacturer or authorized service provider before attempting any repair.
For older models, compare the price of the correct ballast, labor, and other necessary parts with the cost of a complete new sterilizer.
If the repair approaches the cost of a new unit, replacement is often the more practical decision.
4. When Is It Time to Upgrade Your Aquarium UV Sterilizer?
Sometimes the sterilizer is not broken at all.
The aquarium has simply outgrown the equipment.
An upgrade may be necessary when the current model can no longer meet the tank's needs.
Your Aquarium Volume Has Increased
A sterilizer selected for a small aquarium may be inadequate after upgrading to a larger tank or connecting multiple systems.
The amount of water being treated has changed, but the sterilizer's UV output and hydraulic capacity have not.
This can reduce the system's ability to provide the intended treatment.
For example, a small unit that worked well on a modest freshwater aquarium may not be suitable for a larger marine system with different circulation requirements.
When the total connected water volume increases, review the manufacturer's sizing recommendations again.
Do not assume that the previous model will remain adequate simply because it still turns on.
Your Fish Stocking Density Has Increased
A heavily stocked aquarium often places greater demands on filtration and water quality management.
Fish produce waste, and organic material can contribute to nutrient accumulation and microbial activity.
Although UV treatment does not replace biological or mechanical filtration, it may be useful as part of a broader water management system.
If stocking density increases substantially, reassess the entire filtration setup.
An upgraded UV sterilizer may be appropriate, but only when it addresses a genuine limitation in the existing system.
Do not use a more powerful UV unit as a substitute for adequate biological filtration, water changes, or proper stocking levels.
Your Current Unit Cannot Deliver the Required UV Dose
UV performance depends on more than lamp wattage.
Important factors include:
-
Germicidal UV-C output.
-
Water flow rate.
-
Exposure time.
-
Chamber design.
-
Water clarity.
-
Lamp condition.
-
Quartz sleeve condition.
-
The target organism or treatment objective.
A unit that operates at excessive flow may expose microorganisms to UV-C light for too little time.
A more powerful model or a system with a suitable flow configuration may provide better performance.
When considering an upgrade, compare the manufacturer's published performance information rather than relying solely on wattage.
You Need a More Convenient Maintenance Design
Some older sterilizers are difficult to disassemble.
A more modern model may offer:
-
Easier lamp access.
-
Replaceable electrical assemblies.
-
Better sealing arrangements.
-
More convenient unions.
-
Clearer operating indicators.
-
Built-in lamp timers.
-
Easier quartz sleeve inspection.
-
Better availability of replacement parts.
These features can reduce the time required for routine maintenance.
For aquarium owners who operate multiple systems, easier servicing can be especially valuable.
You Need Better Compatibility With Your Filtration System
A UV sterilizer should fit the overall plumbing and circulation arrangement.
An upgrade may be worthwhile if the current unit has unsuitable connections, creates excessive flow restrictions, or is difficult to integrate with the existing filter and pump.
Before changing equipment, evaluate the full water circulation path.
The replacement should be compatible with the pump's actual flow, plumbing diameter, pressure limits, and available installation space.
5. When Should You Buy a Completely New UV Sterilizer?
Repairing and upgrading are not always the best solutions.
There are circumstances where replacing the entire unit is safer, simpler, and more economical.
The Main Housing Is Cracked or Structurally Damaged
The main chamber contains water and protects the UV lamp assembly.
If the chamber develops a significant crack, deformation, or other structural damage, replacing the entire unit is often the best choice.
A damaged housing may not seal reliably even after a temporary repair.
This is particularly important when the sterilizer operates under pressure or uses electrical components close to the water chamber.
Never rely on household glue, tape, or improvised sealants to repair a pressure-bearing UV chamber unless the manufacturer explicitly provides an approved repair procedure.
The Electrical Enclosure Has Been Damaged by Water
Water intrusion into the ballast compartment, wiring, connectors, or power supply is a serious concern.
Even if the sterilizer appears to work after drying, corrosion or damaged insulation may remain.
The affected electrical components need professional evaluation.
If the equipment is old, the electrical enclosure is damaged, or replacement components are unavailable, buying a new sterilizer may be the safer option.
Major Components Fail Repeatedly
If the ballast, connectors, seals, and other major components fail repeatedly, repair may no longer be economical.
Repeated failures can indicate that the equipment has reached the end of its practical service life.
Instead of replacing one component every few months, compare the total repair expenses with the cost and reliability of a new model.
Replacement Parts Are No Longer Available
A UV sterilizer is only practical to maintain when its critical replacement parts remain accessible.
If compatible lamps, quartz sleeves, seals, or electrical assemblies are discontinued, future maintenance becomes uncertain.
Using unofficial or unsuitable substitute parts may create safety and performance problems.
If you cannot obtain essential components, replacing the unit is generally a more reliable long-term decision.
The Equipment Is Beyond Repair or Has Serious Safety Problems
Some warning signs should end the discussion about continued operation.
Examples include:
-
Exposed or damaged electrical wiring.
-
Burned electrical connectors.
-
Water entering electrical compartments.
-
Severe overheating.
-
A cracked chamber that cannot be replaced.
-
Repeated electrical protection trips.
-
Unreliable power connections.
Disconnect the equipment and do not put it back into service until the problem has been properly resolved.
Where the manufacturer or a qualified technician cannot confirm that the unit is safe to repair, replacement is the responsible choice.
6. Understanding the Difference Between a UV Clarifier and a UV Sterilizer
Before buying a replacement, make sure you understand what the equipment is designed to do.
The terms UV clarifier and UV sterilizer are sometimes used interchangeably, but they can describe different performance objectives.
UV Clarifier
A UV clarifier is commonly used to control suspended algae responsible for green water.
Its purpose is to reduce the population of free-floating algae cells as water passes through the chamber.
For aquarium owners primarily concerned about green water, a properly sized clarifier may be sufficient.
UV Sterilizer
A UV sterilizer is generally intended to deliver a higher or more carefully controlled UV dose for reducing susceptible microorganisms in circulating water.
The actual treatment capability depends on the equipment design, lamp output, water flow, exposure time, and target organisms.
A UV sterilizer does not make an aquarium sterile, and it cannot eliminate every parasite, bacterium, or pathogen from a fish tank.
It only acts on organisms that pass through the treatment chamber and receive a sufficient dose.
Why This Difference Matters When Replacing Equipment
A replacement unit should match your actual objective.
If the main problem is green water, paying for a much more advanced system may not provide meaningful additional value.
If you are using UV equipment as part of a disease-management strategy, a low-output clarifier may not meet your requirements.
Evaluate the manufacturer's intended application and performance specifications before selecting a replacement.
7. How to Choose the Right Replacement UV Sterilizer
Buying a new sterilizer is not simply a matter of selecting the highest wattage available.
A suitable system must match the aquarium's volume, treatment objective, flow rate, and installation conditions.
Calculate the Actual Water Volume
Begin with the aquarium's approximate operating water volume.
Remember that the water volume may be lower than the aquarium's external dimensions suggest because of:
-
Substrate.
-
Rocks and decorations.
-
Internal equipment.
-
Sumps.
-
Water levels below the tank rim.
If the aquarium is connected to a sump or additional filtration tanks, consider the total connected water volume.
Use the manufacturer's sizing guidance to select an appropriate unit.
Do not size equipment based only on the aquarium's advertised capacity if the actual connected system is significantly different.
Check the Recommended Flow Rate
Flow rate is one of the most important factors in UV performance.
Water needs to remain inside the treatment chamber long enough to receive the intended UV exposure.
If the flow rate is too high, exposure time may be insufficient.
If the flow rate is excessively low, the system may not provide the circulation or treatment capacity expected for the aquarium.
Different products and treatment objectives require different flow rates.
For this reason, there is no universal flow rate that works for all UV sterilizers.
Always compare the manufacturer's recommended flow rate with the pump's actual operating flow after accounting for plumbing restrictions and other equipment.
Choose the Correct Lamp Technology
The replacement lamp must be designed for the specific UV sterilizer.
Check the manufacturer's requirements for:
-
Lamp model.
-
UV-C wavelength or lamp type.
-
Wattage.
-
Length.
-
Connector design.
-
Electrical characteristics.
-
Compatible ballast.
Do not purchase a lamp simply because it fits inside the chamber.
Physical compatibility does not guarantee electrical or germicidal compatibility.
Consider Quartz Sleeve Quality
A quartz sleeve protects the lamp while allowing UV-C radiation to pass into the water.
When comparing replacement systems, examine whether the sleeve can be removed, cleaned, and replaced easily.
A design with accessible spare parts can make future maintenance less expensive.
It is also worth checking how the sleeve is sealed and whether replacement O-rings are readily available.
Evaluate Maintenance Convenience
A well-designed UV sterilizer should allow routine servicing without unnecessary complications.
Look for practical features such as:
-
Accessible lamp connections.
-
Clearly identified replacement components.
-
Secure end caps.
-
Reliable water seals.
-
Appropriate service space.
-
Available manufacturer documentation.
-
Clear maintenance indicators.
A slightly more expensive unit may be a better long-term investment if it is easier to maintain and has readily available replacement parts.
Check Electrical and Installation Requirements
Confirm that the replacement equipment is suitable for your electrical supply and installation environment.
Check voltage, frequency, grounding requirements, power-cable condition, and any required protective devices.
The sterilizer should also be installed in a dry, accessible location according to the manufacturer's instructions.
For pressurized systems, confirm the operating pressure limit and connection compatibility.
If the installation requires changes to mains wiring, use a qualified electrician.
8. How to Inspect Your UV Sterilizer Before Deciding to Replace It
A basic inspection can help identify whether the problem is a minor maintenance issue or a major equipment failure.
However, inspection should never involve opening an energized unit or exposing an operating UV-C lamp.
Step One: Record the Equipment Information
Write down the following details:
-
Brand.
-
Model number.
-
Installation date.
-
Lamp type.
-
Lamp wattage.
-
Last lamp replacement date.
-
Approximate operating hours.
-
Aquarium volume.
-
Pump and flow information.
-
Previous repairs.
This information helps determine whether the unit is overdue for maintenance.
It also makes it easier to find compatible parts.
Step Two: Disconnect the Power
Before performing any physical inspection, disconnect the UV sterilizer from its electrical supply.
Do not rely only on a switch.
Follow the manufacturer's instructions for isolating the equipment and allow it to cool for the specified period.
UV-C lamps can become hot during operation.
Never look directly at an exposed illuminated lamp or use an energized lamp as a test device outside its protective housing.
Step Three: Isolate the Water Supply
Close the appropriate valves or use the installed bypass arrangement.
Relieve water pressure and drain the unit according to its manual.
Do not open a pressurized chamber.
Ensure that water cannot flow unexpectedly into the equipment while it is being serviced.
Step Four: Inspect the Lamp
After the unit is safely isolated and cool, inspect the lamp for visible damage.
Look for cracks, broken ends, discoloration, or signs of overheating.
A lamp can still appear physically intact after its useful UV-C output has declined, so visual condition alone is not enough.
Check its operating history and replace it when the manufacturer's interval is reached.
Step Five: Inspect the Quartz Sleeve
Carefully examine the quartz sleeve.
Look for:
-
Mineral deposits.
-
Biofilm.
-
Cloudiness.
-
Scratches.
-
Chips.
-
Cracks.
-
Damaged sealing surfaces.
A dirty but undamaged sleeve may only need cleaning.
A cracked sleeve must be replaced before the unit is used again.
Handle quartz carefully because it can break and cause cuts.
Step Six: Inspect Seals and Connections
Look for flattened O-rings, hardened rubber, loose fittings, damaged threads, and signs of leakage.
If replacement seals are needed, use parts designed for the model.
Check that fittings are reassembled according to the manufacturer's instructions. Over-tightening can cause damage rather than improve sealing.
Step Seven: Evaluate Electrical Components
Look for damaged cables, corroded connectors, discolored sockets, melted plastic, or unusual odors.
Do not open or attempt to repair electrical components unless you are qualified to do so and the manufacturer permits that work.
A qualified technician should investigate suspected ballast failures or damaged wiring.
Step Eight: Reassess the Aquarium's Needs
Finally, determine whether the sterilizer is still correctly sized for the system.
If the aquarium has grown, the pump has changed, or the intended treatment has changed, a maintenance repair may not be enough.
A correctly functioning but undersized unit may need upgrading.
9. Safe UV Sterilizer Maintenance: What to Do Before and After Repairs
Maintaining an aquarium UV sterilizer requires attention to both electrical and water-related safety.
The most important rule is simple: never perform maintenance on an energized unit.
Always Isolate Electricity First
Disconnect the unit from power before opening it, handling the lamp, or working on the quartz sleeve.
Keep electrical connectors and the ballast protected from water.
If the equipment has been exposed to water or has visible electrical damage, do not reconnect it just to see whether it still works.
Turn Off and Isolate Water Flow
Follow the manufacturer's procedures for closing valves, opening bypasses, and draining the chamber.
Do not remove an end cap or quartz sleeve while the system is pressurized.
For systems connected to a sump or external pump, make sure the water supply cannot unexpectedly restart during maintenance.
Allow the Equipment to Cool
The lamp and surrounding components may become hot.
Allow the unit to cool according to the manufacturer's instructions before handling the lamp.
Never force a hot lamp or quartz sleeve out of its housing.
Handle the Lamp Carefully
Avoid touching the lamp glass with bare fingers when the manufacturer advises against it.
Oils and residue can affect lamp cleanliness, and improper handling can increase the risk of damage.
If the lamp is touched, follow the manufacturer's recommended cleaning procedure.
Never bend or force the lamp into the quartz sleeve.
Protect the Quartz Sleeve
Quartz sleeves are fragile.
Do not use excessive force when removing or installing them.
If the sleeve becomes cracked during maintenance, do not reconnect the unit to either the electrical or water supply.
Replace the damaged sleeve before returning the sterilizer to service.
Test for Leaks Before Restoring Power
After maintenance, inspect the assembly and follow the manufacturer's leak-testing procedure.
Water circulation and leak checks should be completed before the lamp is switched on, as specified by the equipment manufacturer.
Check the seals, fittings, end caps, and housing.
If leakage remains, isolate the system again and correct the problem.
Do not operate the lamp while the chamber is dry unless the manufacturer explicitly states that the design permits it.
Many UV sterilizers rely on water circulation for cooling. Operating them without the required water flow can cause damage.
10. Common Mistakes When Replacing an Aquarium UV Sterilizer
Replacing equipment can solve an existing problem, but an incorrect purchase or installation may create another one.
Avoid the following mistakes.
Mistake One: Replacing the Entire Unit Before Checking the Lamp
A UV sterilizer that no longer controls green water may simply have an overdue lamp.
Replacing the whole system without inspecting the lamp, sleeve, and flow rate can create unnecessary expenses.
Always begin with basic troubleshooting.
Mistake Two: Buying a Lamp Based Only on Wattage
Matching wattage alone is not enough.
The replacement must match the required lamp type, electrical characteristics, connector, physical dimensions, and UV-C specifications.
An incompatible lamp may fail to operate correctly or may not deliver the required germicidal output.
Mistake Three: Ignoring the Quartz Sleeve
Installing a new lamp inside a dirty quartz sleeve can significantly limit the improvement in UV performance.
Whenever the lamp is replaced, inspect the sleeve and clean it according to the manufacturer's instructions.
Mistake Four: Choosing a More Powerful Unit Without Checking Flow Rate
Higher wattage does not automatically mean better treatment.
The water still needs adequate exposure time inside the chamber.
An upgrade should be selected based on the full performance specifications, including recommended flow rate and treatment objective.
Mistake Five: Treating UV Equipment as a Replacement for Filtration
A UV sterilizer does not remove all suspended particles, dissolved waste, or nutrients.
It cannot replace mechanical filtration, biological filtration, water changes, or appropriate aquarium maintenance.
If water is cloudy because of suspended debris, the solution may be improved mechanical filtration rather than a more powerful UV unit.
Mistake Six: Ignoring the Root Cause of Repeated Problems
Repeated green water, cloudy water, or disease concerns may reflect broader aquarium management issues.
Examine lighting, nutrient levels, feeding, stocking density, water circulation, and filtration before assuming that the UV equipment is responsible.
Mistake Seven: Continuing to Use a Leaking Unit
A leaking UV sterilizer can create both water damage and electrical hazards.
Never treat a leak as a minor cosmetic problem.
Disconnect the unit and isolate the water supply before investigating.
A cracked quartz sleeve or damaged housing must be addressed before the equipment is returned to service.
11. Repair vs. Upgrade vs. Replace: A Practical Comparison
The following table summarizes the situations in which each option is generally most appropriate.
| Situation | Recommended action | Reason |
|---|---|---|
| Lamp has reached its recommended operating life | Replace lamp | Normal scheduled maintenance |
| Quartz sleeve has removable deposits | Clean sleeve | May restore UV transmission |
| O-ring is worn but housing is intact | Replace seal | Usually a localized repair |
| Compatible lamp holder is damaged | Repair or replace component | Depends on part availability and condition |
| Replaceable ballast has failed | Evaluate repair | Compare repair cost with replacement |
| Quartz sleeve is cracked | Replace sleeve | Damaged sleeve must not be reused |
| Main chamber is cracked | Replace unit | Structural damage may prevent safe operation |
| Electrical compartment has water damage | Professional evaluation or replacement | Potential electrical hazard |
| Aquarium volume has increased significantly | Upgrade | Existing unit may be undersized |
| Current model cannot meet required flow or treatment objective | Upgrade | Performance limitations |
| Several major components fail repeatedly | Replace unit | Repeated repairs may not be economical |
| Replacement parts are discontinued | Replace unit | Future maintenance becomes unreliable |
The important distinction is between a component problem and a system problem.
If the rest of the equipment is sound, repair is often sufficient.
If the aquarium's needs have changed, upgrading may be appropriate.
If the unit is structurally damaged, electrically unsafe, or no longer supportable, replacement is generally the better decision.
12. How to Reduce the Cost of Future UV Sterilizer Replacements
A little planning can reduce maintenance expenses and help prevent unexpected equipment failure.
Keep a Lamp Replacement Record
Write down the date when each lamp is installed.
For continuously operating systems, record the approximate number of operating hours.
This makes it easier to follow the correct replacement schedule and avoid relying on memory.
A simple maintenance log can include the lamp model, replacement date, sleeve condition, and any repairs performed.
Clean the Quartz Sleeve Regularly
Do not wait until the aquarium develops a major water clarity problem.
Inspect the sleeve at the intervals recommended by the manufacturer.
The appropriate cleaning frequency depends on water quality, mineral content, system design, and operating conditions.
Keeping the sleeve clean reduces unnecessary performance loss.
Replace Seals Before They Become a Major Problem
Inspect O-rings and gaskets whenever the unit is serviced.
If a seal is worn or damaged, replace it before leakage develops.
It can be useful to keep a small supply of model-specific maintenance parts on hand, especially when the aquarium is heavily stocked or the UV system is essential to a larger operation.
Maintain Stable Electrical Conditions
Use the electrical protection and grounding arrangements specified by the manufacturer and local requirements.
Protect the equipment from splashes, condensation, and flooding.
Avoid improvised wiring and unsuitable extension arrangements.
Electrical maintenance should be handled by a qualified professional when necessary.
Keep the Manufacturer's Manual
The manual contains information that is difficult to replace through general advice.
It identifies the correct lamp, maintenance interval, operating limits, compatible seals, and servicing procedure.
Keep a digital or printed copy accessible.
If the manual is missing, obtain the correct version for the exact model before ordering replacement parts.
Check Spare Part Availability Before Buying New Equipment
When shopping for a replacement sterilizer, consider the availability of future maintenance components.
A product with readily available lamps, quartz sleeves, O-rings, and electrical assemblies may provide better long-term value than a cheaper model with limited support.
The initial purchase price should not be the only factor in your decision.
13. A Simple Annual Maintenance Schedule for Aquarium UV Sterilizers
An effective maintenance schedule helps prevent small problems from becoming expensive equipment failures.
The schedule below is a general planning framework. Always follow the maintenance intervals specified by your equipment manufacturer.
Every Month
Check the outside of the sterilizer for visible leaks, unusual noise, or damage.
Confirm that the pump is circulating water normally.
Look for unexpected changes in aquarium clarity and record any performance concerns.
Check that cables and electrical connections remain dry and undamaged.
Every Three to Six Months
Inspect the equipment more carefully, depending on water quality and the manufacturer's recommendations.
Check the quartz sleeve for deposits and clean it if necessary.
Inspect seals, fittings, and the housing for wear.
Check whether the lamp replacement interval is approaching.
For heavily used systems or demanding applications, more frequent servicing may be necessary.
At the Recommended Lamp Replacement Interval
Replace the lamp using the correct manufacturer-approved model.
Inspect and clean the quartz sleeve at the same service.
Check the O-rings and gaskets, replacing them as required by the manufacturer.
Record the new lamp's installation date and any other maintenance performed.
Every Year
Review the overall condition of the sterilizer.
Consider the age of the housing, ballast, lamp holder, seals, and electrical connections.
Check whether the unit remains suitable for the current aquarium volume and pump flow.
Review the availability of replacement parts and evaluate whether future repairs are likely to remain economical.
Whenever a Problem Occurs
Do not wait for the next scheduled maintenance date if you notice leakage, electrical damage, unusual heat, or a cracked sleeve.
Disconnect the unit and investigate the issue safely.
A maintenance schedule is not a reason to ignore unexpected warning signs.
14. Frequently Asked Questions About Aquarium UV Sterilizer Replacement
How Often Should I Replace an Aquarium UV Sterilizer Lamp?
The replacement interval depends on the specific lamp and sterilizer.
Many systems specify approximately 8,000 hours of operation, while other manufacturers recommend around 14 months of continuous use. Some commercial applications use shorter intervals.
Always follow the model-specific instructions.
Do not wait until the lamp stops glowing, because its germicidal output may decline before visible illumination disappears.
Can I Keep Using a UV Lamp That Still Glows?
Not necessarily.
Visible light does not confirm that the lamp is producing sufficient germicidal UV-C radiation.
A lamp that has exceeded its recommended operating life should be replaced even if it still appears to work.
Do I Need to Replace the Quartz Sleeve Every Time I Replace the Lamp?
Usually not.
The quartz sleeve can often be cleaned and reused if it remains clear and undamaged.
However, it should be inspected at each lamp change.
Replace it if it is cracked, chipped, persistently cloudy, or otherwise damaged.
Follow the manufacturer's specific maintenance instructions.
Can a Dirty Quartz Sleeve Make a UV Sterilizer Less Effective?
Yes.
Mineral deposits, biofilm, and other residue can reduce the amount of UV-C light transmitted through the sleeve.
Cleaning the sleeve may improve performance without replacing the entire sterilizer.
Why Is My Aquarium Still Green After Installing a New UV Lamp?
A new lamp does not guarantee that the entire system is operating correctly.
Possible causes include:
-
Insufficient UV output for the aquarium.
-
Excessive water flow.
-
A dirty quartz sleeve.
-
Incorrect installation.
-
Water bypassing the treatment chamber.
-
Poor circulation.
-
Excessive lighting.
-
High nutrient levels.
-
Other conditions that encourage algae growth.
Check the entire system before purchasing another unit.
Can a UV Sterilizer Remove All Types of Aquarium Algae?
No.
UV systems are most useful against susceptible organisms that are suspended in the water and pass through the chamber.
They do not remove algae growing directly on glass, rocks, decorations, or plants.
They also do not remove every type of suspended material.
If algae are attached to aquarium surfaces, you will need appropriate cleaning and nutrient management in addition to filtration.
Does a More Powerful UV Sterilizer Always Work Better?
No.
Wattage is only one part of UV performance.
Flow rate, exposure time, chamber design, lamp output, water clarity, and the target treatment objective also matter.
A correctly sized unit operating at an appropriate flow rate is more important than selecting the highest wattage available.
Can I Replace the Ballast Instead of Buying a New UV Sterilizer?
In some models, yes.
A replacement ballast may restore operation if the chamber, housing, seals, and other electrical components remain in good condition.
However, electrical repairs should be handled according to the manufacturer's instructions by qualified personnel.
If the unit has multiple aging components or repair costs approach the price of a new sterilizer, replacement may be more sensible.
Is a Leaking UV Sterilizer Safe to Use?
No.
Disconnect the unit from electricity and isolate the water supply.
Identify the source of the leak before returning the sterilizer to service.
A damaged O-ring may be replaceable, but a cracked quartz sleeve or chamber requires appropriate replacement parts.
Never operate a unit with water entering its electrical components.
Should I Leave My Aquarium UV Sterilizer Running All the Time?
Some models are designed for continuous operation, while other applications may use different operating schedules.
Follow the manufacturer's instructions and the treatment objective.
Remember that some sterilizers rely on circulating water for cooling. Running a unit without the required water flow can damage it.
Can UV-C Light Damage Beneficial Bacteria in My Aquarium?
UV-C can affect susceptible microorganisms that pass through the treatment chamber.
However, beneficial bacteria established on filter media, substrate, and other aquarium surfaces are not directly exposed to the UV lamp when water circulates through a properly installed external unit.
UV does not provide a residual disinfecting effect throughout the aquarium.
The main biological filtration system should remain in place and should never be replaced by UV treatment alone.
Should I Buy a More Expensive UV Sterilizer?
Not automatically.
A higher-priced product is worthwhile only when its features and performance match your aquarium's requirements.
Compare sizing recommendations, actual flow specifications, lamp replacement costs, spare part availability, serviceability, and manufacturer support.
A moderately priced unit that is correctly sized and easy to maintain may be a better investment than an expensive system that is unsuitable for your setup.
Conclusion: Repair What Is Worth Saving, Upgrade What No Longer Fits, and Replace What Is No Longer Reliable
Replacing an aquarium UV sterilizer should be a decision based on equipment condition and actual aquarium needs, not simply the age of the unit or the appearance of its lamp.
When the chamber and electrical components remain in good condition, basic maintenance is often enough. A new lamp, a clean quartz sleeve, or fresh O-rings can restore the performance of an otherwise reliable system.
An upgrade makes more sense when the aquarium has grown, the stocking level has changed, or the existing sterilizer can no longer meet the required flow rate and treatment objectives.
A complete replacement is usually the safer and more practical choice when the housing is cracked, electrical components have been seriously damaged, major parts are unavailable, or repairs have become frequent and expensive.
Before spending money, inspect the lamp, quartz sleeve, seals, water flow, electrical condition, and overall suitability of the system. Compare the cost of individual repairs with the long-term value of a new unit.
Most importantly, remember that a UV sterilizer is only one part of a healthy aquarium. It should work alongside proper mechanical filtration, biological filtration, appropriate feeding, regular water changes, and stable water conditions.
With a sensible maintenance schedule and timely replacement decisions, you can extend the useful life of your equipment, avoid unnecessary expenses, and maintain a more dependable environment for your fish.
The best UV sterilizer is not simply the newest or most powerful model. It is the one that is correctly sized, properly maintained, safe to operate, and suitable for the long-term needs of your aquarium.