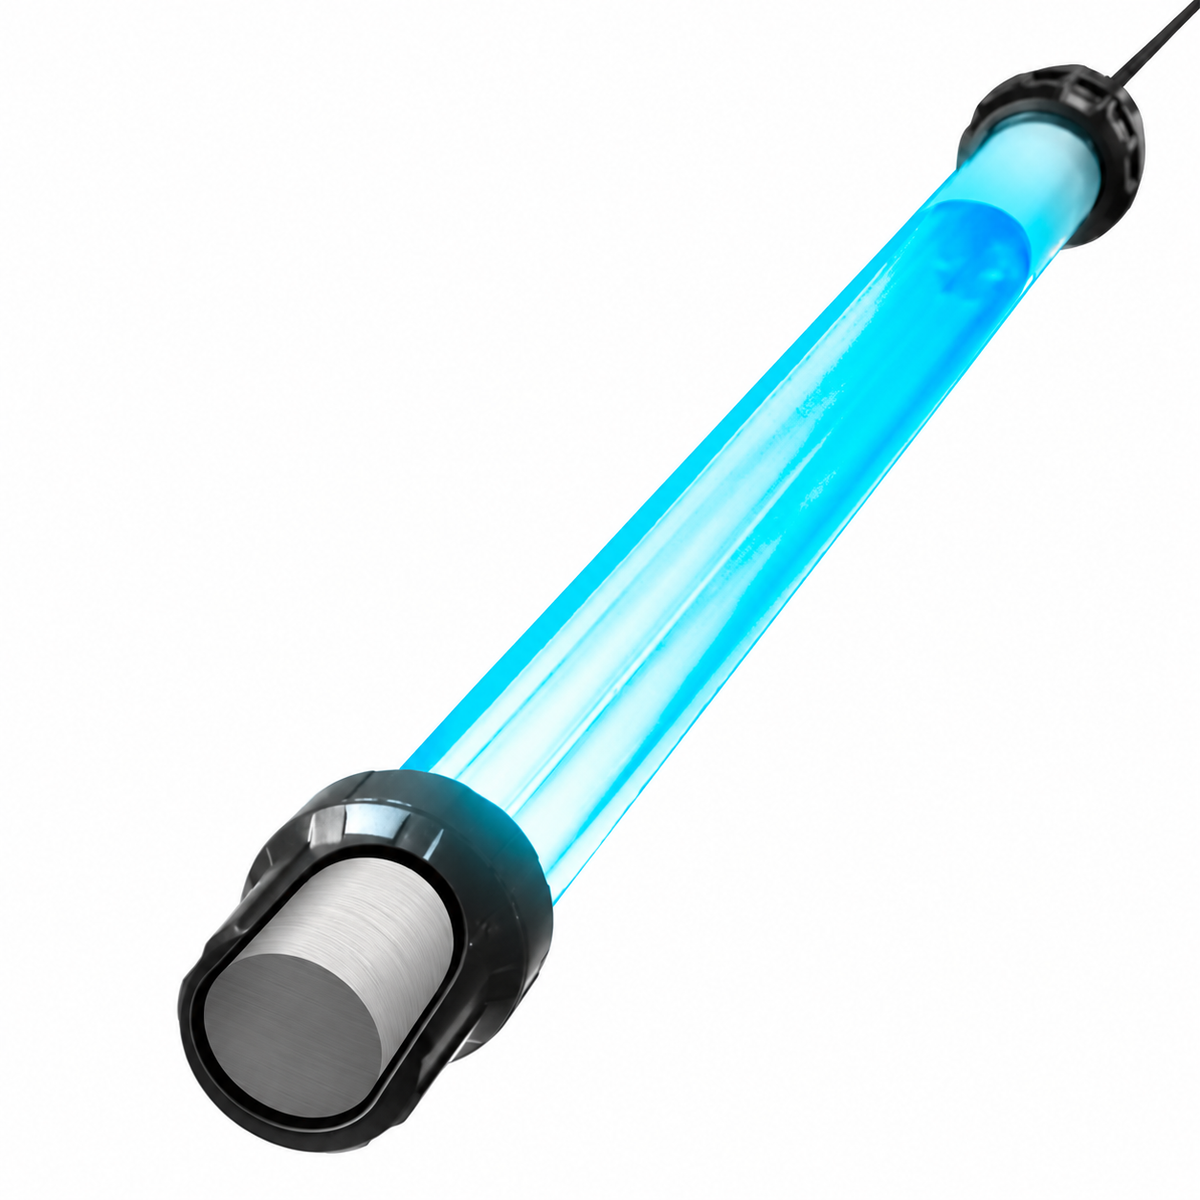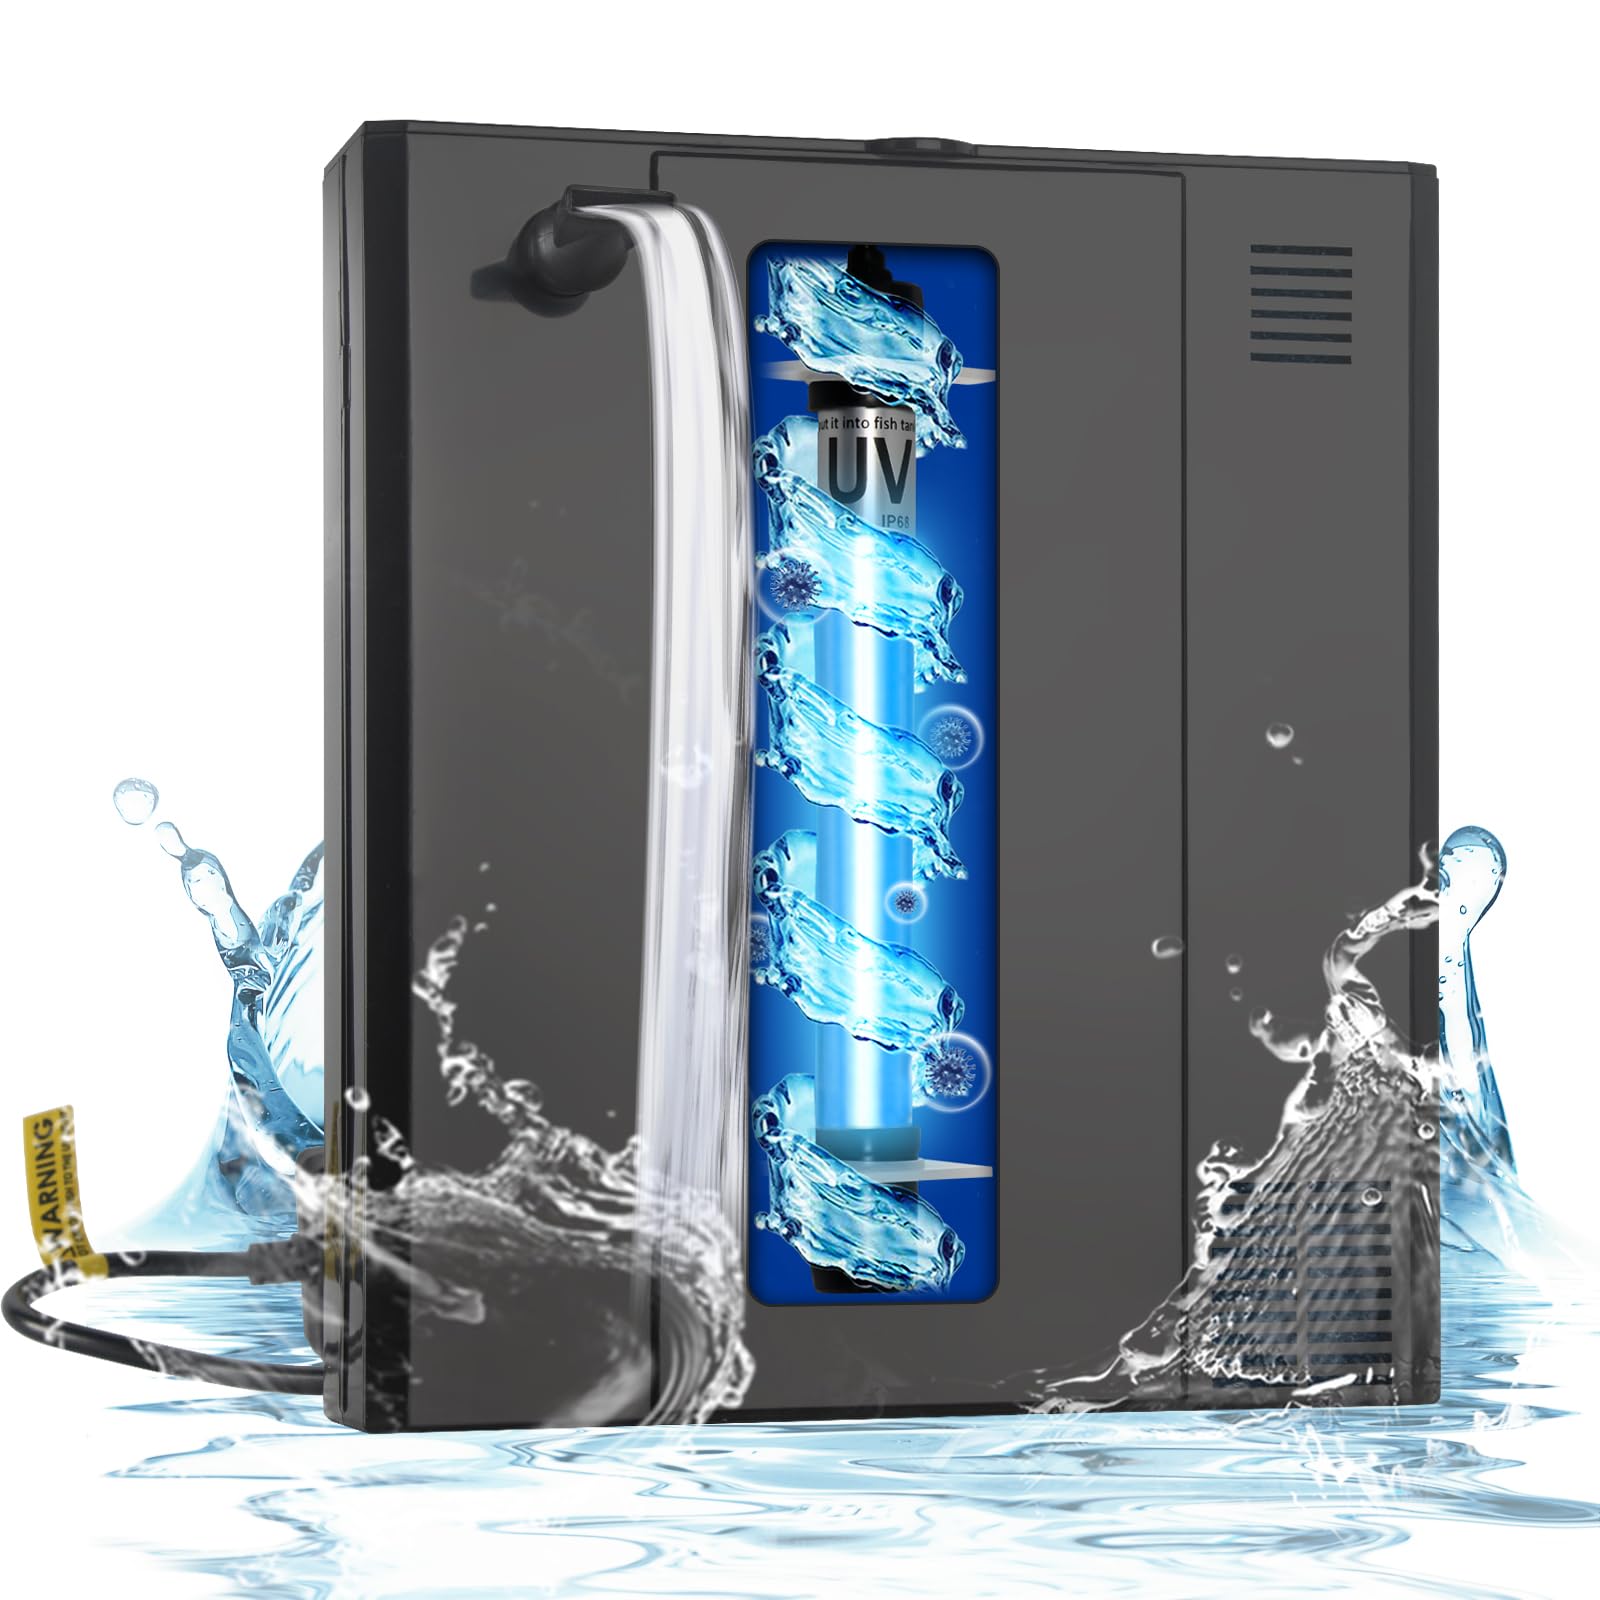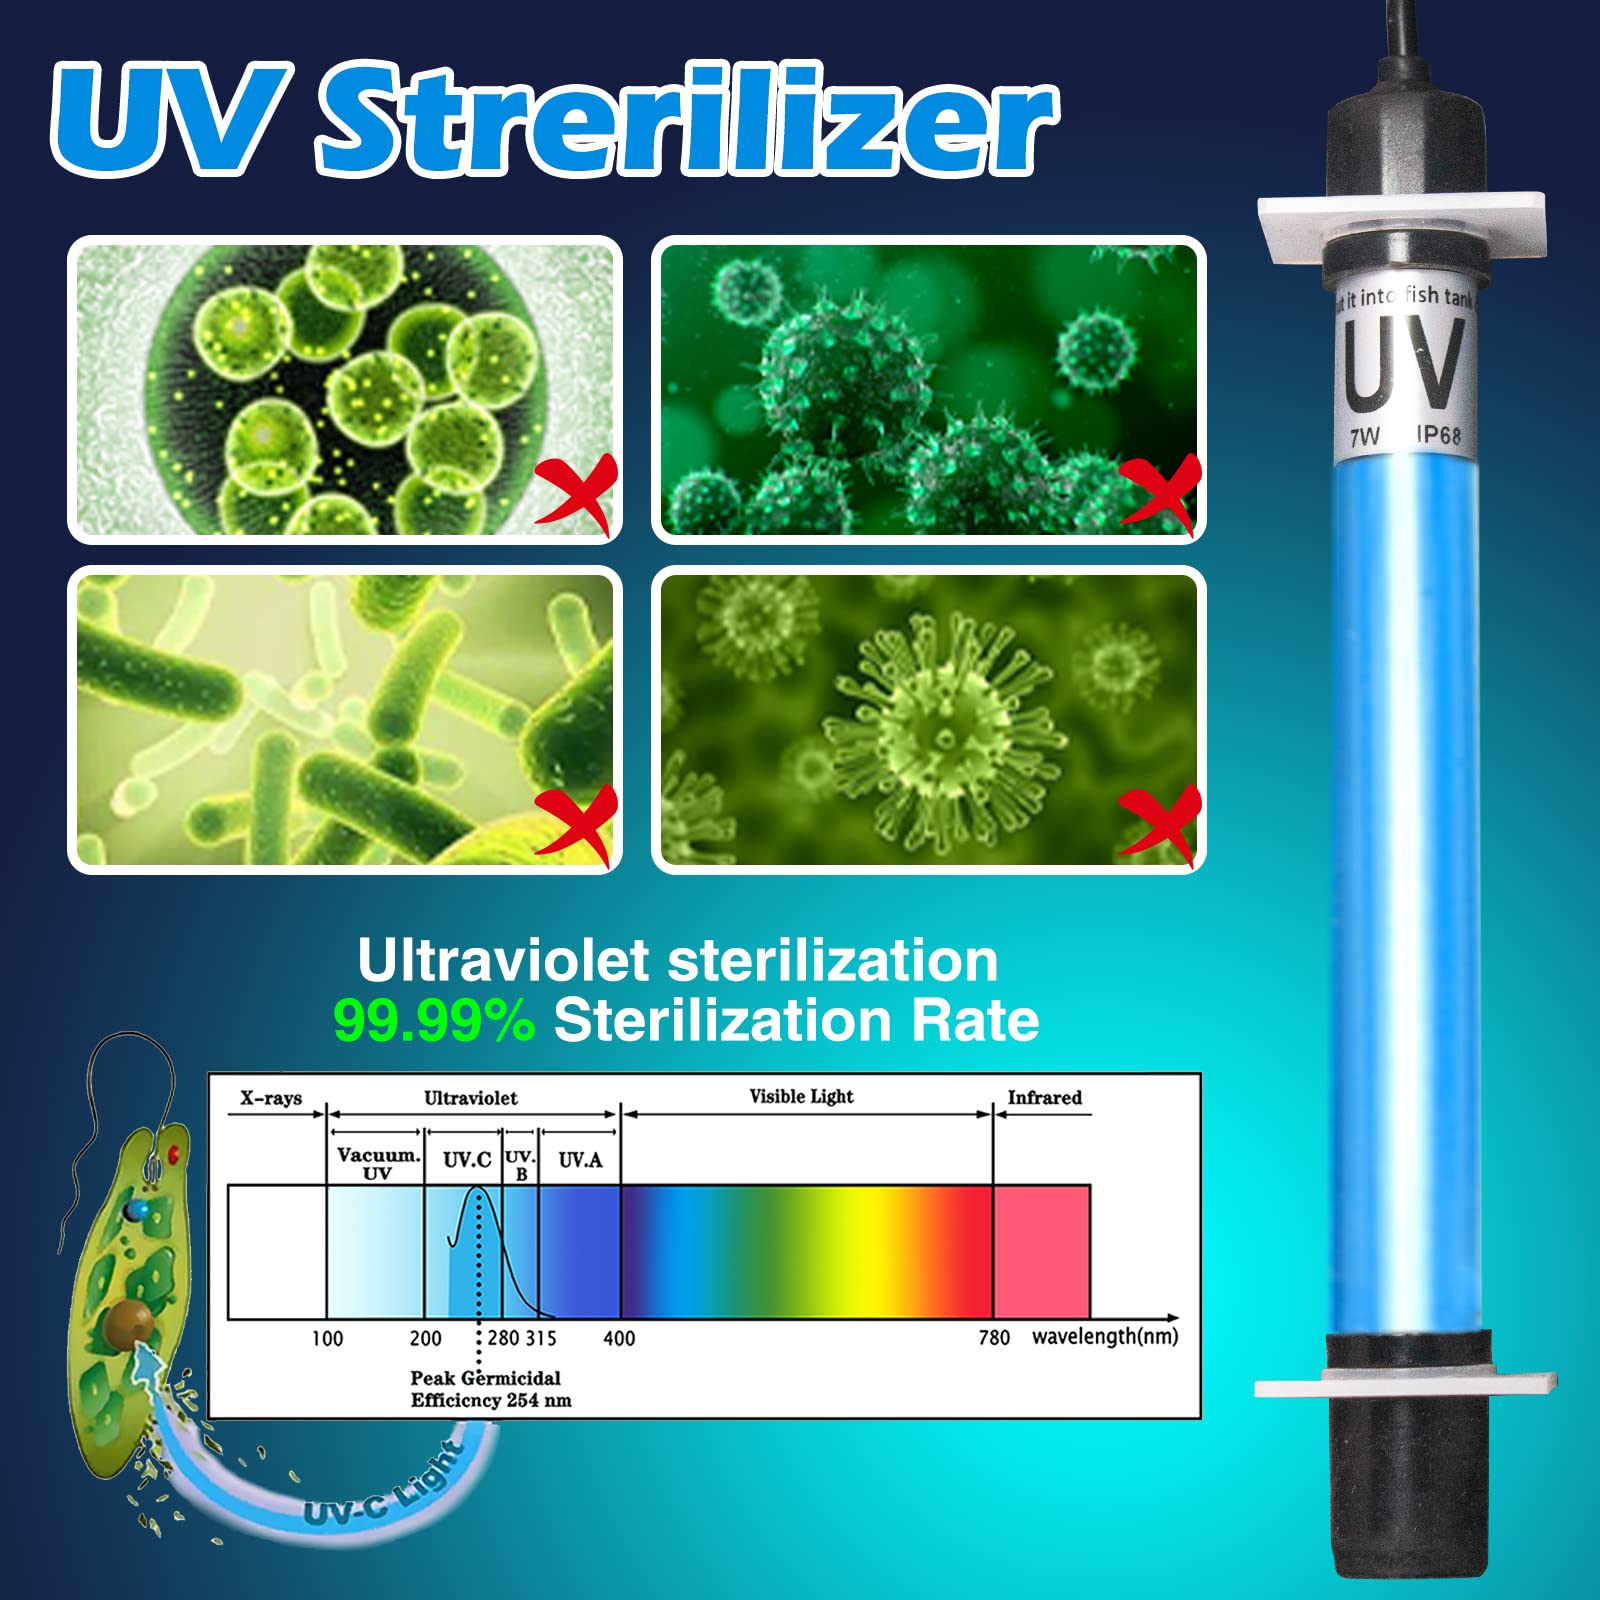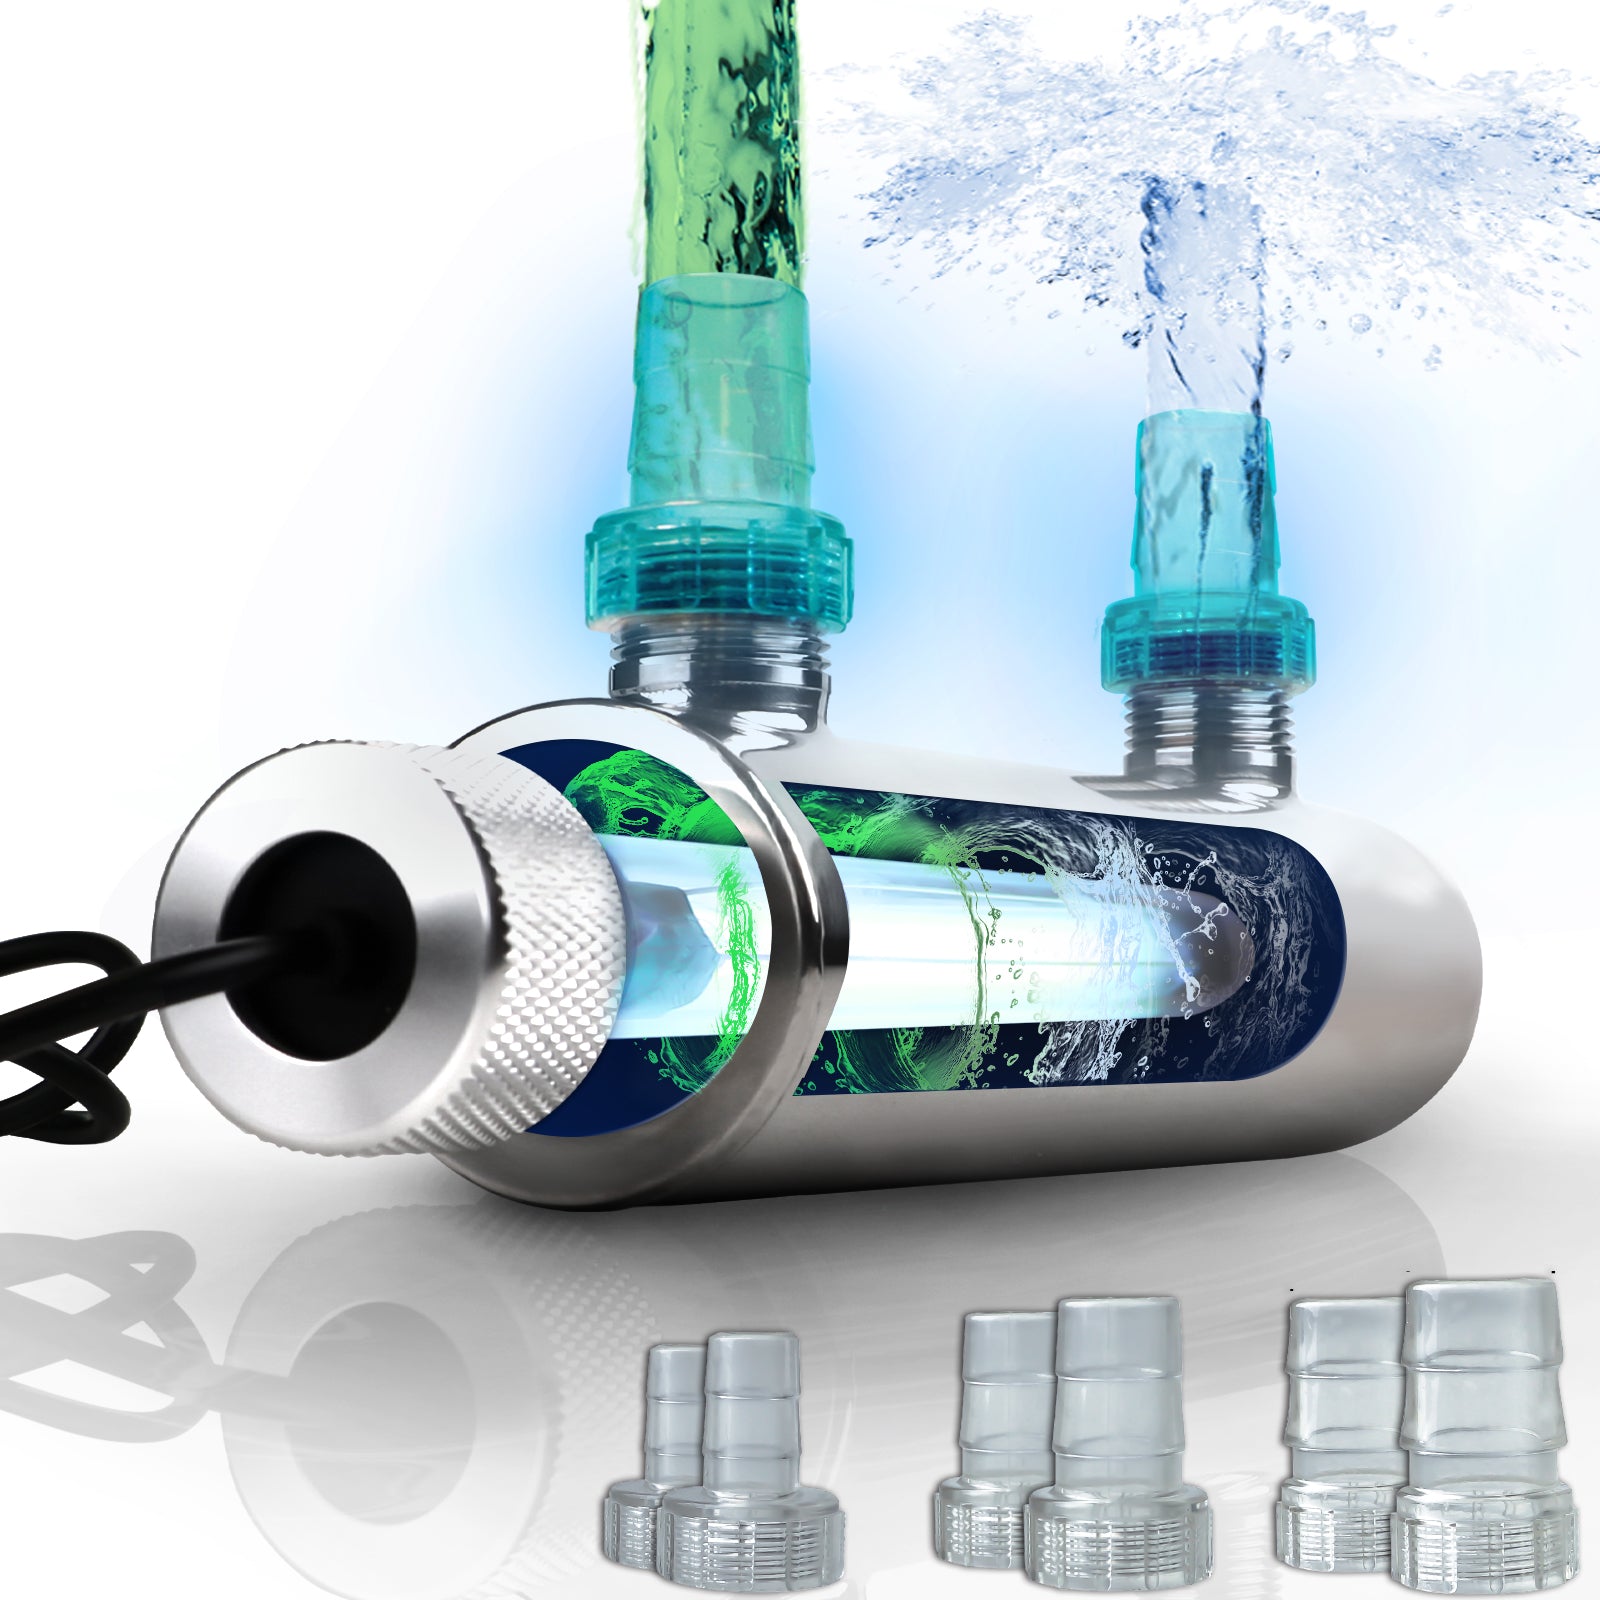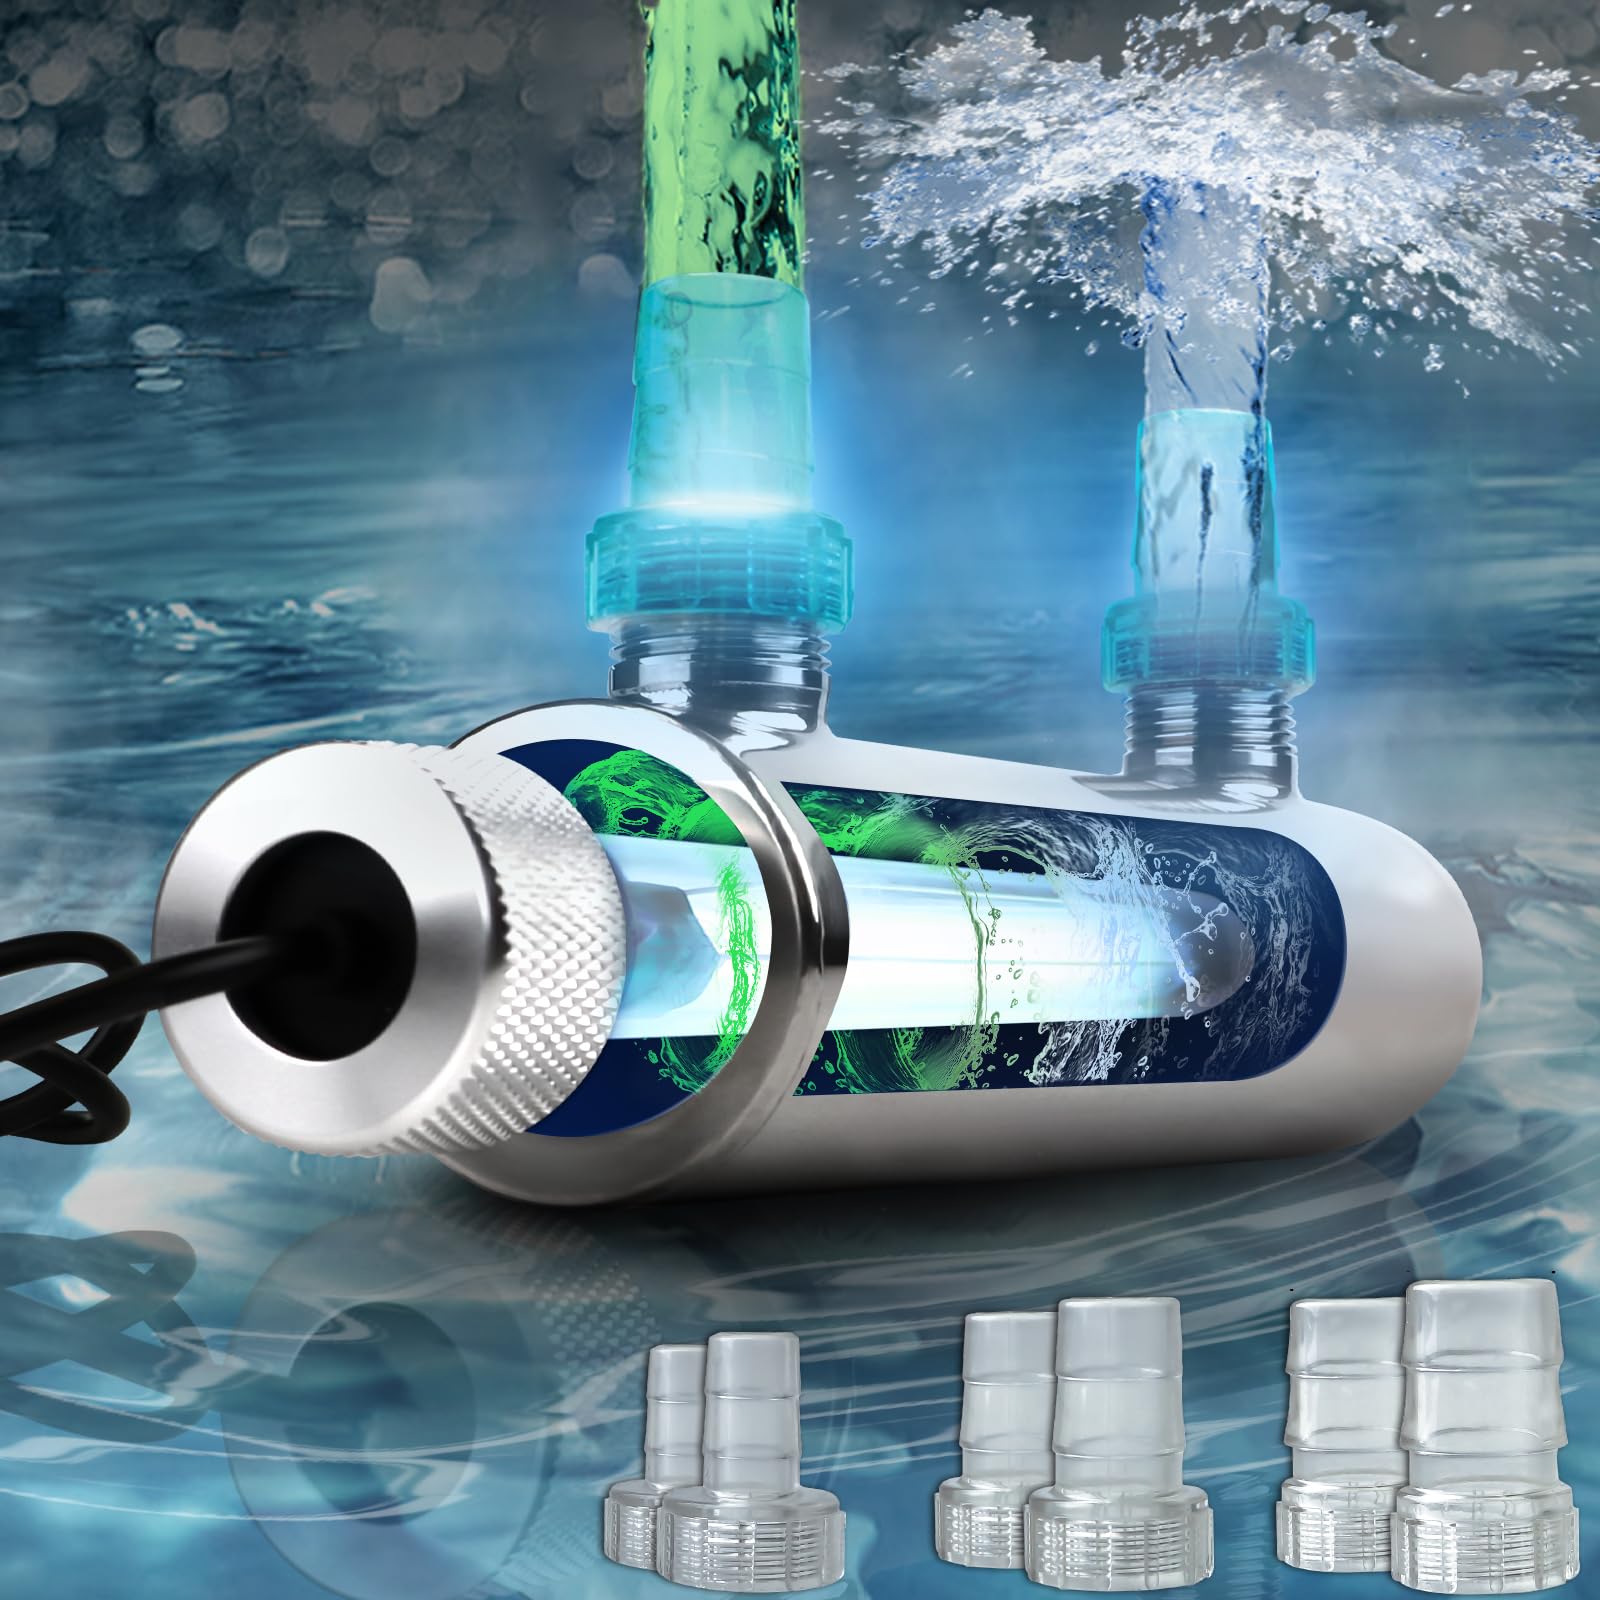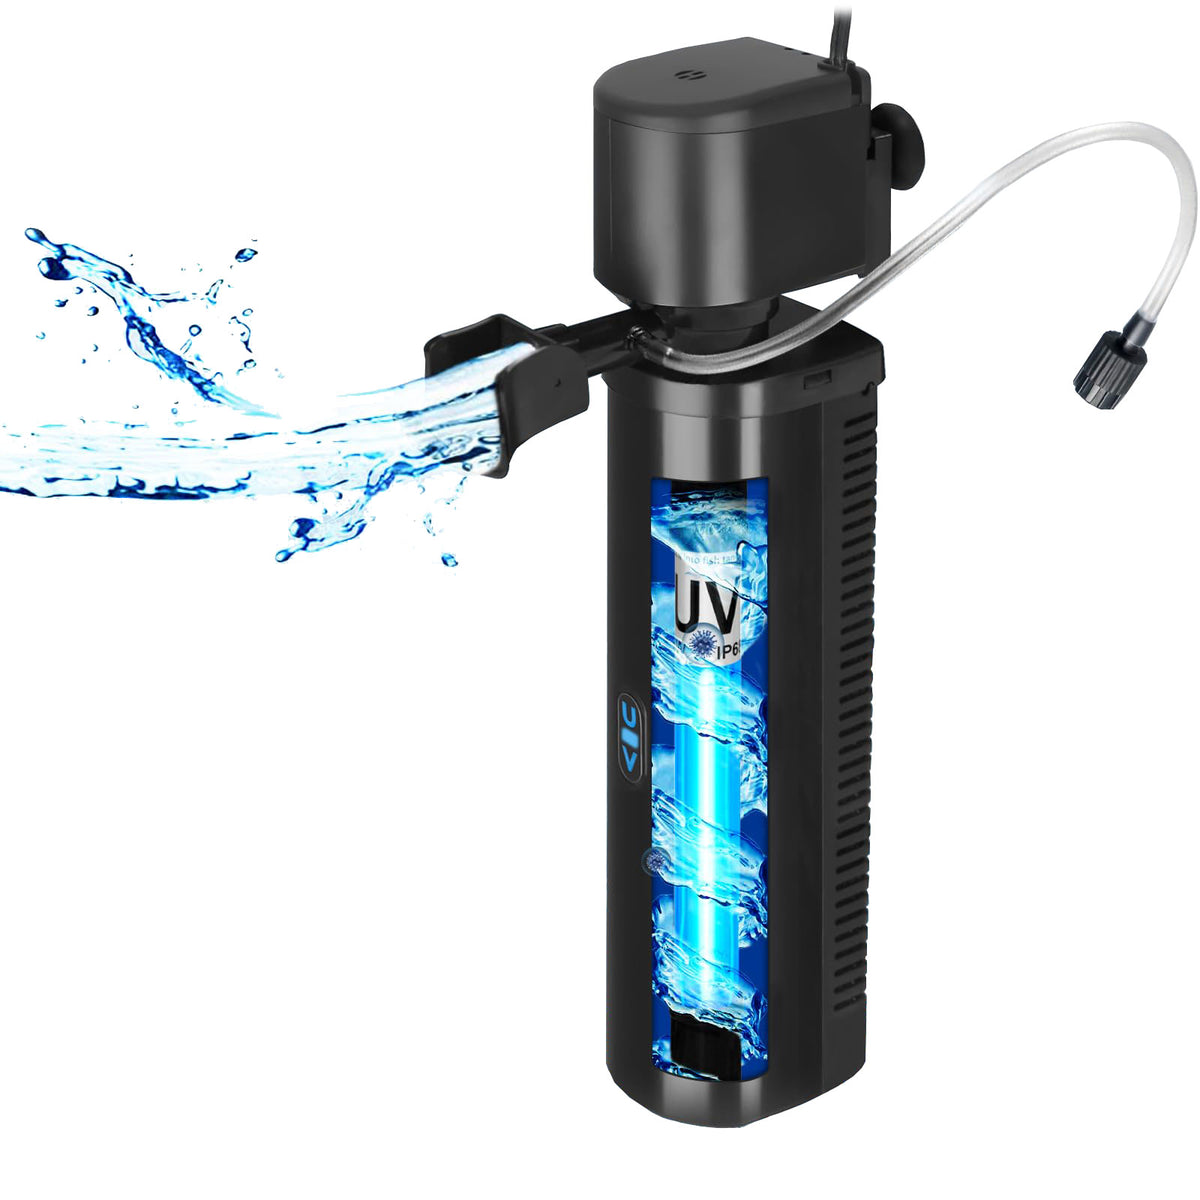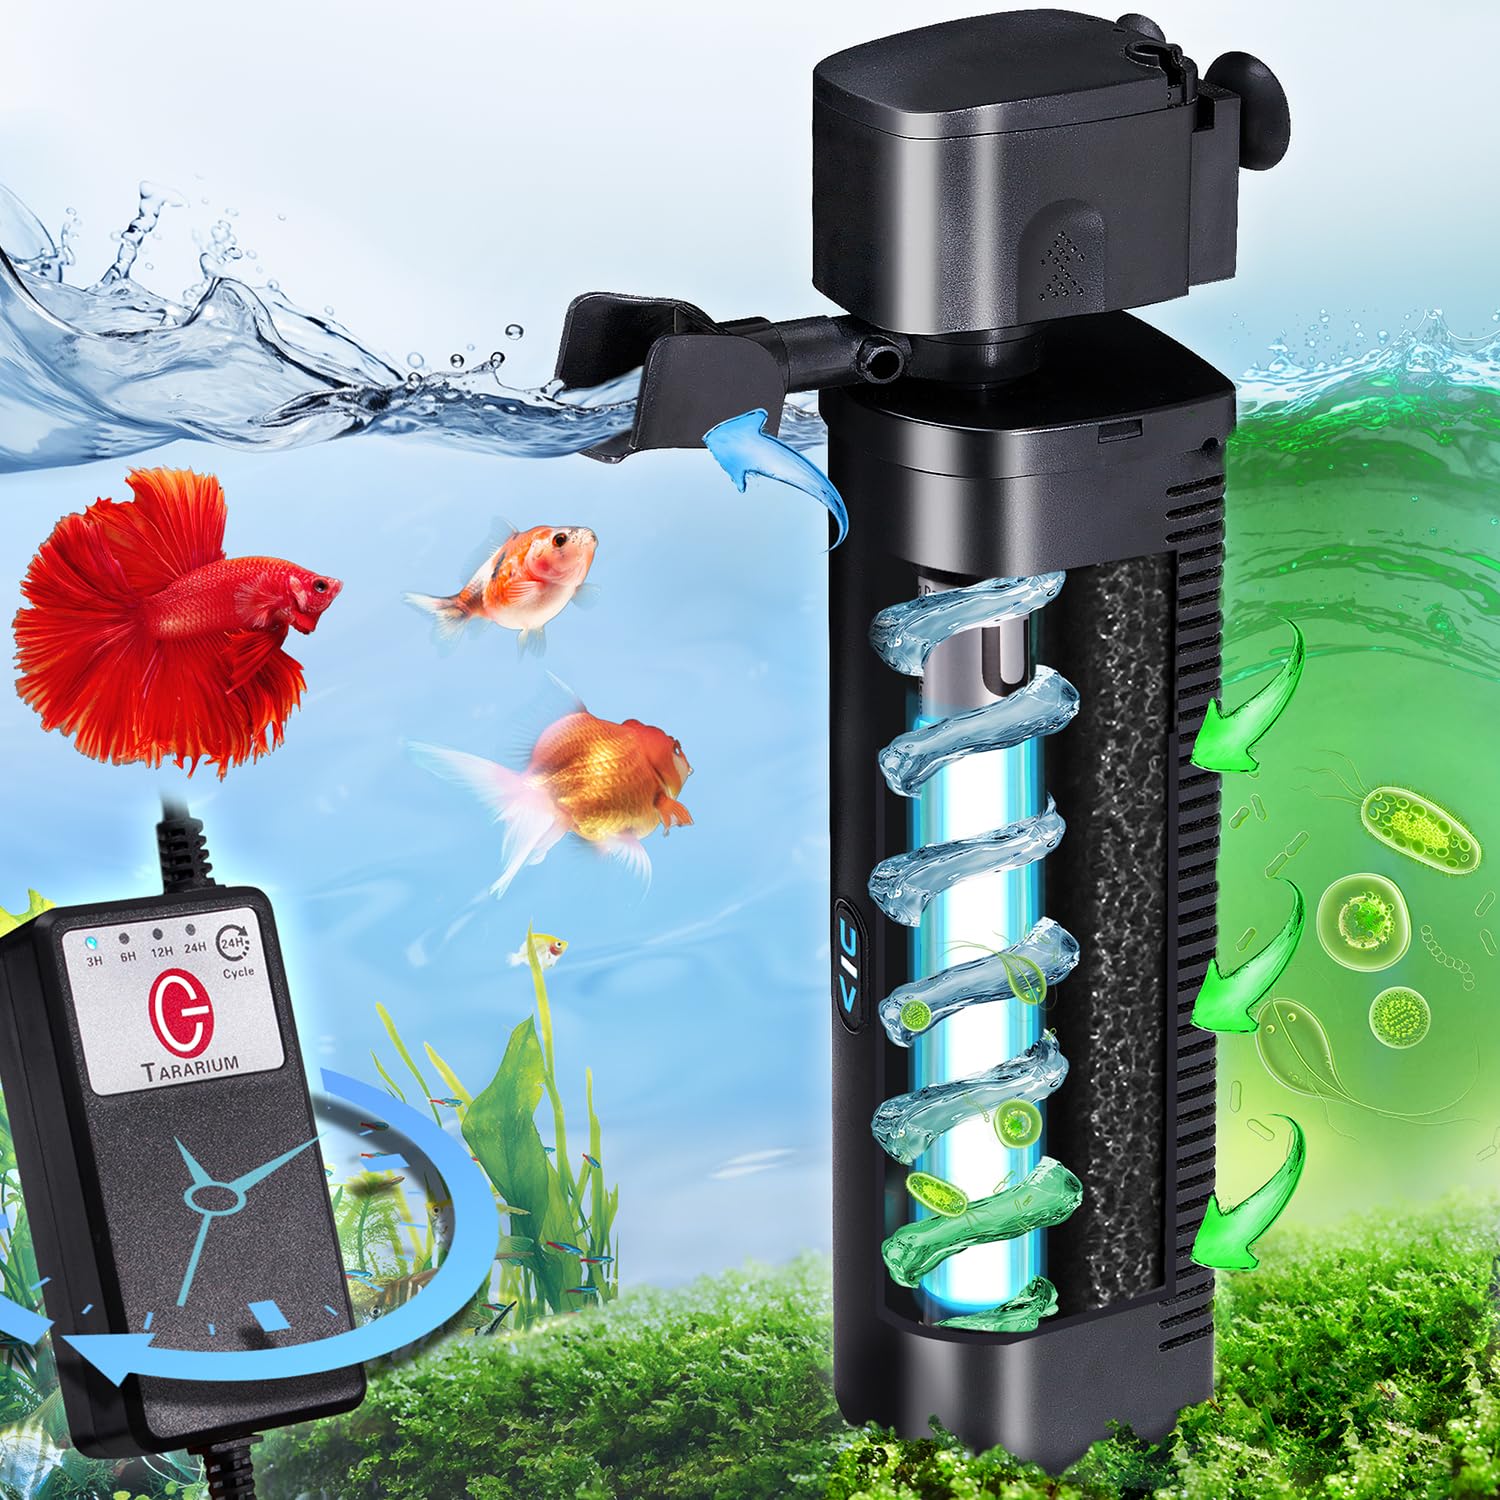
An aquarium UV filter can be a valuable part of your tank’s filtration system, especially when you want to manage green water and reduce certain microorganisms circulating through the water. But like any aquarium equipment, it needs regular attention to keep working effectively.
A neglected UV filter can lose performance long before it stops turning on. Mineral deposits can coat the quartz sleeve, debris can restrict water flow, seals can deteriorate, and an aging bulb can continue glowing even after its useful ultraviolet output has declined.
Extending your aquarium UV filter’s lifespan means protecting the entire system: the housing, pump, quartz sleeve, seals, electrical components, and replaceable lamp. It also means recognizing that some parts are consumables. Good maintenance can help prevent premature failure, but it cannot make a UV bulb effective indefinitely.
This guide explains how to maintain an aquarium UV filter, avoid common mistakes, and build a practical care routine that supports reliable operation over time.
1. Understand Which Parts Need Maintenance
Before opening your UV filter, identify its main components and understand what each one does. Different designs require different maintenance procedures, so keep your model’s instruction manual available.
The UV Lamp
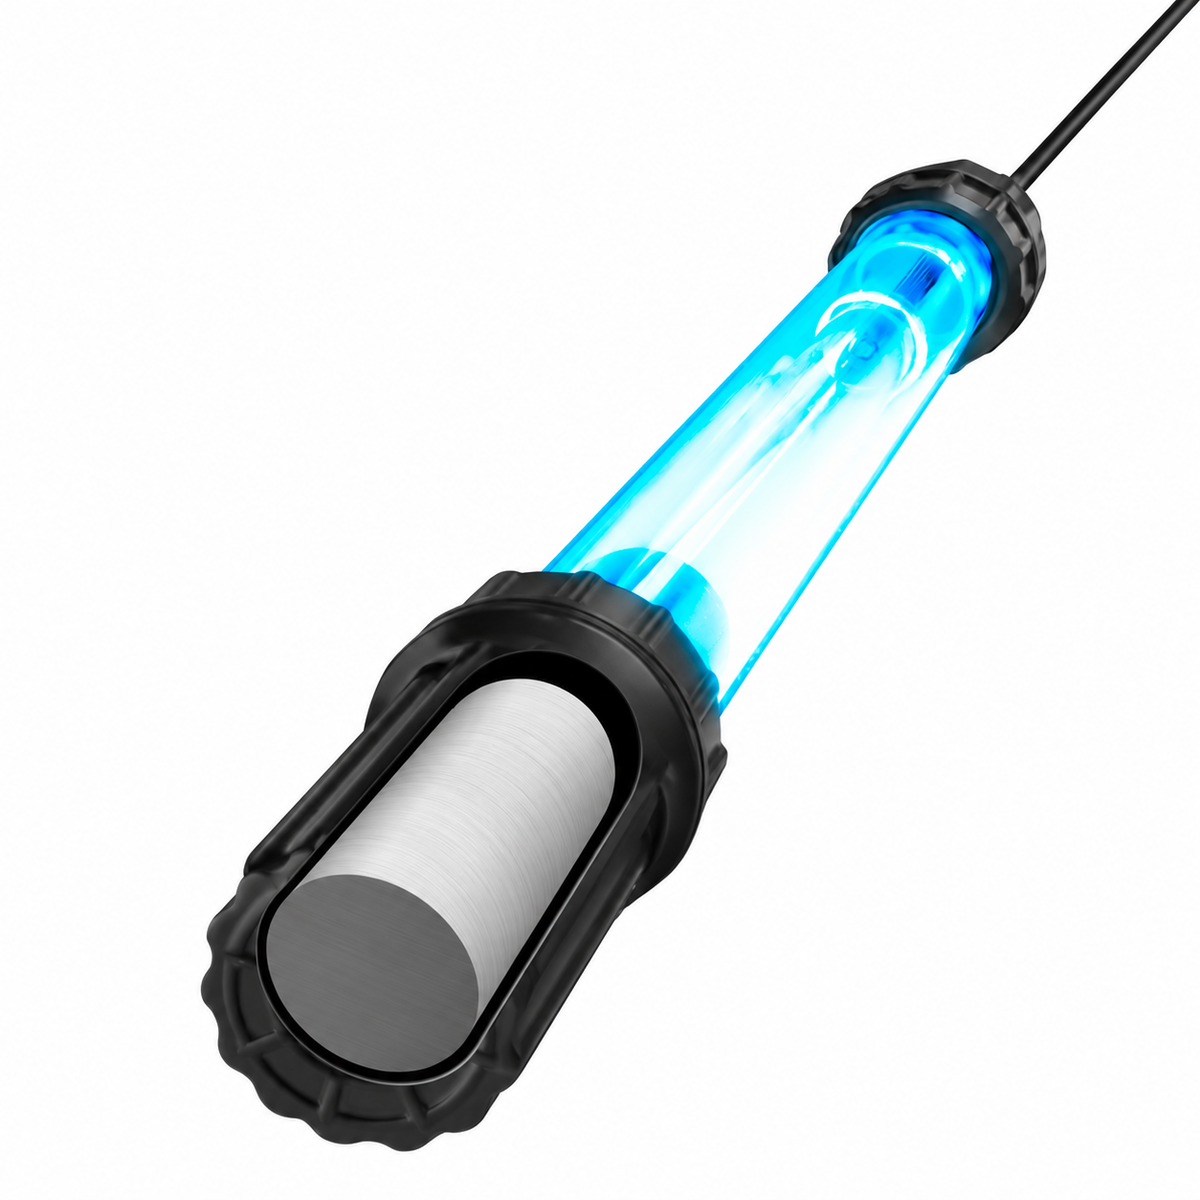
The lamp produces ultraviolet radiation inside an enclosed chamber. In many aquarium systems, this is a replaceable UV-C lamp.
Its useful treatment life is different from its ability to produce visible light. A lamp may still appear to be working while delivering less ultraviolet output than the system requires.
Treat lamp replacement as scheduled maintenance rather than waiting for the bulb to go dark.
The Quartz Sleeve
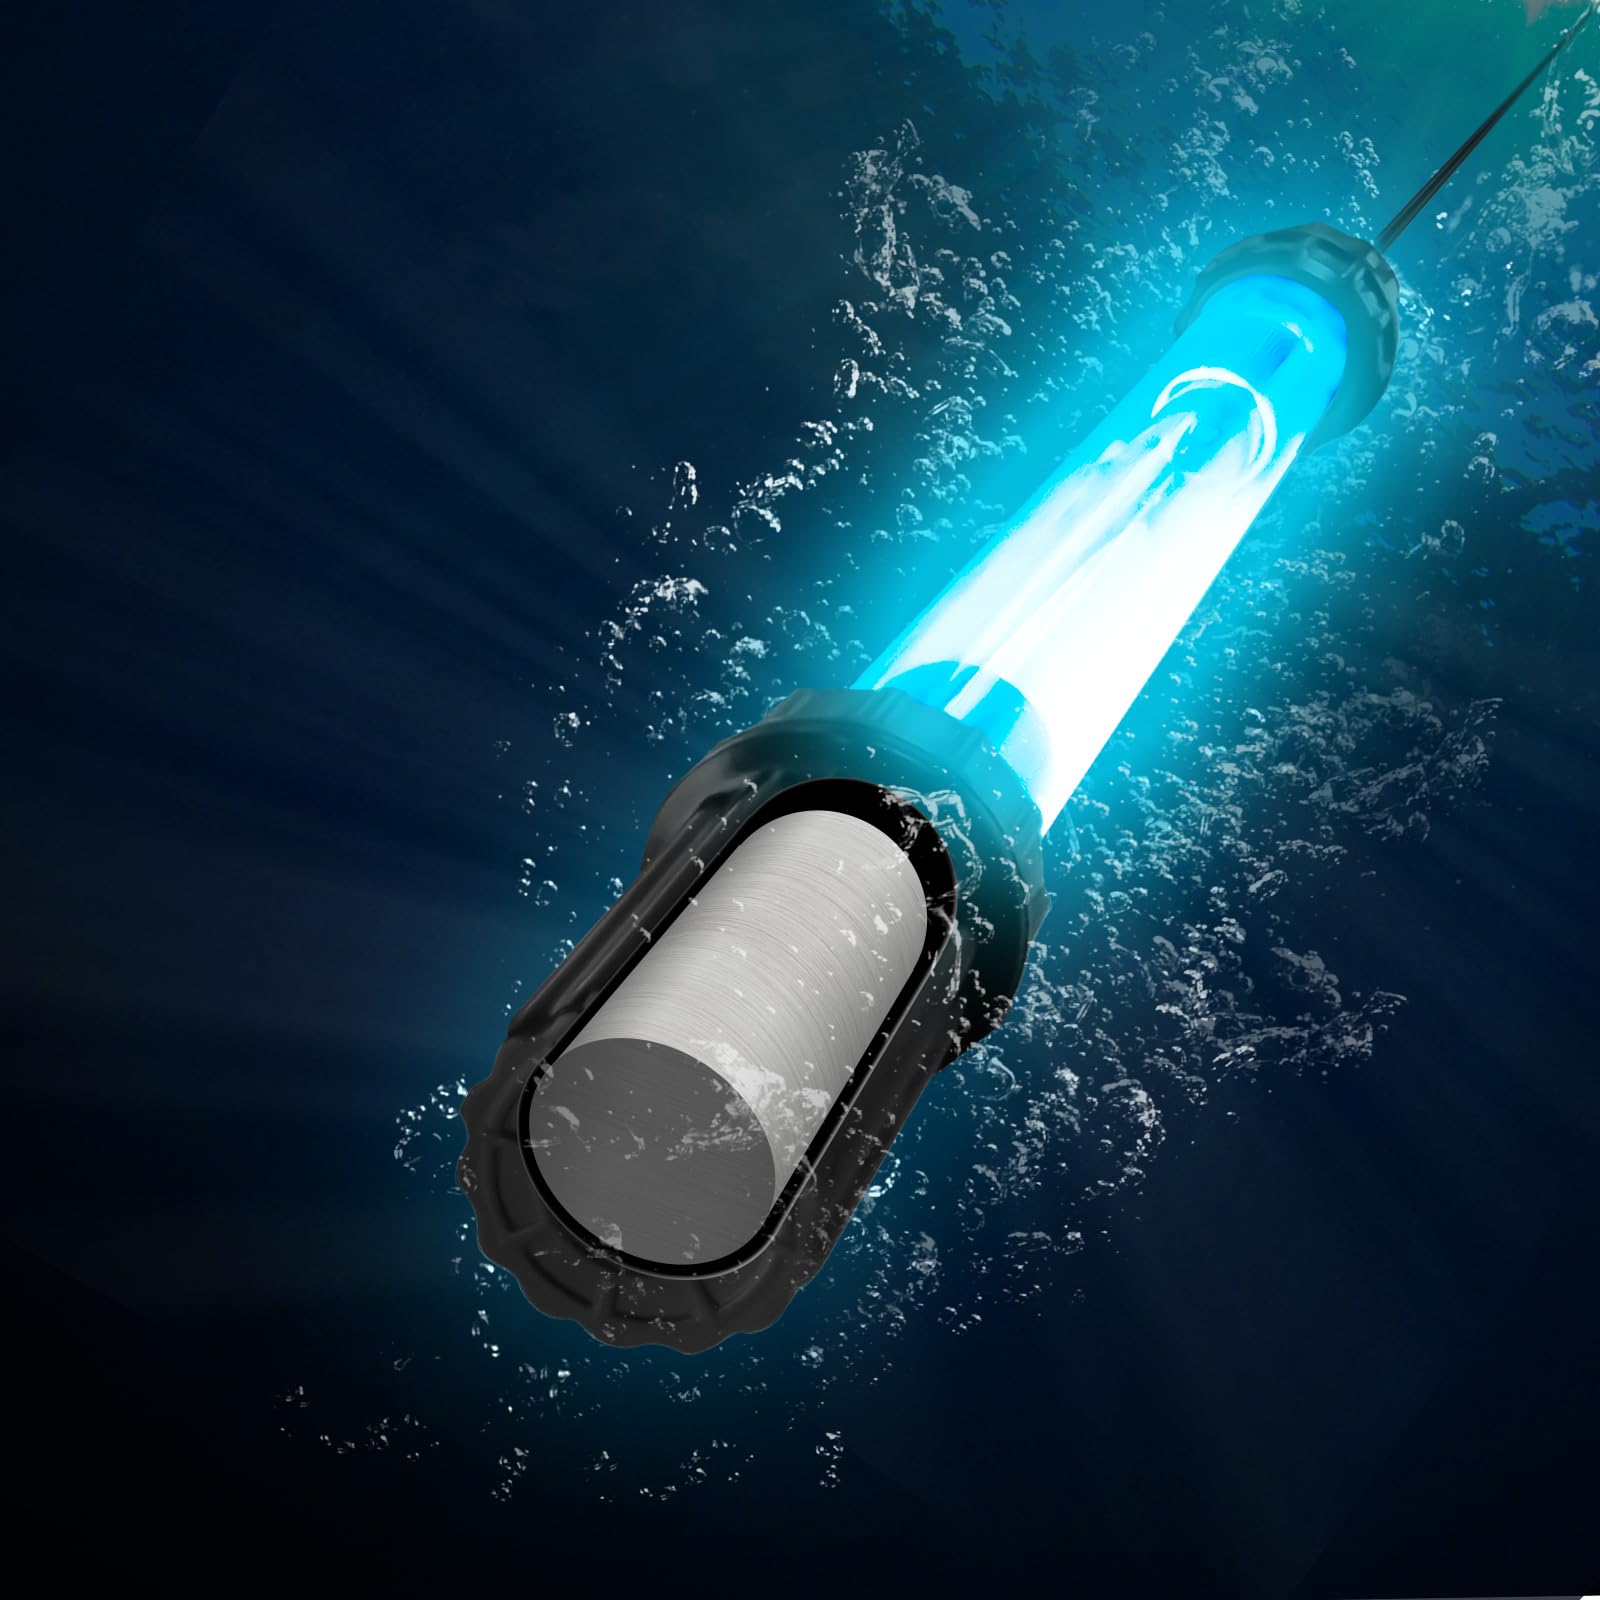
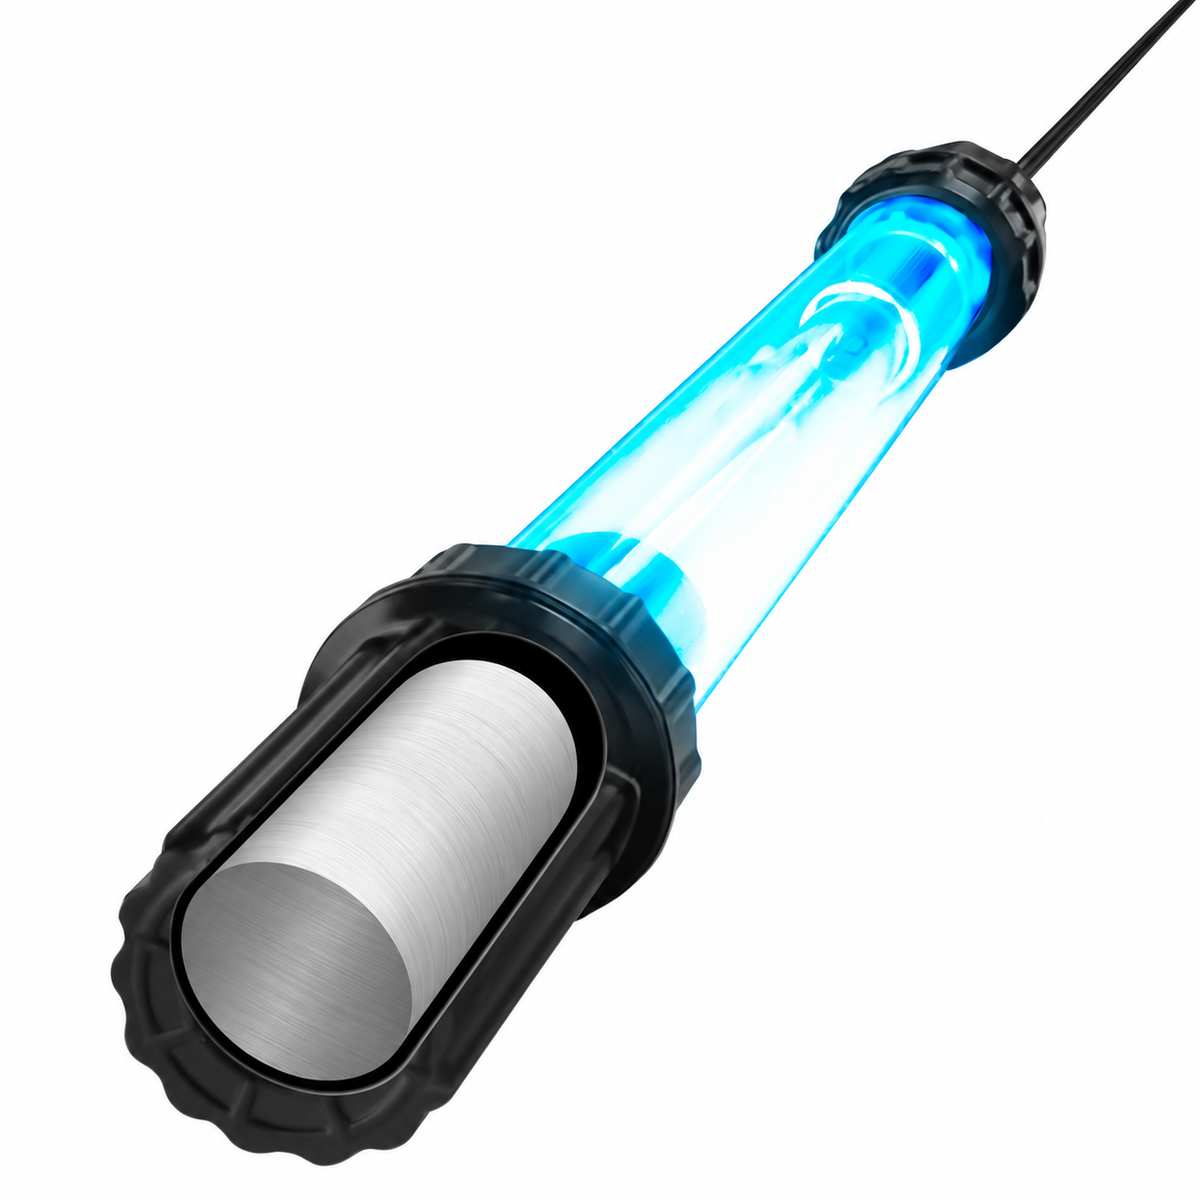
Many UV filters place the lamp inside a quartz sleeve that separates it from aquarium water while allowing ultraviolet radiation to pass through.
The outside of this sleeve can collect mineral scale, biofilm, and other deposits. As the coating builds, less ultraviolet energy reaches the passing water.
Not every compact aquarium UV unit has a user-serviceable sleeve. Check the design before attempting disassembly.
The Pump and Water Path
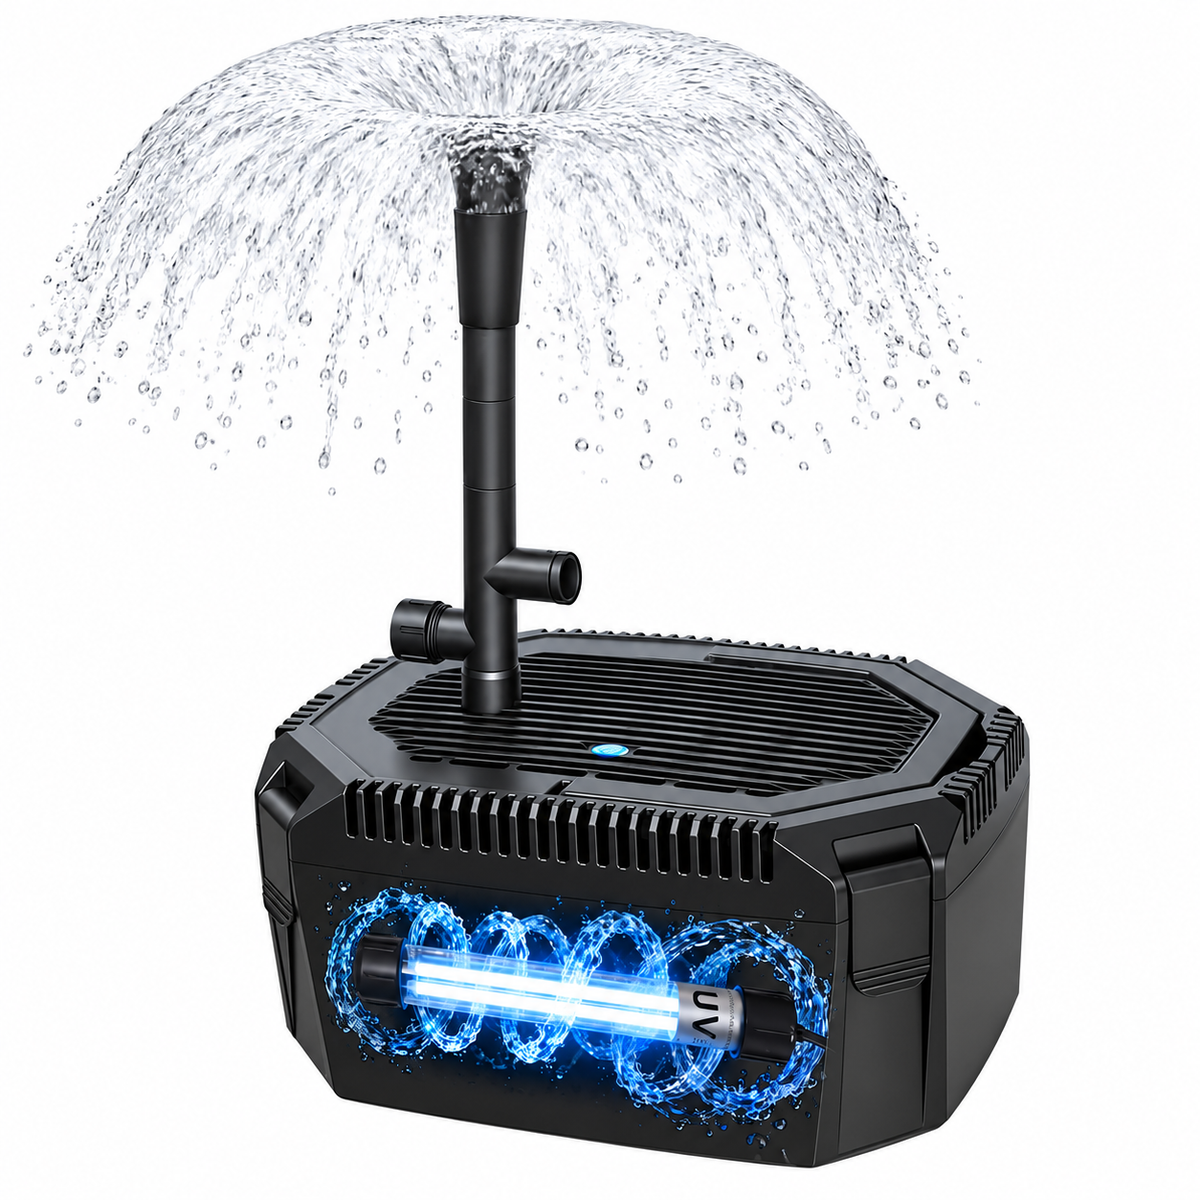
Some UV filters have a built-in pump. Others connect to a canister filter, return pump, or separate circulation pump.
The intake, impeller, tubing, and chamber must remain sufficiently clear to maintain the specified flow. A clean lamp and sleeve cannot compensate for a clogged water path.
Seals, Housing, and Electrical Parts
O-rings and gaskets prevent leaks. The housing contains the water and shields users and livestock from direct UV exposure.
The ballast or driver powers the lamp. Moisture, corrosion, damaged wiring, and excessive heat can compromise these components.
A complete maintenance routine covers all these parts, not just the bulb.
2. Start With Correct Installation
Proper installation is one of the best ways to prevent unnecessary wear.
A unit that is difficult to access, poorly supported, or installed outside its operating limits is more likely to develop problems—and less likely to receive timely maintenance.
Follow the Required Orientation
Some UV filters allow several mounting positions. Others require a specific orientation to fill properly, manage trapped air, or protect internal components.
Do not assume that a position is acceptable because the tubing fits.
Follow the manufacturer’s instructions for orientation, inlet and outlet placement, pressure limits, and whether the unit belongs inside or outside the aquarium.
Support the Housing and Hoses
Heavy hoses can place constant stress on plastic fittings. A hanging inline unit may eventually develop a cracked connection or distorted seal.
Secure the filter using its intended mounting hardware. Support tubing independently where necessary, and leave enough slack for servicing without creating sharp bends.
Avoid overtightening threaded fittings. Excessive force can damage plastic parts even when the connection initially appears watertight.
Leave Room for Lamp Removal
Some lamps and quartz sleeves require substantial clearance to slide out.
Check this before choosing a permanent installation location. If every bulb change requires dismantling your aquarium cabinet, maintenance becomes easier to postpone and harder to perform safely.
Keep External Electrical Components Dry
Position external ballasts, adapters, and connectors away from splashing and potential leaks. Maintain ventilation where required.
Use drip loops on electrical cords and a properly installed ground-fault circuit interrupter outlet. Never place an external electrical component underwater or in a location that conflicts with its rating.
3. Clean the Quartz Sleeve Before Deposits Become Heavy
Keeping the quartz sleeve clean is one of the most useful maintenance tasks for a serviceable aquarium UV filter.
The sleeve may develop a white mineral film, brown discoloration, or a slippery biological coating. Even when water continues flowing normally, these deposits can interfere with light transmission.
Establish an Inspection Interval
For a new installation, inspecting the sleeve after roughly a month can help you understand how quickly deposits accumulate.
This is a starting point, not a universal cleaning requirement. Hard water, reef supplementation, heavy feeding, and a high waste load may increase fouling. Other systems may remain clean for longer.
Use your observations and the manufacturer’s instructions to adjust the interval.
Disconnect Power and Let the Unit Cool
Before opening the filter, disconnect the UV lamp and associated equipment as directed in the manual.
Allow hot components to cool. For inline systems, isolate and depressurize the unit before opening it.
Never remove or expose an operating UV-C lamp. Direct radiation can injure eyes and skin.
Prepare a clean work area with a soft towel so fragile parts cannot roll onto the floor.
Use Gentle Cleaning Methods
Start with a soft, lint-free cloth and the cleaning method specified for your model.
If mineral scale remains, use only a descaling solution approved for the sleeve and any materials it may contact. Some manufacturers permit mild acidic cleaners, but the product, concentration, and exposure time should follow their guidance.
Do not assume that an entire lamp assembly, cap, or housing can be soaked because the removable quartz sleeve can.
Never mix cleaning products, and keep cleaning solutions out of the aquarium.
Avoid Abrasives and Sudden Temperature Changes
Steel wool, rough scrubbers, and scraping tools can damage the sleeve. Use gentle wiping and an approved soaking procedure instead of force.
Avoid putting a hot sleeve into cold water or exposing it to abrupt temperature changes.
Rinse as instructed, remove cleaning residue, and inspect the sleeve under good light. Replace a cracked or chipped sleeve rather than attempting a repair.
4. Replace the UV Bulb According to Its Rated Service Life
A common mistake is waiting until a UV bulb stops glowing before replacing it.
Visible light is not a reliable measurement of useful UV-C output. Lamp replacement intervals vary by model, lamp technology, operating schedule, and manufacturer specifications.
For example, Aqua Ultraviolet’s Advantage instructions specify an average lamp life of 14 months of continuous operation and explain that the lamp may still light afterward even though UV output has diminished. That interval belongs to that product; it should not be applied automatically to other filters. aquaultraviolet.com
Record the Installation Date
Write down the date whenever you install a new lamp. Keep the information in a maintenance notebook, phone calendar, or aquarium log.
If your unit includes an operating-hour counter, use it according to the manual. Reset it only after installing a replacement lamp.
Buy the Correct Replacement
Matching wattage alone does not establish compatibility.
The replacement must meet the system’s requirements for lamp type, dimensions, connector, electrical characteristics, and intended ultraviolet output.
A bulb that physically fits may still be unsuitable for the ballast or chamber.
Handle the Lamp Carefully
Follow the manufacturer’s handling instructions, using clean gloves or a lint-free cloth when appropriate.
Support the lamp as you remove it and keep it aligned with the sleeve. Pulling a long lamp sideways can damage either component.
Before reinstalling, check for loose connectors, discoloration, corrosion, or evidence that water has entered the lamp compartment.
Do not repeatedly power a system showing these problems. Identify and repair the cause first.
5. Keep Water Flow Within the Correct Range
Water flow affects treatment performance and equipment operation.
Excessive flow may reduce exposure time below the level required for your intended purpose. Restricted flow can indicate clogged media, blocked tubing, a dirty impeller, or another problem that needs attention.
The goal is the manufacturer’s specified operating range.
Distinguish Clarification From Other Treatment Goals
A flow rate recommended for controlling suspended algae may differ from one specified for particular microorganisms.
Do not assume a unit provides every treatment benefit at its highest advertised flow rate.
Use the manufacturer’s sizing and flow guidance for your actual application. Even a properly maintained UV system only treats organisms that pass through its chamber under suitable conditions.
Account for Real Installation Conditions
A pump’s advertised maximum output usually does not equal the flow through your installed UV filter.
Hose length, elevation, elbows, valves, and dirty media can reduce actual flow.
Where practical, verify flow with a suitable meter or a safe measurement method. Avoid disconnecting plumbing for a measurement if doing so could flood the area or leave equipment running dry.
Investigate Changes Early
A weaker outlet stream, new rattling sound, persistent bubbles, or a pump that struggles to restart deserves attention.
Check the intake, prefilter, tubing, and impeller before assuming the pump has failed.
Do not reduce flow below the unit’s minimum requirements in an attempt to increase exposure time. Do not restrict a pump in a way its manufacturer prohibits.
Consistent, appropriate flow is more useful than chasing an arbitrary maximum or minimum.
6. Maintain Mechanical Filtration Upstream
UV treatment works best as part of a complete filtration system.
It does not physically remove fish waste, uneaten food, or other debris. Mechanical filtration captures these materials and can reduce the dirt entering the UV chamber.
Use the Recommended Filtration Order
For many external systems, placing mechanical filtration before the UV unit helps limit chamber fouling.
However, integrated filters and specialized systems may use a different arrangement. Follow the equipment’s intended layout instead of modifying it based on a general rule.
Clean Prefilters Before They Choke Flow
Intake sponges, filter socks, pads, and cartridges can collect debris quickly.
Inspect them regularly and service them when buildup begins restricting circulation. Avoid waiting until the pump sounds strained or the outlet becomes noticeably weak.
A heavily stocked aquarium may require more frequent attention than a lightly stocked tank using the same equipment.
Protect Biological Filtration
Maintain mechanical filtration without unnecessarily disturbing the aquarium’s biological filter.
Do not replace all biological media simply because you are servicing the UV unit. Clean reusable media according to its care instructions, commonly using removed aquarium water where appropriate.
The objective is steady circulation and effective waste removal while preserving the established filtration system.
7. Clean the Pump and Impeller
For a UV filter with a built-in pump, pump maintenance is essential to extending the useful life of the assembly.
Hair, plant fragments, sand, snail shells, and mineral deposits can interfere with the impeller. Problems may begin as noise or reduced flow before progressing to unreliable operation.
Inspect the Intake
Check the intake screen during routine aquarium maintenance.
Remove loose debris gently. If the filter sits near sand or gravel, position it so it does not continually draw particles into the pump.
Keep the intake accessible rather than hiding it behind decorations that prevent inspection.
Service the Impeller Assembly
Disconnect power before opening the pump.
Follow the manual to remove the impeller, shaft, bushings, or end caps. Keep small parts organized and use a soft brush to clean accessible surfaces.
If deposits require a cleaner, confirm compatibility with the pump’s materials.
Do not force a stuck shaft or pry against fragile ceramic parts.
Check for Wear
Look for chipped blades, damaged shafts, missing bushings, or an impeller that does not sit correctly.
Replace worn components with compatible parts. A clean but damaged impeller may still vibrate or fail to restart.
If a pump continues humming without moving water after servicing, disconnect it and investigate. Repeatedly restarting a jammed pump is not a repair.
Respect Submersion Requirements
Keep submersible pumps and UV units at the specified water level.
Evaporation can expose equipment in small tanks or shallow turtle setups. Check water levels regularly, especially during warm weather or periods of increased evaporation.
8. Inspect O-Rings, Gaskets, and Connections
A small seal can determine whether a UV filter operates reliably or leaks into its surroundings.
Inspect accessible seals whenever the unit is opened, especially around the quartz sleeve, end cap, and housing joints.
Remove Dirt From Sealing Surfaces
A grain of sand, dried mineral deposit, or piece of debris can prevent an O-ring from seating properly.
Clean the groove and mating surface gently. Make sure the seal is installed in its intended position without twisting.
Do not stretch it unnecessarily during removal or installation.
Replace Damaged Seals
Look for cracks, cuts, flattening, swelling, brittleness, or permanent distortion.
Replace a damaged seal with the correct part. A similar-looking O-ring may have the wrong dimensions or material.
Avoid makeshift substitutes, extra layers of tape, or adhesive repairs around serviceable seals.
Use Lubricant Only When Appropriate
If the manufacturer recommends lubrication, use the specified compatible product.
Do not assume petroleum jelly, household grease, or a generic lubricant is suitable for aquarium equipment.
Lubricant can assist an intact seal where prescribed; it cannot restore a cracked or incorrectly sized one.
Tighten as Directed
More force does not necessarily produce a better seal.
Overtightening can distort an O-ring, damage threads, or crack a cap. Follow the required tightening method and stop if components do not align normally.
If a connection leaks, identify the cause instead of continuing to tighten it.
9. Prevent Dry Operation and Excessive Heat
A UV unit should operate only under the conditions specified for its design.
Some systems depend on water surrounding the chamber or moving through it to manage heat. Running the lamp without the required water conditions can damage components.
Use the Correct Startup Sequence
After servicing, fully reassemble the unit before restoring operation.
For many external systems, the pump starts first so the chamber fills and circulation can be checked before the UV lamp is energized. Follow your model’s exact procedure.
Check for trapped air, leaks, and stable flow.
Do not activate an exposed lamp to “see whether it works.”
Switch Off UV During Relevant Maintenance
Water changes, canister cleaning, plumbing work, and pump servicing can interrupt circulation or lower the water level.
Include the UV unit in your shutdown checklist whenever those tasks affect its required operating conditions.
Restore it only after the system is correctly assembled and water movement has resumed.
Keep Ventilation Clear
External electrical components may require open space to release heat.
Do not wrap a ballast in towels, place it against wet surfaces, or bury it behind supplies. Keep vents clear where present.
If a component develops a burning smell, unusual discoloration, repeated shutdowns, or abnormal heat, disconnect it and seek the appropriate repair or replacement.
10. Maintain Stable Aquarium Conditions
Your aquarium’s condition affects how quickly UV equipment becomes dirty.
Good tank care helps reduce the debris and deposits the filter must handle. It also prevents unrealistic expectations about what ultraviolet treatment can accomplish.
Avoid Overfeeding
Excess food adds to the waste load and can clog mechanical filtration.
Feed an appropriate amount for the animals you keep, observe whether it is consumed, and remove persistent leftovers.
If debris accumulates despite routine cleaning, review feeding and stocking rather than relying on stronger UV treatment.
Remove Accumulated Waste
Clean accessible substrate areas, maintain filter media, and perform suitable water changes.
UV equipment does not remove nitrate, phosphate, settled waste, or attached algae from aquarium surfaces.
A clear-looking tank can still require water testing and routine maintenance.
Address Mineral Buildup Carefully
Hard freshwater and some marine systems may develop scale on sleeves, pumps, and plumbing.
Adjust your inspection schedule if deposits return quickly. Review dosing practices and water parameters where relevant.
Do not abruptly change hardness, alkalinity, salinity, or other conditions solely to reduce equipment cleaning. Livestock needs should guide water chemistry.
Investigate Recurring Green Water
If green water repeatedly returns, review lighting, nutrient inputs, filtration, and UV performance together.
A dirty sleeve or aging lamp may contribute, but so can excessive light or ongoing nutrient imbalance.
Treat the cause as well as the symptom.
11. Choose an Operating Schedule That Fits the System
Turning a UV filter off for part of each day may seem like an easy way to extend bulb life. The result depends on the lamp, equipment design, and treatment objective.
Frequent switching can affect some lamps, while reduced operating time also reduces the time available to treat circulating water.
Follow the Intended Duty Cycle
If the manufacturer specifies continuous operation, follow that guidance unless a treatment instruction or maintenance procedure requires shutdown.
If the unit includes a timer, use the supported settings for your application.
Do not assume all UV filters benefit from the same daily schedule.
Avoid Repeated Manual Cycling
Repeatedly unplugging and reconnecting the unit to check its indicator creates unnecessary handling and switching.
Use the manufacturer’s safe status indicator and maintenance records instead.
If the unit repeatedly turns itself off or trips electrical protection, investigate the fault rather than repeatedly resetting it.
Check Treatment Compatibility
Some aquarium treatments require UV equipment to be turned off. Follow the medication or treatment label and relevant equipment instructions.
Record when the UV system should restart so a temporary shutdown does not become an accidental long-term interruption.
Keep required filtration and aeration operating as directed during treatment.
12. Watch for Early Warning Signs
Small changes often appear before a UV filter fails.
Catching them early can protect the pump, prevent water damage, and reduce unnecessary replacement costs.
Reduced Flow
Inspect the intake, mechanical media, impeller, hoses, and valves.
Check for kinks or changes made during recent maintenance. Restore the specified flow before evaluating treatment performance.
Returning Green Water
Review lamp age, sleeve cleanliness, actual flow, and whether the equipment is appropriately sized.
Also assess aquarium conditions. Returning algae does not automatically mean the entire UV filter needs replacement.
Moisture Around the Housing
Look for wet fittings, salt deposits in marine setups, drips, and damp cabinet surfaces.
External moisture requires investigation even if the unit still operates. Water inside a compartment intended to remain dry is a reason to stop using the equipment until repaired.
New Noise or Vibration
Rattling or grinding may indicate debris, air, loose parts, or impeller wear.
A change from the unit’s normal sound is more useful than comparing it with someone else’s equipment.
Indicator Changes
A status light may report power or lamp operation, but it is not necessarily a measurement of UV-C output.
Interpret the indicator according to the manual and continue scheduled maintenance even when it appears normal.
13. Use a Practical Maintenance Schedule
A simple routine is easier to maintain than a complicated checklist.
Use the following schedule as a starting framework, then adjust it to your equipment, tank conditions, and manufacturer requirements.
| Frequency | Suggested checks |
|---|---|
| Daily | Check circulation, water level, visible leaks, and the safe status indicator |
| Weekly | Inspect the intake and prefilter; listen for changes in pump noise |
| Initially after about one month | Inspect a serviceable quartz sleeve to establish its fouling rate |
| At the interval your system requires | Clean the sleeve, pump, and water path |
| Whenever opened | Inspect seals, sealing surfaces, sleeve condition, and fittings |
| At the manufacturer’s rated interval | Replace the UV lamp |
| After every service | Confirm correct assembly, stable flow, and leak-free operation |
Daily checks usually take only a brief glance during feeding.
More involved cleaning should be based on actual buildup and the manual. Avoid opening a sealed or nonserviceable product merely to follow a generic schedule.
Keep a short record of what you find. Notes such as “light mineral film” or “intake heavily clogged” help you choose a better interval next time.
14. Avoid Maintenance Habits That Cause Damage
Some attempts to improve performance can shorten equipment life.
Installing a Higher-Wattage Bulb
A stronger lamp is not an automatic upgrade. An incompatible bulb can create electrical or thermal problems and may not work correctly with the chamber.
Use the specified lamp.
Scrubbing Deposits Aggressively
Force can turn a cleaning task into a broken sleeve.
Use approved cleaning methods and replace damaged quartz.
Reusing a Cracked Housing
Tape, glue, or sealant is not a dependable substitute for an intact pressure-containing or UV-shielding component.
Replace damaged structural parts.
Ignoring Small Leaks
A slow leak can worsen or allow moisture to reach electrical components.
Investigate it promptly.
Servicing Everything Without a Plan
Opening the UV chamber, dismantling the pump, replacing filter media, and changing plumbing simultaneously creates more opportunities for assembly errors.
Work methodically, keep parts organized, and verify each connection.
Assuming Clear Water Proves Full Performance
Clear water does not establish that the lamp is within its useful life or that the system delivers a particular treatment dose.
Use maintenance records and equipment specifications alongside visual observations.
15. Store Unused Equipment Correctly
If you remove the UV filter from service, prepare it for storage.
Disconnect power, drain water-containing components as directed, and clean accessible deposits before they harden.
Dry the parts according to the manufacturer’s instructions. Keep electrical connectors dry and protect the lamp and sleeve from impact.
Store the equipment away from freezing conditions, excessive heat, and direct sunlight where these could damage components.
Label the lamp with its installation date and approximate operating history. Months spent in storage do not make a previously used bulb new again.
Before restarting, inspect the housing, seals, cords, and fragile parts. Reassemble carefully and perform the prescribed startup checks.
Frequently Asked Questions About Aquarium UV Filter Maintenance
How long should an aquarium UV filter last?
There is no universal lifespan. Service life depends on construction, installation, water conditions, maintenance, and replacement-part availability.
The housing and other durable components may remain usable through several lamp changes. Bulbs, seals, and pump components should be evaluated separately.
How often should I clean the quartz sleeve?
Follow the manual and adjust for observed buildup.
An early inspection after approximately a month can help establish a baseline for a serviceable unit. Clean sooner if deposits appear quickly or performance changes.
Can I use vinegar to clean it?
Only if the manufacturer permits it for the relevant component.
Confirm the concentration, contact time, and rinsing procedure. Do not soak electrical parts or assume every seal and plastic component tolerates the same cleaner.
Can a glowing UV bulb still need replacement?
Yes. Visible light does not prove adequate ultraviolet output.
Replace the lamp according to its rated service interval and operating history.
Should I run the UV filter all day?
Follow your model’s instructions and your treatment objective.
Some systems are designed for continuous use, while others support programmed operation. Avoid creating a schedule solely on the assumption that fewer operating hours always extend useful service life.
Will UV replace normal filter maintenance?
No. UV treatment does not physically remove waste or replace biological filtration.
Maintain the aquarium’s mechanical and biological filters, water changes, and water-testing routine.
When should I replace the entire unit?
Consider replacement when structural parts are damaged, electrical safety is compromised, essential parts are unavailable, or the unit no longer suits the aquarium.
A dirty sleeve, worn seal, or expired bulb may require only the appropriate service part.
Keep Your Aquarium UV Filter Reliable for the Long Run
The most effective way to extend an aquarium UV filter’s life is consistent, careful maintenance.
Install it correctly, keep the water path clear, clean a serviceable quartz sleeve before deposits become heavy, and replace the lamp on schedule. Inspect seals whenever the unit is opened, protect electrical components from moisture, and respect the equipment’s flow and operating requirements.
A brief daily check and a realistic service routine can catch small problems before they become expensive failures. With that attention, your UV filter can remain a dependable part of a clean, well-maintained aquarium.