
Maintaining accurate and stable water temperature is one of the most important responsibilities in aquarium keeping. Whether you’re raising delicate shrimp, fancy goldfish, community tropical fish, or high-end koi in indoor tanks, consistent water temperature is the difference between a thriving aquatic environment and a stressful, disease-prone one.
But here’s a problem almost every aquarist will encounter sooner or later:
Your heater’s temperature reading doesn’t match your thermometer.
The heater says 26°C (78.8°F), but your tank thermometer reads 24°C (75.2°F).
Or worse—your heater thinks the water is warm when it isn’t, so it never turns on.
This kind of temperature inaccuracy can lead to slow metabolism, fungal infections, ich outbreaks, or sudden temperature swings—especially in winter.
The good news?
Most aquarium heaters can be calibrated, and doing so properly can restore precise temperature regulation.
In this in-depth 4,000-word guide, we’ll cover:
-
Why heater temperature becomes inaccurate
-
Early warning signs your heater is misreading the water
-
Tools you need for a precise calibration
-
A step-by-step method to calibrate digital and analog heaters
-
How to test accuracy across the entire tank
-
What to do when calibration doesn't work
-
Preventive maintenance so your heater stays accurate long-term
Let’s dive in—because temperature precision isn’t optional. It’s a core part of fish health.
1. Why Aquarium Heaters Become Inaccurate Over Time
Even brand-new heaters can be off by 1–3 degrees, but with time, the discrepancy may worsen. Here are the most common reasons:
1.1 Mineral deposits and scale build-up
Hard-water minerals accumulate on glass heaters, insulation sleeves, and inside thermostats.
This causes:
-
Slower heat transfer
-
Incorrect sensing
-
Delayed thermostat response
1.2 Wear and tear of internal sensors
Most heaters rely on either:
-
Bimetal thermostats (older models)
-
Thermistors / temperature probes (modern models)
These can drift with age, heat cycles, and moisture exposure.
1.3 Uneven water flow
If the heater is placed in:
-
An isolated corner
-
Behind décor
-
In stagnant water
…it may be reading a local warm zone instead of the tank average.
1.4 Incorrect installation depth
Submersible heaters must be fully submerged—including the thermostat housing.
Partially exposed heaters misread temperature dramatically.
1.5 Manufacturing tolerances
Cheaper non-branded heaters often have ±2–5°C calibration errors out of the box.
1.6 Electrical fluctuations
Unstable voltage can affect heating cycles, especially with older analog units.
Temperature inaccuracy is extremely common—so don’t panic. What matters is correcting it before it leads to fish stress.
2. Early Warning Signs Your Heater’s Temperature Is Wrong
If you observe any of the symptoms below, calibration is overdue.
2.1 Your fish behave strangely
Common signs include:
-
Lethargy or resting near the bottom
-
Rapid gill movement
-
Clamping fins
-
Gathering near the heater
-
Surface hovering
These can indicate the water is colder—or hotter—than the heater claims.
2.2 Temperature fluctuates by more than 1°C per day
Healthy aquariums should stay within ±0.5°C. Anything more suggests inaccurate monitoring.
2.3 Condensation inside the heater
Even if the heater still works, moisture inside the tube means the sensor may be compromised.
2.4 LED or dial temperature never matches external thermometer
If the difference is consistent (e.g., always 2°C off), calibration will likely fix it.
2.5 Heater cycles too often or not often enough
This is a sign that the internal thermostat is not correctly interpreting the water temperature.
If any of these apply to your tank—keep reading.
3. Tools You Need for Precise Heater Calibration
Before calibrating, gather the following items:
3.1 A laboratory-grade thermometer
This is essential. Types include:
-
Digital probe thermometer (most accurate)
-
Floating alcohol thermometer
-
Infrared thermometer (good for quick checks)
Avoid cheap LCD stick-on thermometers—they can be off by 2–5°C.
3.2 A stable water container
You’ll perform calibration either:
-
Inside your actual aquarium
-
Or in a separate calibration bucket
A bucket helps isolate variables.
3.3 Stopwatch or timer
Temperature changes take time—accuracy requires patience.
3.4 A heater with a calibration ring or digital calibration setting
Not all heaters support manual calibration.
If yours doesn’t, skip to section 7: “What to do when your heater cannot be calibrated.”
4. Step-by-Step Calibration Method (For Most Aquarium Heaters)
Below is the gold-standard method used by experienced hobbyists, breeders, and aquarium technicians.
Step 1: Set up a controlled water environment
Fill your tank or calibration bucket with:
-
Dechlorinated water
-
Good circulation
-
Stable ambient temperature
Let the water settle for 15 minutes.
Step 2: Place your thermometer
Position your reference thermometer:
-
Away from the heater
-
In an area with good flow
-
Fully submerged
Step 3: Set the heater to your target temperature
For most tropical tanks:
26°C / 78.8°F
Saltwater reef tanks may be slightly warmer; goldfish tanks slightly cooler.
Step 4: Let the heater run for 30–60 minutes
Do NOT rush this step.
Heaters require time to reach equilibrium.
Measure the water temperature using the reference thermometer—NOT the heater’s display.
Step 5: Compare the readings
Example:
-
Heater says: 26°C
-
Thermometer shows: 24.5°C
Difference:
Heating error = –1.5°C
This means the heater is heating less than it thinks it is.
Step 6: Adjust the calibration ring (Analog heaters)
Most analog heaters have a calibration ring near the top.
To correct a –1.5°C error:
-
Turn the calibration ring +1.5°C
-
Or align the 26°C reference mark with the true position
Think of the ring as “relabeling” the temperature instead of actually changing the heat output.
Step 7: Adjust digital calibration (Digital heaters)
Digital models often allow:
-
±5°C calibration
-
One-degree increments
-
Through a hidden combination (e.g., holding SET for 5 seconds)
The user manual will reveal the method.
Enter the correction value directly—e.g., +1.5°C.
Step 8: Retest after 20–30 minutes
Wait again until water stabilizes.
Take another thermometer reading.
Repeat calibration until:
-
Difference is under ±0.3°C
-
Heater cycles on/off precisely
-
Tank temperature remains steady for 2–3 hours
5. How to Test Accuracy Across the Entire Aquarium
Most beginners overlook this step.
Even if the heater is calibrated, parts of the tank may still be cooler or warmer because of flow.
5.1 Test in three locations
Place your thermometer:
-
Near the heater
-
In the middle of the tank
-
On the opposite end
Differences should be:
-
<0.5°C for community tanks
-
<0.3°C for sensitive species
If variance is high, adjust water flow—not the heater.
5.2 Check temperature morning and night
Ambient room temperature swings can affect the heater’s load.
6. Calibration Tips for Different Heater Types
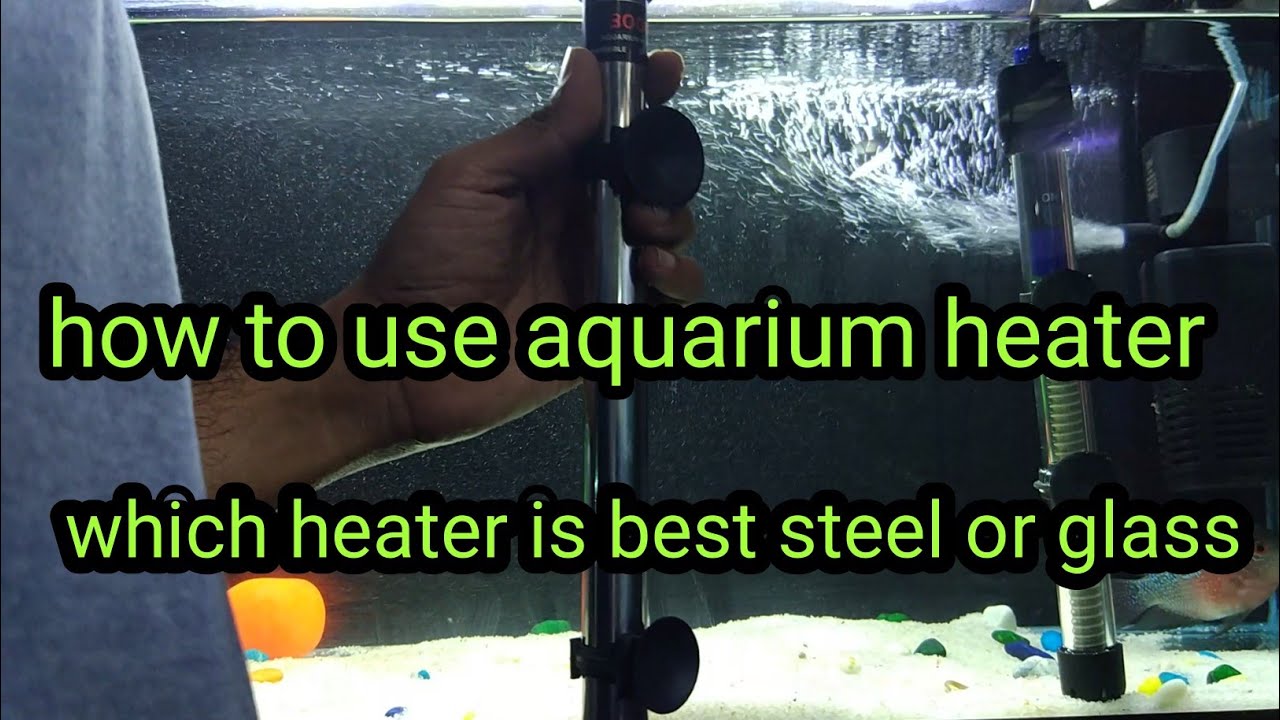
6.1 Glass heaters
Most prone to drift.
Calibrate every 3–6 months.
6.2 Stainless steel heaters
More stable, but internal thermistors can still drift.
6.3 Titanium heaters
Best stability and accuracy.
Many have built-in digital probes.
6.4 Heaters with external controllers
These are easiest to calibrate, because:
-
The sensor is separate
-
Temperature detection is more accurate
-
Adjustments are digital
Use this setup if you keep expensive fish.
7. What to Do If Your Heater Cannot Be Calibrated
Not all heaters allow manual adjustment.
In that case:
✔ Rely on the thermometer when setting target temperature
Example:
If you want 26°C but the heater always heats to +2°C offset, set it to 24°C.
✔ Use a smart temperature controller
This overrides the built-in thermostat entirely.
✔ Replace the heater if:
-
Error > ±2°C
-
Condensation inside
-
Plastic cap feels unusually warm
-
Heater fails to turn on/off properly
Heaters are cheap. Dead fish are not.
8. Safety Warnings During Calibration
-
Never calibrate a heater outside of water
-
Always wait for the heater to cool before removing
-
Avoid touching the glass when it’s hot
-
Keep hands dry when adjusting electric components
-
Do not rely solely on an LED display
9. Preventive Maintenance to Keep Your Heater Accurate
Calibration is not one-and-done.
Here’s how to maintain long-term accuracy.
9.1 Clean your heater monthly
Wipe off:
-
Algae
-
Calcium residue
-
Biofilm
9.2 Improve water circulation
Use:
-
Internal pump
-
Filter outlet
-
Small powerhead
Better circulation = more accurate sensing.
9.3 Avoid frequent on/off unplugging
Heaters last longer when kept in stable cycles.
9.4 Test temperature weekly
A simple thermometer check prevents surprises.
9.5 Replace heaters every 1–2 years
Even the best heaters degrade.
Treat them as consumables.
10. Conclusion: Precision Temperature = Healthy Fish
A miscalibrated heater is one of the most common—and most dangerous—problems in aquarium keeping.
Fortunately, calibration is simple, predictable, and extremely effective.
By:
-
Using a reliable reference thermometer
-
Adjusting the calibration ring or digital settings
-
Testing multiple locations
-
Ensuring good water flow
-
Performing regular maintenance
…you can restore your heater’s accuracy and protect your fish from harmful temperature swings.
Precise heating isn’t just about comfort.
It’s about survival, stability, and long-term fish health.


