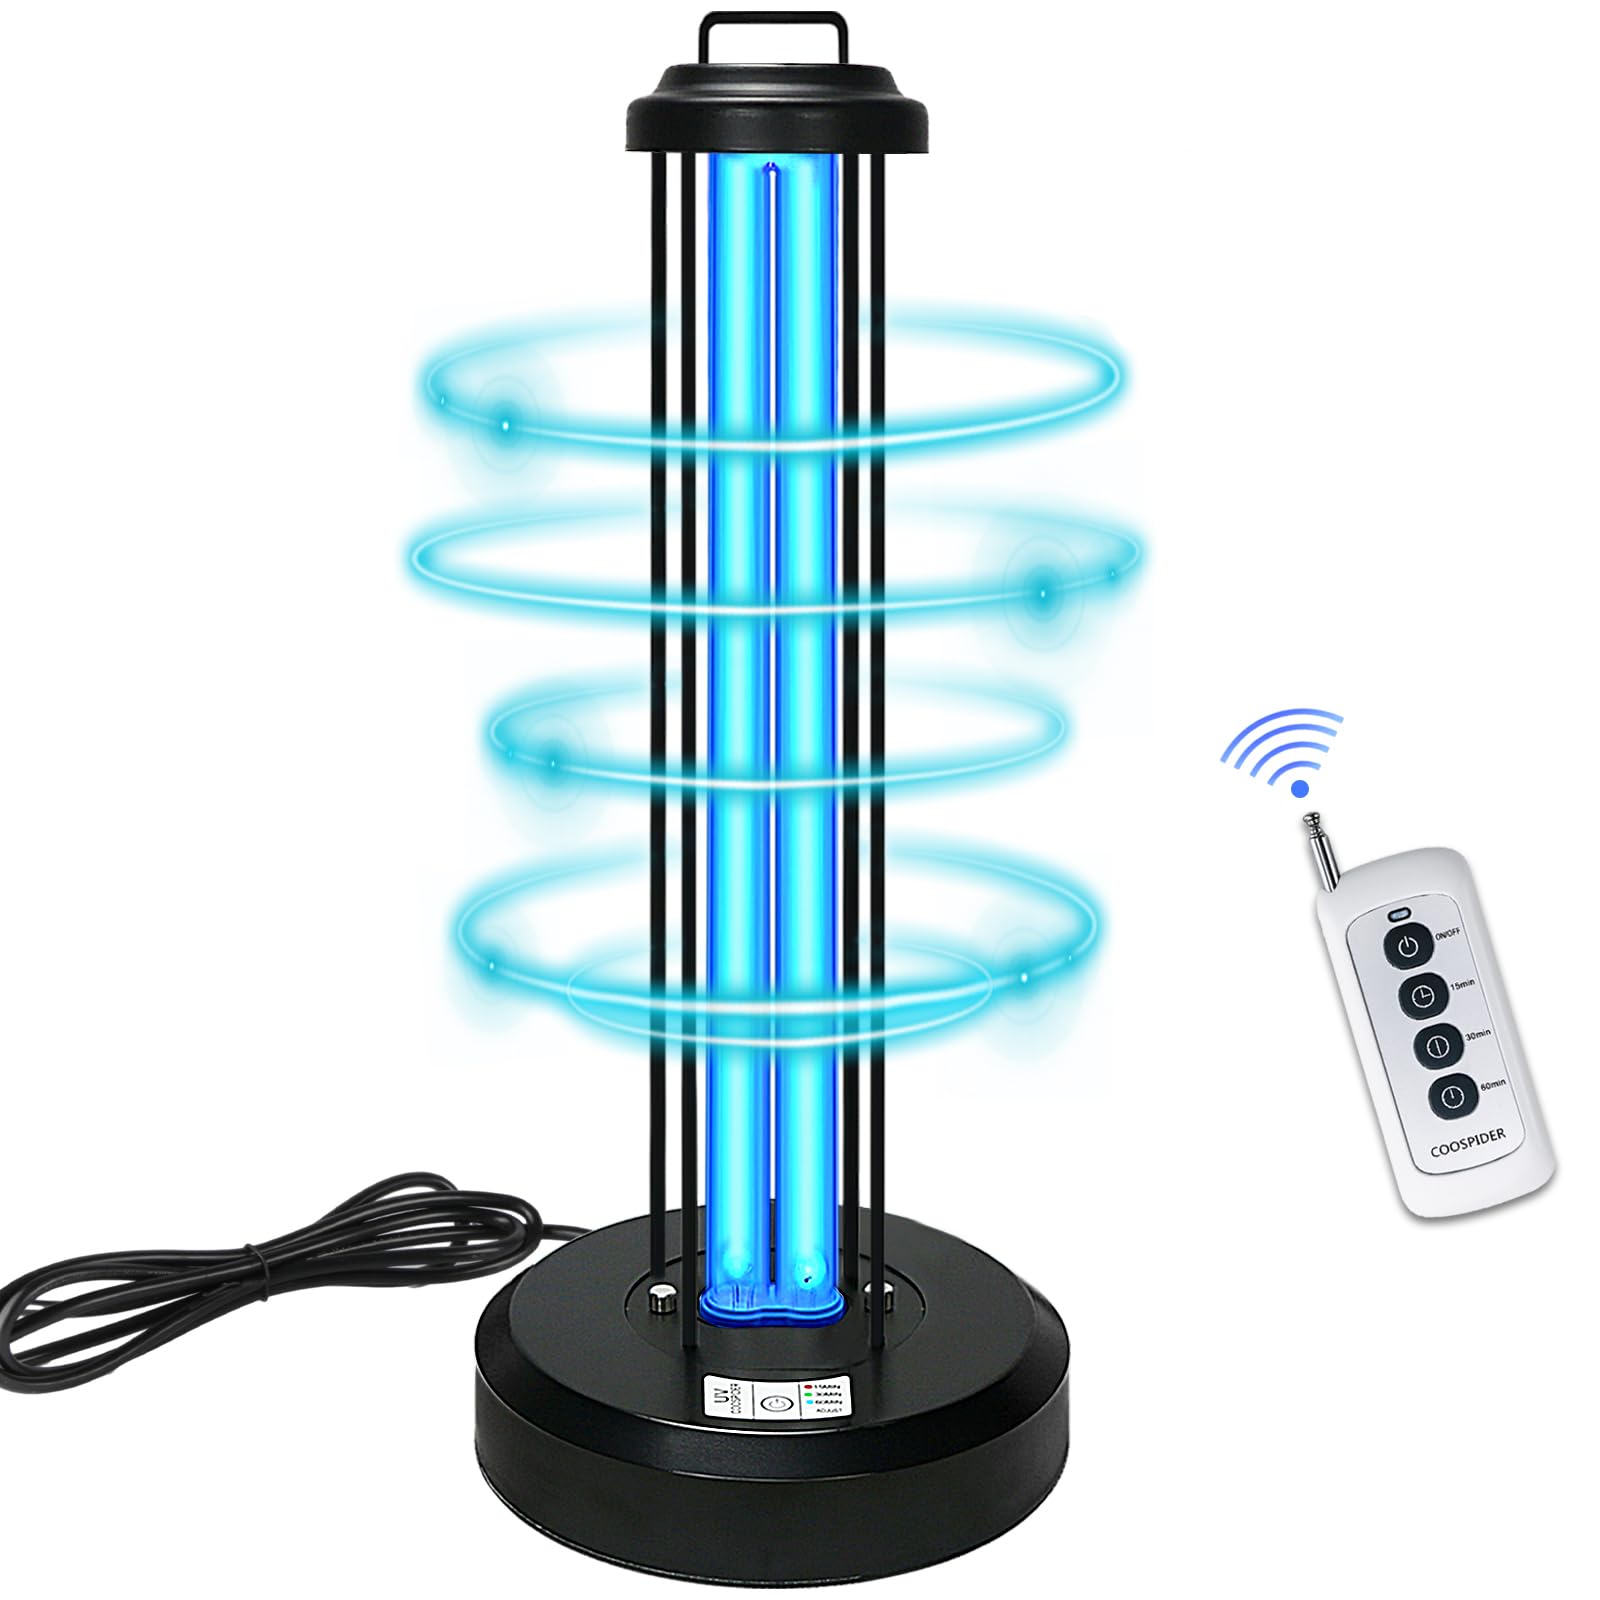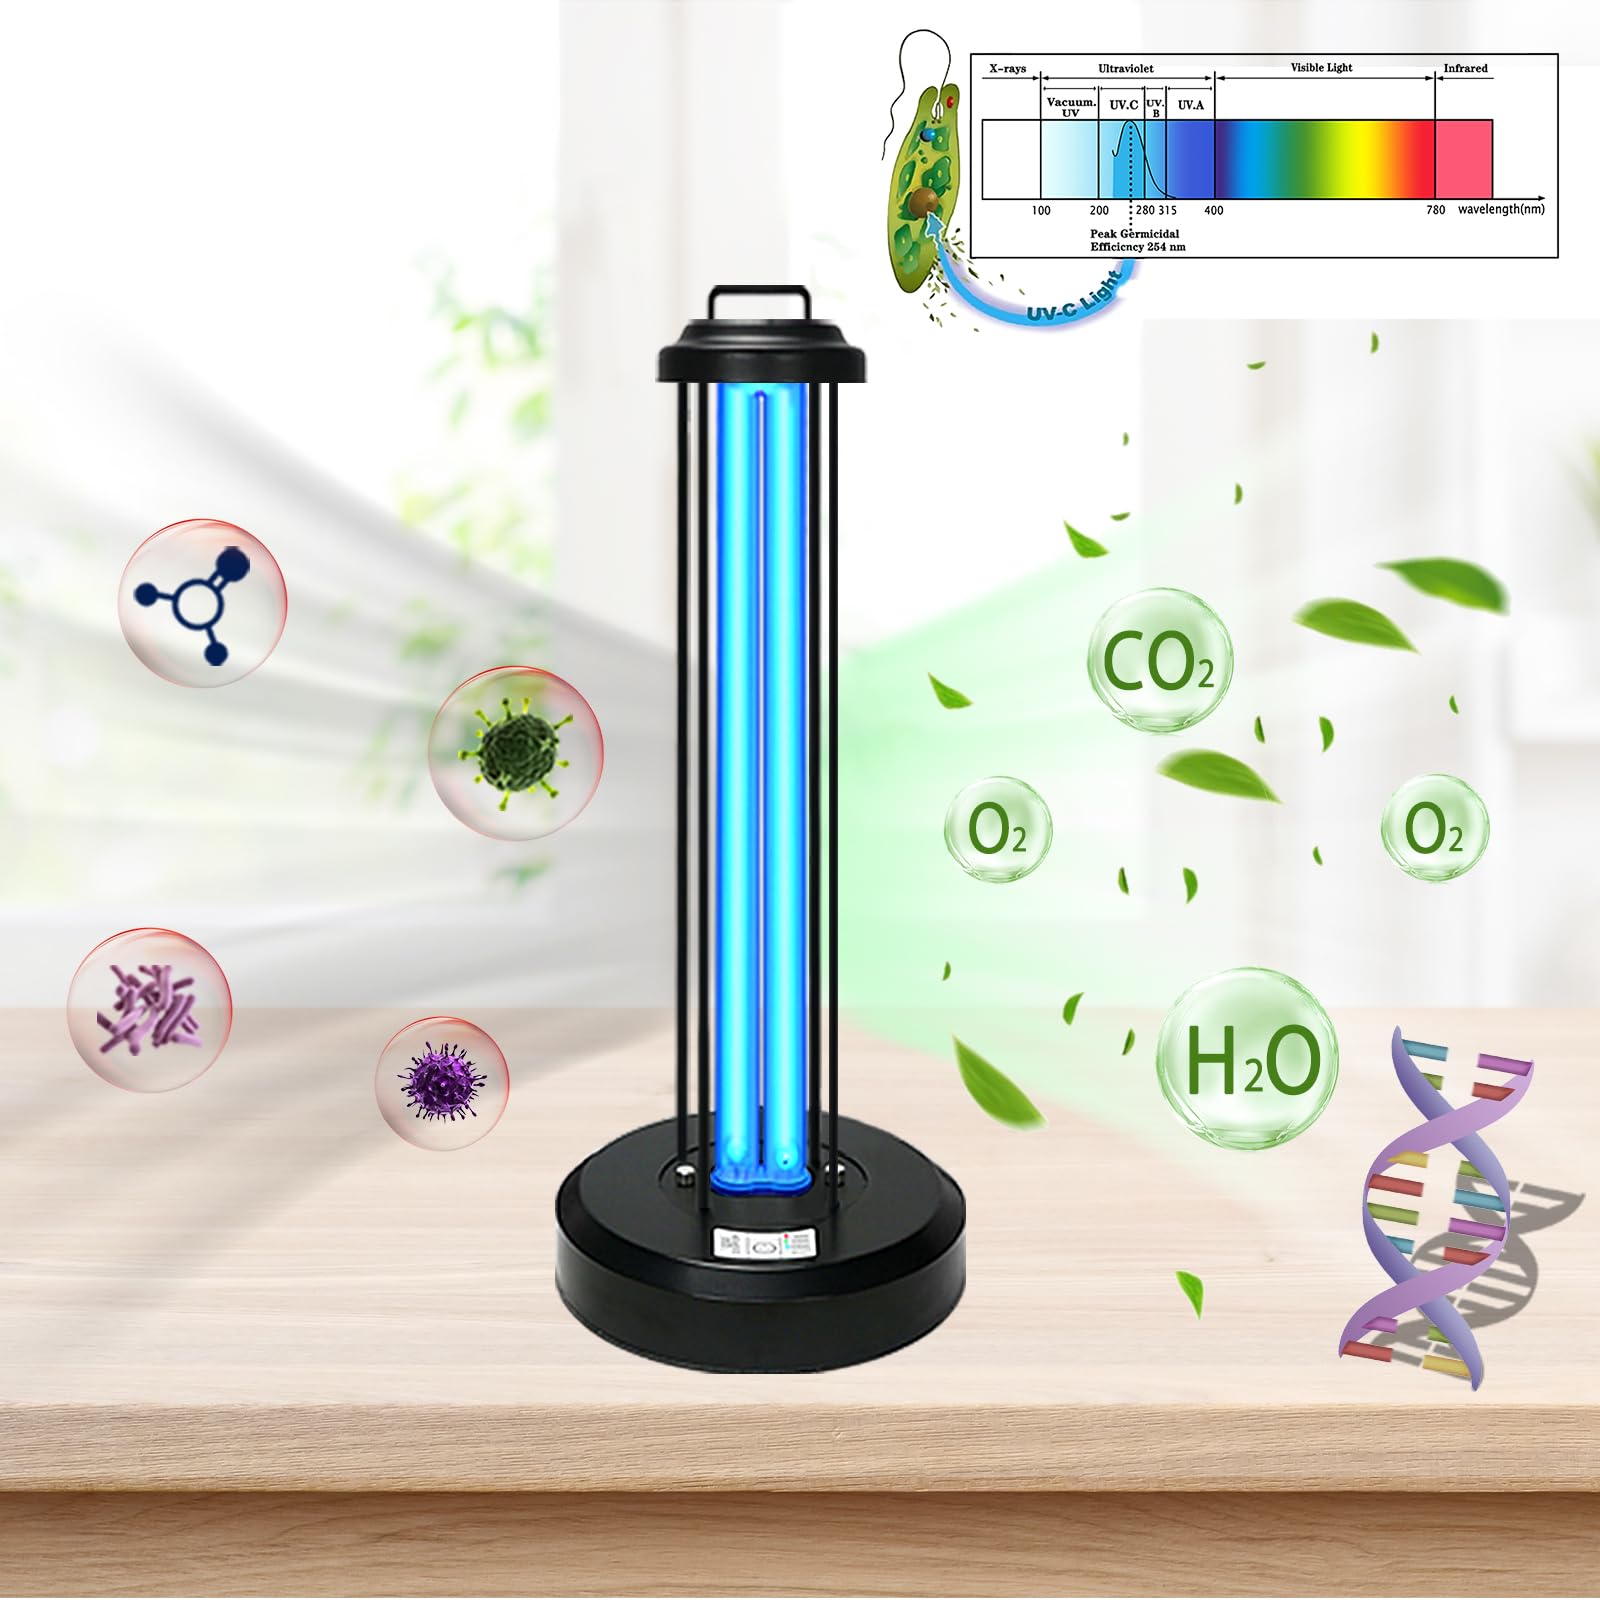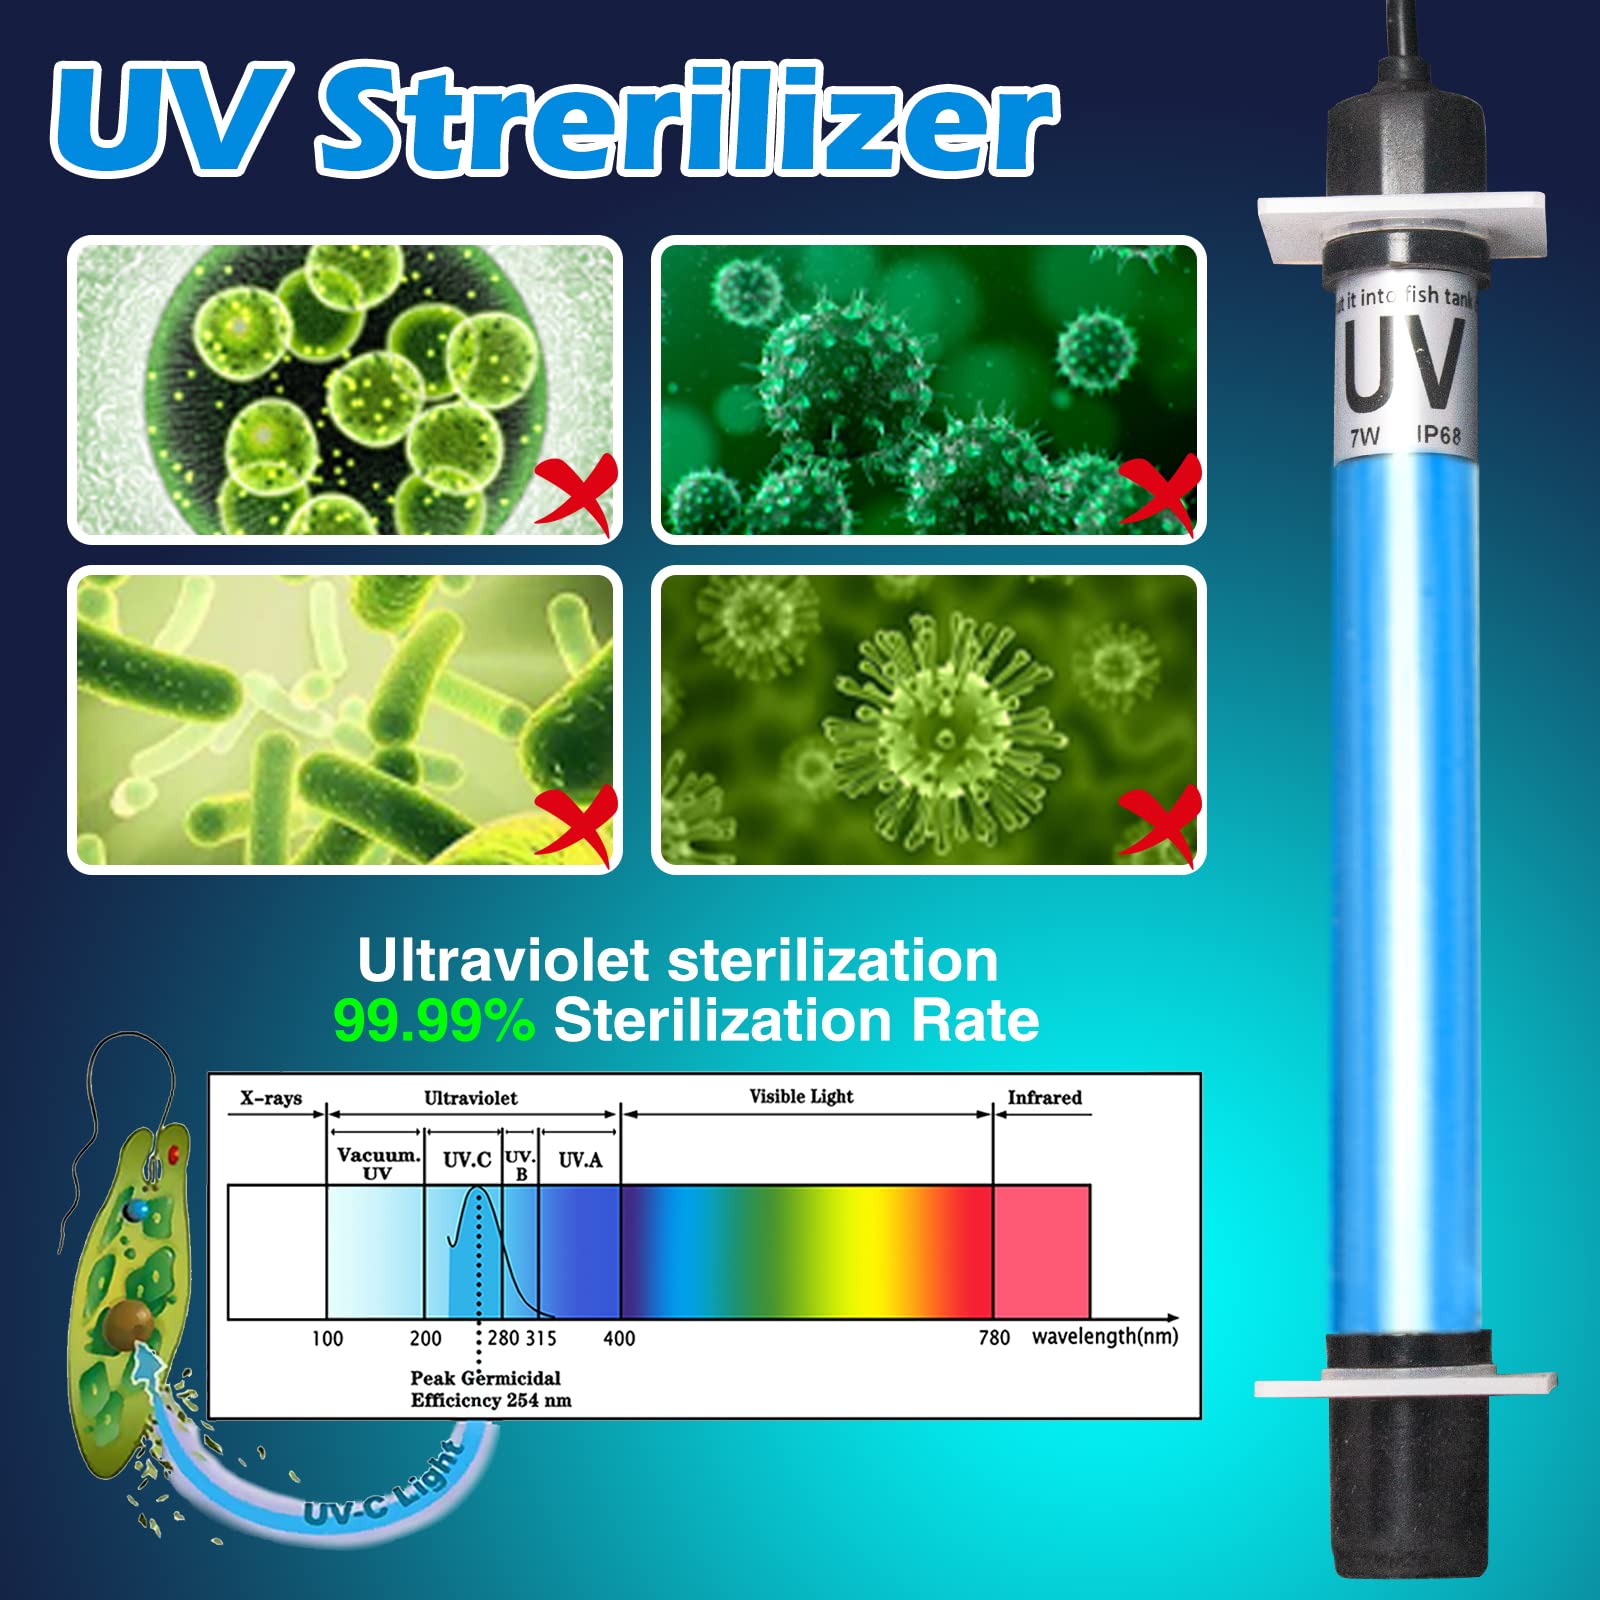
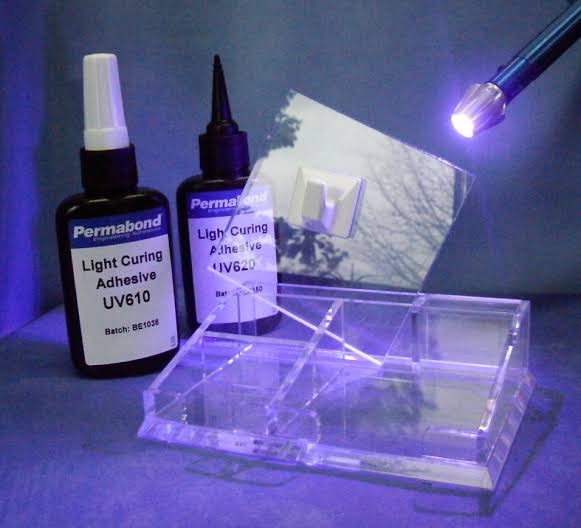
In modern manufacturing, UV curing technology has become an essential process for bonding, coating, sealing, and protecting components across many industries. From electronics and automotive parts to medical devices, optical products, and precision assemblies, UV adhesives provide fast curing speeds, excellent bonding strength, and high production efficiency.
However, many manufacturers encounter a frustrating problem:
The glue never fully cures.
The surface may remain sticky. The adhesive layer may stay soft. Bond strength may fail to reach expectations. Production lines may experience delays, increased rejection rates, and unnecessary material waste.
When this happens, many people immediately assume that the adhesive itself is defective. They replace the glue, change suppliers, or increase production costs without identifying the real cause.
In reality, incomplete UV curing is often caused by incorrect process settings, unsuitable equipment selection, poor material compatibility, or misunderstandings about how UV curing actually works.
Industrial UV curing is not simply a matter of shining ultraviolet light onto glue. It is a precise chemical reaction that depends on multiple factors working together, including:
- UV wavelength compatibility
- Light intensity
- Exposure time
- Adhesive formulation
- Material transparency
- Surface conditions
- Equipment performance
Understanding these factors is the key to achieving reliable curing results.
This article explores four common mistakes in industrial UV curing applications and provides practical solutions to help manufacturers improve curing quality, reduce production problems, and achieve consistent bonding performance.
Understanding How UV Adhesive Curing Works
Before discussing common mistakes, it is important to understand the basic principle behind UV curing.
UV adhesives contain special chemical components called photoinitiators. When exposed to ultraviolet light of the correct wavelength, these photoinitiators absorb energy and trigger a polymerization reaction.
During this reaction, liquid adhesive molecules transform into a solid polymer structure.
The curing process depends on three essential elements:
1. Suitable UV Light Energy
The UV lamp or LED curing system must provide the correct wavelength and sufficient energy to activate the photoinitiator.
2. Proper Exposure Conditions
The adhesive must receive enough UV energy over an appropriate period.
3. Compatible Materials
The adhesive, substrate, and curing equipment must work together as a complete system.
If any one of these elements is incorrect, curing performance can decline.
A common misunderstanding is that “more UV light always means better curing.” However, excessive or inappropriate UV exposure does not necessarily improve results. The correct combination of wavelength, intensity, and curing time is what creates reliable performance.
Mistake 1: Choosing the Wrong UV Wavelength
Why Incorrect Wavelength Selection Causes Incomplete Curing
One of the most common mistakes in industrial UV curing is using a light source with the wrong wavelength.
UV curing adhesives are designed with specific photoinitiators that respond to certain ultraviolet ranges.
Common UV wavelength ranges include:
- UVA: approximately 320–400 nm
- UVB: approximately 280–320 nm
- UVC: approximately 100–280 nm
Most industrial UV adhesives are primarily designed for UVA wavelengths, especially around 365 nm, 385 nm, or 395 nm.
If the UV light wavelength does not match the adhesive formulation, the photoinitiator may not activate effectively.
The result can include:
- Sticky surfaces
- Incomplete hardening
- Weak bonding strength
- Longer curing times
- Increased production failures
For example, a manufacturer may install a powerful UV lamp but discover that the adhesive remains partially liquid. The problem may not be insufficient power but rather that the light energy is outside the adhesive's activation range.
Solution: Match UV Equipment With Adhesive Chemistry
Before selecting UV curing equipment, manufacturers should confirm:
Adhesive Photoinitiator Requirements
Always check the technical data sheet provided by the adhesive manufacturer.
Important information includes:
- Recommended wavelength range
- Required UV energy dosage
- Minimum curing intensity
- Recommended exposure time
UV Lamp or LED Compatibility
Different UV systems produce different wavelength outputs.
Traditional mercury lamps may produce a broad UV spectrum, while UV LED systems usually provide specific wavelengths.
For example:
- 365 nm LEDs are often used for deep curing applications
- 385 nm LEDs provide efficient industrial curing performance
- 395 nm LEDs are commonly used for general applications
Choosing the correct wavelength improves curing efficiency and reduces unnecessary energy consumption.
Mistake 2: Insufficient UV Energy Due to Incorrect Light Intensity or Exposure Time
Why Strong Equipment Can Still Produce Poor Results
Another common misunderstanding is believing that the curing system is powerful enough simply because the UV lamp has a high wattage rating.
However, UV curing performance depends on actual energy received by the adhesive surface.
The total UV energy dosage is determined by:
UV Energy = Light Intensity × Exposure Time
This means curing can fail if:
- Light intensity is too low
- Exposure time is too short
- Lamp distance is too far
- Optical components reduce UV transmission
- Equipment performance has degraded
A production line may appear to operate normally while the adhesive gradually becomes under-cured because the UV source loses output over time.
Common Signs of Insufficient UV Energy
Manufacturers may notice:
Surface Remains Sticky
The adhesive may partially cure but fail to complete the polymerization process.
Weak Bond Strength
The adhesive appears solid but cannot withstand mechanical stress.
Uneven Curing Results
Some products pass inspection while others fail.
Longer Production Times
Operators increase curing time manually to compensate for poor performance.
Solution: Measure and Control UV Energy Regularly
Professional UV curing management requires regular monitoring.
Recommended practices include:
Use UV Radiometers
A UV intensity meter can measure actual light output instead of relying on equipment specifications.
Regular measurements help identify:
- Lamp aging
- LED degradation
- Optical contamination
- Output instability
Maintain Proper Working Distance
The distance between the UV source and adhesive surface directly affects energy concentration.
Moving the lamp slightly farther away can significantly reduce curing efficiency.
Optimize Exposure Time
Instead of randomly increasing curing time, manufacturers should determine the correct curing window through testing.
The goal is not maximum exposure but optimal exposure.